

While your subject lighting, composition, camera setting, using the proper lens, and even post-processing talents can greatly improve your photos, the way your subject poses plays a big part in the overall impact of your portrait. As a photographer, you should be aware of some posing techniques and styles especially when your subject has no experience posing or controlling their face in front of the camera.
In this post, I’ve put together a list of simple tips to help you improve your subject’s poses and achieve more compelling portrait shots. I would like to thank the developer of software called DAZ Studio (the free version), it is really fantastic and helped me a lot in producing the figures and the illustrations in this post.
Photography posing Tips
Shoot at subject’s favored side.
It is always important to ask your subject if he/she knows their best profile. If they know it, remember it, and take your shot at that side, it makes a huge difference in how they will like the images.
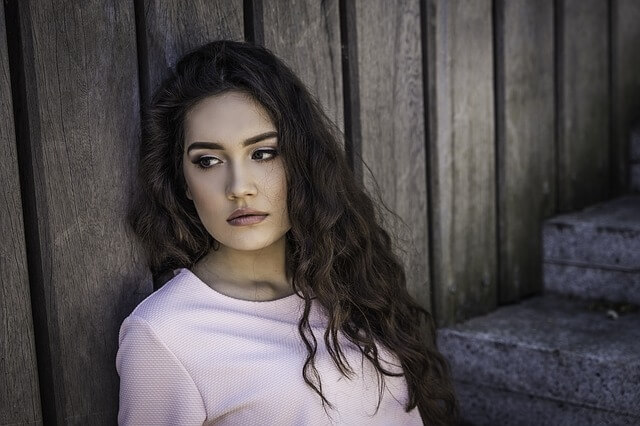
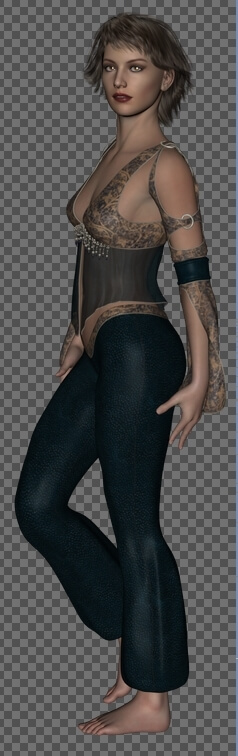
Turn the Shoulders
If your subject stares at the camera head-on, they look bigger. This can be good when shooting an official or sports player, but it lacks beauty when shooting normal portraits. Make your subject turn a slight angle and keep their head pointing to the camera, the subject will look slimmer.
You can ask your subject to do the two-thirds turn, where the subject’s upper body does a two-thirds turn away from the camera. It is very helpful for taking close-up headshots as it helps your model relax and gives them a slightly slimmer profile.
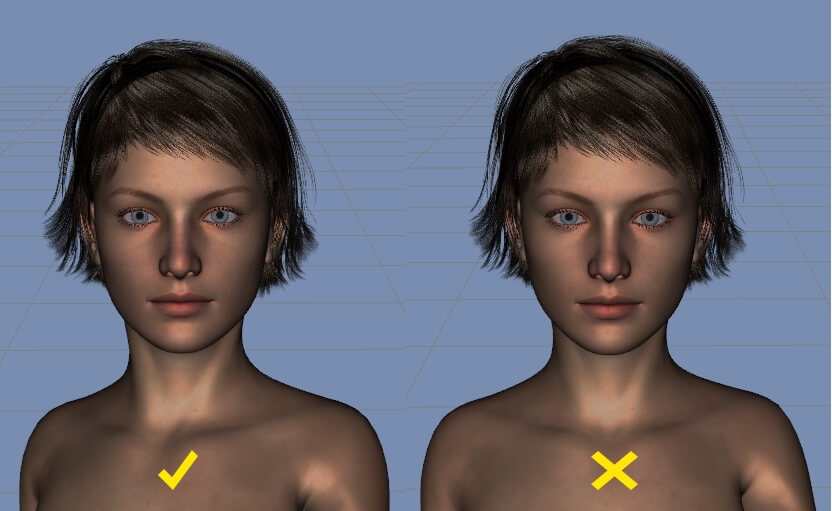
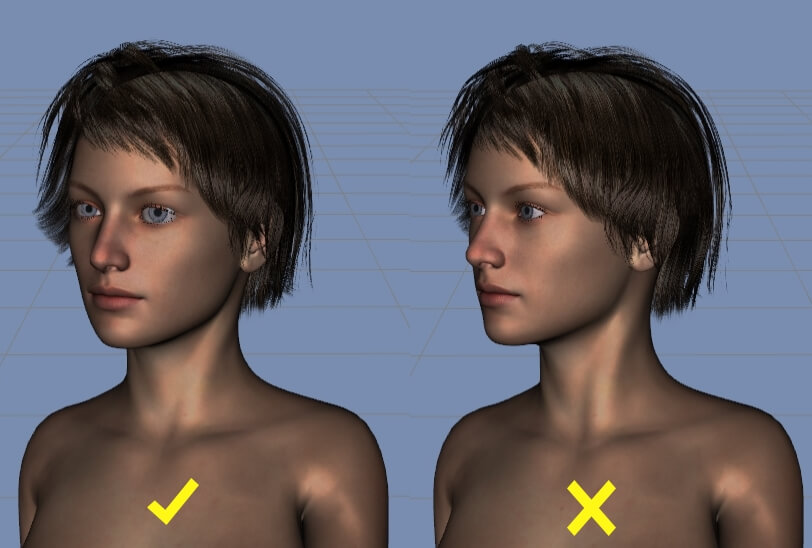
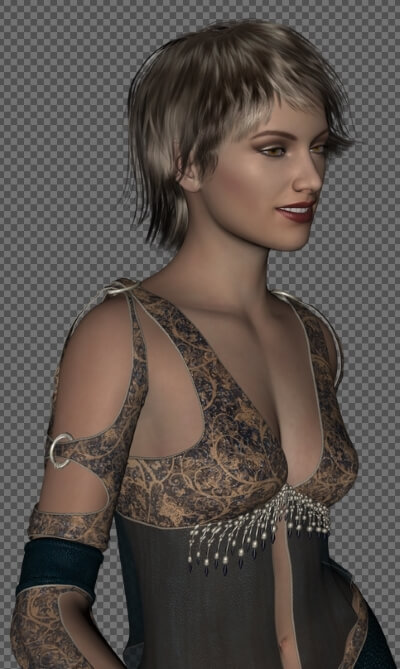
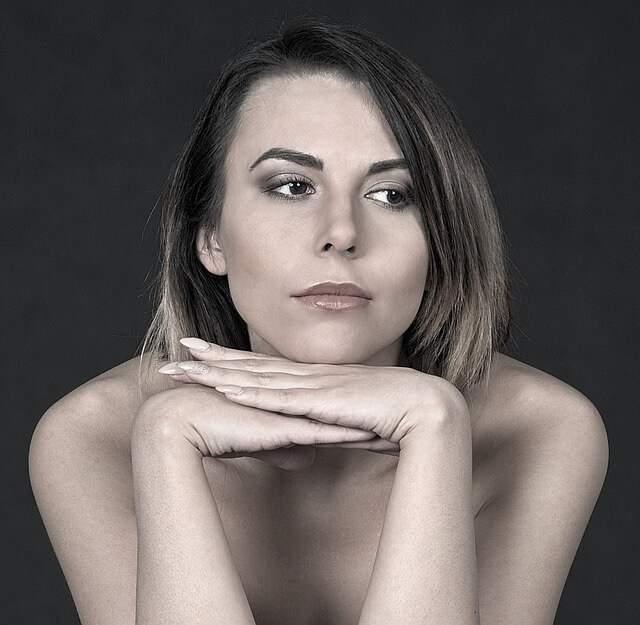
Position the face right
When your subject stands or sits in their normal relaxed way, you will notice a little bit of flab right underneath their chin (double chin). To avoid that, position your subject chin a little forward and down. But be aware not to overdo it because it can end with you shooting up their nostrils which aren’t attractive.
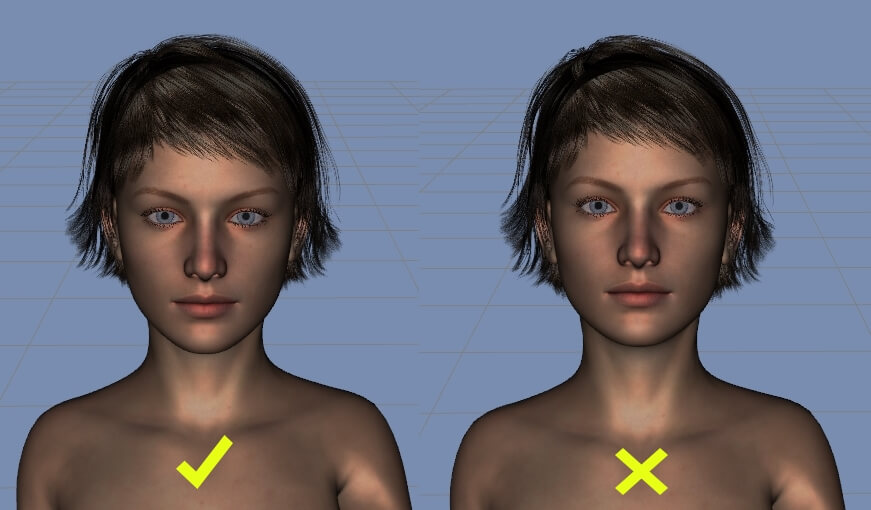
Define the jawline
If your subject’s jawline isn’t clearly defined, shoot slightly above the subject, looking down. This angle not only gives the jawline more definition, but it makes the body look slimmer, as it looks smaller since it is placed further from the camera. Curvier women look beautiful in this pose.
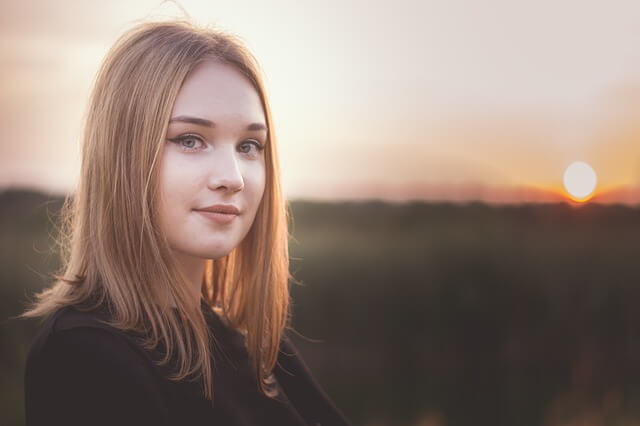
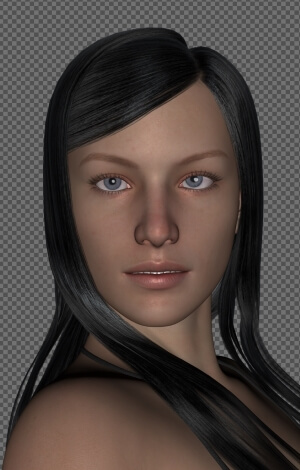
Pay attention to the subject’s eye
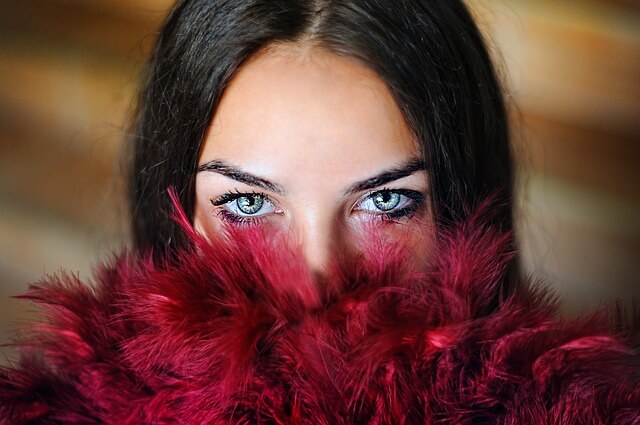
The strongest and most striking feature in any portrait is usually the subject’s eyes, this is very important when it comes to close-up photos. Your model can look directly at your camera or stare into space with their head slightly turned to the side. Whatever the pose, remember to keep your camera’s focus on the eyes.
To minimize reflections from eyeglasses, the model can lower their chin or you can shoot from a slightly higher angle.
Avoid showing much of the Whites of the Eyes
The subject eyes are the most attractive part of a portrait. If you don’t want the subject to look directly at the camera tries to avoid showing much of the Whites of his/her eyes. It is always advisable to follow the line of your subject’s nose to keep the sight central.
Don’t Let the Nose divide the Face
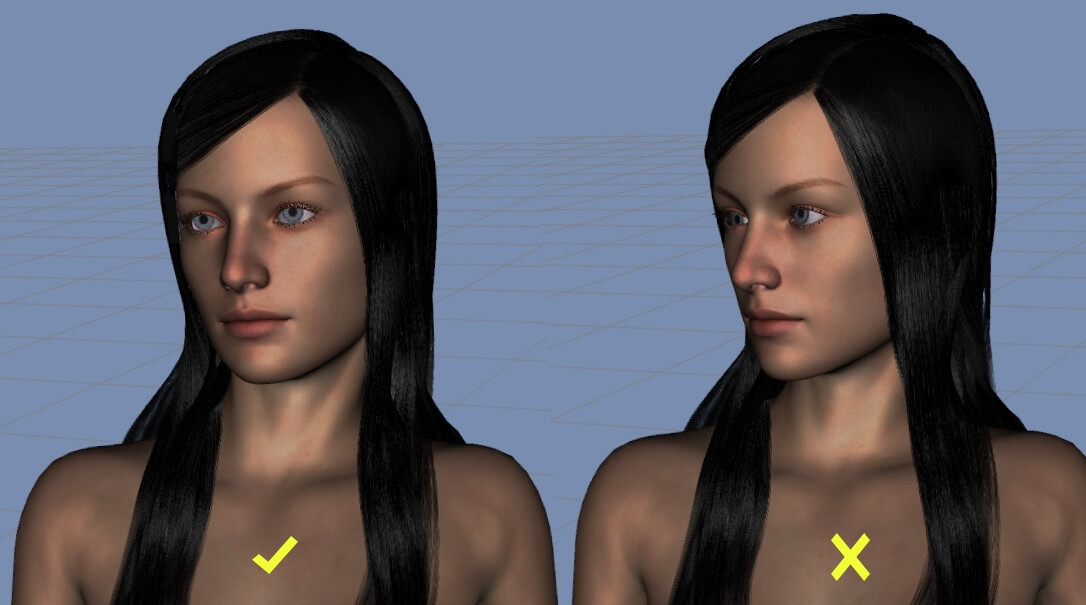
If you don’t want a full profile where you only see one side of the face, and you need only partial profile, don’t allow the nose to separate and divide the face by crossing outside the face profile.
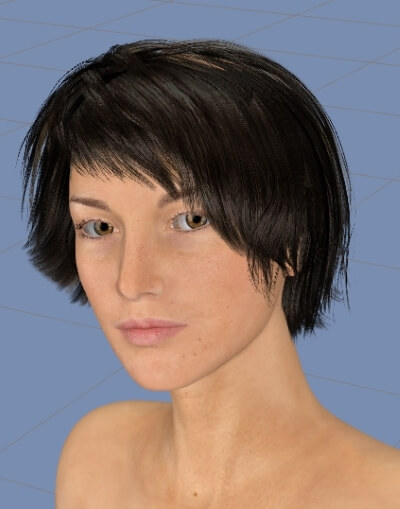
Think about the hair posing
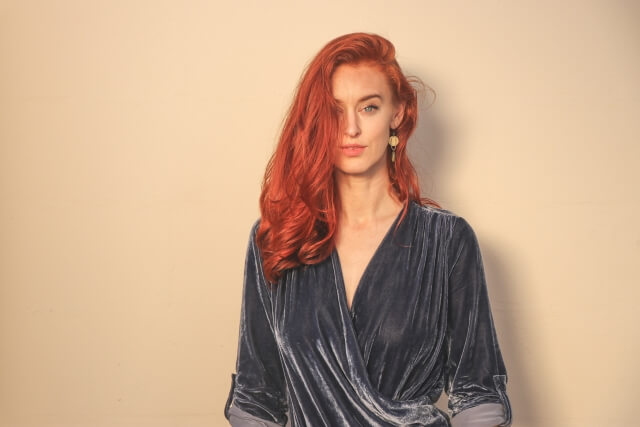
If you are shooting a subject with long hair, posing the hair can greatly change the look of your subject. You have many options; you can make it all behind or in front of the shoulders or you can make it all on one side.
Slightly Open the Mouth
With the mouth closed, the jawline clenches and adds extra weight to the sides of their face. It can give a boring neutral look. With the mouth slightly open, the jawline is elongated and gives a subtle intimate invite to the viewer.
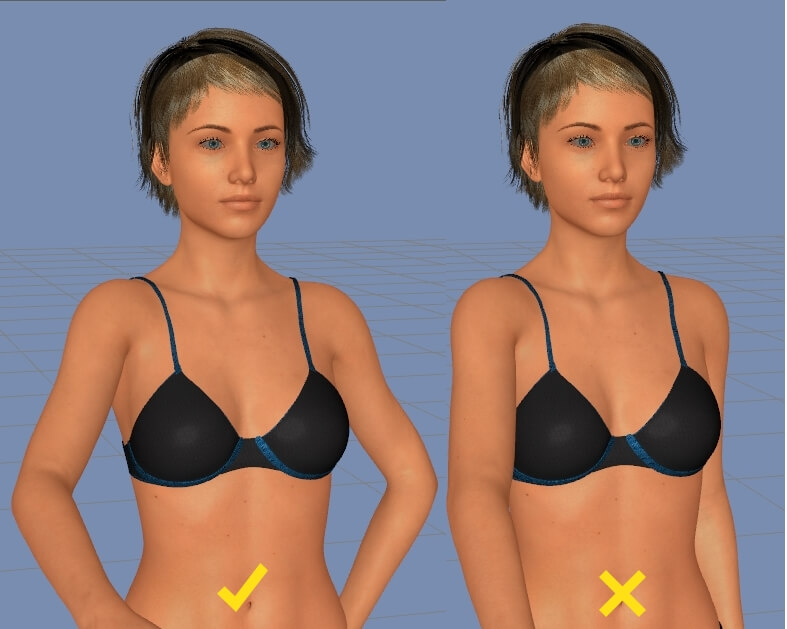
Lift the Arm
When people stand naturally, another thing they do is stand with their arms flat at their sides. This causes several problems. First, it makes them look awkward and uncomfortable in the photo. Secondly, their arm presses against their torso. This squishes the arm out and makes it look larger than it actually is. You can correct that by having them just lift their arm an inch or two so it is “floating” and not pressed against them.
Show only the sides of the hand
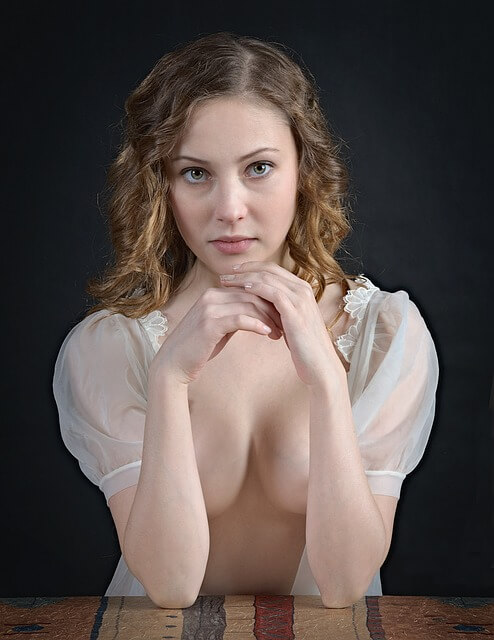
Never display the full palm or the back of the hand. The hands are best viewed at an angle to the camera. Care should be taken to photograph the side of the hand, which gracefully continues the line of the arm when the hand is bent upward at the wrist.
Allow Visual Space by the Waist
Leave a space between your arms and your trunk. This will accent your waist in a good way, regardless of its size. When you can, keep your arms separate and slightly flexed.
Shift weight to the back
The saying goes booty in the back for the slimming effect. Do not jet out the hip toward the camera, but shift the body’s weight to the straightened back leg. The front knee is bent.
Try different shooting angles
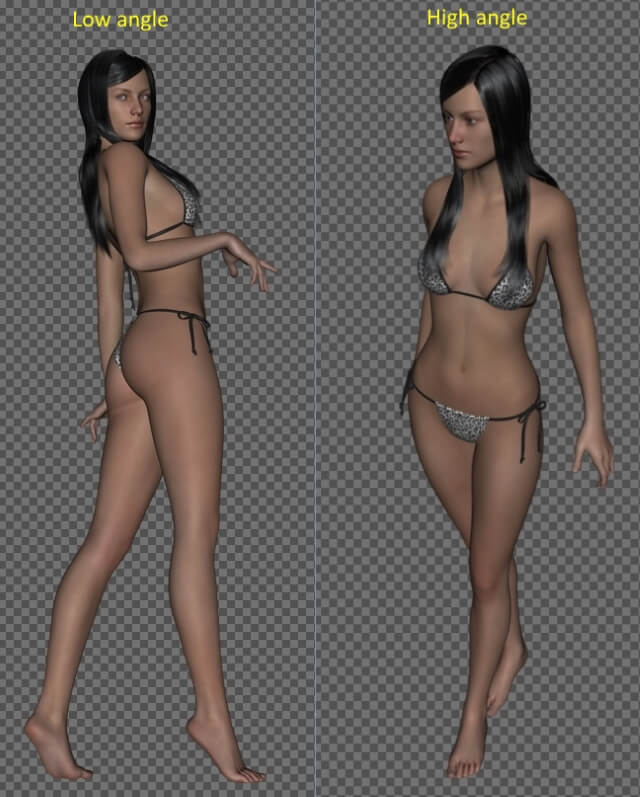
A common mistake made by many portraiture photographers is completely ignoring their own height and shooting a model from above or eye-level. When shooting three-quarter or full body, get low to the ground and shoot high. This style not only increases the height of the model but also creates a more dramatic look to the image.
Finally, the following photos show some posing styles:
Half-body Poses


Full-body Poses


Laying Poses


Sitting Poses


Conclusion
It is very important that you understand how to pose your subject, and how to manipulate the angle of the subject’s body toward the camera. Knowing this will allow you to work more efficiently, and take amazing shots which will benefit both you and your subject. Finally, the best way to get better is to get out and practice, practice, practice, and keep researching poses in magazines from models you’d like to emulate and practice them. When it comes to your next photoshoot you’ll feel a lot more confident.
Thanks for reading, I hope you enjoyed the article if you have any questions just post them below & I will be happy to answer you.
If you enjoy the site, don’t forget to subscribe, we will only inform you when a new article is posted.


Wow I must confess that these posts of yours have been of great help to me right from the previous articles on soft focus photography technique to artistic abstract photography. They are alot to learn about poses and I surely have learnt how to improve on my shots and and practice more. Thanks alot
Thanks for the comment
Most times, I prefer being the one with the camera than the one being shot. Because I get so tired of getting to take different poses. Sometimes I run out of poses that I get frustrated and just leave. Maybe that’s why I have very few pictures of myself. I’ll try to work on that anyways. But thanks for these.