

In photography, a silhouette is defined as an outline that appears dark against a light background. More specifically, it is where your subject is seen as a black shape without detail against a brighter background. This effect can be achieved with any kind of bright light source such as the sun or clear sky. Silhouettes are wonderful photos, they are full of mystery and emotion. It is rather an art like drawing and painting,
There are some tips to asset you to take wonderful photos:
Tip No (1) Shooting Time:
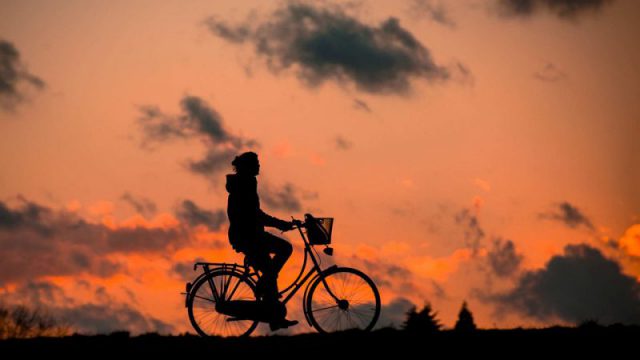
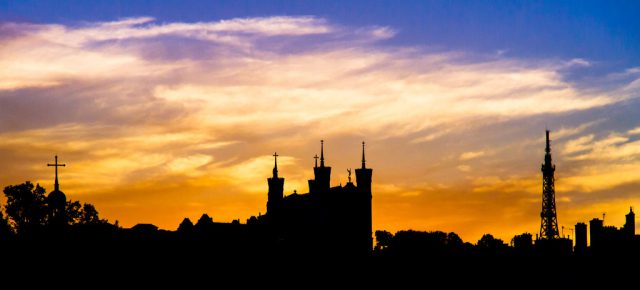
In order to capture a clear silhouette, you’ll need the background to be much brighter than your subject. The best way to do this is to shoot against the sun at the beginning or the end of the day when the sun is low in the sky. Because the sun in this time lights up the background only, not the full scene.
Shooting at sunset times is a favorite among photographers. But you can also shoot a decent silhouette against a clear blue sky. The main key to silhouette lighting is having your background lighter than your object.
F/8, Shutter 1/640 of a sec. Iso
Tip No (2) Shooting Location:
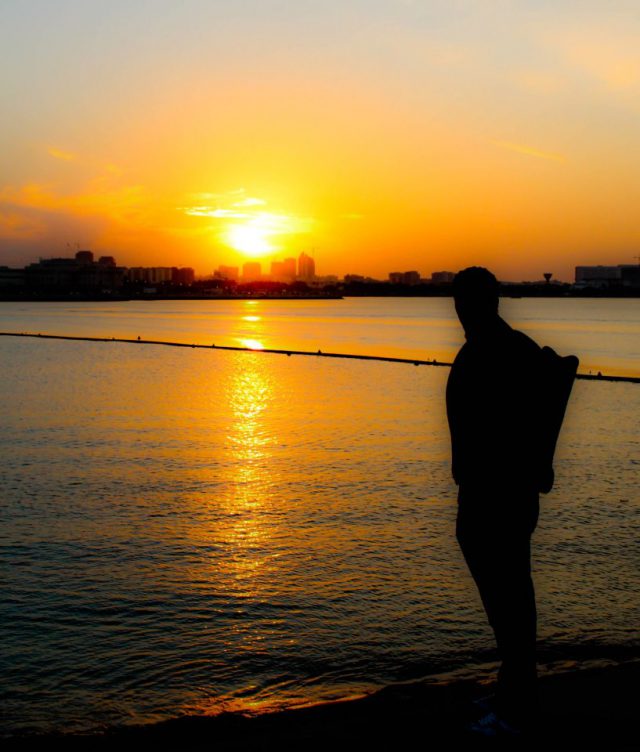
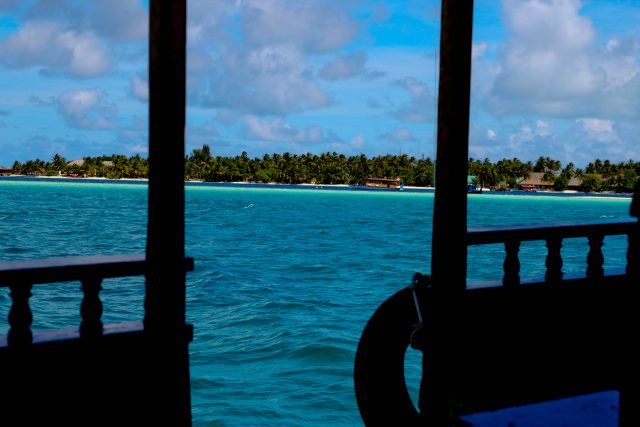
The shooting location may be a beach along the sea or ocean or a river bank, a flat field. Just make sure, there are not any distracting elements, such as big trees, buildings, that would easily take the viewer’s attention away from the subject.
Tip No (3) Photographer And Subject Positions:
Once you’re facing the sun, ask the subject to stand between you and the sun. The subject does NOT have to be right in front of the sun, blocking it with his or her body, unless that is the look you prefer.
Tip No (4) Subject Characteristics:
You need to create space, definite shapes, and separate subjects.
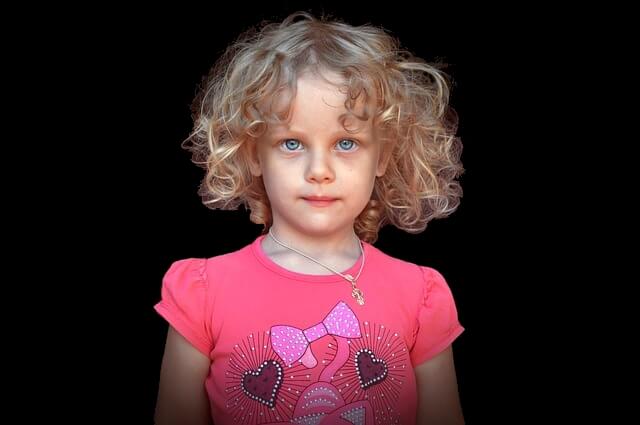
If you’re shooting a close-up portrait make the subject face the side view, so you can capture his/her profile.
If you’re taking a full-body shot, focus on creating a clear outer contour of the subject body. Arms spread away from the body, legs are slightly apart from each other.
Encourage couples to have reasonable space between them, and spread.
If you’re photographing a group of people, encourage them to stand along an imaginary line, then spread out to have a clear contour of their bodies.

Photo credits go to Go bonobo
Tip No (5) Use Manual Mode:
To obtain the clearest silhouette photo, you’ll want to ideally shoot manually, so you can choose the aperture, shutter speed, and ISO.
1) Set your aperture (f-stop) for 8.0 or higher for two reasons:
- You want a large depth of field so that all of the details are in focus.
- To reduce the amount of chromatic aberration that often comes with shooting into the sun.
2) Increase your shutter speed. The basic premise of a silhouette is that you want to underexpose your subject (to darken the subject). If you increase your shutter speed and your photo is still not dark enough, raise it even more. Start at 1/125 if the subject is still and 1/250 if the subject is moving, and go up from there to darken your photo.
3) Set your ISO as low as possible. As the sun sets, you might be tempted to increase your ISO. It’s okay to raise it slightly but keep in mind that if you raise it too high, you might find out that your photographs have too much noise (or grain).
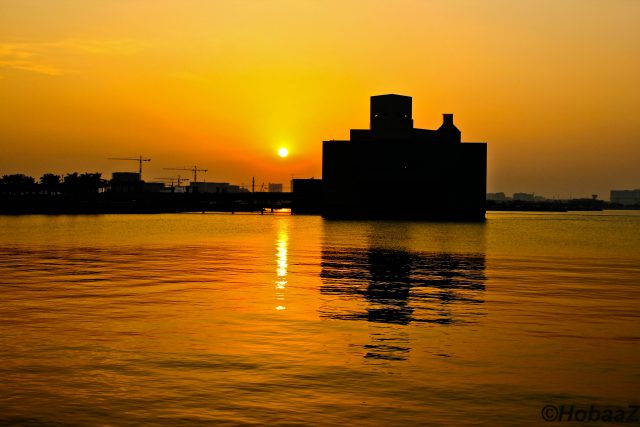 F/6.3, Shutter 1/320 of a sec. Iso 200
Tip No (6) Turn off Active D-Lighting or Auto Lighting Optimizer:
By default, your camera will likely have some sort of dynamic range enhancing feature to pull more detail from shadow areas. Nikon DSLRs will have Active D-Lighting, for instance, while Canon DSLRs have Auto Lighting Optimizer. These features essentially adjust the contrast in your picture, helping you to pull maximum detail from shadows. For shooting silhouette photography, you need to turn this off.
Tip No (7) Use Exposure Compensation:
To help darken the subject you may use exposure compensation. You will typically need to set it between -1 to -3 EV (the more sky in the shot, the less negative compensation you will need).
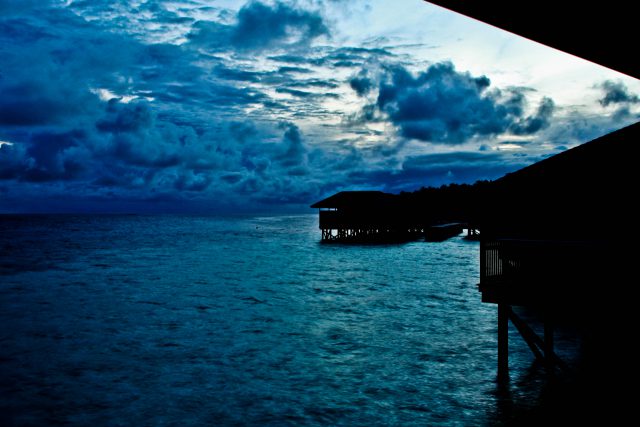
F/9, Shutter 0.8 of a sec. Iso 200, (Note: Tripod used)
Tip No (8) Change Your Metering Mode:
The best modes for silhouettes are ‘spot’ or ‘centered’ metering modes. By selecting one of these modes, you are telling the camera which individual metering point you want it to use to set the exposure.
F/7.1, Shutter 1/320 of a sec. Iso 100
Tip No (9) Make Sure That The Flash Is Turned Off:
If your flash tends to fire automatically, you need to change the flash setting and turn it off.
Tip No (10) Expose For The Background, Not The Subject:
you need to override the automatic exposure control. There are a few ways to do this. If your camera has an exposure lock button, you can point the camera at the bright background and then press the exposure lock. Keeping the button pressed, compose the shot and then take the picture.
Tip No (11) Keep The Subject In Focus:
Depending on how you frame the shot and what settings you use to set the exposure, your camera might accidentally lock the focus on the background. fixing this problem is to ensure that the focus locks on the subject when you press the shutter release.
Tip No (12) Perfect The Silhouette On Your PC:
Finally, keep in mind that it’s rare to capture a perfect silhouette “in the lens.” Most silhouettes will require some touch up in a photo editing program.
Walkthrough this video to finalize the tips
Thanks for reading, hope you learned something from the article & if you have any questions just post below & I will be happy to answer you.
If you enjoy the site, don’t forget to subscribe, we will only inform you when a new article is posted.


Reading through your articles within your blog, I have to say you have done a very great job. From all the articles here, I can see you really know your stuff.
Silhouette photography is one of my favorite. The reason being it is fairly easy and there are plenty of rooms for creativity.
I have problems every time with ISO setting where I get a lot of noise on my photos. I guess one of the problems is mainly due to my old Nikon D80 camera. I have seen some much better cameras in the market now can handle noise issue very well. What do you recommend?
Hello Alex, thanks for your comment, actually the more ISO number = more noise, so if you want to reduce the noise use low ISO like( 100,200,400), I am only using high ISO in dark places only & if i didn’t have a flash with me.