


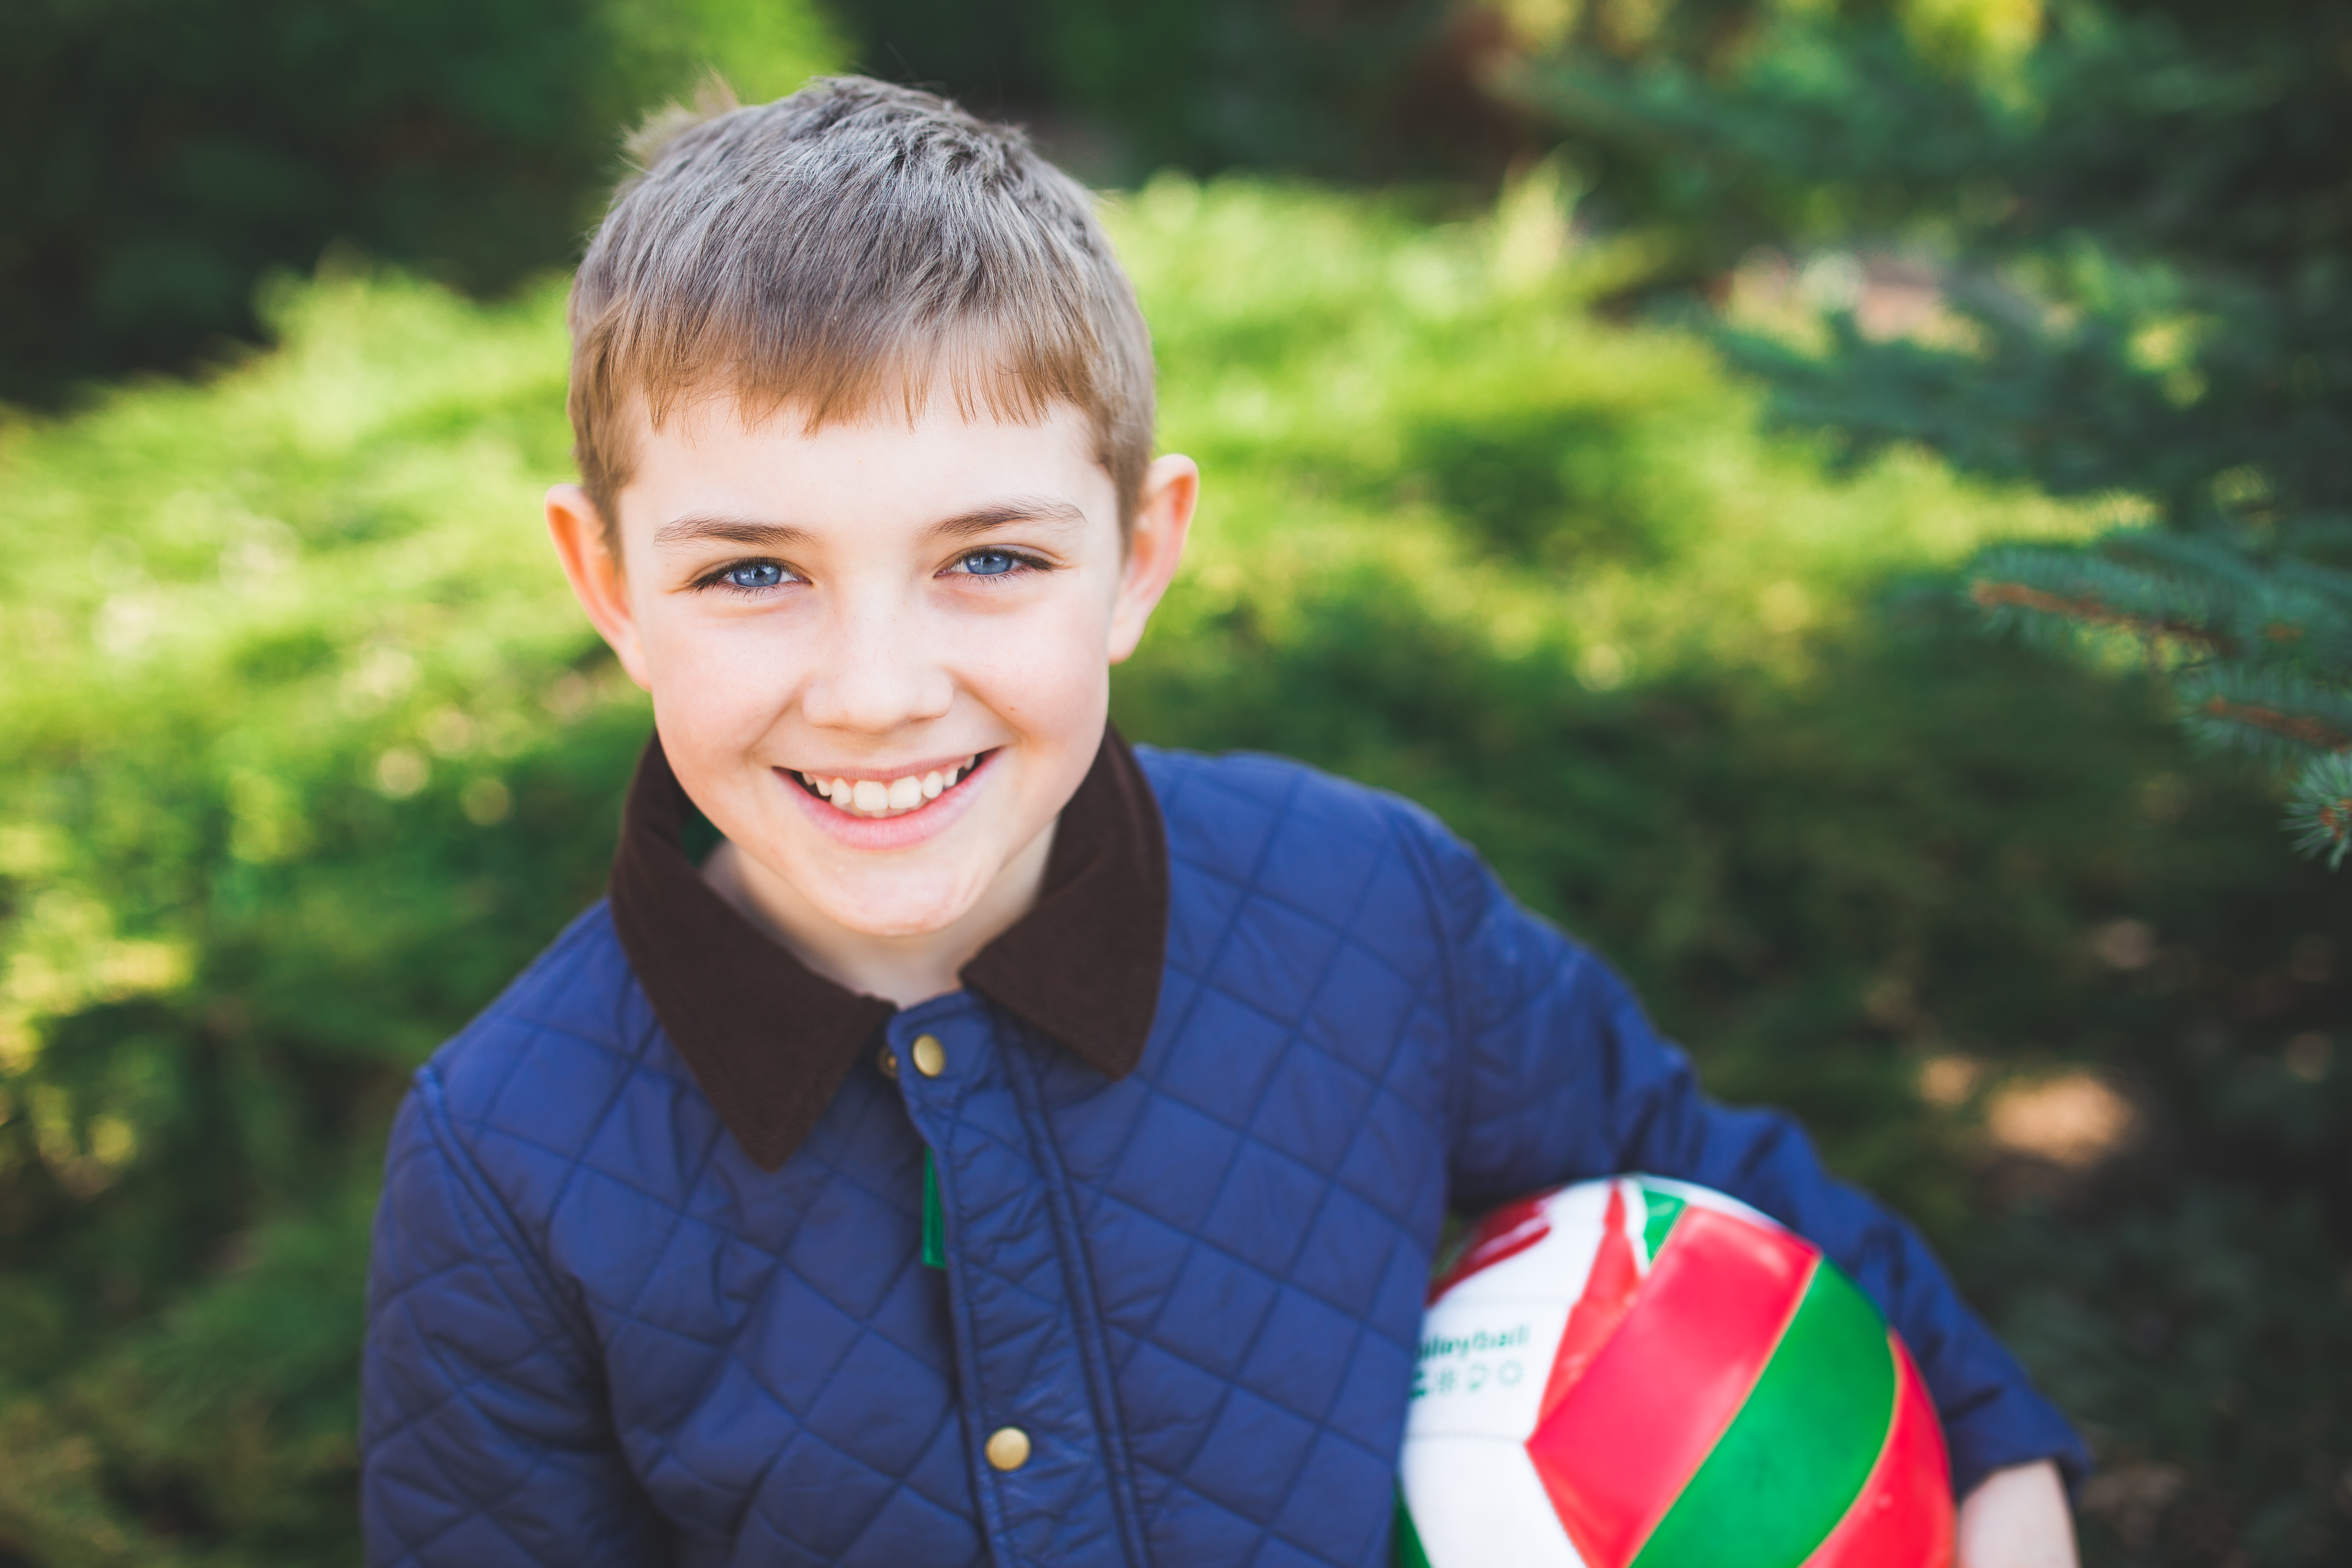
Outdoor portrait photography is one of the most important tools a photographer can have in their skill set. Whether you are specializing in weddings, family photography or just a keen hobbyist the ability to take a good outdoor portrait over and over again is arguably what separates a really good photographer from someone who just gets lucky now and then.
Here are some top outdoor portrait photography tips for success every time.
Basic approach
This is the most important place to start, and it will let you take a great outdoor portrait anywhere.
- Find a shaded area. This can be in the shadow of a building or a large rock, or underneath a tree (as long as the light is flat and not dappled coming through the branches). Anywhere where you can position your subject so the light falling on their face is even. Ideally, you’ll have a good distance between them and their background too.
- Set your camera to aperture priority mode at f/4. This is a good, mid-range aperture that will isolate your subject from the background while ensuring their features are totally in focus.
- Avoid getting any sky in the frame if you can. This can throw the exposure and also can make the background divided, more distracting, and less interesting. Remember – we’re going for the most simple approach here!
- Position your subject so they are filling enough of the frame to make it a great portrait, while there is enough of the scene too to show it is outdoors. You can use the environment to your advantage here. For example, if you position your subject under a tree for the shade, you might put them next to the trunk and crop quite close.
- Always take photos in bursts of three and take lots! You’ll get blinking, you’ll get the subject to relax as the session goes on, and it gives you much more choice after.
Hint!: don’t keep looking at the images. Look at a few to make sure everything is working, but remember your subject is a human being. Talk to them, keep a conversation going and help them relax!
Intermediate approach
If you can’t find shade then you’ll need to start looking at fill flash. This is the term photographers use where they use the flash for an outdoor portrait to lift the shadows on the subject’s face which are caused by the fact the sun is high.
- Position your subject where you’d like them to be – watch your backgrounds (no trees coming out of their head!) just as you would in any other photo.
- Pro tip! Turn on your flash and with the camera in P (Program) mode take a photo. Now review the settings the camera chose, and go into M (Manual) mode and use exactly the same shutter speed, aperture and ISO.
- Take another photo and it should look the same. You can now adjust it as you need to and achieve the effect you’d like.
- If you’d like the background darker then increase your shutter speed. If you’d like the background lighter then decrease your shutter speed. Remember – most flashes sync with the camera at 1/200th so you can’t go faster than this.
- If you’d like less flash on the subject close down your aperture (higher f-number), if you’d like more flash then open it up (lower f-number)
Advanced approach
This is for when you are comfortable with both of the above. Although flashes are set to sync at 1/200th you can override this. This is especially useful if you have the sun behind the subject and you wish to balance the exposure of the background with the subject. You’ve probably seen photos where this hasn’t been done – the subject will be too dark, or the background too light, and sometimes you have both of those things.
One nice effect you can do with this is the sun is behind your subject is a halo around their hair, very popular in modeling shots and clothing catalogs!
- Set your flash to “high-speed sync” mode.
- Set your camera to M (manual) mode
- Set your shutter speed to 1/2000th
- Set your aperture to f/5.6
- Set your ISO to whatever is appropriate for the scene.
- Take a photo. Be aware your flash batteries will exhaust quickly with high-speed sync.
- Adjust settings to get the desired results as above.
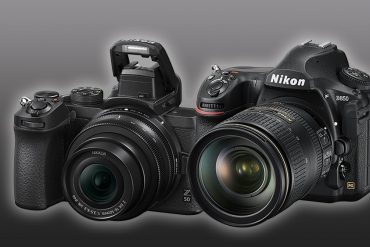
Recommended Lenses For Outdoor Photography
There are many choices when it comes to lenses. Ideally, you would use a lens at a longer focal length to compress the perspective a little, which can often be more flattering. The Canon EF 70-200mm f2.8L is king for full-frame cameras, with the zoom giving a versatility that can’t be beaten, and the image quality is amazing.
For those looking for prime lenses, there’s a good reason the Canon 135mm f2L is rated so highly, and similarly the 85mm f1.2L, both incredible portrait lenses.
If you’re on more of a budget the Canon EF 85mm f1.8 is one of the fastest focusing lenses I’ve ever used, while on a crop sensor, the 50mm f1.8 is also worth a look.
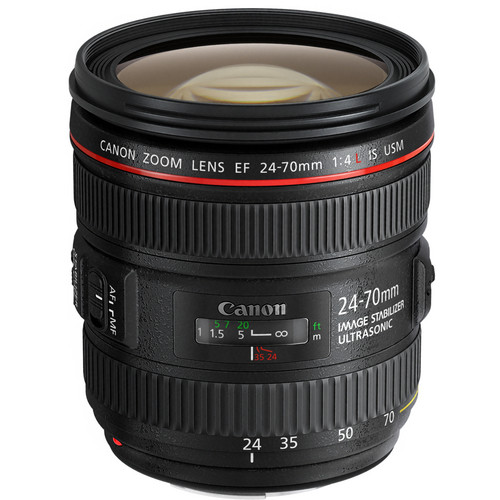
The Canon EF 24-105mm f4L is also a great portrait lens that should be considered. Sigma equivalents of these lenses can also be very good – the focal length and the constant aperture are the most important features.
Thanks for reading & hope you enjoyed the article on outdoor photography tips If you have any questions just post below and I will be happy to answer you.
If you enjoy the site, don’t forget to subscribe, we will only inform you when a new article is posted.


thanks for the tip 🙂
You are welcome 🙂
Never seen photography explained in such beautiful terms, and with such flair and attention to detail :=)
Whenever I travel, one of my most favorite activities is photography. My camera is not the best, but as any good photog knows : having a good apparatus is only 40% of the magic. Your articles elaborate on this rather handsomely.
Nicely done! Love the posts :=))
Thanks Steve! glad that you liked the post 🙂
,I wanted to tell you how much i enjoyed your site. I really likes how there is plenty of useful tips for beginners, intermediate and experts. I also found navigating your site to be clear and direct. Ill be sure to let my friends know to check your site out. Thanks
Thanks, Adam, I’m happy that you find my website helpful.