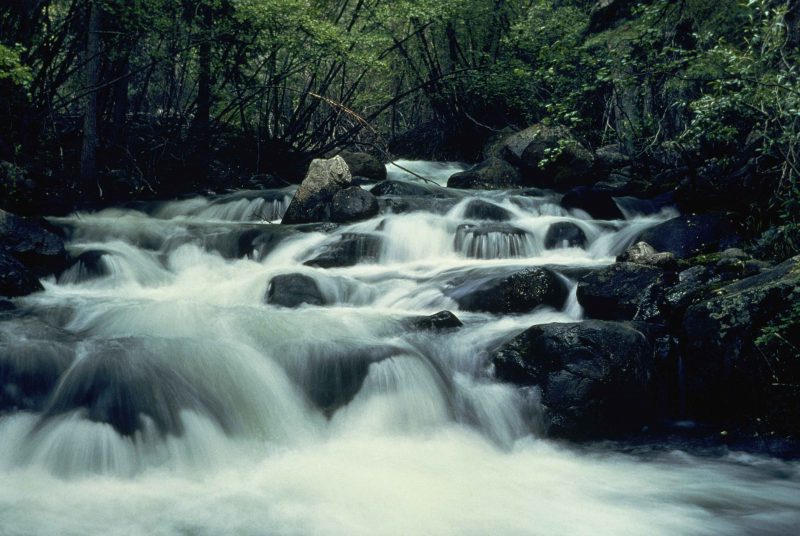


One of the popular subjects in landscape photography is waterfalls. Waterfalls seem to catch the hearts, minds, and attractions of most people. Shooting waterfall photos involves its own problems and challenges for most photographers.
Here in the “photographing waterfall tutorial” post, we will discuss some tips and equipment you may consider for helping you to shoot a waterfall photos:
1) Choose the right time to take the Photo
When the sun is overhead, you’ll have dark shadows and create blown highlights in the white water. Avoid that by trying to show up in the morning at sunrise or in the late afternoon at sunset.
Furthermore, a waterfall that faces east is better captured in the late afternoon, and the one that faces west is better captured in early morning.
If you are lucky enough, you can get all the above benefits by shooting at overcast when there are lots of clouds in the sky. Sometimes late autumn, when the light tends to be flat and even, is a suitable time to take perfect photos of waterfalls.
2) Mount your Camera on a Tripod
To avoid the shaking and vibration of the camera, especially when you are taking a long exposure shot. You need to mount your camera on a steady tripod and use a remote release to fire the shutter.
If the remote release is not available, you may use the camera’s self-timer. It is also recommended to set the mirror lockup at the beginning of the shot to avoid mirror slap.
3) Keep your camera’s lens away from the mist
When powerful waterfalls, some water getting on your lens or filter, the weather may produce fog, drizzle, or rain that gets on the lens. To minimize these effects, you should cover the lens during all the setting procedures. Once you are ready to shoot, remember to remove the cover.
4) Set up your Frame
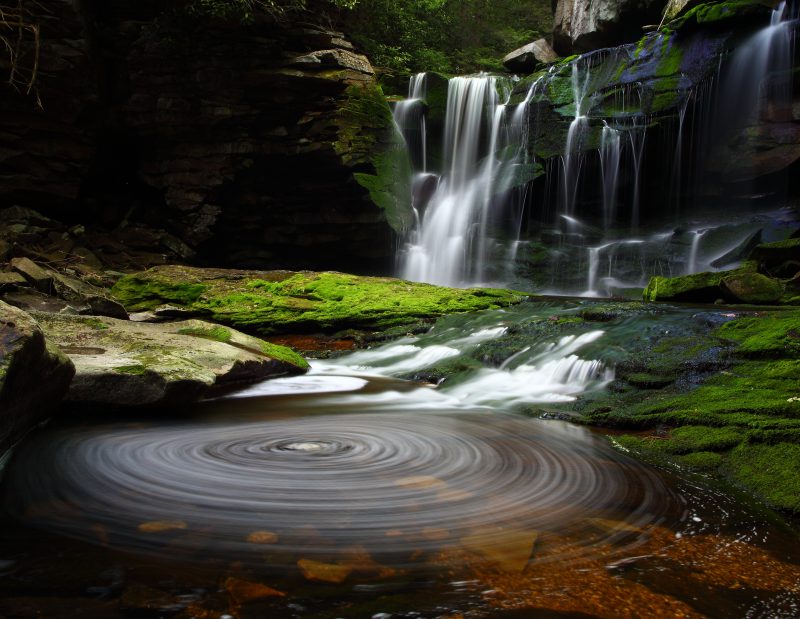
When shooting waterfall photos, try to include the surrounded objects in the frame. Rocks, trees, and vegetation can add more life and beauty to your photos. Remember not to includes the sky in the frame.
5) Set up your camera
The proper shutter speed depends on many factors such as, how much blur you want, the speed of the water, and how close you are to the waterfall. Shortly, the best shutter speed varies from waterfall to another. Try to take some test shots at different shutter speeds, evaluate the results, and settle for the best.
When the waterfall is powerful, and there are so many water splashes, you need to catch the details, so go for the slowest ISO, say 100, set the aperture to a small value to maximize focus, f/8, f/10, f/22, set the exposure between a quarter of a second and full second to show water motion.
For the delicate and slow waterfall, if you are looking for long exposure, try for 1-4 seconds, and try a smaller aperture.
It is a good practice to evaluate your exposure by checking the camera’s histogram, The histogram should be as far as possible to the right without the highlights being clipped. If the histogram is too far to the left (i.e. underexposed), decrease the shutter speed to allow more light to come into the camera. If it is too far to the right (i.e. overexposed), increase the shutter speed to allow less light to come into the camera.
6) Use a filter
A circular Polarizer will reduce the amount of light reaching the sensor by two ‘stops’, to maintain the same previous exposure you’ll need to increase the exposure time by two stops.
Furthermore, you may use Neutral Density filter, they come in different strengths, and for every ‘stop’ of light, that’s blocked, you need to double the exposure time.
See my post about best neutral density filters.
7) Set picture quality to Raw
Although you follow up on the previous tips and recommendations, still there is a chance to have some highlights with waterfall photos, to edit your photo using editing software on a personal computer, you need the file to be in a Raw format to allow for more editing options.
Walk through the below video:
Thanks for reading the article, hope you enjoy it and find it useful to you. If you have any questions, drop them down in the box below and I’ll answer it as soon as possible.
If you like the site, don’t forget to subscribe, we will notify you if a new article is posted. In case you like to see other types of photography, you can click this link ” The Different Types of Photography “, you will find 25 more types of photography.


What a wonderful tutorial! I am a novice photographer but love to take water shots… I need to invest in a tripod. Do you have any suggestions?
Respectfully,
Bryson Harbin
Thanks, Bryson, glad that you liked the article, I suggest reading my review about the best digital camera tripod. thanks again for dropping by.
Now I know what I have been doing wrong – taking the pictures during the day!
I will have to get out there earlier in the day and give it another try using the tips you have given. You didn’t mention what lens you used for taking the waterfall pictures. What lens do you usually use?
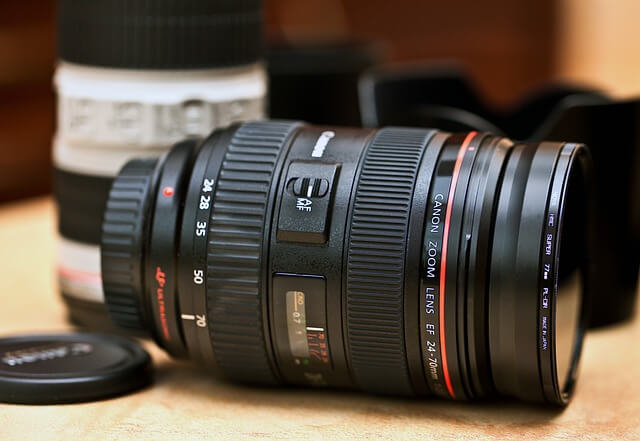
Hello, Thanks for commenting here, I am always using Sigma 24-70mm F/2.8 which is my favorite lens. Try to shoot at the golden time you will be amazed of your photo results 🙂
wow you really know a lot about this and it shows in your writing you make it easy enough for even some one like me could actually be able to take a picture of a waterfall as long as I have these easy instructions to follow and I really like the way you gave those beautiful examples
Thanks David, glad that you liked it.