

In today’s tutorial, I will explain how you can wrap text around a circle in Photoshop in simple steps, both inside and outside of a circle. After that, I will show you how to expand this method and use it to wrap text around almost any shape.
The method of wrapping a text around a circle with Photoshop includes the following steps:
- Create a circle in the center of the canvas, or find the center of a circle in a photo.
- Type your text around the outside edge of the circle
- Adjust the positioning of your text on the circle
- Edit your font shape, size, color
Example 1
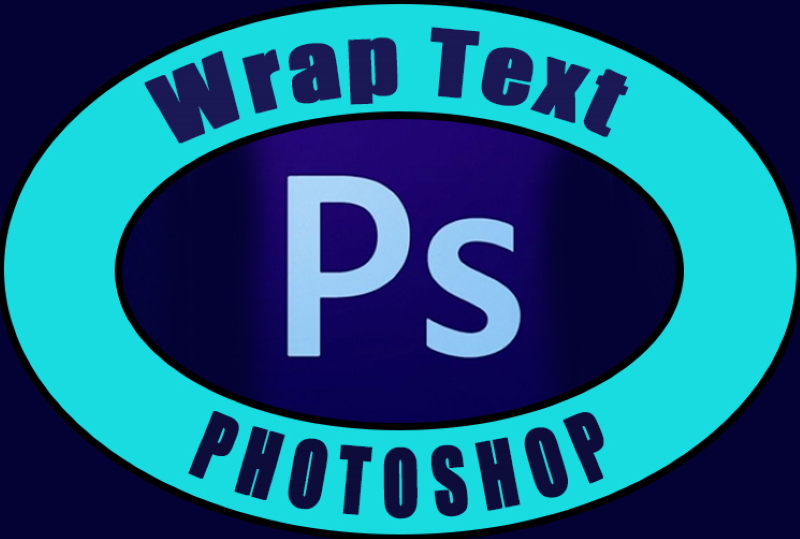
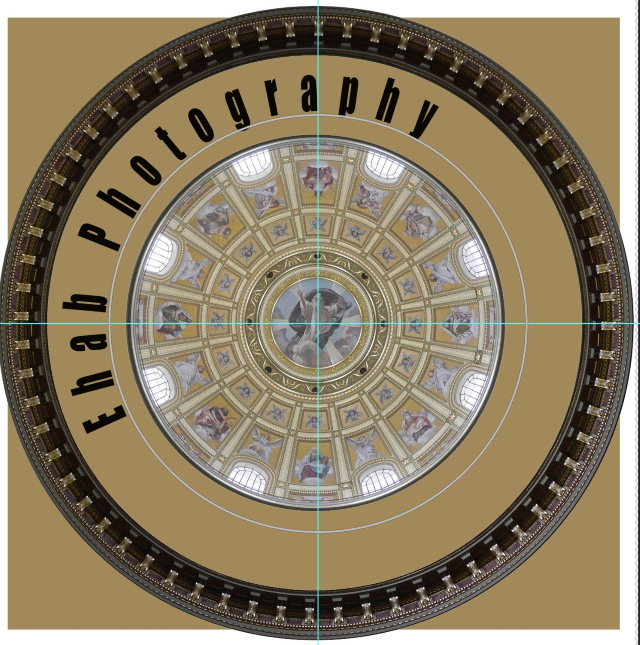
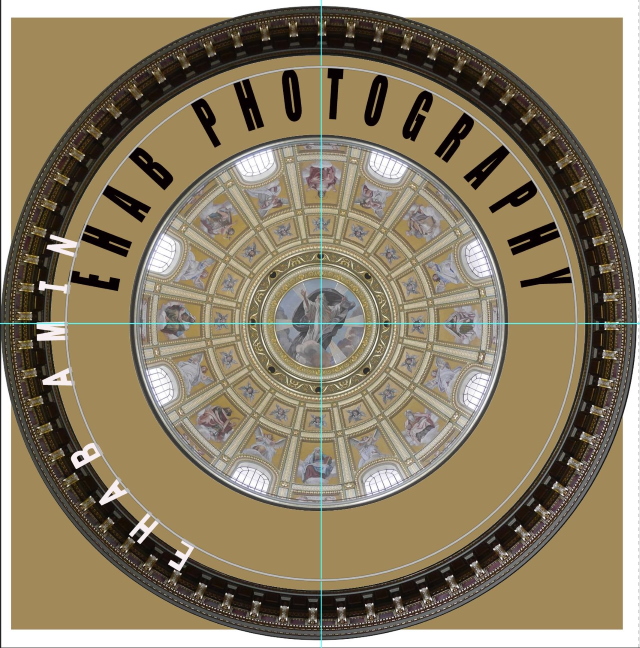
In this example I will show you how to wrap text around the upper part of the circle in the below photo, then add another text into the lower part too.
Step 1:
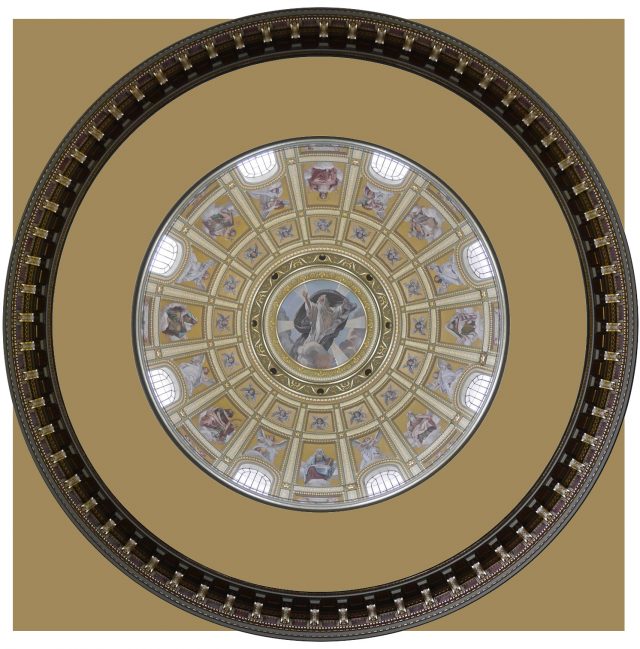
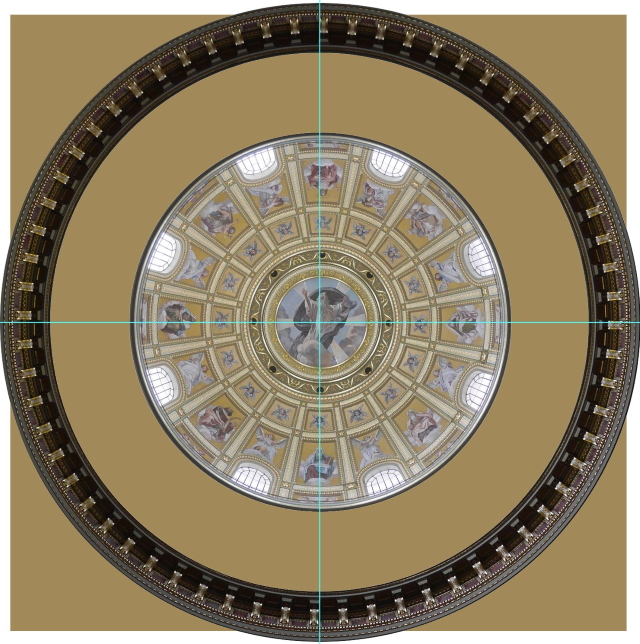
Open the image with a circle shape where you want to wrap the text around it.
Duplicate the layer (Ctrl + J)
Step 2:
To find the center of the circle, you need to create a vertical and horizontal guide at the center, each at the center. The intersection is the center of the circle.
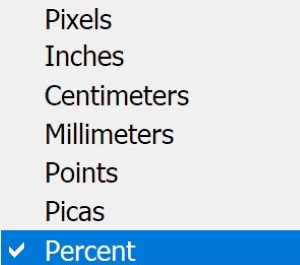
On the upper ruler, right-click and choose percent to set the reading of the ruler to show percent.
Create two guides: vertical and horizontal guides.
Click View > New Guide, choose vertical axis, and 50%
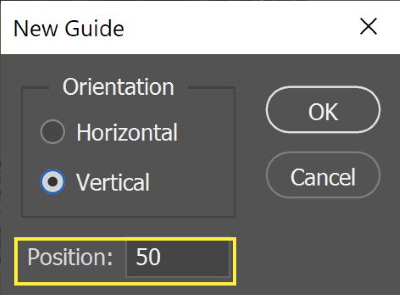
Repeat this step for the horizontal axis, and 50%
The result is shown below
Step 3:
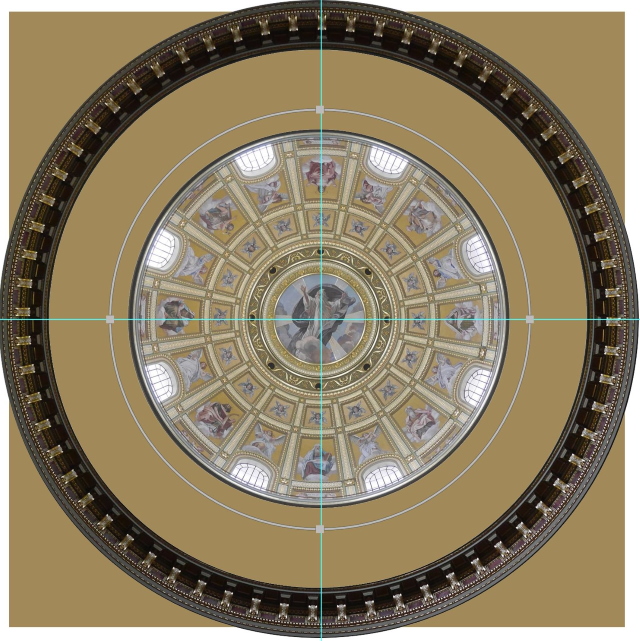
We will create a circle to make a text wrap around it. The center of the new circle must be the center of the image. (That is why we do the first two steps)
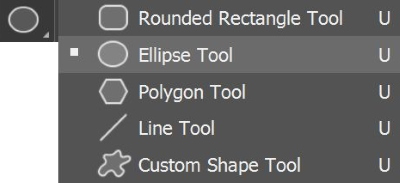
Right-click on the Rectangle Tool, and choose the Ellipse Tool
From the Elliptical tool menu, choose Path

Move your cursor to the center, where the horizontal and vertical guides intersect, then click and drag to create an ellipse. While holding the click, press down the Shift and Alt keys on your keyboard. This will allow you to create a perfectly symmetrical circle that expands from the center of the document.
(Shift key is used to constrain the shape to a circle)
(Alt key is used to make the shape expand from the center)
Step 4:
Now we will use the Horizontal Type Tool to write text.

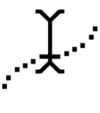
Hover over the outer edge of the circular path until the curser turn into the following shape
Begin to type; the text will be generated around the circle.
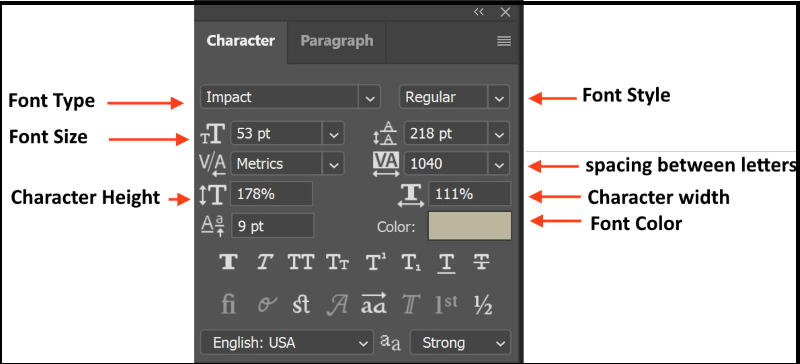
You can adjust the font, style, size, and color of your text in the toolbar at the top of the screen.
![]()
You can also edit the shapes of the characters by using the character menu. (Window > Character)
Step 5:
To Adjust the Position of the text
Use the Path Selection Tool (keyboard shortcut: A)

Hover over the text, one of the following mouse icons will appear according to what has been chosen as a text justification from the text menu.
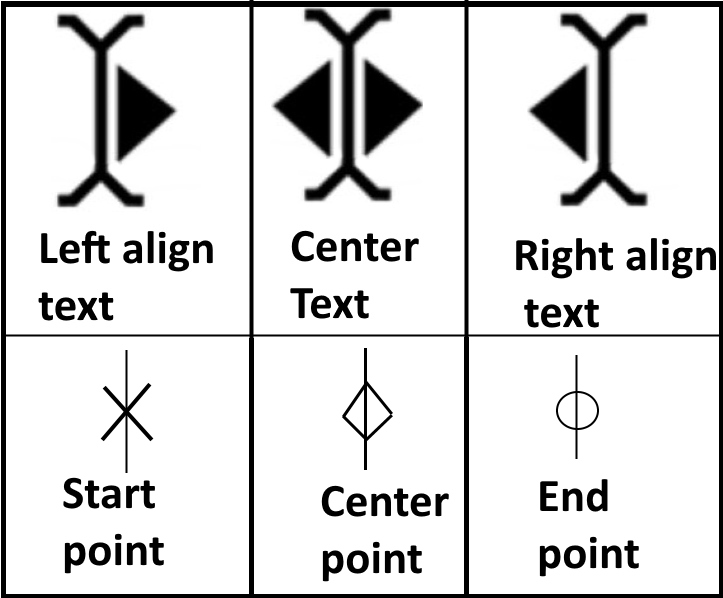
Click and drag to adjust the placement of the text. You can also drag the “start” and “end” points to change the location of the text.
Make sure the text is placed evenly at the top of the circle.
Step 6:
Now we finish wrapping the text around the upper side of the circle. Let us wrap another text at the bottom of the circle.
Create a new layer (Ctrl + Shift + N)
Use the Ellipse Tool once again and create another circle starting from the center of the page. Do not forget to hold shift and alt while scaling the circle so that it locks proportions and expands from the center of the canvas, like the first circle.
Make the circle large enough such that it touches the top of the text you have already created.
Step 5:
Use the Horizontal Type Tool once again and click on the outer edge of the new, larger circle in order to add some text to it. The text will be placed on the outside of the circle.
Use the Path Selection Tool again, then click and drag to bring the text inside of the circle. In addition, you can use the same tool to adjust the placement of the text inside of the circle.
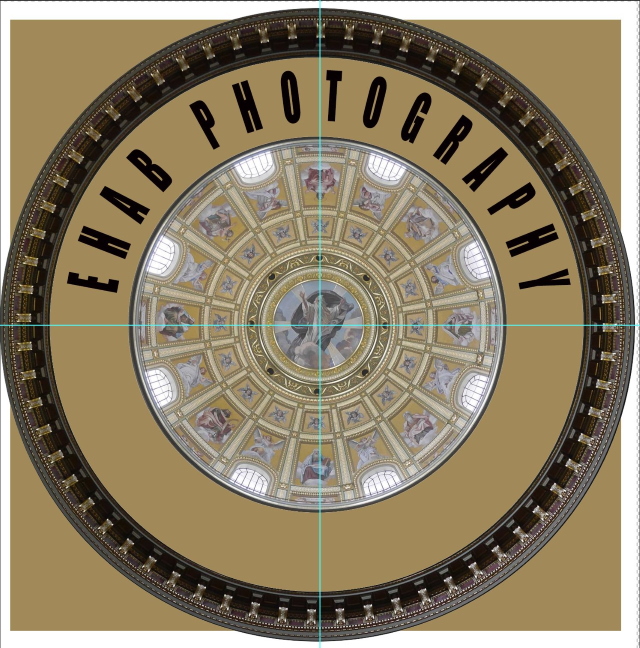
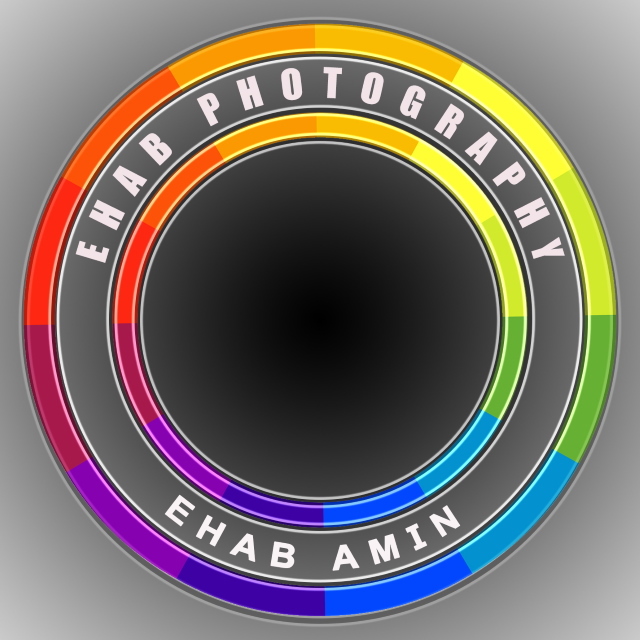
The final image looks like the following

Here is another example with the same steps
You may also read: How To Wrap an Image in Photoshop
Example 2
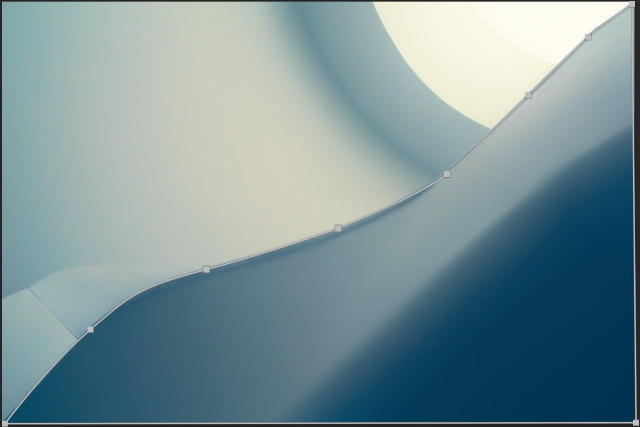
You can also wrap text around any shape or curve, I will show you how to wrap text around a curve in a photo. The steps are similar to those in example no 1 except for drawing the curve. I will use the below photo

Step 1:
Open the photo file, and Duplicate the layer (Ctrl + J)
Step 2:
Click on the Pen tool or press P
Choose Path from the pen menu

Start making points around the curve as shown below
Step 3:
Now we will use the Horizontal Type Tool to write text. Hover over the outer edge of the circular path until the curser turn into the following shape
Begin to type; the text will be wrapped around the curve.
Step 4
Adjust the position of the text and edit the font size, type, and color as described in example 1.
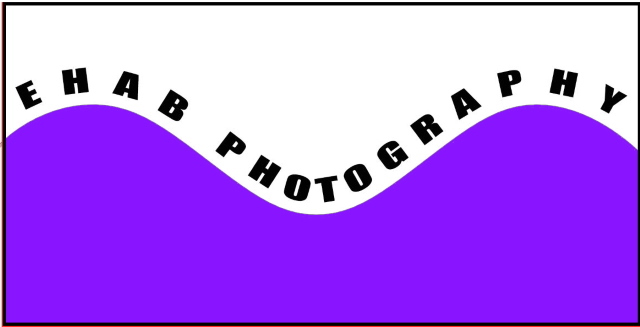
The final image is shown below

Another example is shown below
Remarks:
- Format Font: duple click on the text layer to select the text. Use the character panel to make changes.
- Position Text: Select Path Selection Tool from the Tools Panel. Click and drag to adjust the placement of the text. (According to the shape of the justification icon: left align, center, or right justify). You can also change the position of the “start” and “end” points.
- Change the Size of the Shape Path: Select Move Tool from the Tools Panel. Drag a control point to increase or decrease the shape.
Related posts
Thanks for reading, I hope you enjoyed the article if you have any questions just post them below & I will be happy to answer you.
If you enjoy the site, don’t forget to subscribe, we will only inform you when a new article is posted.


Hello there, Armin! Oh wow, these are some really advanced techniques that I never would have even thought of. Definitely a huge advantage for one who is in the field of optimizing and creating the best images for various projects. Can this be done with the free version of photoshop or does one need to purchase the full product? Thanks for creating a post on these image techniques.
Thank you for your comment
I have always been interested in photoshop but too many details to pay attention to, so I just go for a simple platform to use. But this is very detailed and informative in the way you use pics to describe the steps and the outcome thank you so much and I will be signing up for the overlay feature, I need to learn that, I am taking my time with photoshop. thanks again.
Thanks, Chick for your comment,