


Often, the key to a better photo is to eliminate elements that are distracting or do not help the viewer understand the story being told in that photo. Using depth of field effects is an extremely useful tool to achieve this. A shallow DOF can isolate a subject from its surroundings, telling a story about just that subject, not the story of everything around it.
An out-of-focus background tends to be uncluttered with details that may distract from the main subject. It literally puts the focus of our attention on the subject in optical focus.
In this tutorial, we are going to learn how to Adjust the Depth of Field in Photoshop Photoshop. In addition, I will introduce to you a new filter added recently by Adobe (Photoshop v 22.4.3) called it Depth Blur. By using this filter, you can automatically create a depth map, change your focus point, and change the depth of field. You can also add some effects like haze.
Let us start!
What is the depth of field?
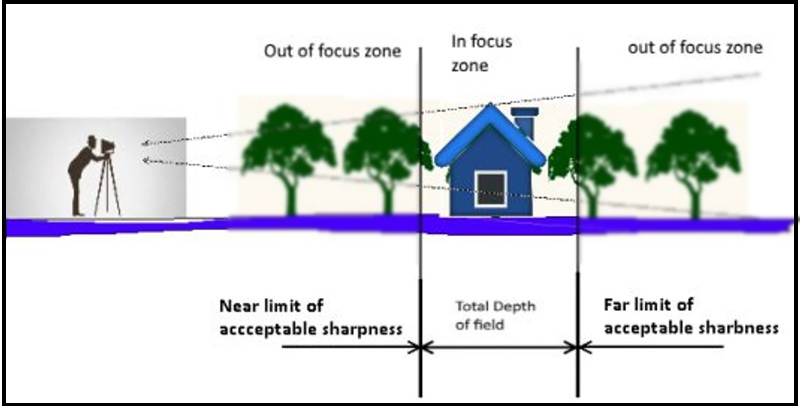
Depth of field is the distance between the nearest and the farthest objects that are in acceptably sharp focus in an image.
You can control the depth of field of your photo by changing the following factors:
- Aperture (f-stop).
Small aperture = large f-number = shallow (small) depth of field
Large aperture = small f-number = deep (large) depth of field
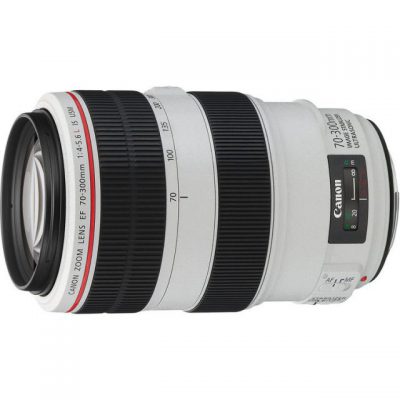
- The focal length of the lens.
The longer you set your focal length the shorter (shallower) depth of field you will get.
- Distance from the camera to the subject.
The farther the subject is from your camera, the deeper the depth of field will be, and the nearer the subject is from your camera, the shallower the depth of field will be.
Further reading: How To Control DOF of Your Photos – Shallow Depth of Field Vs Deep Depth of Field
What is a depth map?
A depth image is an image channel in which each pixel relates to a distance between the image plane and the corresponding object in the RGB image.
A depth image gives you the “depth” of the object or the “z” information of the object in the real world. The intensity values in the image represent the distance of the object from a viewpoint. far objects are given bright pixels, and near objects are given dark pixels.

Photo by Ehab Amin
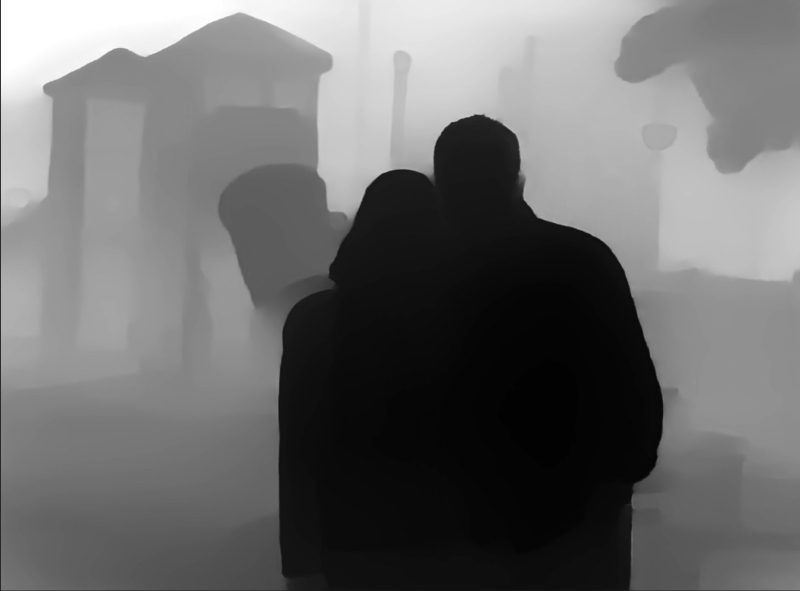
The depth map of the above image is shown below
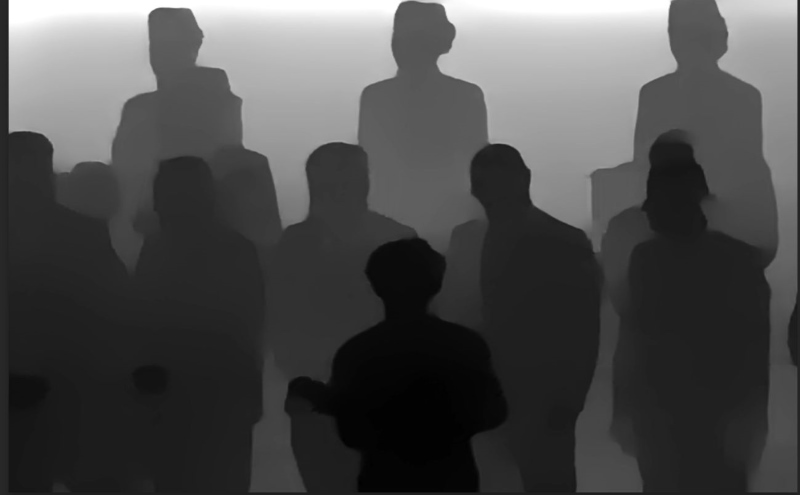
The near subjects to the camera are shown in black and the far subjects are shown in gray and white.
How to adjust Depth of Field in Photoshop
Method 1: Use the Depth Blur filter
The depth blur filter uses the cloud to process images, so it takes some time to finish the job according to the available network speed. The current version is a beta version, so there are some improvements to be done by Adobe.
I will use the following photo to change the depth of the field.

Step 1
Open the image in Photoshop
Duplicate the layer (Ctrl + J)
Change the layer to a smart object (Layer > Smart Objects > Convert to Smart Object)
Step 2
Open the Neural Filters (Filter > Neural Filters). The following menu will appear
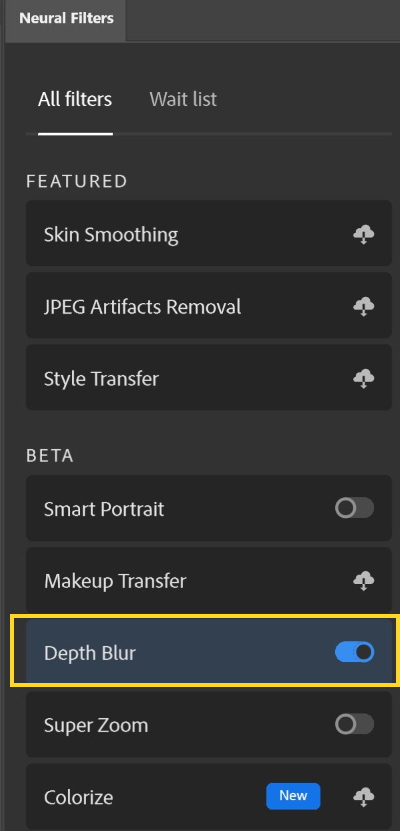
In addition, select Depth Blur Filter
Step 3
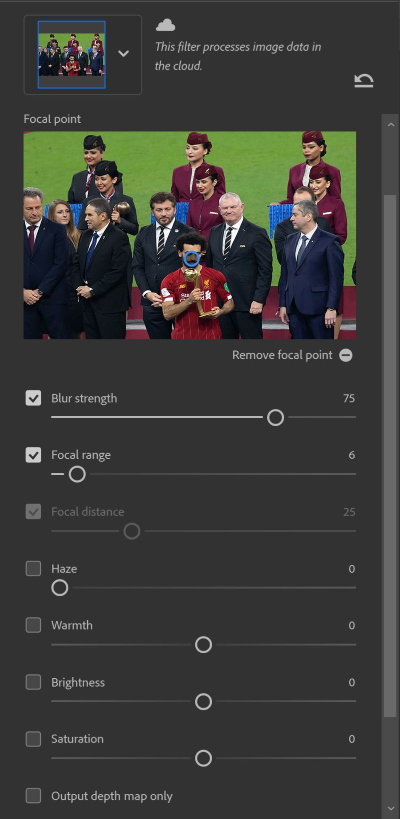
There are three sliders at the top
- Blur Strength: to adjust the blur intensity
- Focal Range: to adjust the depth of field
- Focal distance: to set the focus point (You can also use your mouse to click where to you want the focus to be)
Step 4
In the below photo the focus is set to make the player (M0 Salah) in focus, and the other subjects are blur

In the below photo the focus is set to make the officials in focus, and the other subjects are blur

In the below photo the focus is set to make the ladies carrying the medals in focus, and the other subjects are blur

Step 5
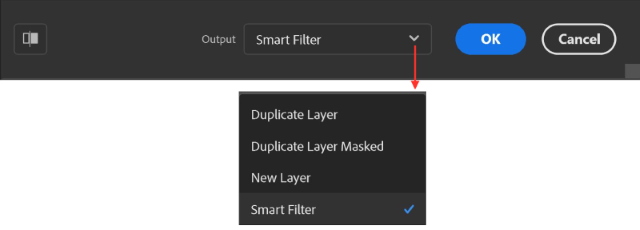
Choose the output from the menu, then press O.K
The following are two more examples using the Depth Blur filter.
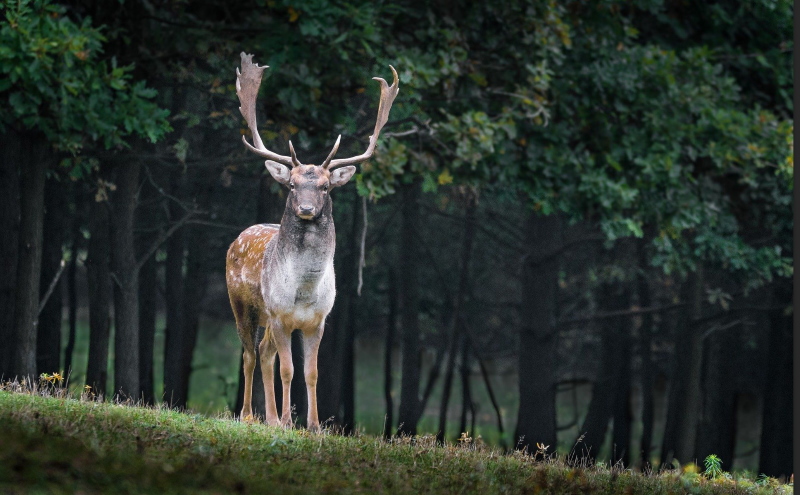
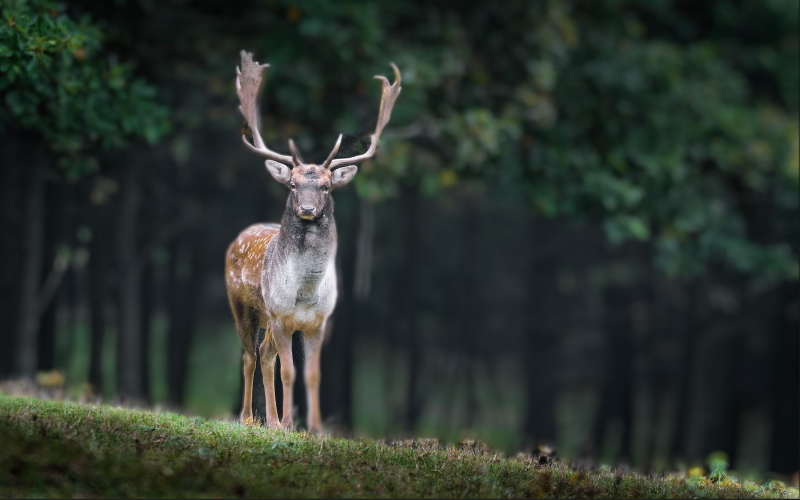
Image by Lubos Houska from Pixabay
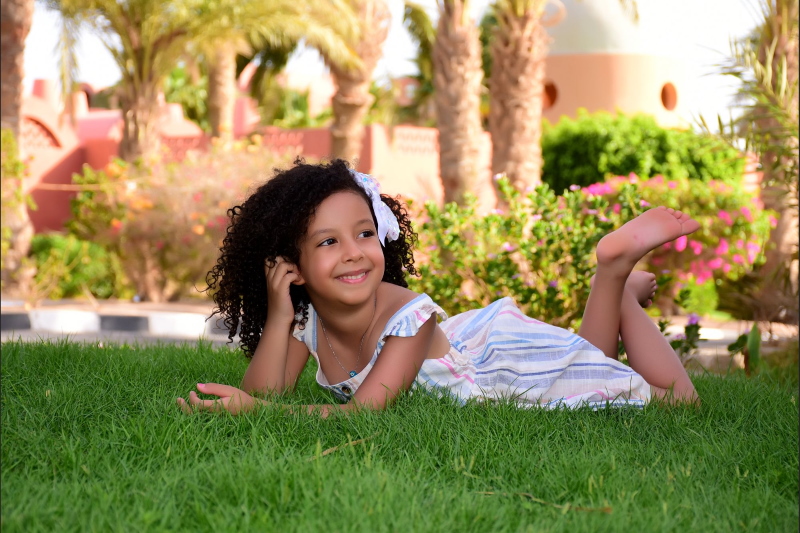
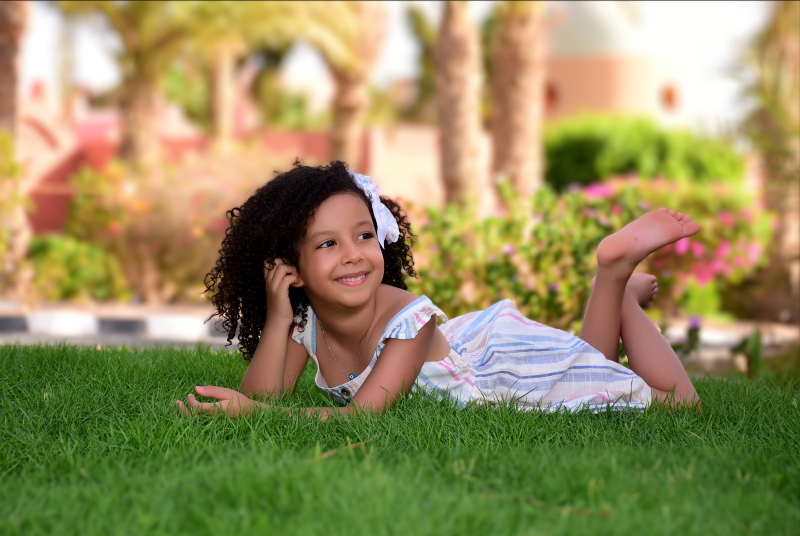
Photo by Ehab Amin
Method 2: using the depth map & Lens blur filter
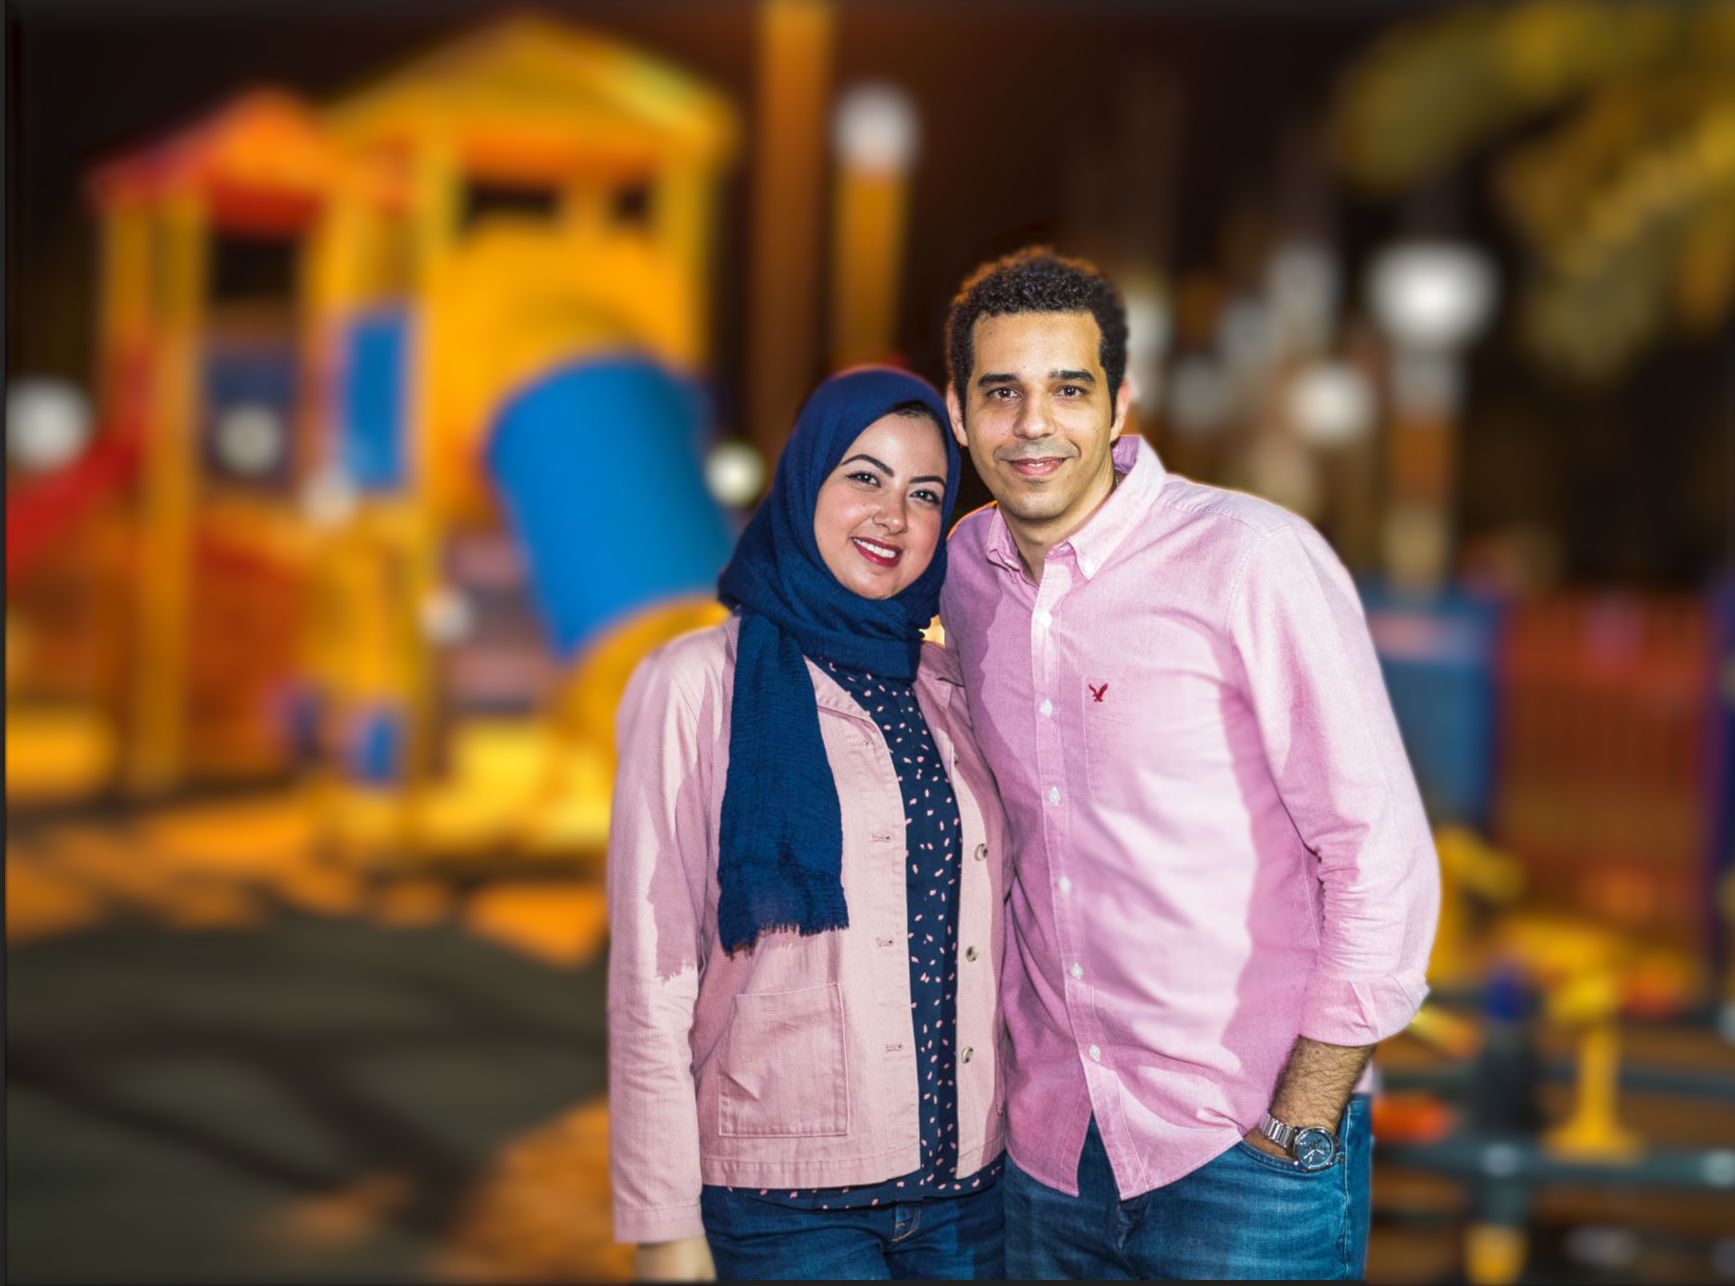
I will use the below photo
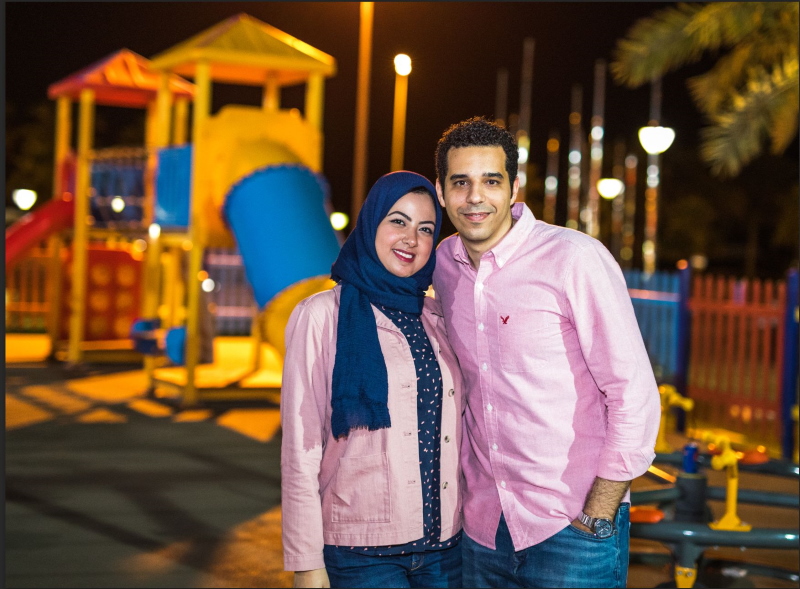
Photo by Ehab Amin
Step 1
Open the image in Photoshop
Duplicate the layer (Ctrl + J)
Step 2
Open the Neural Filters (Filter > Neural Filters).
Select Depth Blur Filter.
Step 3
Check the box marked “Output Depth Map Only”
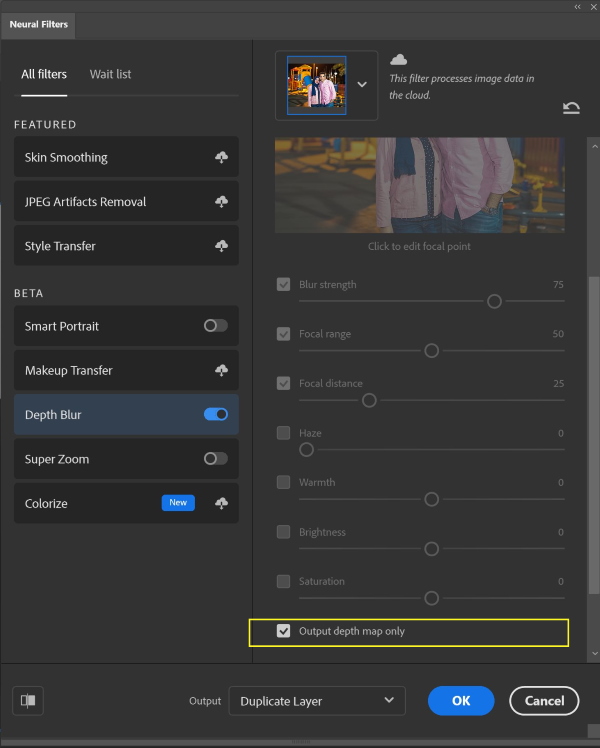
Press O.K
The depth map is extracted from the photo as shown below.
The depth map is stored as a layer in the layer panels. As shown below
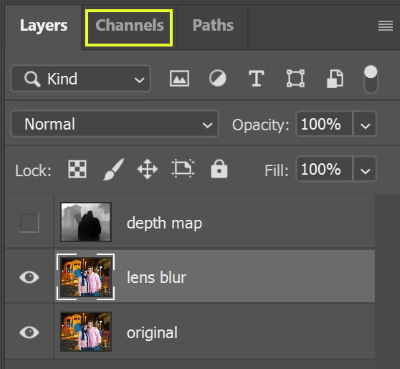
Step 4
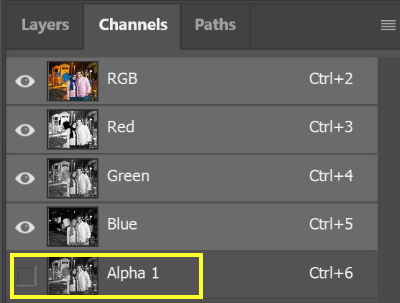
Now we are going to convert the depth map into an Alpha channel.
- Press Channels tap
- Click (Ctrl + RGB channel)
- Add a new channel
- Click (Ctrl + Backspace)
A new Alpha 1 channel is created from the depth map.
Step 5
We will use the Lens Blur filter and the alpha channel to change the depth of field
With the copy of the original photo is active click Filter > Blur > Lens Blur
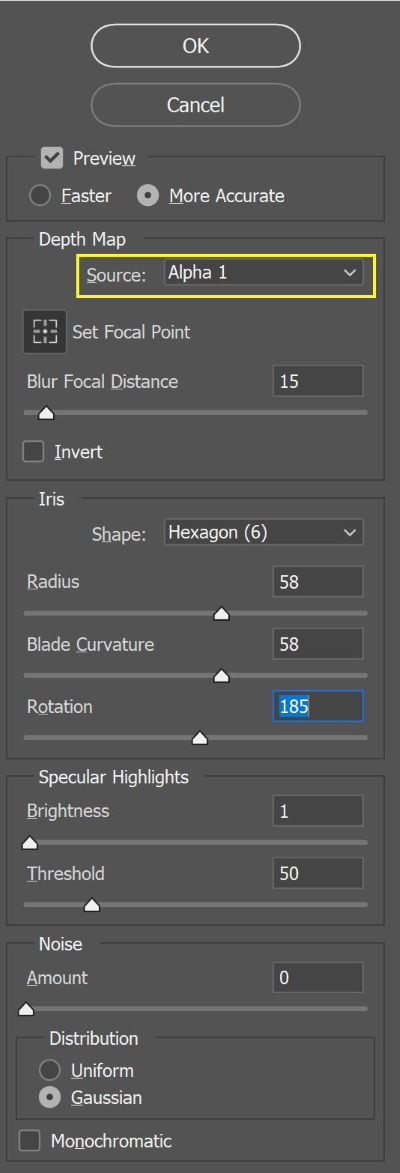
Make sure that the source depth map is chosen to be alpha1
Click to set the focal point,
Adjust the depth of field by using the slider: Blur focal distance
Press O.K
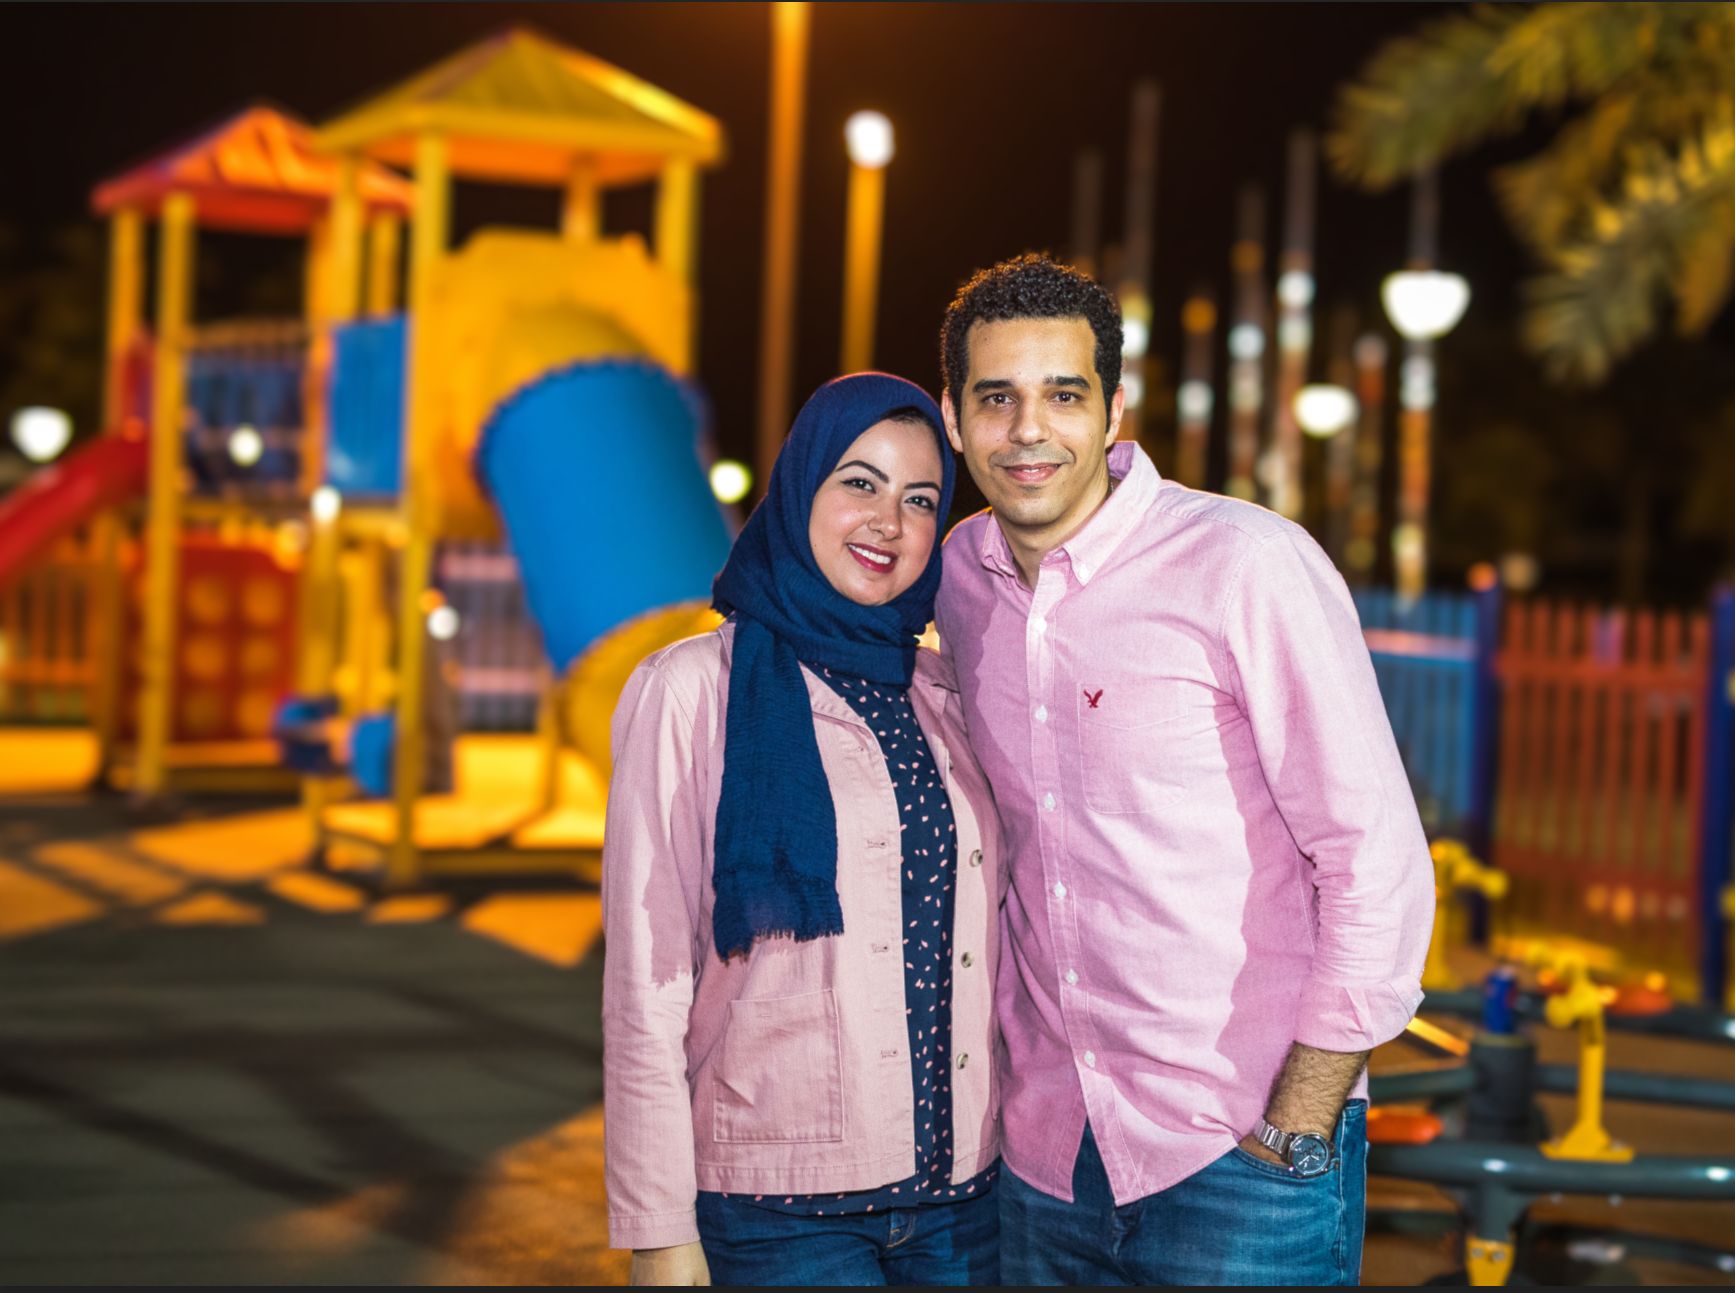
The result is shown below
Another example
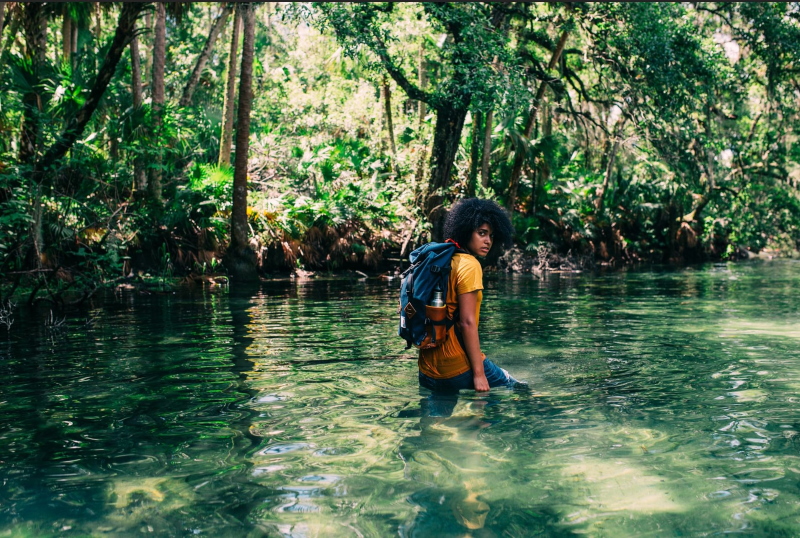
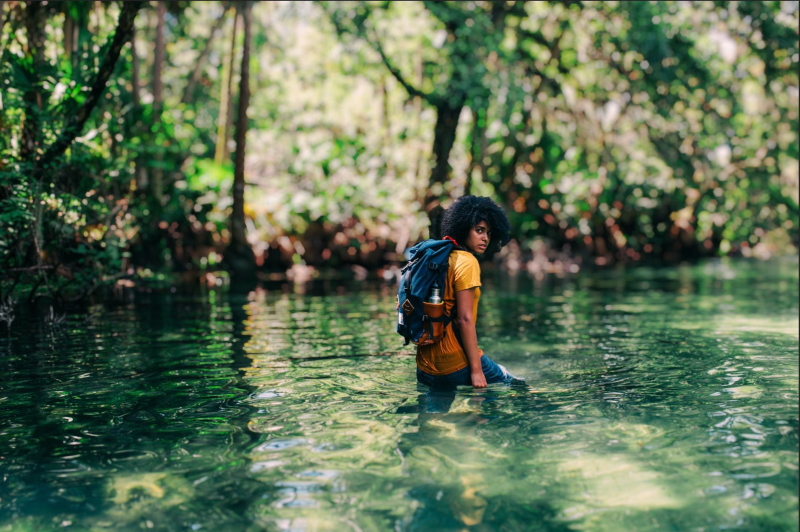
Photo by KAL VISUALS on Unsplash

Related posts
Blur Background in Photoshop CC
How To Control DOF of Your Photos – Shallow Depth of Field Vs Deep Depth of Field
Thanks for reading, I hope you enjoyed the article, in case you have any questions just drop them below & I will be happy to answer you.
The featured Photo by Ehab Amin
If you enjoy the site, don’t forget to subscribe, we will only inform you when a new article is posted.


Thanks for sharing with us all this wnderful article that you have decided to publish here. Photography is one of those things tht i have always been very bvasic with, but interesting enough, I was actually just thinking to myself just a few minutes before i stumbled upon your article here. \Maybe its a sign eh
Sure it is a good sign! thanks for the comment
Wow!! what a great site. It is so informative and the instructions are superb. It is wonderful to happen across sites like yours. Your instructions are phenomenal. I am way, way glad that I happened across your site. I am going home to give these tips with my family photos. Great, great site.
Thank you so much, I really appreciate hearing that from you