

Photoshop offers many methods and tools to create light effects. I’m only going to cover some of them but they can be used in many ways. One of the Photoshop filters called Lighting Effect, which is under the Filter gallery under Render in Photoshop. The filter has three different types of lighting effects: Spot, Point, and Infinite. It also has various presets to choose from. Its Properties panel allows you to customize the look of the light that you want in terms of direction, placement, etc. This filter works on Smart Objects so that you can work non-destructively. Apart from this filter, there are many techniques using Photoshop tools that can offer tremendous options to manipulate light. Let us start!
Create Light Effect in Photoshop
-
Create a background light effect
In this example, I will make a projection of the natural light coming from a window in the background of a photo. However, before starting this example, I would like to explain an important function in Photoshop.
Step and Repeat function
Let us say you have an object on a layer, and you want to duplicate and move or rotate that object a number of times in succession. Start by going to the original layer with the object, and then press (Ctrl + Alt +T) to bring up a special version of Free Transform. Now you can transform your object (move it, rotate it, skew it, etc.) then press (Enter) to lock in your transformation. You will notice that your original object remains untouched on its layer and you now have a new layer with the transformed object. Now press (Ctrl + Alt + Shift +T) and this will create a duplicate of your last move, and at the same time, it creates a new layer, thereby giving you a step-and-repeat function.
Step 1
Open the photo file
Step 2
Add a transparent layer
Step 3
Use the rectangular shape tool to draw a rectangle

Step 4
Use the shortcut (Ctrl + Alt +T) to show the special version of the Free Transform tool, then move the rectangle to right, and align it with the other rectangle.
Step 5
Select the two layers (using Ctrl key), and merge them into one layer (Ctrl + E)
Step 6
Repeat the above process until you obtain the final shape of the window.
Step 7
Press (Ctrl + T), use the handles to position and scale the window, and giving it perspective. Pressing the Shift key will maintain the aspect ratio while pressing Ctrl will move one handle freely.
Step 8
Apply blur filter, Filter > Blur > Gaussian Blur
Step 9
Add a new layer, and select gradient tool, add blur (Foreground to transparent) to add more blur to the far end of the window. Then change the layer to a clipping mask to limit the gradient effect to the window layer only (Alt + Ctrl + G)
Step 10
Duplicate the photo layer, and move it above the top layer
Step 11
Select the subject (use any of the selection tools) and covert the selection to a mask (add mask from the layer panel)
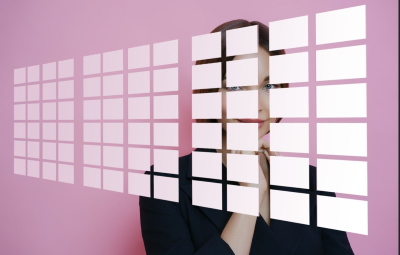
The before and after images are shown below
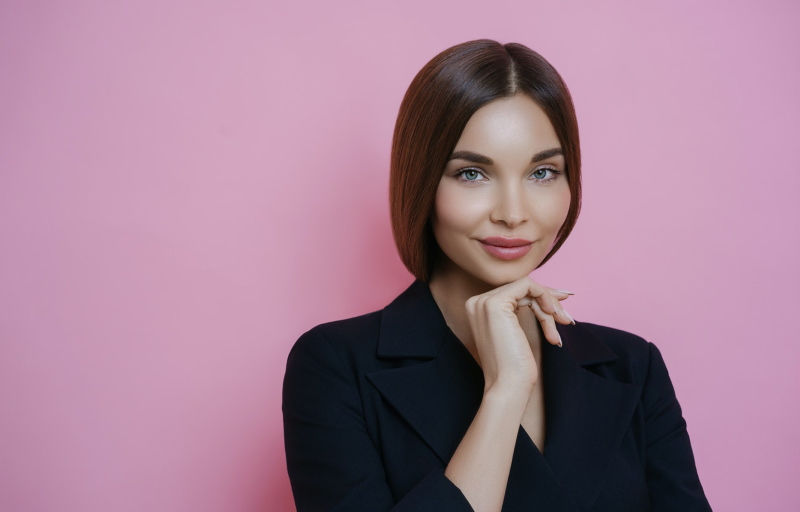
Photo by VK Studio from Pexels
Another example

Photo by Andrea Piacquadio from Pexels
-
Create light glare and shine
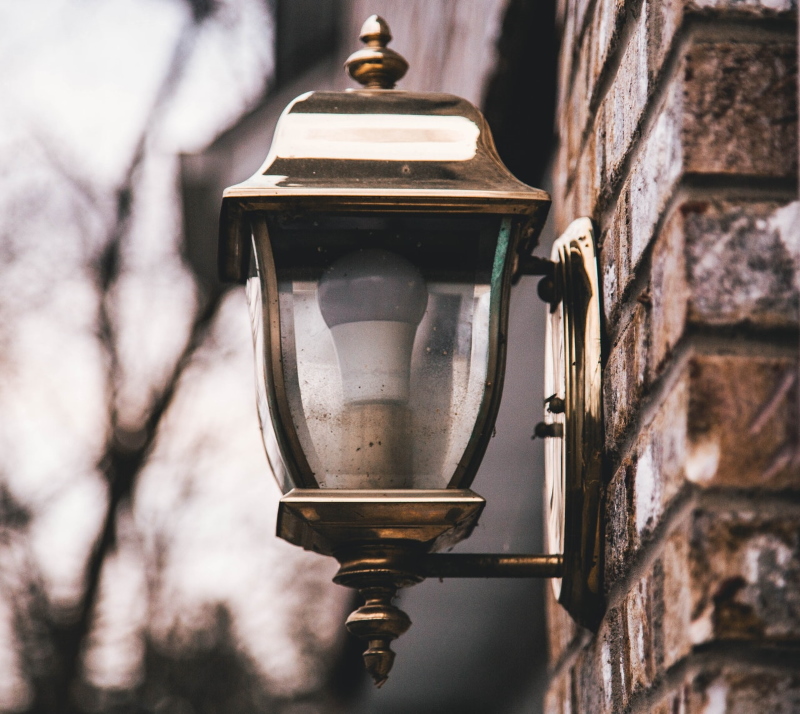
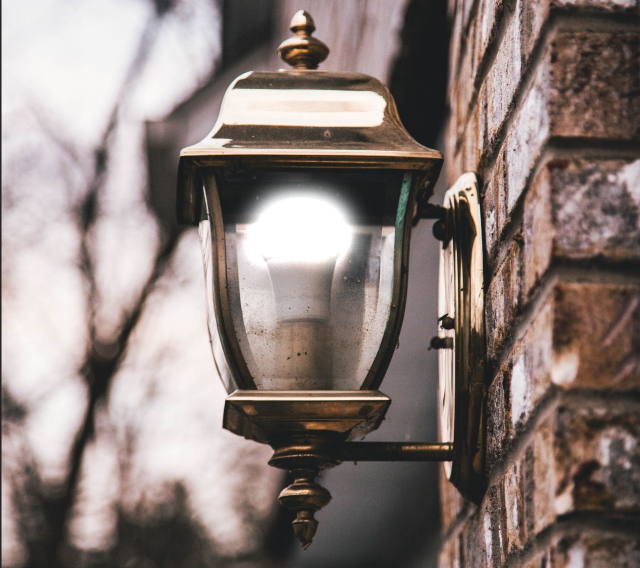
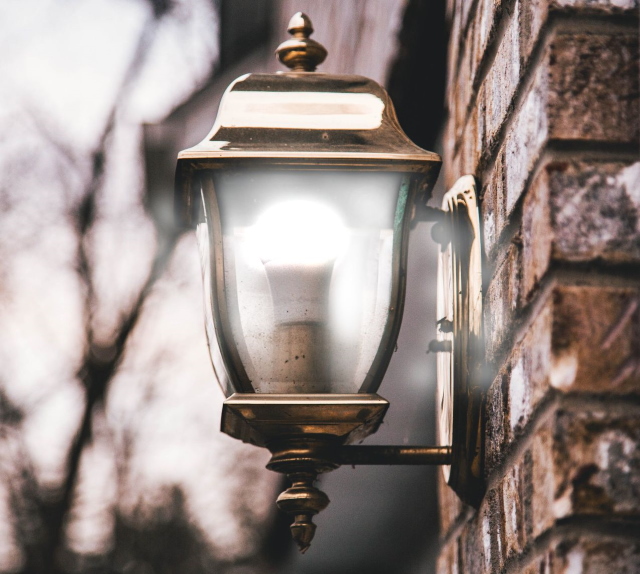
In this example, we are going to add light glare to a street Lantern
Step 1
Open the photo file, and create a new layer (Shift + Ctrl + N)
Step 2
Duple click the layer to open its style and clear the check of the Transparency shape layer, as below
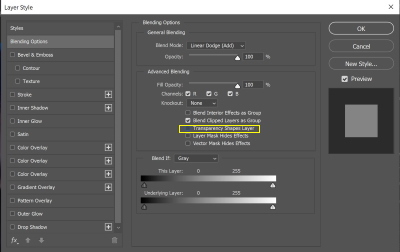
Step 3
Change the blending mode of the layer to Linear Dodge

Step 4
To add the glare:
Use the brush tool (B), choose a soft one, and set its size to suit the bulb size. Then paint over the bulb of the lantern.
Step 5
To add some glow to the surrounding of the lamp.
Create a new layer, and use the brush tool with a bigger size to paint around the bulb.
Step 6
Add a layer mask, and paint with black to hide some light on the surface of the lantern.
(To set the default foreground and background colors press (D), and to change them press (X))
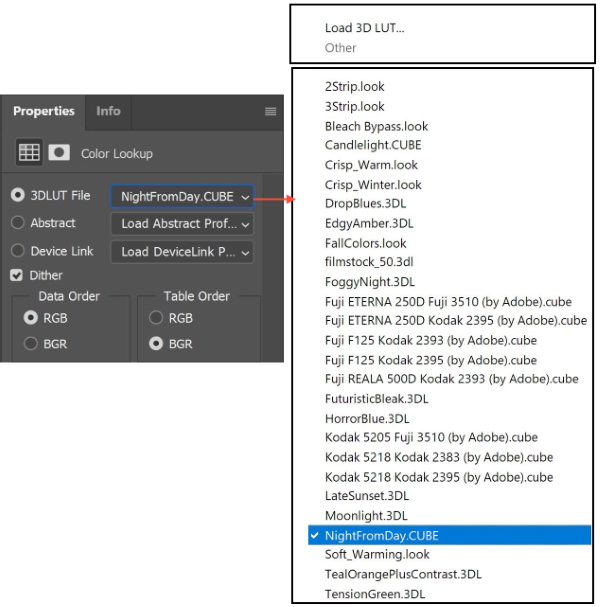
Step 7
To fine-tune the image
Add adjustment layer, and choose color lockup, as shown below
From the property menu, choose the type you want as shown below
The before and after photos are shown below
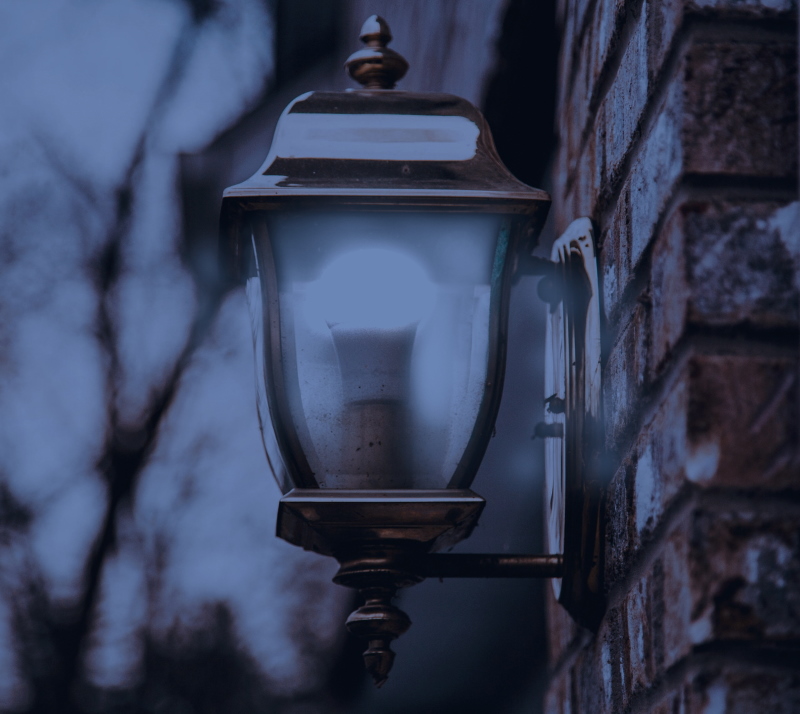
Photo by Craig Adderley from Pexels
Other examples
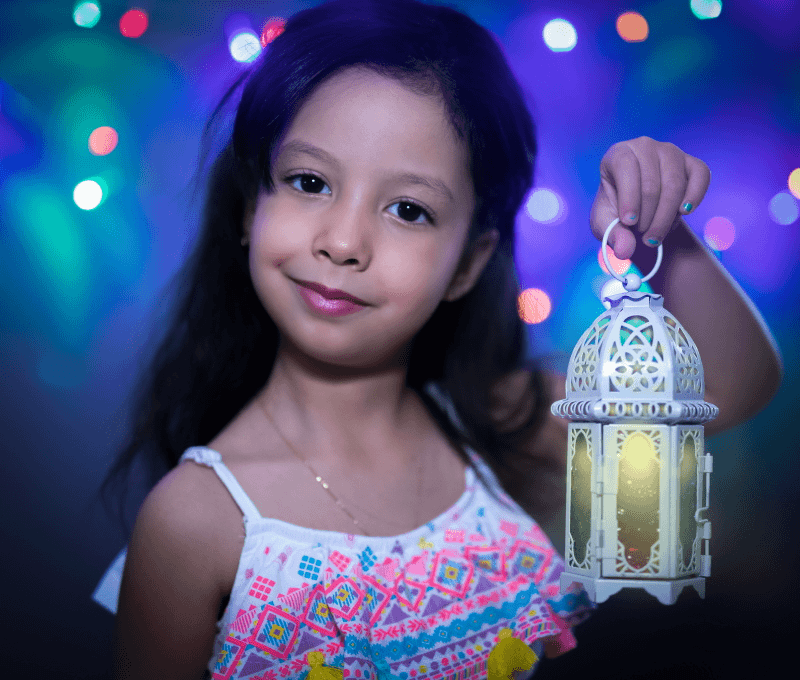
Photo by Ehab Amin
Photo by Git Stephen Gitau from Pexels
-
Add sun rays
In the following example, we will add sun rays to an existing highlight
Step 1
Open the photo file, and duplicate the layer
Step 2
Select the highlight areas, Select > color range > highlight
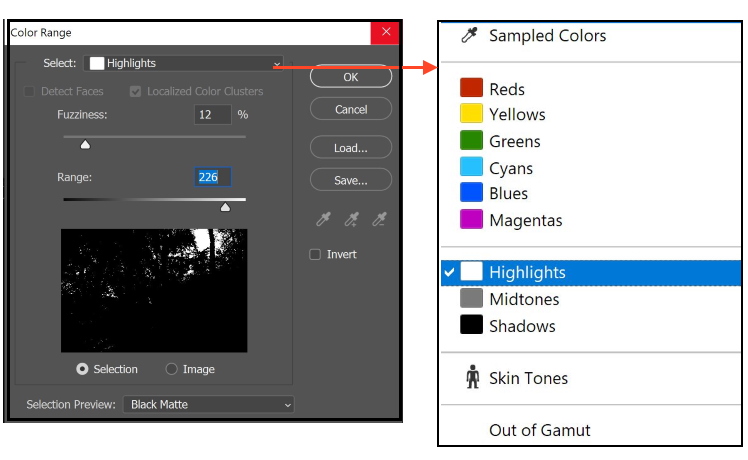
Adjust the Fuzziness and Range sliders to limit your selection
Step 3
Covert the selection to a new layer by clicking Ctrl + J, and turn the layer into a smart layer
Step 4
Blur the layer by clicking Filter > Blur > Radial Blur
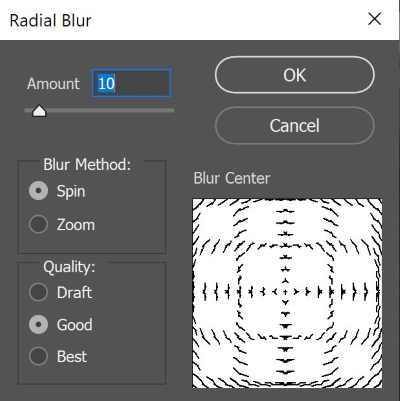
Choose Zoom and the amount of blur, and try to guess the location of the center of the blur by moving the blur center. Because the layer is smart, you can edit the blur filter easily.
Step 5
To intensify the effect duplicate the layer couples of times
Step 6
Group the blur layers in one group. Press and hold the Ctrl key and select the layers
Step 7
Apply a field bur to shape the sunrays by clicking Filter > Blur Gallery > Field blur
Step 8
Change the blending mode to Screen
The result is shown below
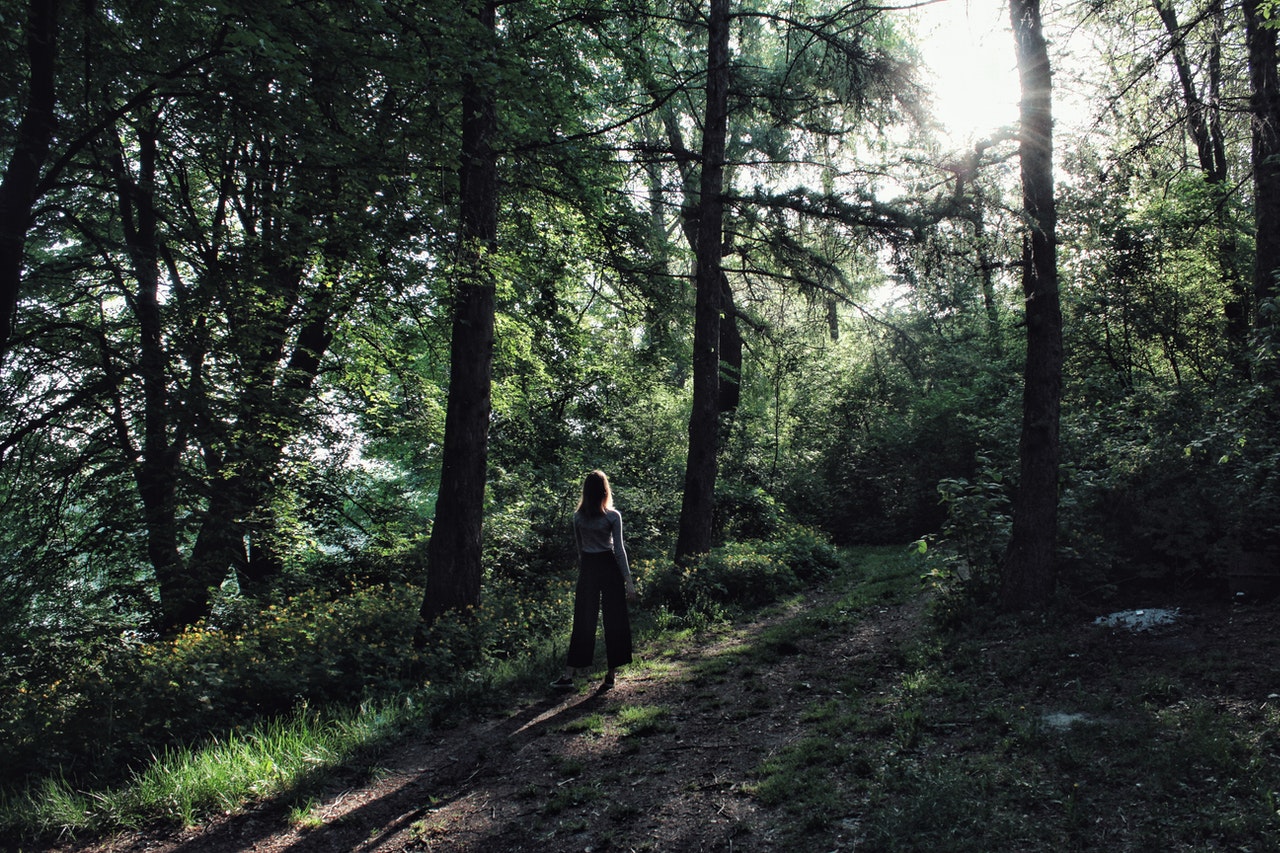
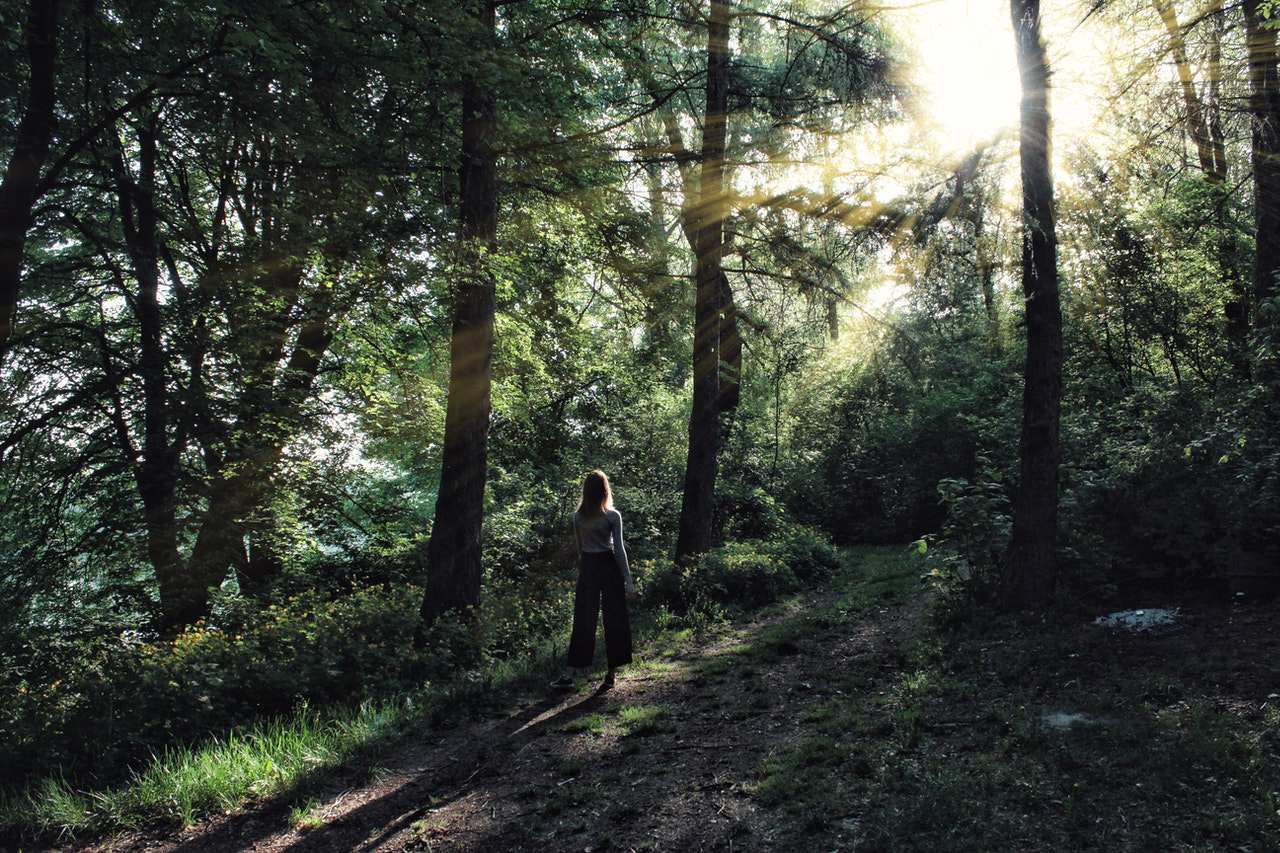
Photo by fall maple from Pexels
Other examples
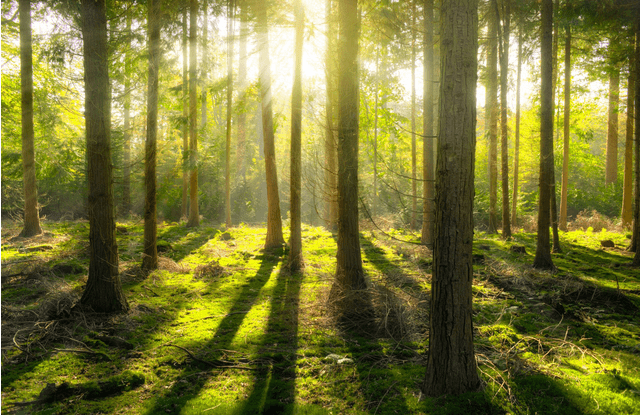
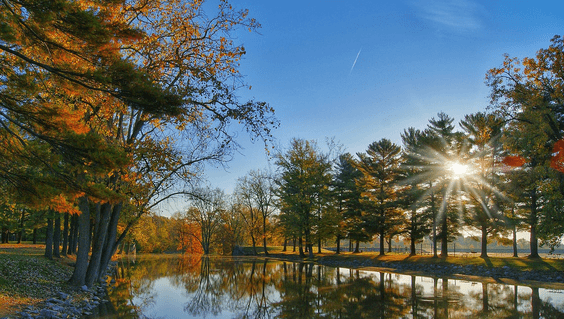
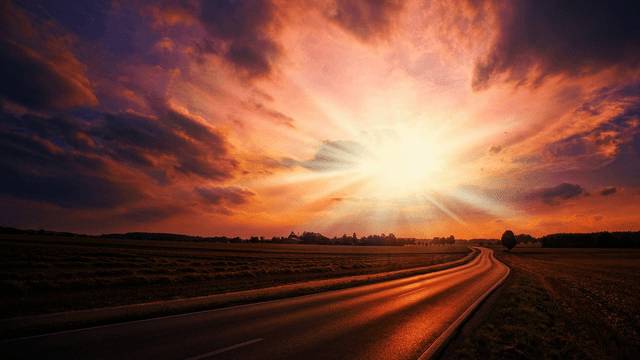
Image by My pictures are CC0. When doing composings: from Pixabay
Related Posts
What Are The Selection Tools In Photoshop?
What Is A Mask In Photoshop? – A Complete Beginner’s Guide
Thanks for reading, I hope you enjoyed the article if you have any questions just post them below & I will be happy to answer you.
If you enjoy the site, don’t forget to subscribe, we will only inform you when a new article is posted.

Hi Amin,
It’s a great privilege to be on this platform and also learn a lot on Photoshop for free. After going through this article, I got my photoshop prepared and ready and as much pictures as possible ready on putting all these into practice. Thank you very much for sharing this beautiful and informative piece or work. It’s our pleasure.
The pleasure is mine! thanks
One of Photoshop channels called Lighting Effect, which is under the Filter exhibition under Render in Photoshop. The channel has three unique sorts of lighting impacts: Spot, Point, and Infinite. It additionally has different presets to browse. Its Properties board permits you to redo the vibe of the light that you need as far as heading, situation, and so forth This channel chips away at Smart Objects with the goal that you can work non-dangerously.