

Focus stacking is a digital image processing technique that combines multiple images taken at different focus distances
to give a resulting image with the best photo sharpness and a greater depth of field (DOF) than any of the individual source images.
Focus stacking simply means taking multiple photos of the same subject, each with a different focused spot. This is followed by the use of post-processing software like Adobe Photoshop to align the focused portion of each image and blend them into one final and focused image. It is a really simple technique that everyone can use in their photos.
When you are trying to increase your depth of field, the first thing to do is choose a higher f-stop that your lens can offer. While this is simple and effective, it also has its disadvantages. It increases the necessary exposure time, and in some extreme cases, can reduce image sharpness due to diffraction. Furthermore, one might desire a greater depth of field than a particular lens’s maximum f-stop can provide.
The focus stacking technique is usually applied in the following situations:
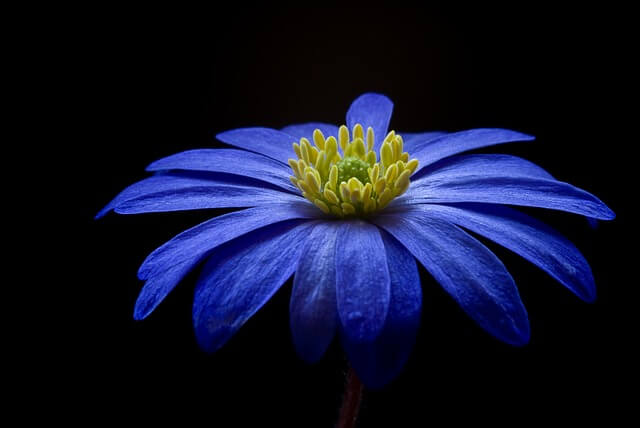
- Macro photography: when you wish to achieve a greater depth of field than otherwise obtainable when using your lens’s maximum f-stop (often f/22 or f/32 with DSLR cameras).
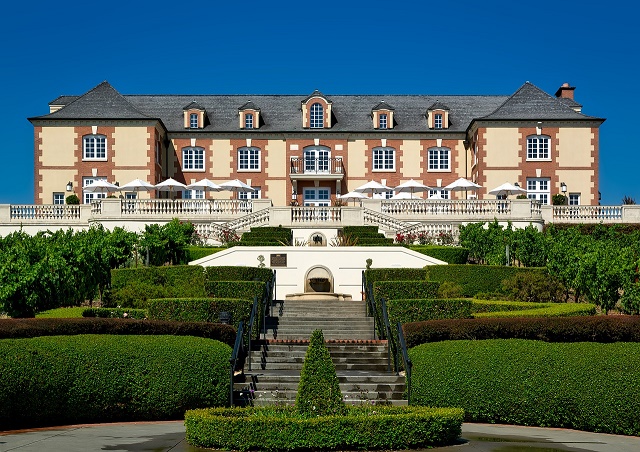
- Landscape photography: if you wish to obtain a deep depth of field (both your photo background and foreground are sharp) while avoiding softness at the focal plane due to diffraction. This technique is also necessary when are planning to print a larger photo.
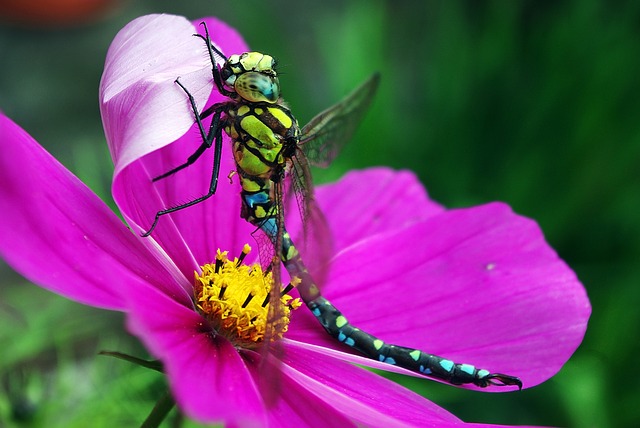
- Low-light photography: when you want to avoid a remarkably long exposure time. For example when you want to freeze a moving subject and also to keep a deep depth of field in other parts of the photo.
-
Step (1) Taking the photos
There are two methods used for taking multiple photos at gradually incrementing the focusing distance in order to increase the Depth of Field.
-
Refocus
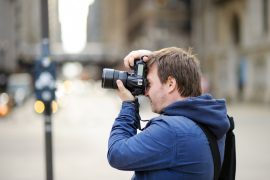
You manually refocus the lens on different spots of the scene to get the entire scene or subject in focus. This method usually involves taking three to ten or more images; it requires a quality camera, a sturdy tripod, and a remote shutter release.
Focus on the nearest point of the image that you want to be in focus and take the first shot. Then for the next shot, adjust the focus again on your lens a little deeper into the image, and take the second shot. Keep doing this until you have captured all parts of the subject that you want to be in focus.
-
Move the camera
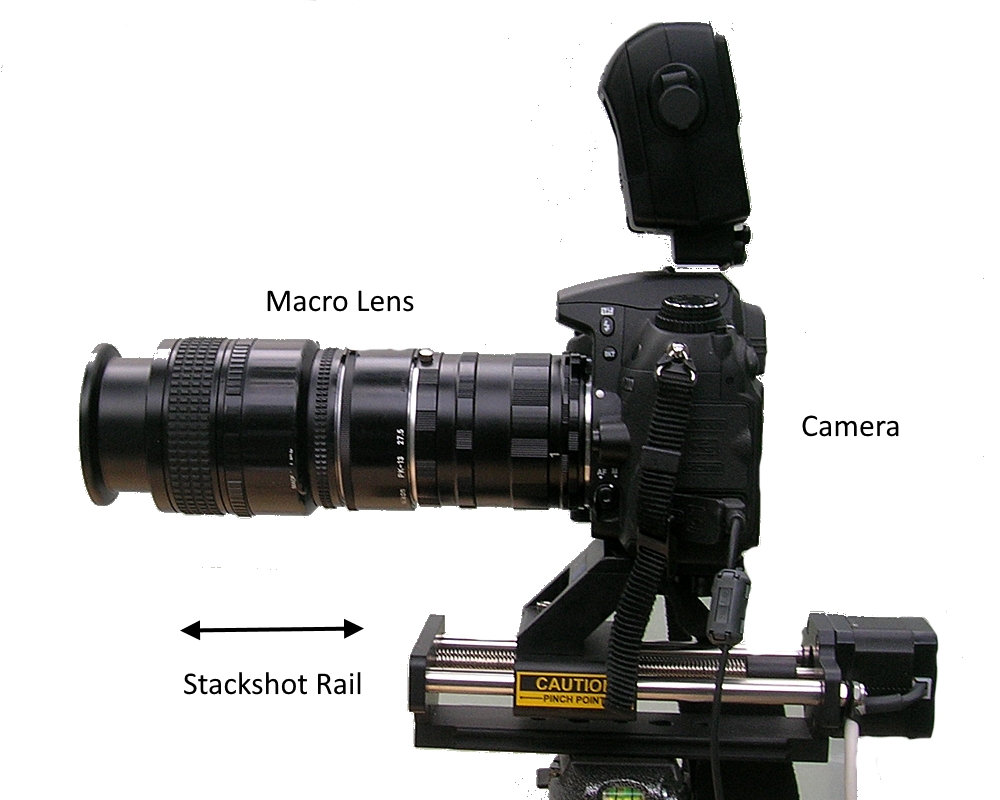
The second method is much more complex and is suitable for a studio environment and is commonly used in macro photography. Rather than manually adjusting the focus for each photo, you move the camera towards your subject a very small distance and keeping the focus point the same. Since only a small portion of the image will be in focus in each shot, moving the camera closer between each shot allows you to move that small portion of focus through the depth of the image so that every portion of the image will be in focus in at least one of the shots.
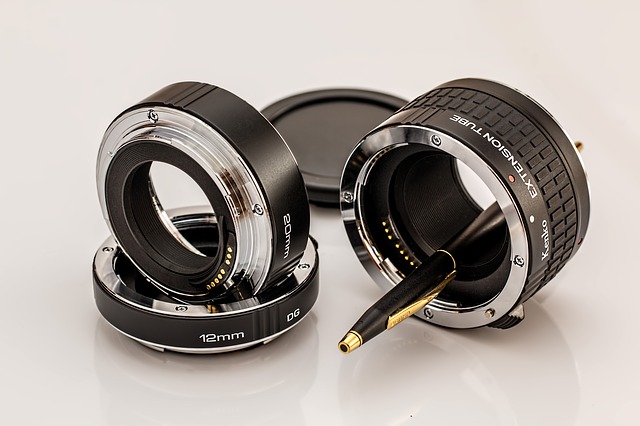
In order to move the camera smoothly and in very small distances, it is necessary to use a focusing rail, and control units. This control unit is connected to the camera and the moving rail.
An example of a rail system is shown in the figure below
There is another alternative method that involves extending the depth of field by stacking images taken at different F-stops. This is simpler than focus stacking because each image doesn’t have to be aligned in the post-processing, although it cannot extend the depth of field by as much.
Important remarks:
There are some tips for shooting photos for a stack processing you should consider:
- Place your camera on your tripod, turn on live view, switch your lens to manual mode, make sure that your camera is set to manual and dial in your composition.
- Use a remote shutter trigger to avoid any camera movement issues.
- Consider using a precision matte focusing screen for manual focusing.
- Try to choose an aperture in the ‘sweet spot’ of the lens. (The sweet spot of a lens is approximately about 2.5 to 3-stops from the maximum aperture).
- The depth of field you want and your aperture setting determine the number of images you need to shoot in order to get the full subject in focus.
- It is important to make sure that the depth of field for each subsequent photo overlaps with the depth of field from the prior photo.
- More closely spaced focusing distances often produce more consistent and natural-looking sharpness, but this can take a lot longer to capture and requires more storage space.
-
Step (2) Aligning, merging and blending the photos
The second step is the processing of the photos in specialized software like Helicon Focus, Zerene Stacker, CombineZP, and famous Photoshop. Both Helicon Soft and Zerene Stacker offer 30-day evaluation versions.
In this post, I’m not going to discuss the process of aligning and merging the stacked photos in detail because it depends on the type of software you are going to use. But for Photoshop CS4, the following steps may be used:
- Create one file with all four layers stacked on each of them in a linear arrangement. Please remember to keep the order of the stacked
- Select all four layers, go to Edit>Auto align layers.
- Once the layers are aligned, go to Edit>Auto blend layers.
- Let’s the software run some processing and you will get an image with the sides slightly out of focus. This is caused by auto-alignment and auto-blending.
- Crop the image to get rid of the out-of-focused areas.
Focus stacking is an amazing and powerful technique to get an extremely tack sharp photo, but it definitely has disadvantages and limitations:
- It takes a comparatively long time to get one photo.
- It usually requires the subject matter to be still.
- It may require a precision focusing device (such as a focusing rail) when large numbers of photos need to be stacked (such as with extreme macro photography).
- It requires specialized software to align and merge/blend the photos.
Buy Canon Focusing Screen Ee-S (Overall Matte) from my recommended retailer Here:
Thanks for reading the post, hope you find it useful and informative. If you have any questions or comments about the post, please drop them in the box below and I will be glad to answer.
If you enjoy the site, don’t forget to subscribe, we will only inform you when a new article is posted.


Informative article on focus stacking. I learned more from this article, than I did when I took photography in college. Love all the clear photos that are in the article. the colors are very sharp and the photos are, and what’s another word for beautiful? Beautiful!
Thanks for the info.
Hi Debi
Thank you for your beautiful comment, glad to know that you have learned more from the post. Looking to see you again.
Hi,
Awesome! I have never heard of this technique to create more depth to images. Certainly really rocked my boat and interest in trying it out. It does appear to be similar to HDR, which I love the vibrancy that creates with the exception that not changing the exposure setting but the focal length.
Thank you kindly for this tutorial!
Hi Derek
Thank you for your comment, you got it all right, focus stacking (to produce ultra-sharpness photos) is very similar technique to the bracketing technique (to get HDR photos), there is only one difference, In modern camera, there is a mode called ABE, allows you to take three or more shots at different exposure automatically with only one click on the shutter release button.
I wrote two posts about HDR photography, you may view them:
The best way to HDR photography & The Best HDR software