

What is bracketing?
Bracketing is taking several shots of the same subject using different camera settings.
What is HDR PHOTOGRAPHY?
HDR is a high dynamic range (HDR) technique used in photography to reproduce a greater dynamic range of luminosity than is possible with standard digital imaging or photographic techniques.
The need to apply to the bracket is very logical, if you took three photos of the same subject, one at normal exposure, the second at darker exposure, and the third at a brighter exposure, you would have a better chance of getting a properly exposed shot to choose from. That is the first obvious option, but the second amazing one is to process the three images in special software to produce an amazing HDR photo.
The digital sensors in today’s cameras have a limited ‘dynamic range’. This means that they are only capable of capturing fine detail within a certain range of brightness levels.
The exposure that’s set at the time of shooting forms the mid-point of this range and the camera can record detail on either side of this, in areas that are slightly brighter or darker than this ‘middle’ setting.
Dynamic range can be measured in stops. For instance, if a camera offers eleven stops of dynamic range, it means it can record detail in areas of a picture that are up to five stops brighter and up to five stops darker than the set exposure.
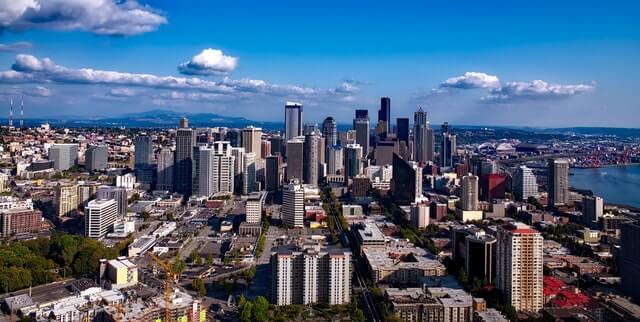
Suppose you are shooting a dark subject against a very clear bright sky, the difference in brightness between the deepest shadows on your subject to the brightest highlights in the sky may be greater than the dynamic range of the digital sensor. So the result will be that you are losing details. The figure below illustrates the idea.
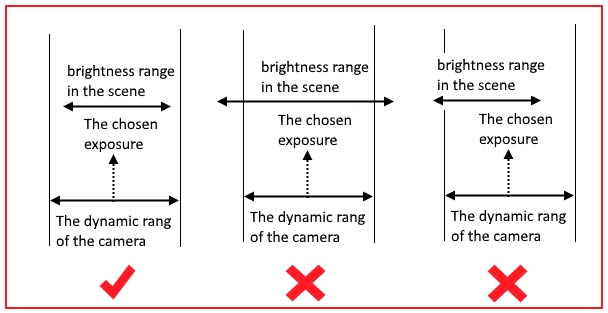
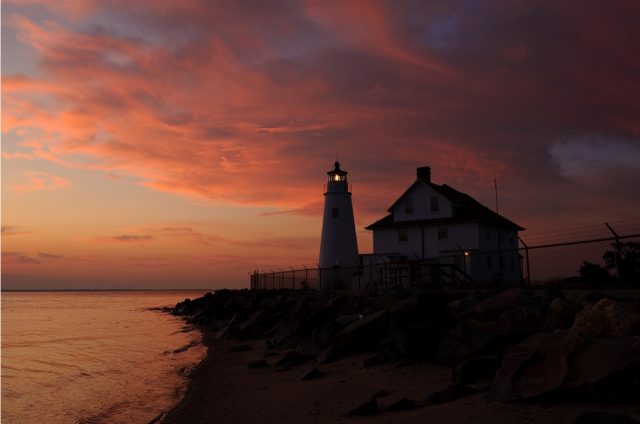
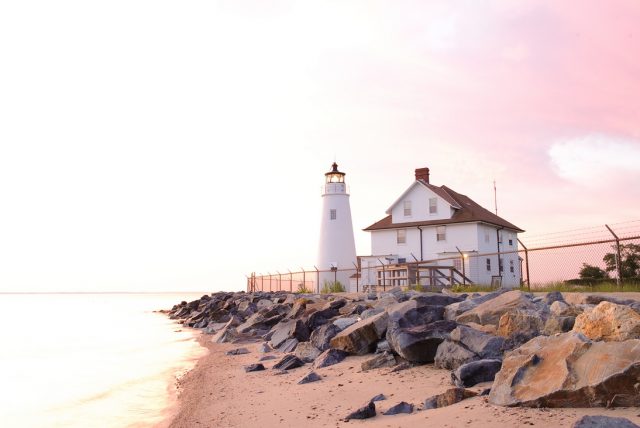
To overcome this limitation, you can try taking three shots at different exposures, one at normal exposure, another shot at short exposure that under-exposes the shadows (but ensures that the highlights aren’t burnt out), and the third shot at a long exposure that reveals the detail in the shadows (but over-exposes the highlights).
The well-exposed parts of each of your sequence of shots can then be combined in Photoshop, Lightroom, or specialized software like Photomatix and Aurora to create a high dynamic range (HDR) image.
You may check my post The Best HDR Software – Photomatix Pro 5
Types of Bracketing
You can apply the concept of bracketing beyond the common type of bracketing (which is exposure bracketing), simply by taking three Sequential photos and changing one of the camera settings like flash or white balance.
Focus stacking is a similar technique such as bracketing; it uses the same idea of shooting a number of photos at different camera settings (focusing at different points of the scene).
When You Should Use HDR
You may use the HDR technique when you have a low-light and backlit. If your photo looks too dark, which often happens if your scene has too much backlight, HDR can brighten up the foreground without washing out the well-lit portions of your photo. Also, you may use HDR when shooting landscape photos with a high degree of contrast between the sky and land (high dynamic range), which is difficult for your camera to deal with in just one photo as already explained above. With HDR, you can capture the sky’s detail without making the land look too dark.
When You Shouldn’t Use HDR
If any of your subjects are moving, HDR increases the chance of a blurry photo. Because you are going to take three pictures, so if your subject moves during shooting, your final picture won’t look very good.
What is Automatic Exposure Bracketing (AEB)
Most modern DSLRs cameras have the function of Automatic Exposure Bracketing; it let you take three photos with only one click of the shutter, each in different exposures. The result will be one photo a bit too bright, one just right (depending on which part you’re looking to expose properly) and one a bit darker.
Different cameras have different AEB configurations. While entry-level DSLR or Mirrorless cameras allow you to take the maximum of three shots at one-stop intervals, higher-end models have an even more extensive set of features that allow us to take up to eleven shots starting at 1/3 stop intervals and up to 5 stops.
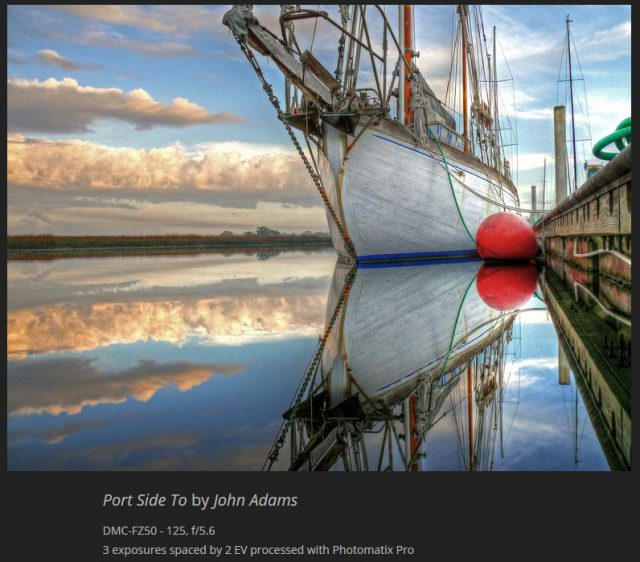
The common mode is to use three bracketed shots at 1EV or three bracketed shots at 2EV intervals. In some extreme cases, you might use a configuration of three shots at 3EV intervals.
Steps to take bracketing photos for HDR processing
- Switch to a shooting mode that supports auto exposure bracketing.
- Access your camera menu and navigate to the section for bracketing exposures.
- Specify the amount by which each shot will be overexposed and underexposed.
- Make sure that your camera’s drive mode set to continuous shooting.
- the camera will automatically capture three or more different exposures when you hold down the shutter release.
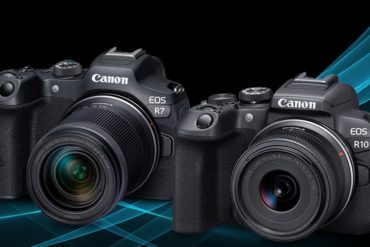
If you are using a Canon camera, you have the option to dramatically boost your camera bracketing functionality for free.
Magic Lantern is an open-source firmware add-on (it does not replace the original firmware) that adds an endless number of features in addition to the original Canon settings. With Magic Lantern, you can bracket between two and nine shots in all possible increments.
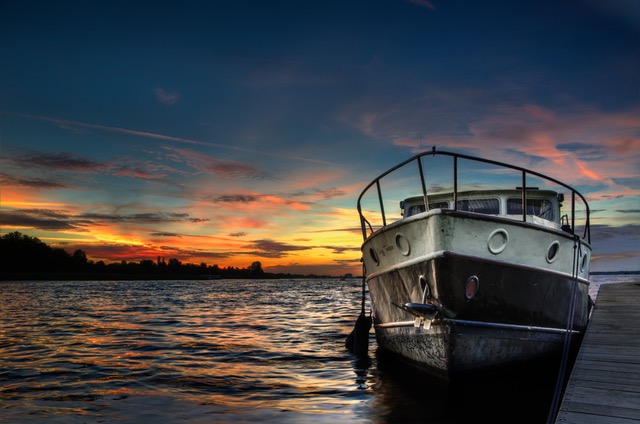
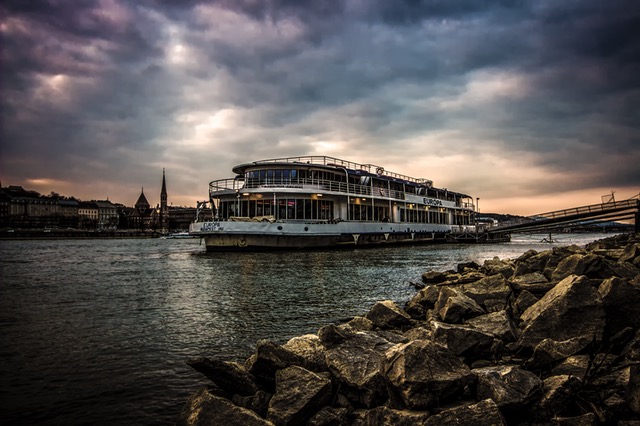
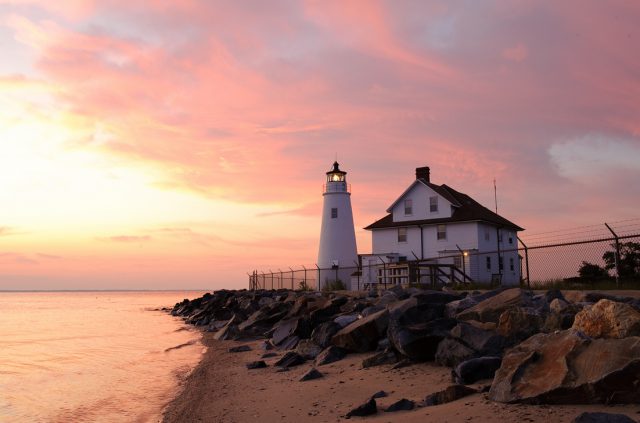
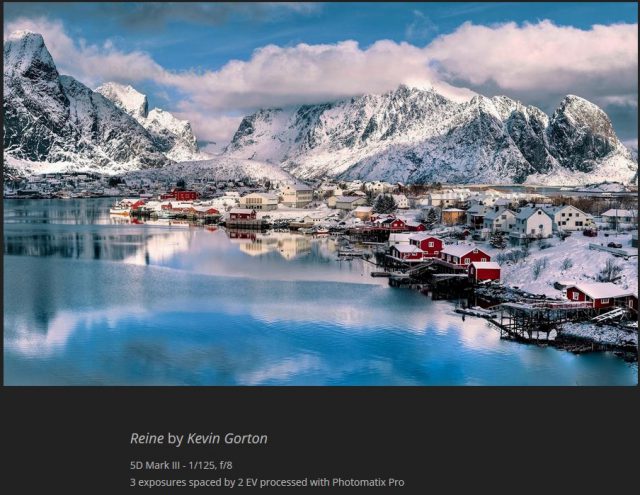
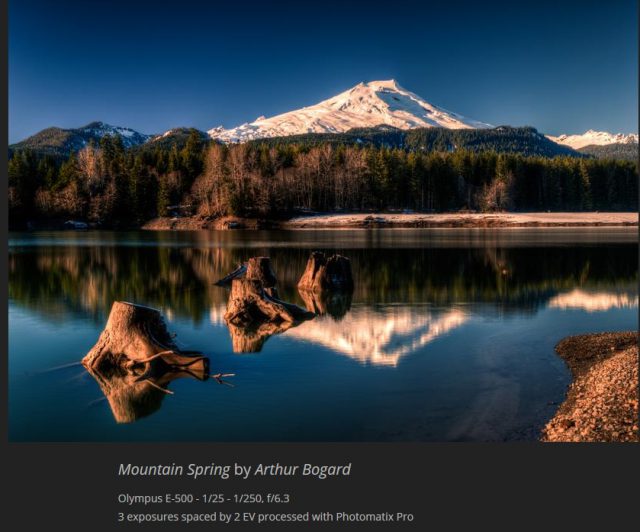
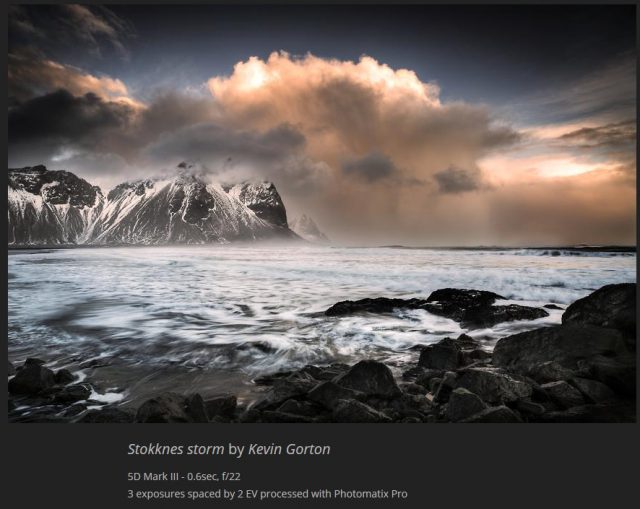
The following photos are sample photos from Photomatix website
Steps to capture a very high contrast scene
Capturing a particularly high-contrast scene, such as a room’s interior with a bright view through the window, requires taking all shots needed to capture both the darkest and brightest parts of the scene.
- Set the ISO below 400.
- Set your camera to Aperture priority, and set the aperture for the scene, based on the depth of field you are trying to achieve or other considerations.
- Set your camera to Auto Exposure Bracketing (AEB).
- Using the AEB option, set the EV spacing to +/- 2 EV if your camera supports it, otherwise with the highest EV spacing it supports.
- Switch your camera to spot metering mode. Aim the camera at the darkest area of the scene and adjust the shutter speed until your camera indicates a correct exposure. This will be the shutter speed for your most overexposed photo.
- Aim the camera at the brightest area of the scene and adjust the shutter speed until your camera indicates a correct exposure. This will be the shutter speed for your most underexposed photo.
- Using the HDR Exposure Calculator enter the shutter speeds you measured.
- Switch the camera to Manual mode and Set the Shutter Speed determined by the HDR Exposure Calculator for the first bracketed set.
- Select the Continuous Shooting mode on the camera and release the shutter to take the first set.
- Take the other photos or bracketed photos determined by the HDR Exposure Calculator, if any.
HDR Processing
The processing is a straightforward one; it depends on the type of software you are using. The final photo is shown down below using Photomatix Pro 5.0 Software.
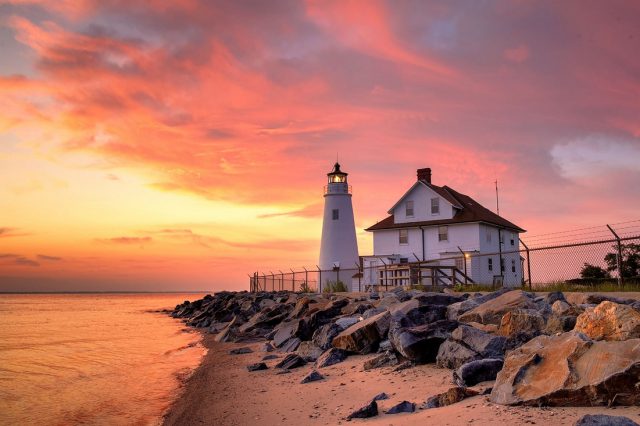
Sample photos
Here are some sample photos from the same source to demonstrate the beauty of the HDR technique.
The following video shows an amazing set of HDR photos:
Before digital photography came about, exposure bracketing would have been considered incredibly wasteful and costly. Now that you can take as many photos as you want, why not do it? It makes a lot of sense to take a few extra shots at different brightness levels because you never really know what you’ve got until you get back to your computer. HDR can be a great tool for getting better pictures.
Related Post
The Best HDR Software – Photomatix Pro 5
Thanks for reading the article, hope it is useful. Do you find bracketing and HDR techniques to be useful in your own photography? When have any of these techniques been especially useful to you? Share your thoughts Please add your comment or question in the box below. I will be glad to answer any questions.
If you enjoy the site, don’t forget to subscribe, we will only inform you when a new article is posted.

I did not know how to create HDR, and this is very helpful. But my first thought reading about taking three photos with different exposure was that it might be hard to do outdoors, when clouds are moving and so on, and you wrote about that to:D I love photography and try to make improvements all the time, this sounds like fun to experiment with.
Hi Linda
Thanks for your comment, glad you liked the post and found it useful. Taking shots for HDR processing are made very simple in modern digital camera by using AEB mode. It allows you to take three or more shots at different exposure by only one click of the shutter, but the quality of the final photos will depends greatly on the power of the used software, that is way I highly recommend Photomatix Pro 5 because it is an amazing software.