

Introduction:
Photography is much easier when we have enough light when taking a photo, but lighting conditions are not always as we would like them. Low lighting conditions are present not only at night but also when taking photos in indoors places like restaurants or churches etc., Your eyes may be able to adjust, but your camera lens has trouble seeing as well as you do.
There could be different amounts of light coming from various sources and whatever is less than daytime light outside, I consider it a low-light condition. Indoor photography without much ambient light (as in many of our homes), as well as the light that is barely visible to our eyes at night, is also considered to be a low-light condition.
Tips and tricks to overcome low light conditions
There are many settings and solutions to overcome the low light conditions; I have tried to summarize them in the following list:
1. Use a flash when appropriate
The flash is, of course, the biggest solution when there are low light conditions, the short burst of light will illuminate your subject so the shutter doesn’t need to stay open too long. You can review my post “Flash Photography tips” , it contains some useful information. An external flash unit can also be useful as you can bounce the light off a wall or ceiling to create a more natural look, also using a flash diffuser can be of great help to improving the quality of your photos. You may check my post What is the use of a flash diffuser. As for the gear, you may check canon camera flashes – Top 5 reviewed.
Using a flash in photography has its limitations, the flash can flatten out your photos by decreasing the depth of field, add unwanted shadows, and sometimes it is not allowed to be used in places like churches and museums. Also, it can’t be used in landscape photography.
By watching carefully how the flashlight falls on both your subject and the surrounding you can learn when and how to use the flash.
2. Slow down the shutter speed
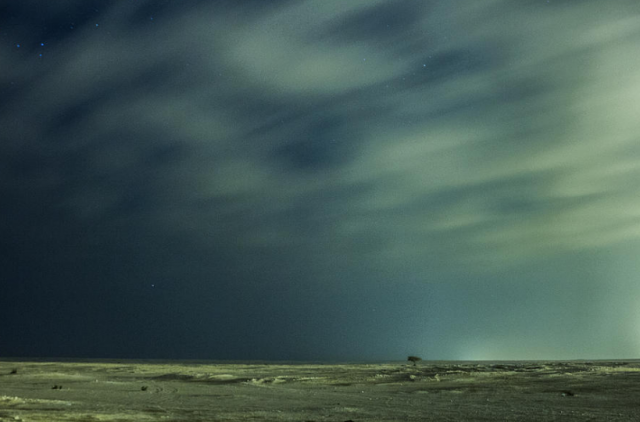
The shutter speed setting determines how long the camera shutter stays open to take the photo. So for low light conditions you want to allow more light to reach the optical sensor, the right setting is to go for slower shutter speed. You should be aware that using this setting may result in getting a blurry photo because of camera shake. Do not worry, you can use a tripod and remote shutter control to eliminate camera shake, If you do not have one, try using your camera timer.

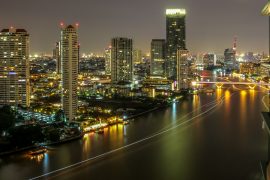
Shots by Ehab Amin.
3. Use a wider aperture
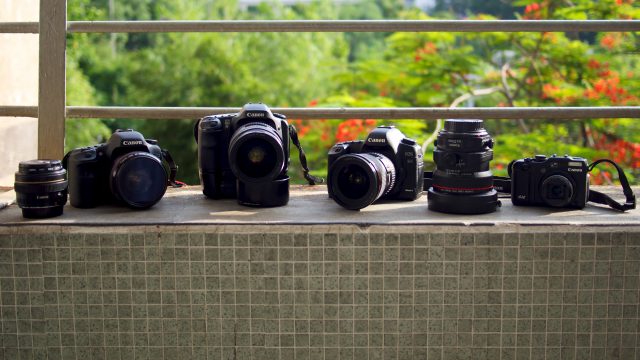
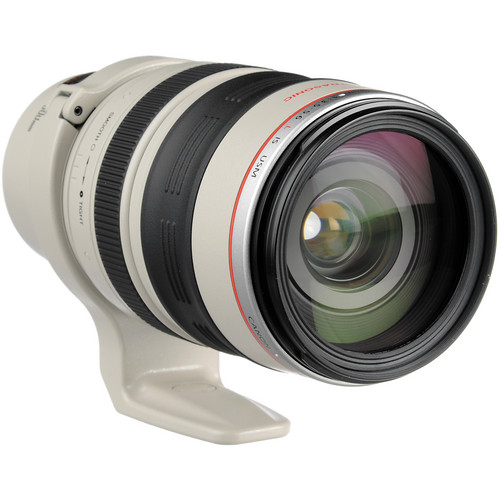
Another setting you will try to gather and collect more light into your camera is by using a wide aperture (low f-stop number). If you are using a DSLR camera, most kit lenses will stop down to f/3.5 or thereabouts. If you are shooting frequently in low light conditions, you may consider investing in a lens with a wider maximum aperture such as f/2.8 or f/1.8. Lenses that have such capabilities are often prime lenses ( fixed focal length) such as Canon EF 50mm F/1.8 II, Canon EF 50mm f/1.4 USM, and Canon EF 50mm f/1.2L USM.
F/3.5
4. Increase the ISO setting
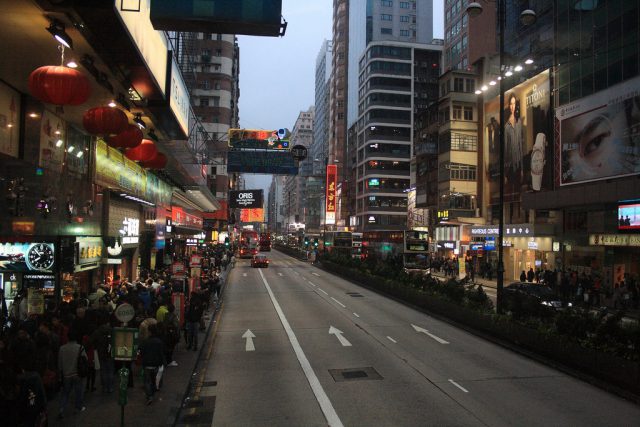
A good way to solve the problem in low light conditions is to increase your ISO setting to a higher value. The ISO simply means the amount of sensitivity of your digital sensor to light. You may need to go to ISO 800 or 1600 or even more (depending on your camera type) to make sure that you will get a good photo.
Increasing ISO has a setback, it increases the noise in the photo, and this noise generally appears as speckles or grain across the photo. Modern DSLR and cameras with larger image sensors may have a higher threshold before noise starts to appear. Whatever camera you use, noise reduction software is available to help reduce the appearance of this grain.
If you use Adobe Lightroom software, there are noise reduction sliders available from the Develop module. Otherwise, there are two good noise reduction software programs called “Noise Ninja” or “Neat Image”, Also you may check my post “How to Reduce the Photo Noise – The Free Noise Reduction Software“

Iso: 800

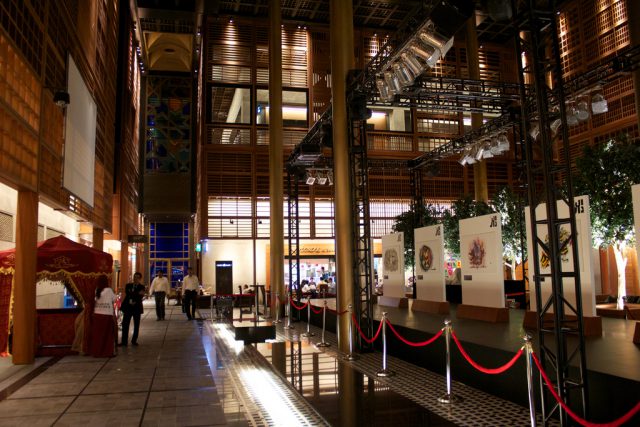
Iso:3200
5. Stabilize your camera
Shooting with a longer shutter speed always increases the chances that the camera will shake resulting in blurry photos. The solution is using a tripod and remote shutter control, provided that the tripod should be stable and sturdy, my recommended one is HERE, and for the remote control, a Canon one is HERE.
Another option to overcome the shaking of the camera is image stabilization, modern lenses are provided with Image stabilization (IS) which is a family of techniques used to reduce blurring associated with the motion of a camera. It seems a good solution if you can afford one of these lenses.
6. Shoot in Row
Use the RAW file format, this option allows you to recover some details from a picture if you found out that your photo is overexposed or underexposed. I sometimes intentionally underexpose an image by using the exposure compensation button, which increases the camera shutter speed. I typically allow 1 f-stop of negative exposure compensation.
When you shoot raw images with your camera, you can process the image in whatever way you choose after it has been taken. For example, you can bring back detail in areas of underexposure, this is particularly useful for low-light photography.
You may view my recommended editing software HERE
7. Get your focus right
When there is not enough light, the camera might start to lose its autofocus abilities. Many DSLR cameras are equipped with an “AF Assist” light in front of the camera that lights up just like a flashlight when there is not enough light to illuminate the subject. If you have such functionality, definitely turn it on in dim environments. If this isn’t available on your camera, consider using your smartphone’s LED torch to light up the subject so you can grab focus.
If your subject is far away or you do not have a flashlight, you will need to manually focus on your subject. Most of the time, setting your lens to “infinity” focus works great, but in some cases, you will have to try to take a picture, then adjust the focus as needed. Once you acquire focus, make sure to turn off autofocus so that the camera does not attempt to focus again.
Related post
Long shutter speed Photography – How to apply it?
How to Reduce the Photo Noise – The Free Noise Reduction Software
Thanks for reading, I hope you enjoyed the article if you have any questions just post them below & I will be happy to answer you.
If you enjoy the site, don’t forget to subscribe, we will only inform you when a new article is posted.


Lovely article. I’ve recently started my own blog and I need to take pictures that need to look more professional so this article was very useful to me. My photos don’t come out so clear and sharp.
I think the problem with most of my photos is that my camera is not so great. I have the Canon Powershot SX600 HS. Or maybe I just have it on the wrong settings;)
Hi Hollie
Thanks for your comment, I think, may be, you need to read more about photography basics then try to practice more. I recommend you start with my Photography Course. Then you will see the difference!
Good luck and hope to see you again