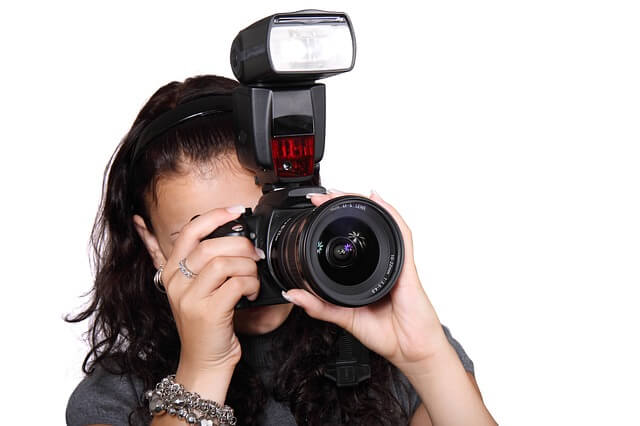


If you’re a photographer you’re no longer tied to available light. A reliable and portable light source is immediately at your disposal if you choose. What a great gift! But, naturally there are some drawbacks, the brief pulse of light is just too short for us to process and the small light sources mounted close to the lens produce a very unnatural form of light.
So, there are some useful tips in using flash.
Flash Photography Tips:
1) Use Fill Flash
In a simple camera with built-in flash Use fill flash when the sun (or the light source) is behind the person you are shooting to reduce the shadows on his face.
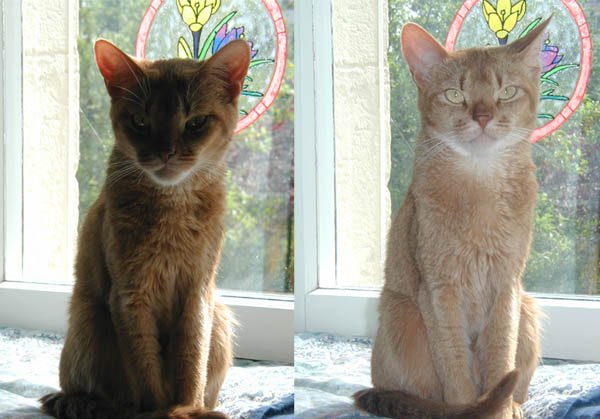
Here is an example showing how it is useful to use fill flash technique in the case that your background is too bright
Another situation to use the fill flash is when the main light source is coming from the side or from the top of a person resulting in partial shadow on his right side or left side, using fill flash to reduce the shadow.
2) Use Slow-Sync flash
When Shooting at night & your background is dark, it is necessary to adjust the mode of simple cameras with built-in flash to “Night portrait” or “Night snapshot” mode. It means to synchronize the flash with the shutter.
This mode will balance the exposure of your background of the photo as well as the foreground.
3) Use flash exposure compensation
In modern camera there is a mode where you can control the power or the strength of the flashlight. This mode allows you to dim or light up the flash. This is very useful to balance the exposure of the front ground and background.
4) Bouncing the flash
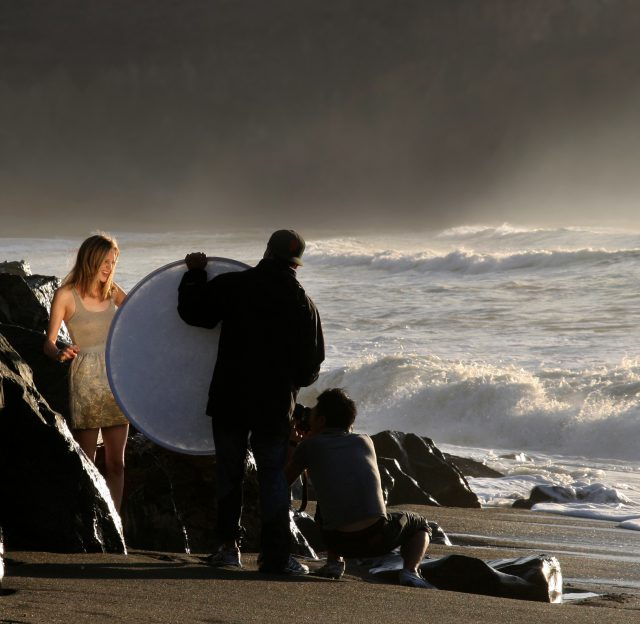
Tilt and swivel let you bounce (reflect) the flash unit’s light off walls, ceilings, reflectors, etc, in order to soften the light. Non-bounced flashlight tends to be fairly harsh since it originates from a relatively small area. This harsh light tends to result in unflattering photos of people. Bounce flash softens light nicely but does have some disadvantages. For one, you obviously can’t bounce flash outdoors unless you carry a reflector or something with you – it’s most immediately useful in interior spaces. Some interiors, in fact, aren’t much good either if they have really dark surfaces or high ceilings.
5) Use a diffuser (soft screen)
You may cover the flash with a diffuser or just use a soft screen, this converts the tiny source of light (flash) to a broader source of light and consequently soften the light. and break up the directionality of the light.
In studio flashes, more effective diffusing methods can be used such as umbrellas, softbox,es etc. whose job is to diffuse the light even more and to create very soft and pleasant shadows.
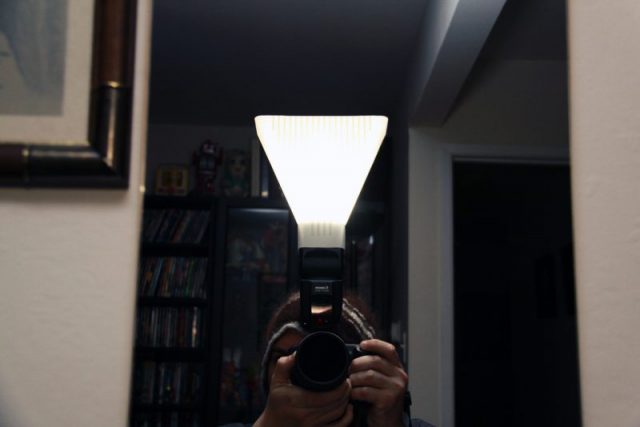
Photo Credits go to Jeff Vier
6) Use Red-eye reduction mode
Many cameras have a red-eye reduction mode where the flash may fire before the picture is taken in order to cause the subjects’ pupils to contract. The red-eye reduction modes in newer cameras are surprisingly effective and work in many different ways to contract pupils.
7) Avoid reflecting surfaces
Be sure you aren’t shooting towards something reflective, like a glass window or mirror. Flash glare will bounce off the glass and look like an ugly mess. It will also throw off the flash metering, underexpose the photo.
8) Shooting from long distances
When using flash in long-distance photography you should try to close the aperture as much as you can, take the diffuser off and point the flash forward. Increase the ISO a level or two.
9) Taking the flash off the camera
You can take the flash off the camera and work with it by pressing the “shoot” button on the flash. Automatic flashes will shoot with full intensity, but manual flashes are more flexible. In this way, you can achieve interesting exposures.
10) Raising the flash above the lens
You also can reduce the ugly flash shadows cast onto walls behind a subject. The shadows still occur; they’re simply lowered down below the subject and thus may not appear in the final picture. Many flash brackets also have rotating attachments which allow you to keep the flash centered above the lens at all times rather than having it on the side when you take photos in portrait orientation rather than landscape.
You may check this video:
Related posts
How To Use Flash In Photography- The Full Guide
Off Camera Flash For Beginners
Best Flash For Macro Photography
Canon Speedlite 470EX-AI – The World First Auto Intelligent Bounce Flash
I hope you enjoyed the tips for flash photography & I would be happy to answer your questions below, thanks for reading.
See also my review of the Top 5 Canon Camera Flashes.
If you enjoy the site, don’t forget to subscribe, we will only inform you when a new article is posted.


I struggle with even the easiest of cameras. I always have gotten the dark photos and didn’t realize there were so many ways to effectively change who the photo comes out. I will put this information to good use and share your post as I think others would greatly benefit from the information you have put in this post about flash photography tips and tricks.
Thanks Debra for you comment, Glad that you found it helpful.