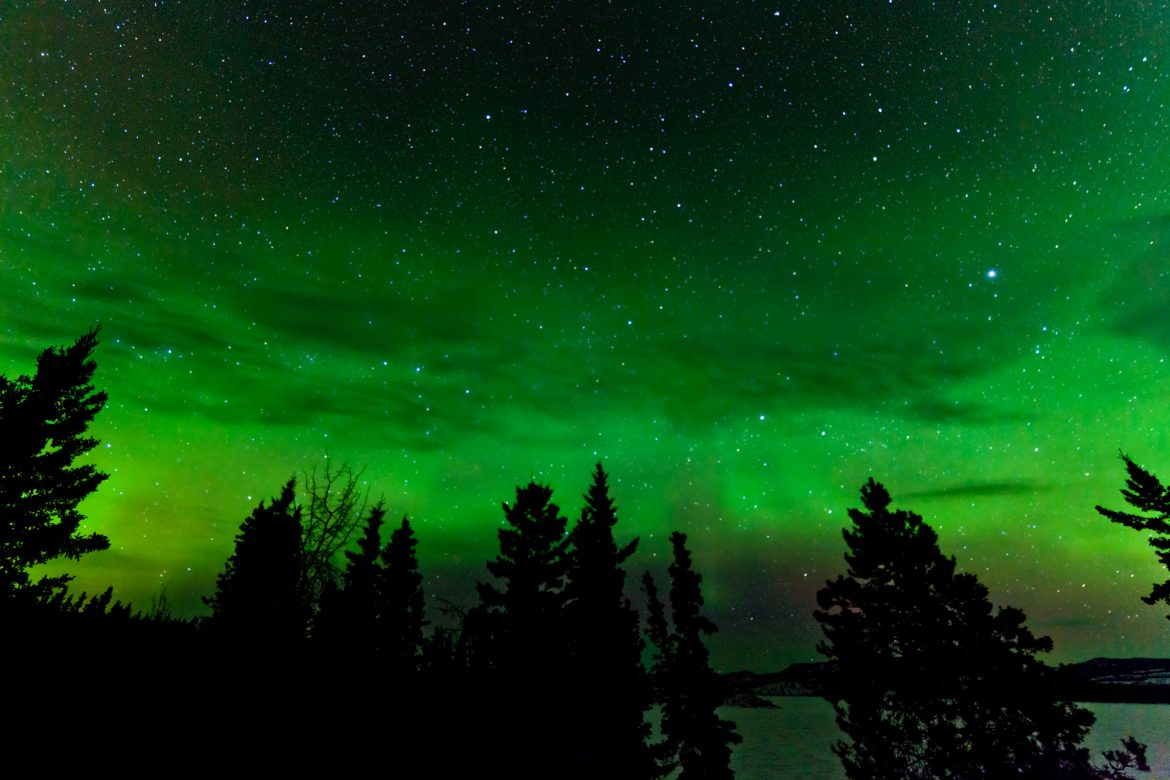
For anyone who’s ever looked up at the night sky and been awestruck by the beauty of the stars, astronomy photography is the perfect way to capture that feeling and preserve it forever.
However, astrophotography is a complex genre that requires a lot of specialized equipment and knowledge to do well. In this blog post, we’ll give you 12 tips to help you get started in astrophotography and start taking stunning pictures of the night sky.
What is Astrophotography?
Astrophotography is a type of photography that centers on capturing images of celestial objects and phenomena in the night sky. This can include stars, planets, galaxies, comets, nebulae, star clusters—anything you might see when looking up at the sky on a clear night.
To do astrophotography you’ll need some specialized equipment such as a telescope or tracking mount, tripod, and camera as well as knowledge of how to properly set up and use these items. While it can be challenging to learn everything needed for successful astrophotography, the result can be rewarding.
Top 12 Tips For Astrophotography
1. Invest in a good telescope
The photo is credited to depositphotos.
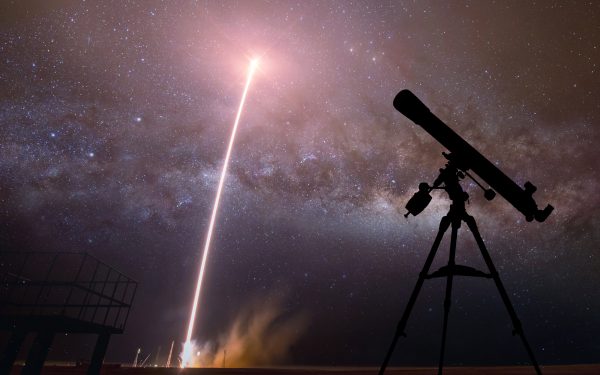
When it comes to astrophotography, the quality of your telescope will have a direct impact on the quality of your images. Many amateur astronomers make the mistake of assuming that any telescope will do, but this simply isn’t the case.
To get the best possible pictures, you need to buy a good quality telescope specifically designed for astrophotography. These telescopes are designed to provide a high level of image clarity and stability, both of which are essential for capturing sharp, detailed images of distant objects.
In addition, astrophotography telescopes often come equipped with specialized accessories such as tracking motors and camera adapters, which further enhance their performance.
So if you’re serious about taking great astrophotos, be sure to invest in a good quality telescope. It will make all the difference in the world.
2. Choose the Right Camera
The photo is credited to depositphotos.
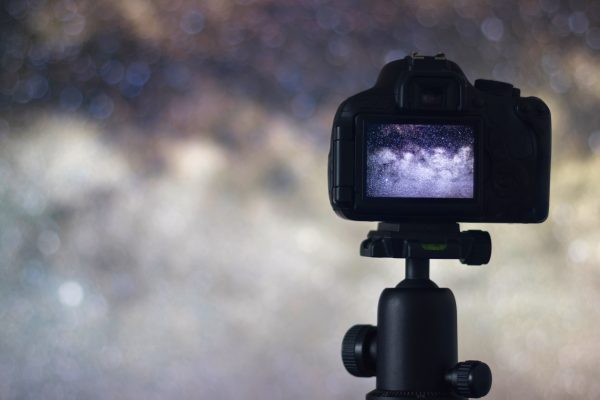
There are a few things to consider when choosing a camera for astrophotography. First, DSLR or mirrorless? For many beginners, a DSLR is a good choice because they are widely available and relatively affordable.
Mirrorless cameras are becoming more popular, however, and they have some advantages for astrophotography. They are typically lighter and smaller, making them easier to carry and handle.
They also tend to have shorter shutter lag times, which can be helpful when trying to capture fast-moving objects like comets. Another important consideration is the sensor size. A larger sensor will allow you to capture more light and detail, but it will also be more expensive.
If you’re just starting, a smaller sensor may be a better option. Finally, be sure to check the camera’s ISO range. Astrophotography often requires high ISO settings, so you’ll want a camera that can handle those settings without introducing too much noise into the image.
With these factors in mind, you should be able to choose the best camera for your astrophotography needs.
3. Use a tripod
The photo is credited to depositphotos.
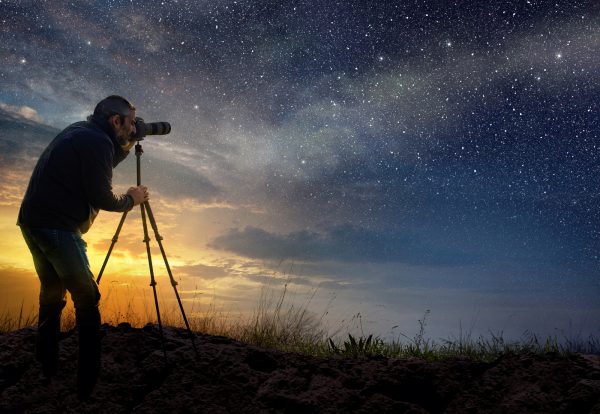
Unlike most other genres of photography, astrophotography requires long exposure times, which means you’ll need to use a tripod to keep your camera completely still for the duration of the exposure.
4. Use a remote shutter release
The photo is credited to depositphotos.
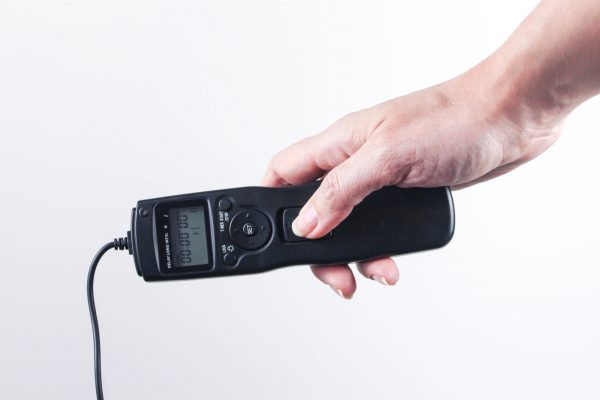
In addition to using a tripod, you’ll also want to use a remote shutter release (or the self-timer function on your camera) to avoid any unwanted camera shake when taking the photo.
5. Find a dark location
The photo is credited to depositphotos.
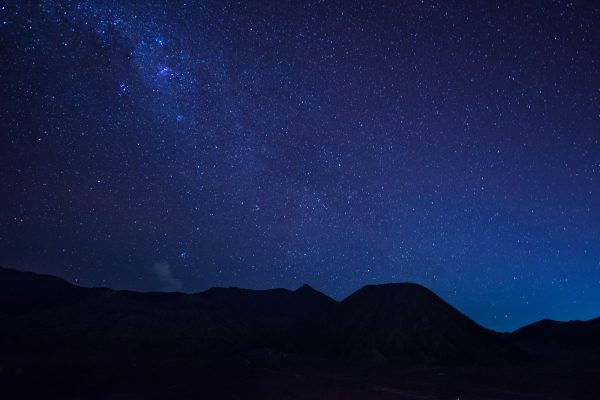
One of the most important things for astrophotography is finding a location that is away from city lights so that you can get the clearest view of the night sky possible.
6. Use a wide-angle lens
The photo is credited to depositphotos.
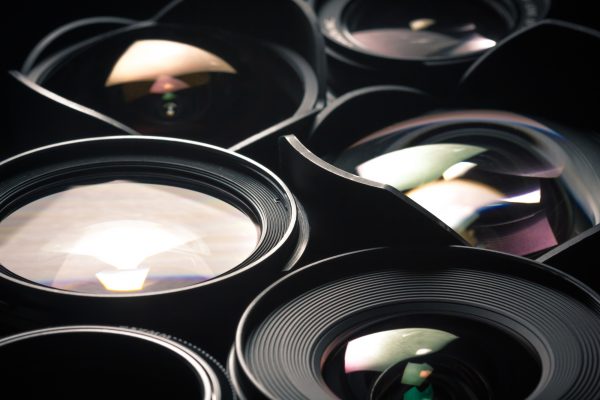
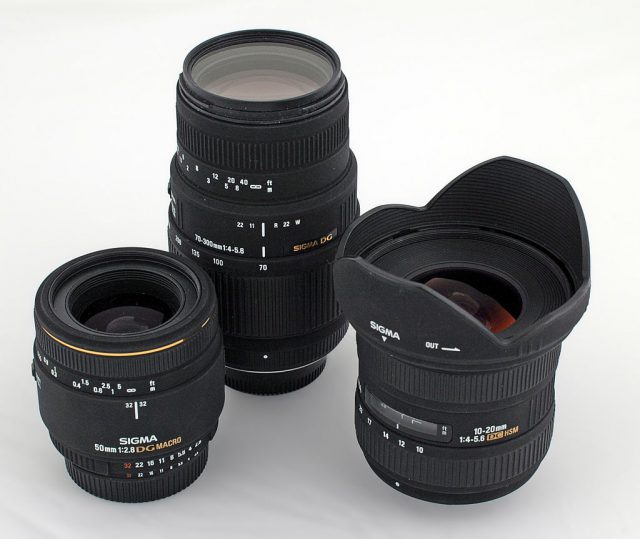
One of the best ways to get great astrophotography is to use a wide-angle lens. This is because it allows you to capture a large area of the sky in one image.
The wider the field of view, the more likely you are to capture something interesting. In addition, wide-angle lenses tend to have low distortion, which means that your images will be sharper and more accurate.
However, wide-angle lenses can be expensive, so it is important to do your research before purchasing one. But if you are serious about astrophotography, then a wide-angle lens is definitely worth the investment.
7. Set your ISO
The photo is credited to depositphotos.
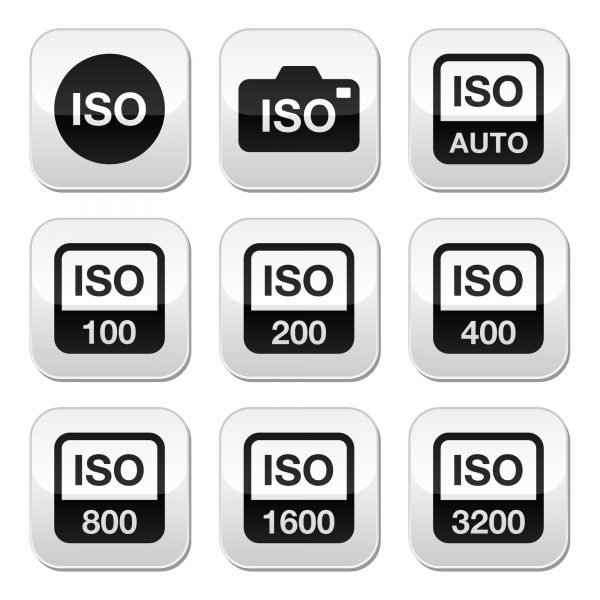
The ISO setting on your camera determines how sensitive it is to light, and for astrophotography, you’ll want to use the highest ISO setting possible while still keeping the image quality high.
Read more about ISO.
8. Set your aperture
The photo is credited to depositphotos.
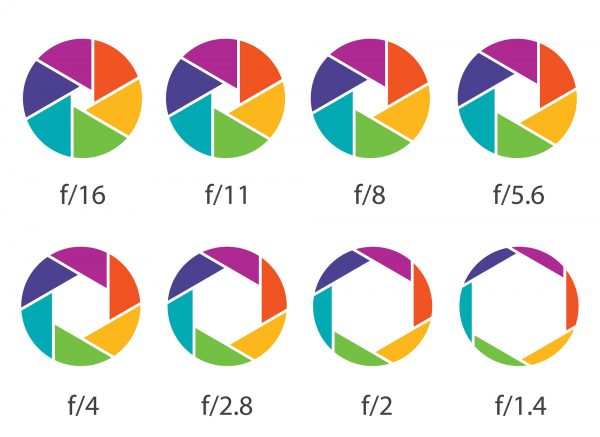
The aperture is another important setting on your camera because it determines how much light enters the lens and hits the sensor. For astrophotography, you’ll want to use the widest aperture possible (the lowest f-number).
Read more about Aperture.
9. Set your shutter speed
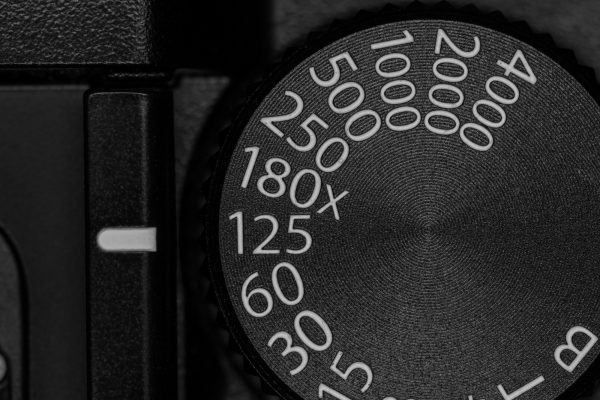
The photo is credited to depositphotos.
The shutter speed is determined by how long the sensor is exposed to light, and for astrophotography, you’ll want to use long exposure times of 30 seconds or more.
Read more about shutter speed.
10. Focus manually
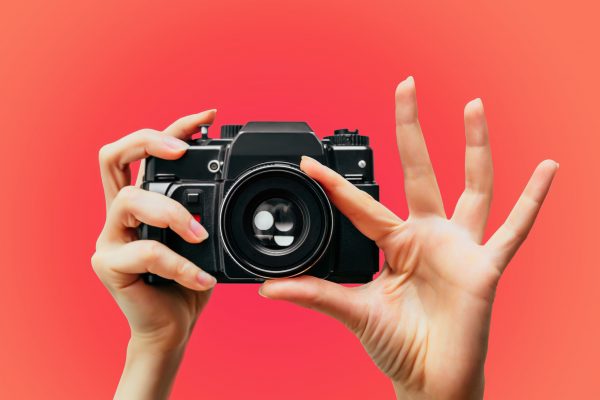
The photo is credited to depositphotos.
When taking photos at night, it can be difficult for your camera’s autofocus system to accurately focus on stars because they are small and often far away. As such, it’s best to focus manually when doing astrophotography.
Read more about manual focus.
11. Take multiple pictures
The photo is credited to depositphotos.
Because there is so much room for error when doing astrophotography, it’s always best to take multiple pictures of each target so that you have something to fall back on if one doesn’t turn out well.
12. Edit your photos

The photo is credited to depositphotos.
When it comes to astrophotography, the editing process is just as important as actual photography. With astrophotography, you’re dealing with very low light levels, so it’s important to expose properly and use a high ISO setting.
However, this can often result in noise in the final image. Therefore, it’s important to edit your photos carefully to reduce the amount of noise.
There are a few different ways to do this, but one of the most effective methods is to use noise-reduction software. This software will help to smooth out the noise and make it less visible in the final image.
In addition, it’s also important to edit the white balance and color of your photos. Astrophotography often results in very blue images or orange. By editing the white balance, you can make the colors in your photos more natural-looking.
Finally, it’s also important to crop your photos carefully. Astrophotography often results in very wide field images, so cropping can help to create a more pleasing composition.
By following these steps, you can be sure that your astrophotography images are of the highest quality.
See more articles about photography editing tips.
Conclusion
Astrophotography is a beautiful but complex genre that takes time, patience, and practice to master. However, armed with the right knowledge and equipment—and our top 12 tips—you can start taking stunning astrophotos today!
Thanks for reading, I hope you enjoyed the article, in case you have any questions just drop them below & I will be happy to answer you.
If you enjoy the site, don’t forget to subscribe, we will only inform you when a new article is posted.



Thank you for all the tips for Astrophotography. You have an excellent blog.
Congratulations.
This article is another great insight into photography. I started my blog recently. I have decided to use unique pictures for my blog articles. I have always wondered how they take snapshots of these so-called celestial bodies. I wonder how they can manage the distance and also capture night moments. Thank you for doing a perfect introduction to the required tools.
Thanks!
It is such a great feeling to having looked at the sky and then capture it on camera. I believe this was never thought to be possible until telescopes were invented. Now with a good telescope and camera, it is possible to capture every details in the sky. Although I haven’t experienced it yet but I wish to some day.
You will like the experience 🙂