The golden hour also known as the magical hour and blue hour is the natural time frame that is very popular among photographers when shooting landscape photos. When the Sun is close to the horizon on a sunny day, its light appears warmer and softer which is very suitable for amazing shots, this time is called the golden hour. On the other hand, the blue hour refers to the darker stages of morning and evening twilight, when the Sun is quite far below the horizon, coloring the sky deep blue, it is also a favorite with painters and photographers.
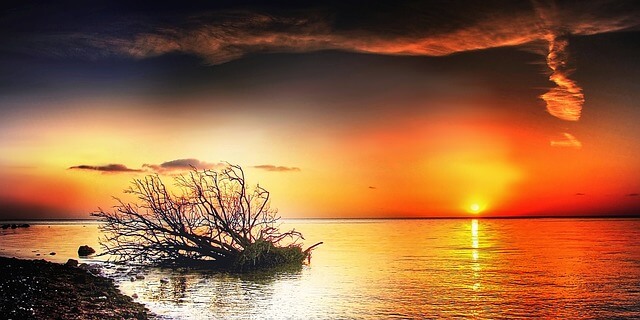
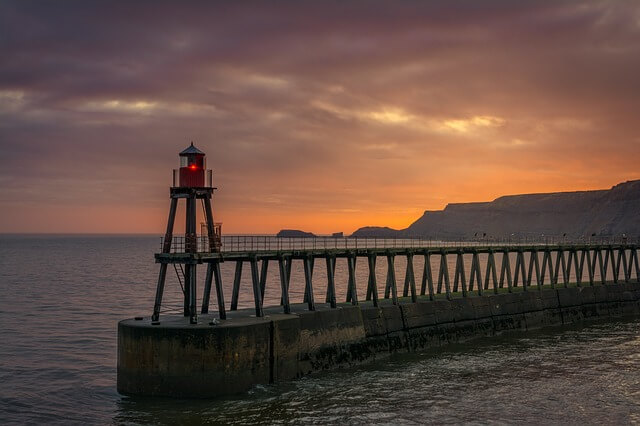
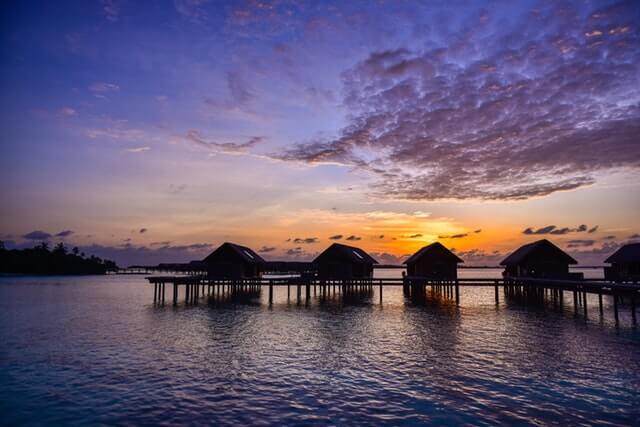
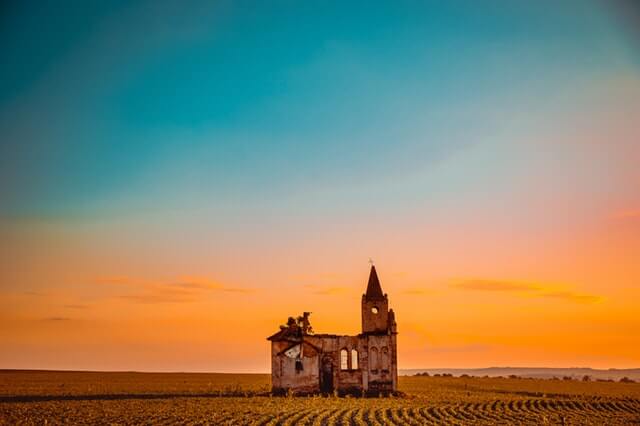
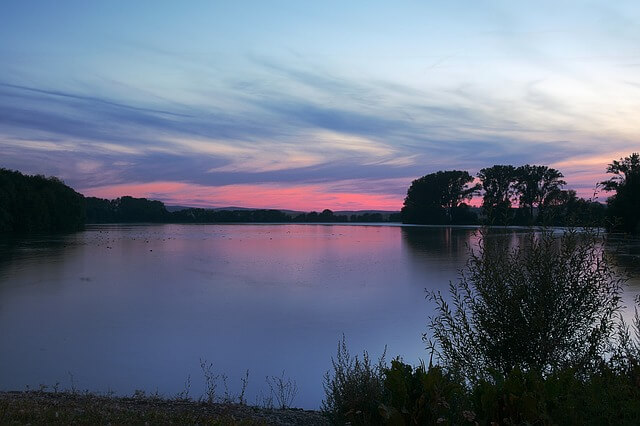
The following are some shots that are taken during the golden hour:
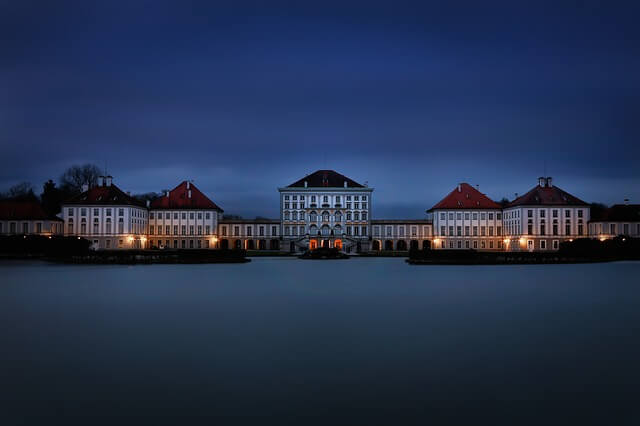
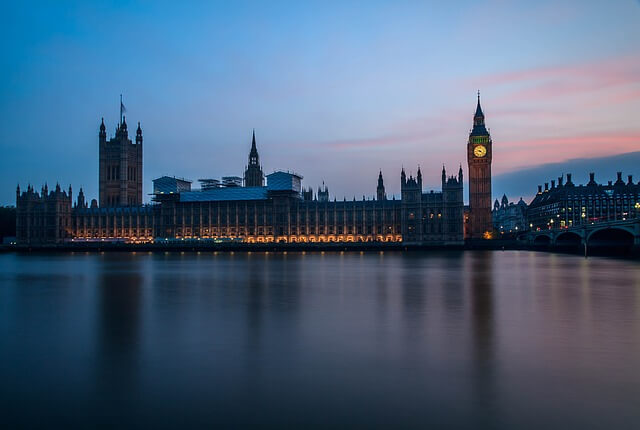
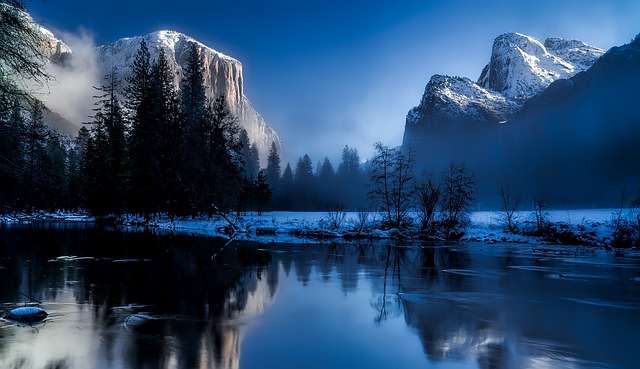
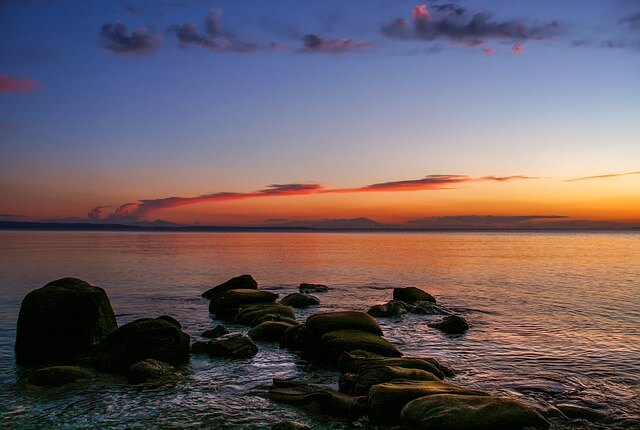
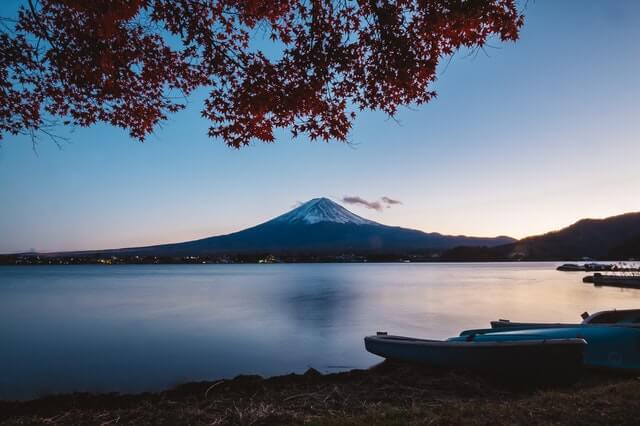
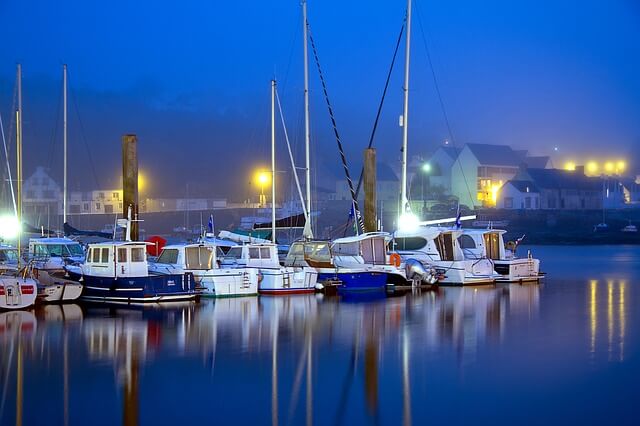
The following are some shots that are taken during the blue hour:
In this post, I’ll explain in some details what the golden and the blue hour are, at what time they happen, and finally, I will make some tips that help you catching wonderful shots during these hours.
Definitions
Twilight, Dawn, and Dusk
Twilight is the time between day and night when there is light outside, but the Sun is below the horizon. It occurs when Earth’s upper atmosphere scatters and reflects sunlight which illuminates the lower atmosphere.
Astronomers define the three stages of twilight – civil, nautical, and astronomical – on the basis of the Sun’s elevation which is the angle that the geometric center of the Sun makes with the horizon.

- Astronomical twilight is the darkest of the 3 twilight phases. It is the earliest stage of dawn in the morning and the last stage of dusk in the evening. The geometric center of the Sun’s disk is between 12 and 18 degrees below the horizon.
- Nautical twilight is the second twilight phase. Both the horizon and the brighter stars are usually visible at this time. During nautical twilight, the geometric center of the Sun’s disk is between 6 and 12 degrees below the horizon.
- Civil twilight is the brightest of the 3 twilight phases. The Sun is just below the horizon, so there is generally enough natural light to carry out most outdoor activities. In the morning, civil twilight begins when the Sun is 6 degrees below the horizon and ends at sunrise. In the evening, it begins at sunset and ends when the Sun reaches 6 degrees below the horizon. Civil twilight is the brightest form of twilight. There is enough natural sunlight during this period that artificial light may not be required to carry out outdoor activities.
Golden Hour
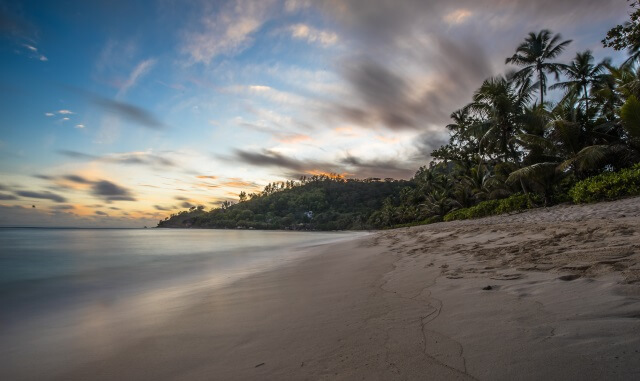
Golden hour refers to a state of natural lighting that is most common around sunrise and sunset. The warm sunlight that is characteristic for the golden hour most likely occurs when the Sun is between 6 degrees below and 6 degrees above the horizon. By this definition, the golden hour begins with civil dawn in the morning and ends with civil dusk in the evening.
During civil twilight, when the Sun is at most 6 degrees below the horizon, Earth’s upper atmosphere reflects the sunlight, illuminating the lower atmosphere and making the sky appear in golden and reddish colors.
During the golden hour, the sun is low in the sky, near the horizon. This produces a nice soft light. The light coming from the sun is diffused by particles in the air, making the light a lot less harsh than during the day. This softer light is especially suited for natural light portraits, as well as landscape photography.
The intensity of light from the sun is also reduced during the golden hour. This makes it easier to achieve a photograph that is evenly exposed, without overly bright highlights or really dark shadows.
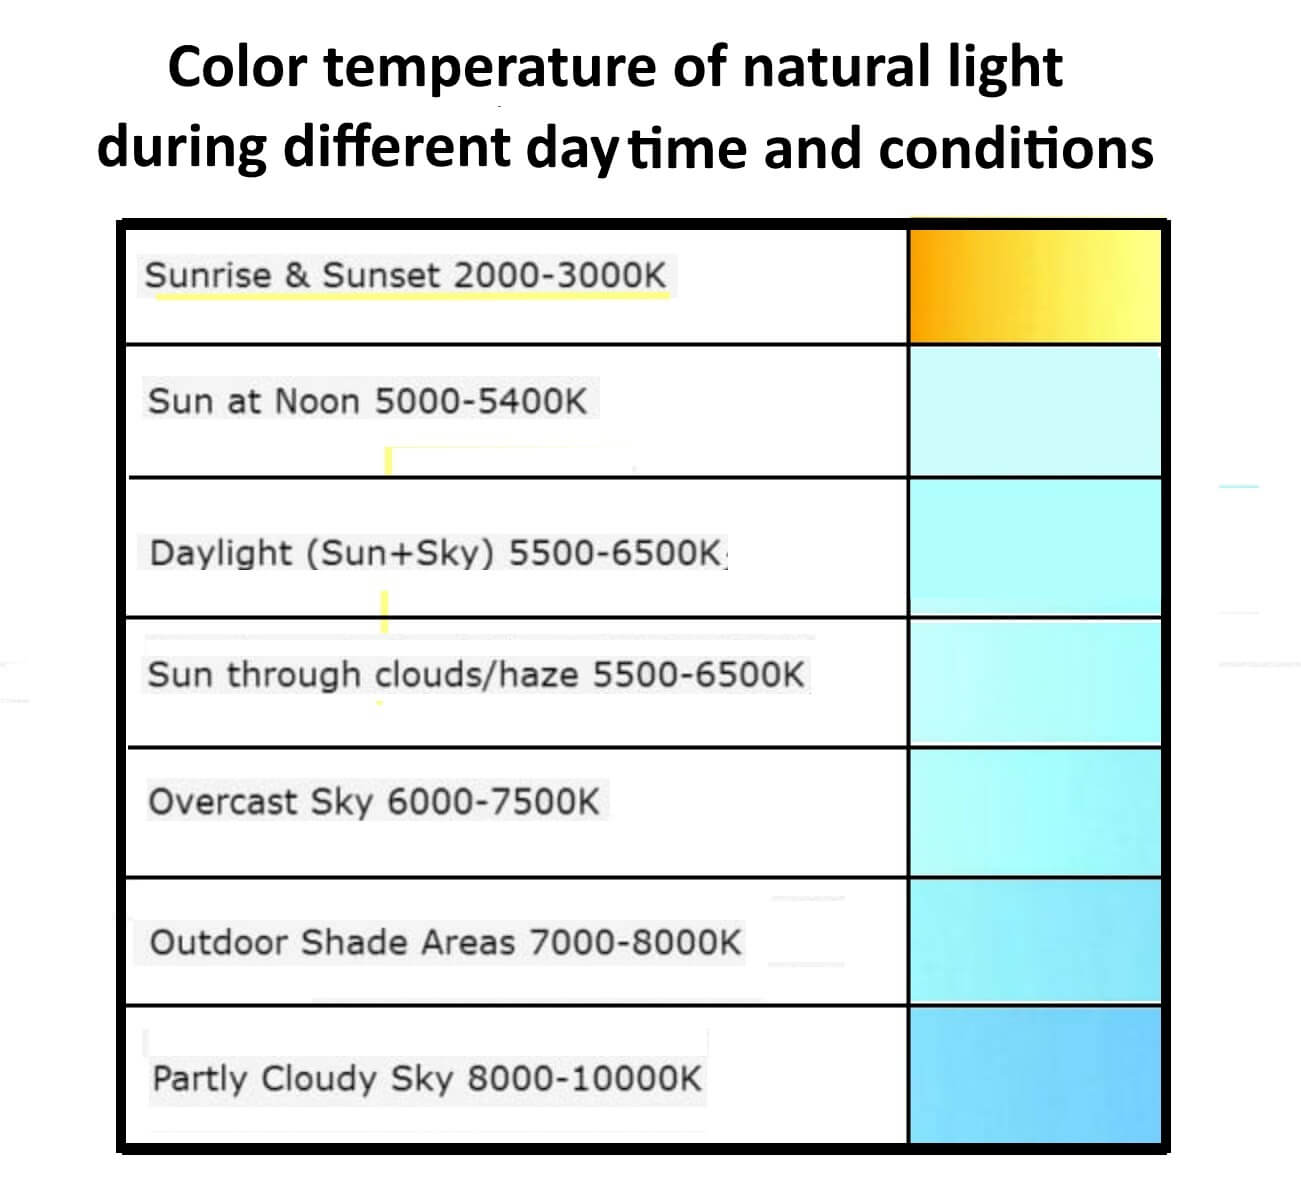
The golden hour gets its name from the warm, golden light that you find at this time of day. This warm color is generally more appealing than cooler color temperatures. During the golden hour, the color of the sky goes from red and orange to yellow or, as its name suggests, golden tones, having a warm color temperature. Lighting is soft, diffused and with little contrast since the sun is low in the sky. Due to the type of light that exists during this period of time, that doesn’t produce strong shadows and harsh lighting, it’s ideal for landscape photography.
The following table shows the color temperature of natural light at different hours of the day.
The start, end, and duration of the golden hour depend on both the location and the season. Golden hour calculator for your location is HERE.
Tips for shooting at golden hour
The following are some general tips that might help you shooting at the golden hour, also you may check my post “How to Take Best Sunset and Sunrise Photos” for more detailed tips.
- Plan for the shot: Because the golden hour is short, you should plan well for your shot. Make yourself familiar with the destination and turn up with some ideas of the subjects and angles you wish to capture.
- Use a tripod: tripod will help you keep your images sharp.
- Use a wide aperture: The sunlight is not as bright during the golden hour, requiring a larger aperture—unless you are planning a long exposure shot.
- Consider increasing the ISO: The low light level during the golden hour may require you to try out a higher ISO setting. However, be aware that this may also increase noise.
You can also find some extra tips in the following link on shooting at golden hour
Blue hour
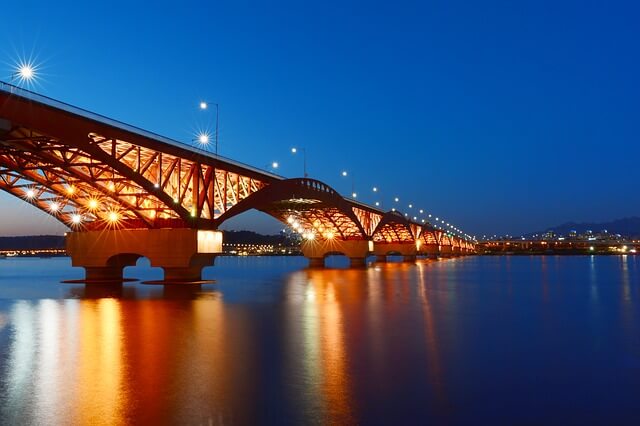
The blue hour refers to the darker stages of morning and evening twilight, when the Sun is quite far below the horizon, coloring the sky deep blue. In other words, it refers to a state of natural lighting that usually occurs at daybreak in the morning and during the last stages of twilight in the evening.
During the blue hour, the Sun is so far below the horizon (the Sun is between 4 and 8 degrees below the horizon). The atmosphere scatters only the short-wave blue light, sending it back to Earth. Meanwhile, the longer red wavelengths pass through it and into space.
To know the start, end, and duration of the blue hour according to your location, you may use this link Blue Hour Site
Tips for shooting at blue hour
- Pick up the right subject: the most common subjects are cityscapes, building (well-lighted, internal or external lights, or both), bridges, monuments…etc. So as you see the most important thing is that your subject must have some lights or brighter areas on it.
- Use the right camera: your camera has to have a good performance in the low light condition.
- Use a tripod and Remote shutter release: It is probably obvious that you will need a tripod for your blue hour photography to keep the camera steady during the long exposures necessary due to the low light conditions.
- Use camera Shutter Priority mode: it allows you to manually choose your shutter speed. A shutter speed of one to six seconds should get good results.
- Shoot in RAW: it will give you the highest quality capture, and the best advantages when editing.
Related posts
How to Take Best Sunset and Sunrise Photos
What Are The Different Types Of Light In Photography?
What Is White Balance? – A Beginner Guide
Thanks for reading, I hope you enjoyed the article if you have any questions just post them below & I will be happy to answer you.
If you enjoy the site, don’t forget to subscribe, we will only inform you when a new article is posted.








This is another breath taking article that is quite revealing and detailed to the last. Landscaping in photography is a good representation of natural prototype of images that will bring the dimensions i n different views. It is a feature that must learnt to boost the quality photos produced by career photographers.