In this tutorial, I will explain how to create a vector mask.in Photoshop, Vector masks are usually more accurate than those created with pixel-based tools. A vector mask is a resolution-independent path that clips out the contents of the layer. It produces a sharp and accurate cut out of subjects, especially man-made items.
What is a raster image?
Raster images, also known as bitmaps, are comprised of individual pixels of color. Each color pixel contributes to the overall image.
Raster images might be compared to pointillist paintings, which are composed of a series of individually colored dots of paint. Each paint dot in a pointillist painting might represent a single pixel in a raster image. When viewed as an individual dot, it’s just a color; but when viewed as a whole, the colored dots make up a vivid and detailed painting. The pixels in a raster image work in the same manner, which provides for rich details and pixel-by-pixel editing.
Characteristics of Raster Image
- Comprised of pixels, arranged to form an image
- Constrained by resolution and dimensions, resolution-dependent
- Capable of rich, complex color blends
- Large file sizes (but can be compressed)
- Perfect for “painting”
- Capable of detailed editing
What is a vector image?
Vector graphics are made up of paths; each with a mathematical formula (vector) that tells the path how it is shaped and what color it is bordered with or filled by.
Since mathematical formulas dictate how the image is rendered, vector images retain their appearance regardless of size. They can be scaled infinitely.
Characteristics of Vector Image
- Comprised of paths, dictated by mathematical formulas
- Infinitely scalable, resolution-independent
- Difficult to blend colors without rasterizing
- Small file sizes
- Perfect for “drawing”
- Less detailed, but offers precise paths
What is a Path?
Paths are outlines that you can turn into selections, or fill and stroke with color. You can easily change the shape of a path by editing its anchor points.
A work path is a temporary path that appears in the Paths panel and defines the outline of a shape.
You can use paths in several ways:
- Use a path as a vector mask to hide areas of a layer.
- Convert a path to a selection.
- Fill or stroke a path with color.
I recommend checking out this website “Adept Clipping Path” which is doing a great Clipping Path Service.
What are Adobe Photoshop Layer and Vector Masks?
By Using Masks we are able to temporarily hide and show parts of a layer without permanently deleting any of the pixels. There are two types of Adobe Photoshop layer masks, layer, and vector.
- A layer mask also known as a pixel mask is a resolution-dependent image created with the painting and selection tools.
- A vector mask is a resolution-independent object created with a pen or a shape tool that contains anchor points. A vector mask works in a similar way as the layer mask (defines what parts of the layer are visible, and what parts of the layer are hidden), but instead of being a raster image, it is made up of vector shapes and paths (defined mathematically, and not as pixels). Vector masks are usually more accurate than layer masks, especially when they are used to show or hide manmade objects like cups, mugs, watches, cars, etc.
Useful Shortcuts
- Add a vector mask
Clicking the Add Layer Mask icon will add a layer mask. Clicking the Add Layer Mask icon again will add a Vector mask. Alternatively, Command + click (Mac), Ctrl+ click (Win) the Add Layer Mask icon.

- Invert a Vector mask
Select the path (using the Path Selection tool) and choose “Subtract Front Shape” from the Path Operations in the Options bar.

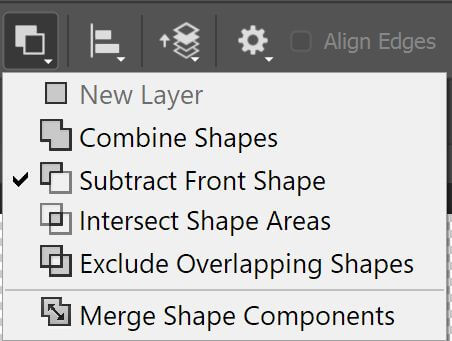
- Disable the mask
Shift + click in the Vector mask thumbnail in the Layers panel. Shift + click the thumbnail again to enable it.
- Toggles the visibility of the path
Command + H (Mac), Ctrl + H.(Win)
- Select/deselect the mask
Click the Vector mask thumbnail in the Layers Panel
- Convert the Vector mask to a selection
Command + click (Mac), Ctrl + click (Win) the Vector mask thumbnail (in the Layers Panel)
- add additional paths to a Vector mask
Using the Pen tool, first target the Vector mask in the Layers panel, then draw additional paths.
- soften the edges of a Vector mask
Use the Feather slider in the Properties panel. Use the Density slider (in the properties panel) to decrease the effect of the mask.
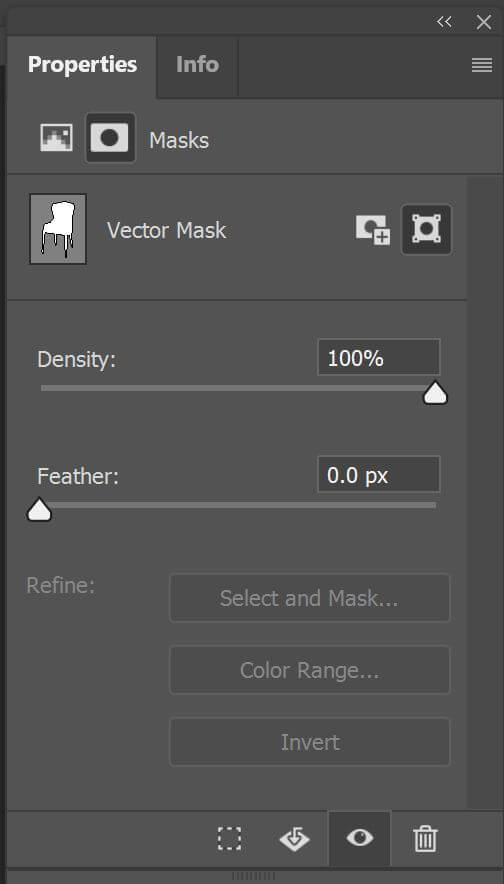
How to create and edit a vector mask?
There are two approaches to use the vector mask to cut and mask an object. The first one is by using the pen tool to define the path around the subject and then create the vector mask. The second approach is by using any of the selection tools (quick selection, subject selection tools) to roughly select the subject, turn the selection into a path, and then use the pen tool to refine the path and create the vector mask. In the following example, I will use the below photo:

Photo by Ales Krivec on Unsplash
Example
Step 1
Open the file in Photoshop; duplicate the background layer (Ctrl + J)
Step 2
Use the quick selection tool to roughly select subject

Step 3
Turn the selection into a path, by clicking the path in the layer panel and click “Make work path from the selection”
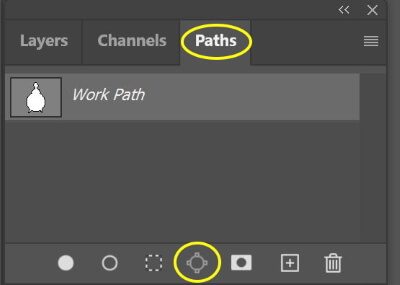

Remark:
You can control the number of points that are used in constructing the bath by changing the tolerance. When creating the path hold Alt and click Make work path from the selection. The following menu will pop up

Step 4
Now, I will create a vector mask from the path. Go to the later panel, Hold Ctrl and click “Add a layer mask”. A vector mask is created.
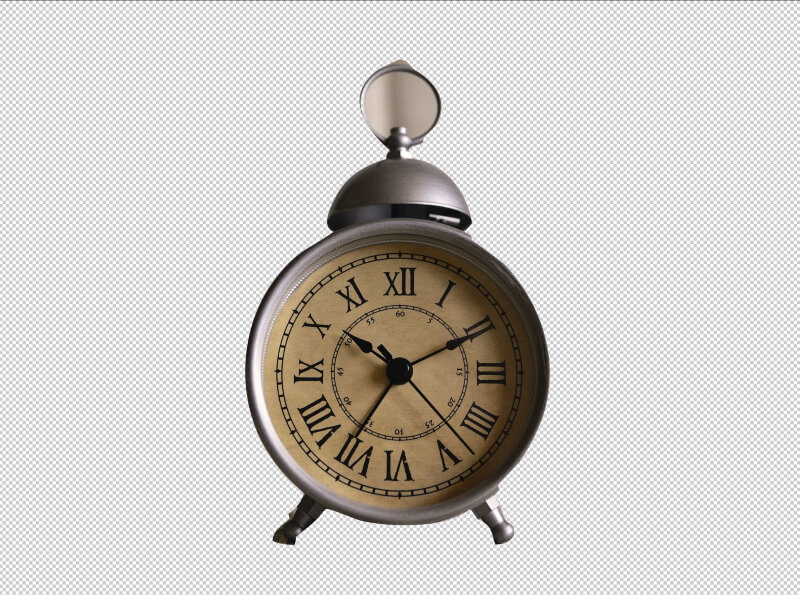
Step 5
To refine the mask, I will refine the path.
Click the path selection tool from the tool panel, and click on the path.

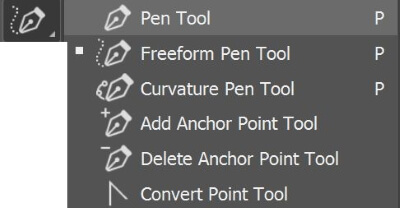
Use the pen tool (Curvature pen tool) to refine the path
Click at a point, drag to adjust. repeat the process until finishing the adjustment.
Step 6
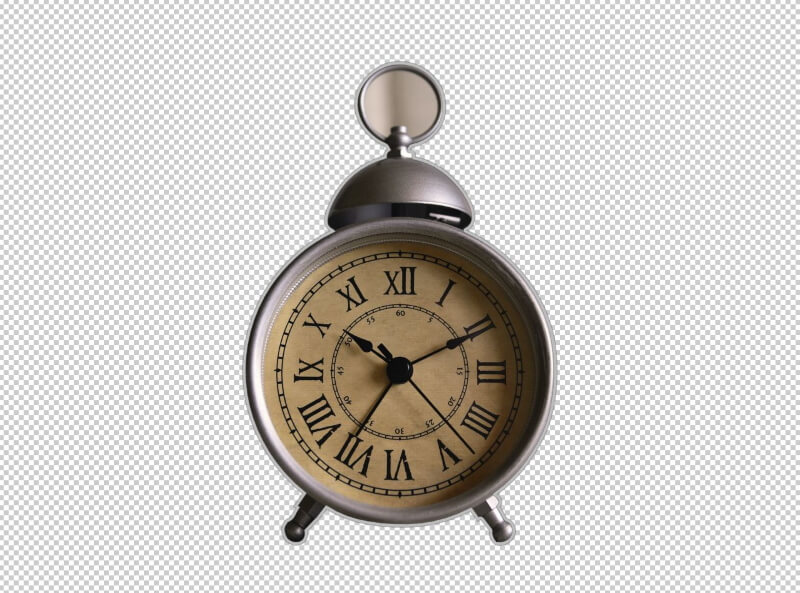
There is one step to refine the mask. The inner of the handle at the top is not masked. Use the pen tool to draw another path around the inner circle.
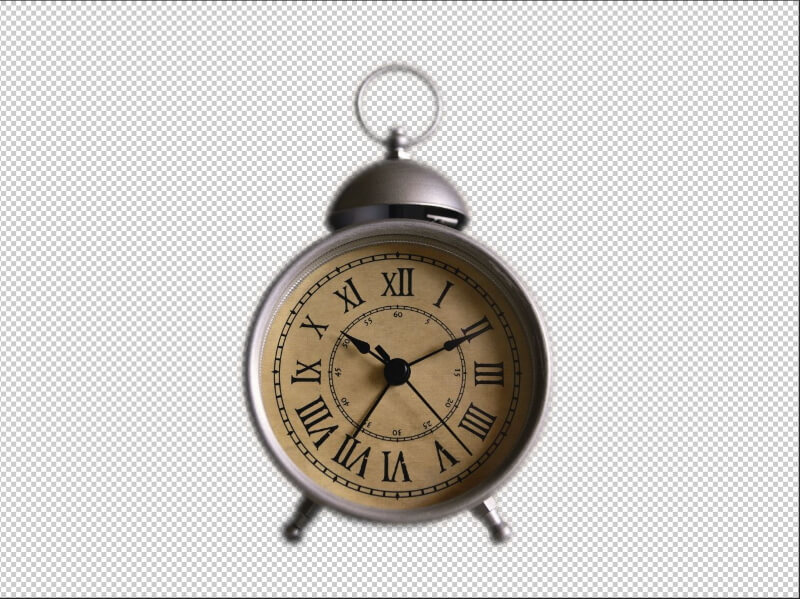
The final cutout is shown below
Other examples
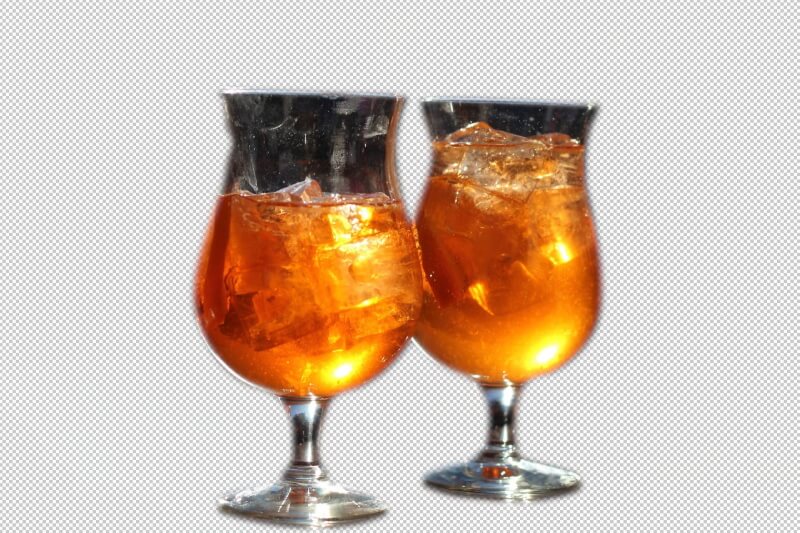
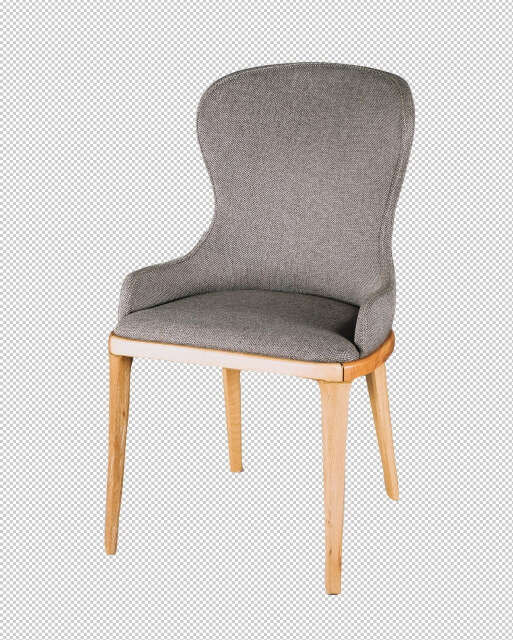
Photo by Giancarlo Duarte on Unsplash
Photo by Sonia Kowsar on Unsplash
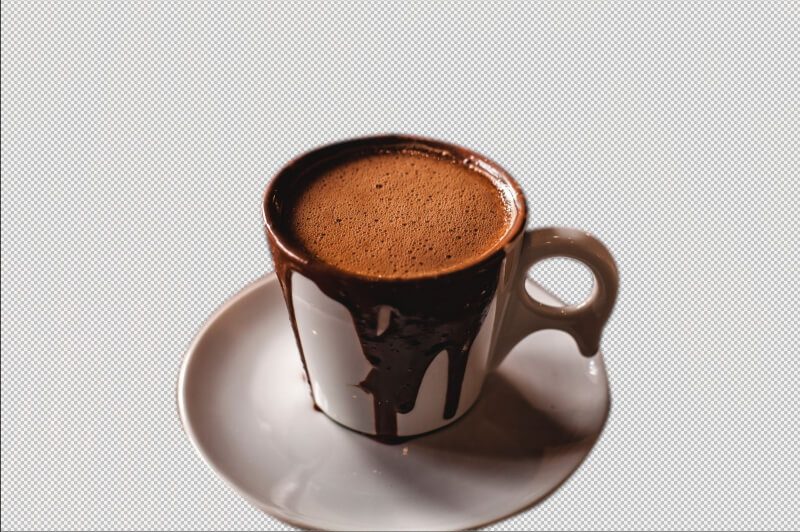
Photo by Sam Moqadam on Unsplash
Related posts
What Is A Mask In Photoshop? – A Complete Beginner’s Guide
Thanks for reading, I hope you enjoyed the article, in case you have any questions just drop them below & I will be happy to answer you.
If you enjoy the site, don’t forget to subscribe, we will only inform you when a new article is posted.






Wow. incredibly impressive I appreciate you sharing with us. I’ve seen this done before and have always been curious in how it was done. You should know this if you’re a designer.
Very informative blog! I love this one.
Thank you for your comment
I have switched to Photoshop recently. I had been trying to use photoshop alternatives for a long time. But the industry standards just drag you to photoshop. And once in photoshop, I have been experimenting with vector. Up until now, I have only focused on raster images. But there are some applications in which vector is ideal.
Hi Ann
Thanks for the comment, I agree with you, some photos that contain man-made subjects with geometrical edges are much easier to be handled by vector masks. I wish you all the success and happy editing!
Wow. Very impressive. Thanks for sharing with us. I have seen this been done before and always wondered how it was done. Very useful to know if you are a designer.
It can be helpful and useful even with affiliate marketing. I found your instructions easy to follow. The same tool can be used to design and photoshop images.
Pictures that can be used in our homes or give as gifts. It will take a while to perfect it but it can cheaper this way.
Thanks for the comment