

Probably the most important thing about a photo shoot is the end result: the pictures. For the most part, it’s great photos that determine whether or not a photo shoot was a success. But what’s also important is that the photo shoot is memorable. If your clients enjoy themselves and have a blast posing for photos, they’re more likely to hire you again or recommend you to their friends.
If you want to stage a memorable photo shoot that all participants will enjoy, follow these few simple steps.
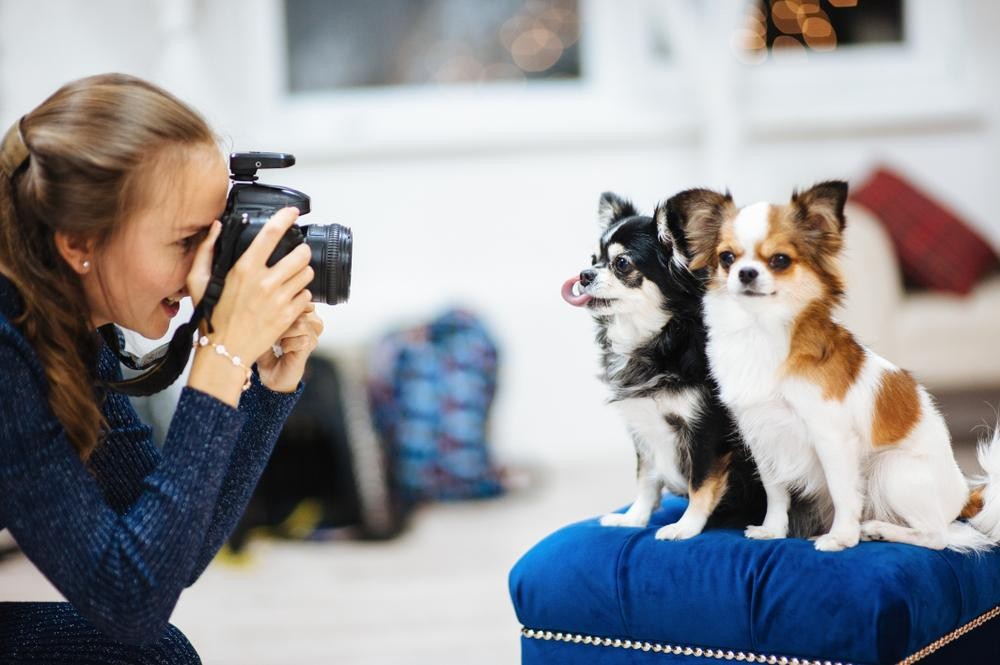
Lights, Lights, Lights
We don’t have to tell you that lighting is everything. But when you’re staging a photo shoot, you need to put a lot of thought into where you’re going to place your lights.
If you’re shooting inside a studio, you’ll have an easier time arranging the lighting setup to create some interesting results. You’ll want to have your three-point lighting setup ready for the serious professional photos. But you should also be ready to place lights at more experimental angles. You could try a spotlight effect, or maybe you could take silhouette photographs of your subjects. You could also take photos in both soft and hard light.
If you’re doing the photo shoot outdoors, make sure you bring a great flash with you and also bring a light diffuser that you can place on a small stand. You want your subjects to be able to pose wherever they want and however they want, so having versatile lighting equipment that you can easily maneuver and adjust will help you a lot.
Pro Tips: Always bring lens filters for bright days.
It’s All About the Scene
Every photography studio has the standard backgrounds that look clean and professional—but they’re also not very memorable. You should try creating a more interesting environment with which to do the shoot. You can spruce up your photography studio by adding simple props, like tables and chairs.
If you’re going to be shooting outside, be sure to carefully scout the location before the day of the shoot. Figure out where there’s a lot of vehicle and foot traffic and determine where the best backdrops are going to be. You should also be aware of the lighting—how does the sun fall on that particular spot at different times during the day? When you’ve taken note of these things, you’ll be ready to quickly arrange your photo subjects on the day of the shoot.
Have Costumes Ready
Your clients are probably going to choose what they’re going to wear before they show up at the studio or shooting location. But you should consider bringing a box of Halloween costumes just in case your subjects want to dress up and take some sillier photos.
Halloween costumes work best when you’re doing a photo shoot inside a studio because it’ll be easier for your subjects to get dressed, and because you’ll have more leeway in how to set up the lights (you might be able to set up some spooky lighting if your subjects are dressed nightmarishly).
Always remember to leave the Halloween costumes for the very end—you don’t want anyone to mess up their makeup or hair before you get shooting.
Use Props
Have props that your subjects can pose with during the shoot! Props are a great way to make those “silly” photos even funnier. Your props can literally be anything from sports items (baseball bats, footballs, and basketballs) to Halloween props (fake heads, giant spiders, etc.). Most people get a kick out of posing with props, and you might be able to take some really great photos that’ll make your clients laugh for years.
Work with the Environment
A photo studio is a very convenient place to do a photo shoot, but lots of people prefer taking photos outdoors because of the scenery. No location is truly a bad location—not if you frame it right and work with what it has to offer. Bring a good camera bag so you won’t have a difficult time hauling around your equipment.
When you’re shooting on-site, be flexible and make the most out of crowded locations or bad conditions. If there’s bad weather, for instance, seek shelter and try and continue the photoshoot (maybe you can capture your subjects with a beautiful rainy backdrop). Don’t get frustrated and have fun with it.
If you follow these tips, you’re sure to conduct a very memorable photo shoot for your clients. Have fun shooting!
Thanks for reading, I hope you enjoyed the article if you have any questions just post them below & I will be happy to answer you.
If you enjoy the site, do not forget to subscribe, we will only inform you when a new article is posted.


Very useful tips you have here. Taking pictures is really fun when there is something memorable about it after the shoot is over and the pictures are out. Customer plays a very huge role in making you have a good photo and when that isn’t paid attention to, there is bound to not have enough memory about that picture. As my family’s camera man, I will pay attention to these things mentioned here.
Thanks for the comment
hello Ehab;
I love nature, hiking in the forest or mountain, fishing in the river and many other activities and I find it great to sometimes imortalize these unique moments that we share with family. however, hiring the services of a professional is not always obvious or possible, so thank you for your advice I will put them into practice and hope to make the most of it, by the way could you give me a guide on the price of photograque material of quality?
Hi, thanks for your feedback. If you are serious about photography, you may pick up a decent camera (entry-level) with a lens for about $400 (Canon T6 With 18-55mm)