Perspective in photography sounds like a complex subject better left in the classroom. But even if you didn’t graduate from a formal art school, you don’t need to despair! Because art training is all about being aware of what we intuitively take for granted when we enjoy a scene. But perhaps you are having trouble with perspective photography ideas?
In that case, I’m going to introduce you to concepts you already understand when you enjoy a piece of art, even if you don’t necessarily know why you enjoy it. So here is a basic introduction to perspective and some perspective photography ideas you can try yourself!
Perspective Photography Ideas
Linear Perspective
Linear perspective is a great place to begin when discussing perspective photography ideas. To put it simply, linear perspective creates a sense of depth in an image. We intuitively understand when looking at telephone poles from varying distances that the “shorter” poles are further away. By using this effect we can enhance the 3D feeling of our 2D images.
Using Linear Perspective in Photography
Ever enjoy an image of train tracks seeming to meet at a distant horizon? You’ve just experienced the effects of linear perspective in action thanks to the power of parallel lines! Train tracks, roads, architecture images, and other situations create a 3D feel as the lines seem to converge the further away they get from our position as the viewer.
This can be done intentionally to create a sense of scale and place within the frame. These lines can also act as leading lines, which the artist uses to intentionally guide the eye of the viewer from subject to subject when used properly.
There are two major types of linear perspective you should understand!
One Point Linear Perspective

Photo by Austin Fathman on Unsplash

The initial example of train tracks meeting at a distant horizon is an example of a one-point linear perspective. Here, the lines have a single vanishing point within the frame where they seem to come together. Obviously, the distance between them never changes, so your brain interprets the illusion as depth within the scene.

Photo by Antoine Beauvillain on Unsplash
Two Point Linear Perspective

Photo by hohyeong lee on Unsplash

Photo by Alex Azabache from Pexels
Using a two-point linear perspective, there are two lines within the scene that disappear from an initial converging point. A simple example is the corner of a building! From their meeting place at the corner, lines formed by the walls leave the frame in opposite directions. This is an even more dynamic composition that can be further enhanced by placing a weighty subject at or near the intersection of the corner. A person, a beautiful building, or another subject thus gains further weight, and the frame gains a sense of depth thanks to the two-point linear perspective use!
Diminishing Scale Perspective

Photo by PixaSquare from Pexels
Diminishing scale perspective is another way to use perspective in photography that uses simple, intuitive understandings of the world around us. Simply put, diminishing perspective describes how objects closest to us appear large while those further away appear smaller. When looking at a forest or cityscape, the trees or buildings closest to us have an exaggerated perspective, even if we know for a fact that the other, more distant examples are around the same height.
Using Diminishing Scale Perspective in Photography
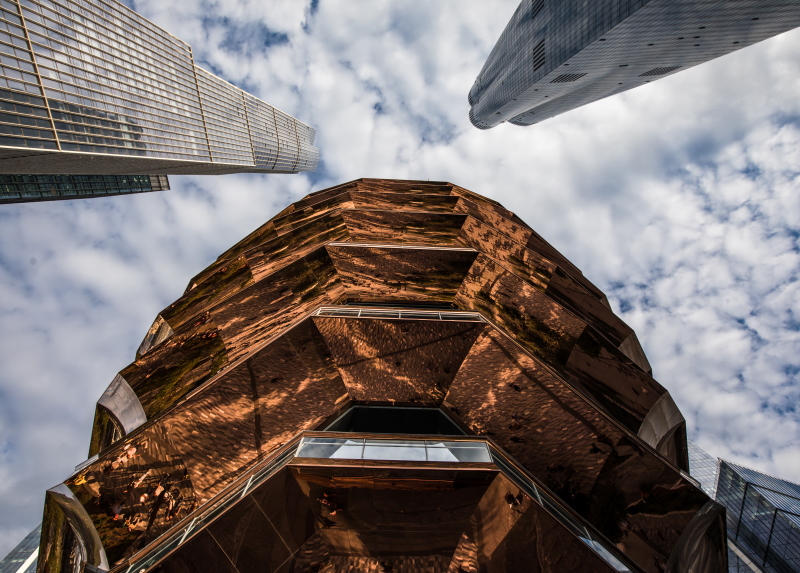
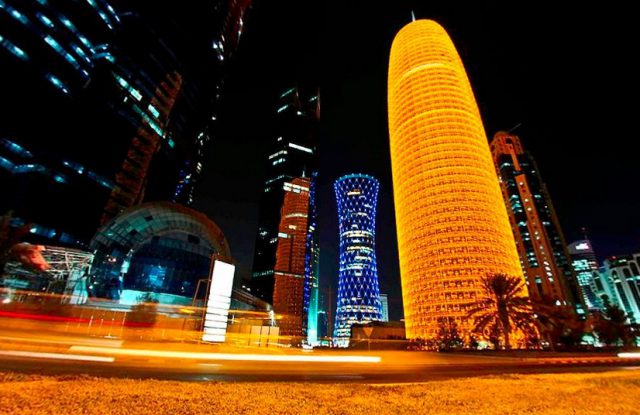
So how can we use diminishing scale perspective in a creative way? One way is through the use of wide-angle lenses! These have a focal length that’s less than 35mm (in full-frame terms), and the wider you get, the more exaggerated the perspective they tend to create.
By moving closer to a subject using a wide-angle lens, the perspective is emphasized dramatically thanks to the larger than normal field of view. Close subjects stretch in an often extreme way while distant subjects get pushed back further. This can create the sense of a vast distance existing between the foreground and background even if in reality, they aren’t all that far apart!
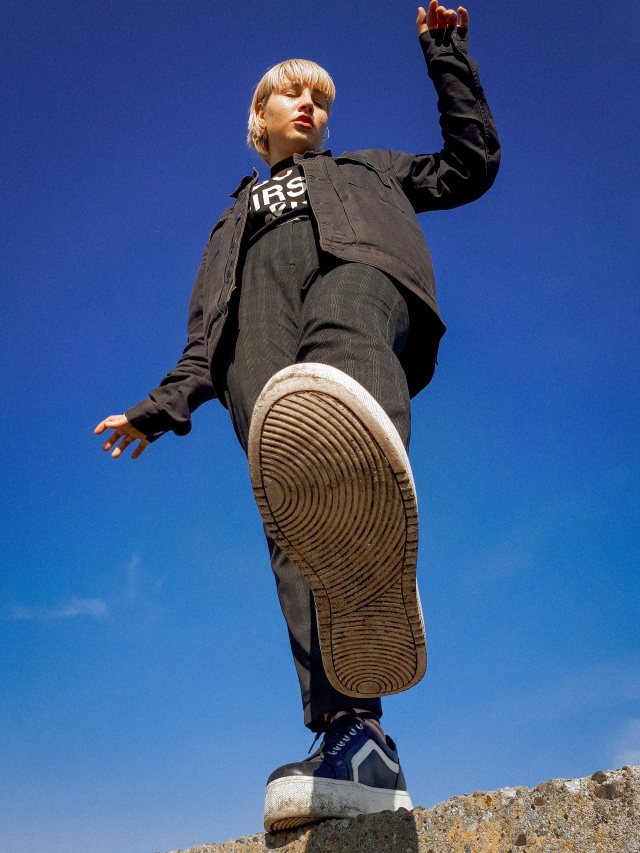
Photo by Paul Andrei from Pexels
This is also why wide-angle lenses are rather unflattering for portraiture; they stretch out nearby body parts (like noses and foreheads) while pushing back ears and hairlines to create cartoonish features. Lenses that have a normal (35mm to 50mm) or telephoto focal length (greater than 50mm) are preferred as they either don’t distort at all or distort in ways that are flattering (they typically compress facial features in an attractive way).
Forced Perspective
Forced perspective relies on careful subject composition along the 2D axis of the photo. With careful framing, you can create a sense of relationships existing between subjects despite them being far from each other. Stopping down your lens aperture is recommended when using forced perspective because we want both the closer and distant subjects to be in focus, which heightens the illusion.
Using Forced Perspective in Photography
Forced perspective can take a little more time to set up than diminishing perspective but the results are well worth the effort! One way to use forced perspective is through the view of a telephoto lens.
These lenses (focal length greater than 50mm) have the opposite effect of a wide-angle. They create the sense of there being less space between your subject and the viewer, compressing the space between them. Forced perspective is how super moon shots over a cityscape look so surreal yet fascinating.
Those same super moon shots may also use the second aspect of forced perspective if the moon is relatively low to the horizon. Framing your subject with secondary subjects that seem to touch or are otherwise nearby can create the illusion of them being next to one another.

Image by Patrice Audet from Pixabay
The (in)famous tourist snap of folks holding up the Leaning Tower of Pisa relies on this. Your nearby subject, if framed properly, seems to touch the tower, using forced perspective to create the sense of them and the tower being closer than they really are!

Photo by Jakob Owens on Unsplash

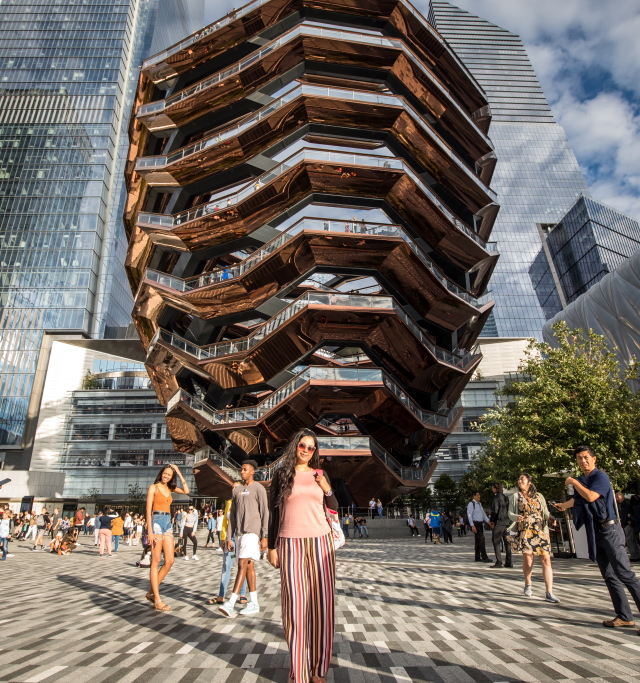
Photo by Ehab Amin
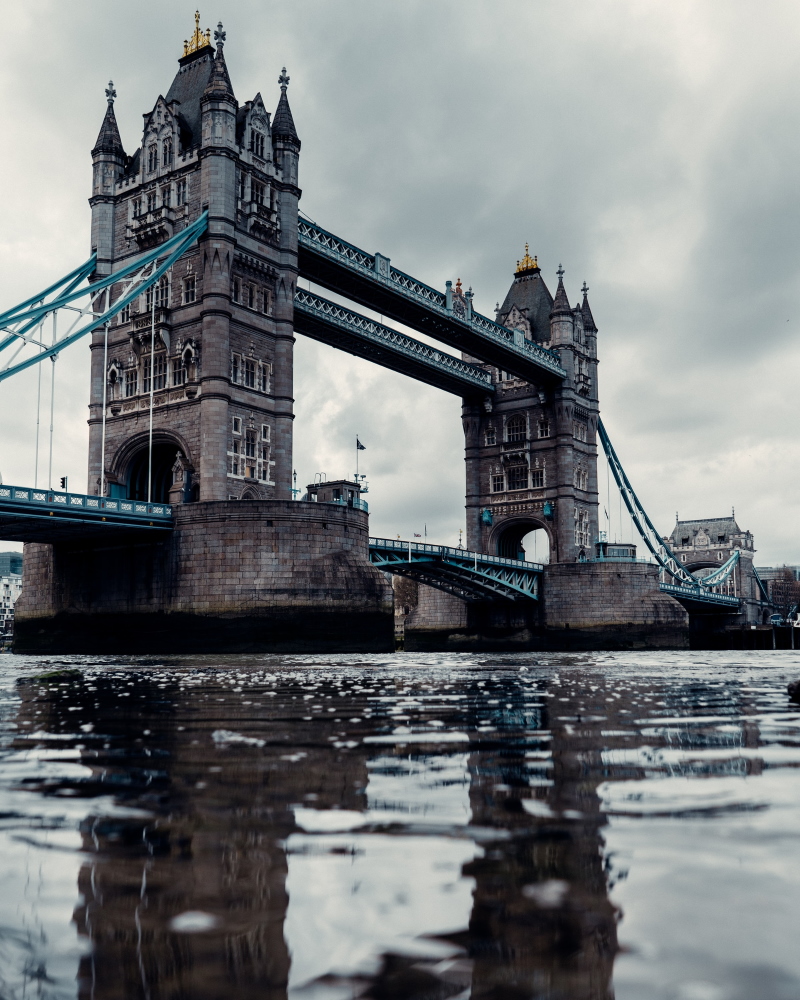
Photo by Alex Chistol from Pexels

Photo by Johannes Plenio from Pexels
Conclusion
There are a few more perspective photography types out there. But these are the most common and intuitive ways to understand perspective. And therefore an ideal place to begin thinking about how to intentionally incorporate perspective into your compositions. Hopefully, these perspective photography ideas have you dreaming of new ways to enhance your art!
Related Posts
Forced Perspective Photography Ideas
Adjust Perspective In Photoshop
Thanks for reading, I hope you enjoyed the article, in case you have any questions just drop them below & I will be happy to answer you.
The feature Photo by Ehab Amin
If you enjoy the site, don’t forget to subscribe, we will only inform you when a new article is posted.



Woah…that first photo is amazing! I felt it right in the pit of my stomach. Reading this very informative, I’d have to say that my favorite perspective here is the one-point linear perspective and the 3-D aspect that it gives the photograph. Is the difference between this and the diminishing perspective just the use of a wide-angle lens?
Your picture of the Leaning Tower of Pisa made me smile. Who hasn’t tried to use that perspective to take a cleaver picture?
Hi, yes you are right this is the difference, just a use of wide-angle lens & getting closer to the subject also 🙂
Every time I’m having trouble with perspectives, I first really focus on what it looks like through your viewer or camera lens. Simply put: how are things looking from that point of view? Get up close with whatever subject matter you want to capture which will make everything look bigger than they actually are. Next, locate an object nearby that’s at least two times as big for reference such as a tree branch or even just hold out one arm if nothing else around can do the trick. Also remember not only where foreground objects exist but also try paying attention to these same aspects beyond them.
Thanks for your input Pitin!