What is The High key photography?, It is a style of lighting that aims to reduce the lighting ratio present in the scene. It is used to get the best photos that suggest an upbeat, low contrast, and happy looking mood. The terminology comes from the higher balance in the ratio between the key light and the fill light in a traditional three-point lighting setup.
In high-key lighting setups, we use bright lights to eliminate shadow and reduce the contrasts in the picture. Modern high-key shots typically have a large proportion of white-on-white shots with only minor tonal variation a common prominent feature of the high-key genre. High-key methods were originally developed as a solution to screens that couldn’t properly display high contrast ratios but have developed into more of a stylistic choice.
The histogram of a high-key photo shows the following characteristics
- It has low tones spreading up to the left side (black tone)
- The average tone of media is relatively high.
- It is shifted towards the right side (white tone)
The following figure shows a histogram of a high-key photo.

When to use high-key photography
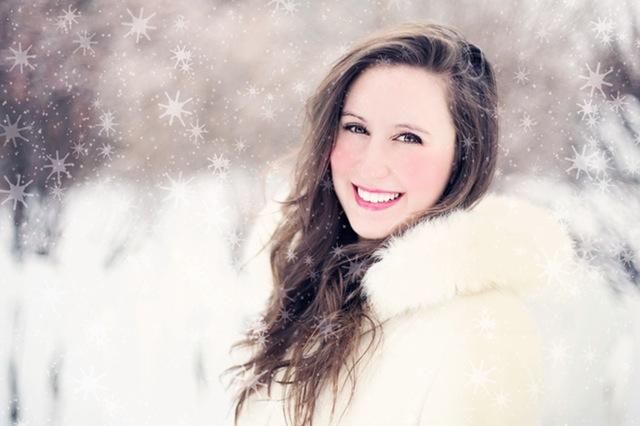
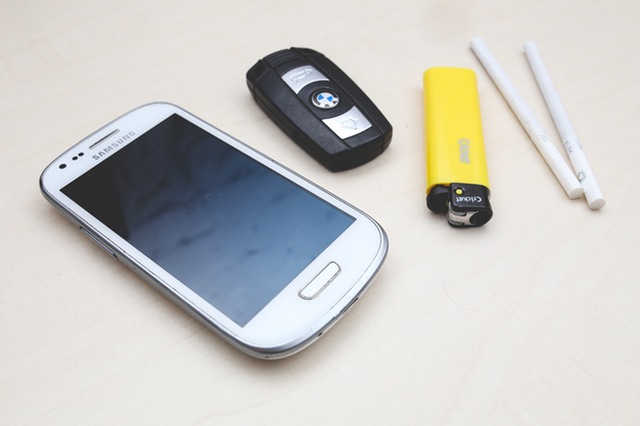
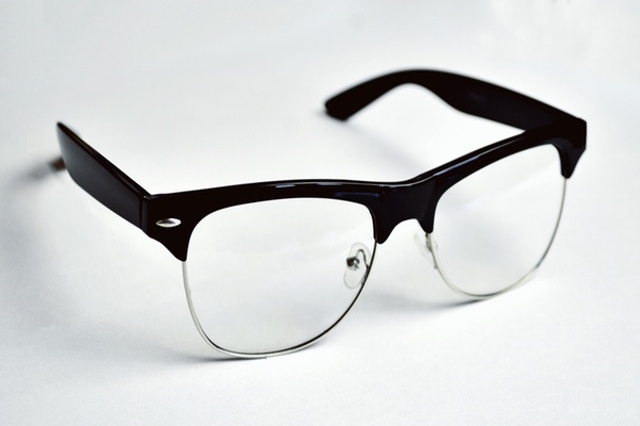
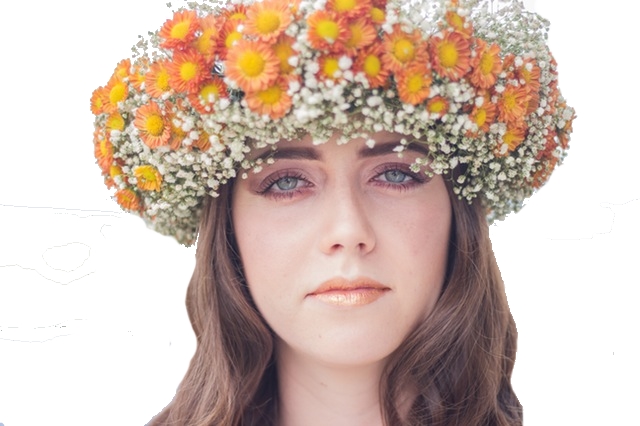
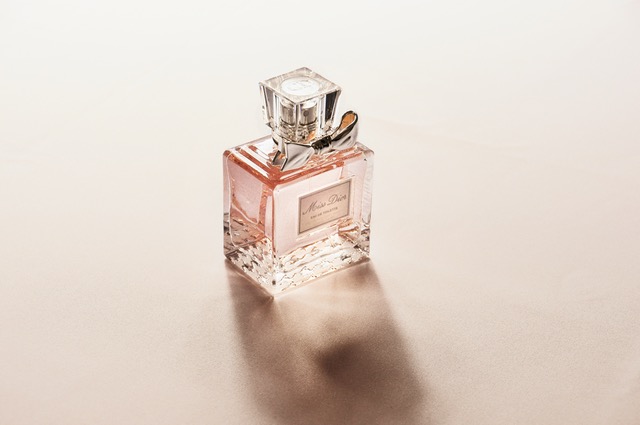
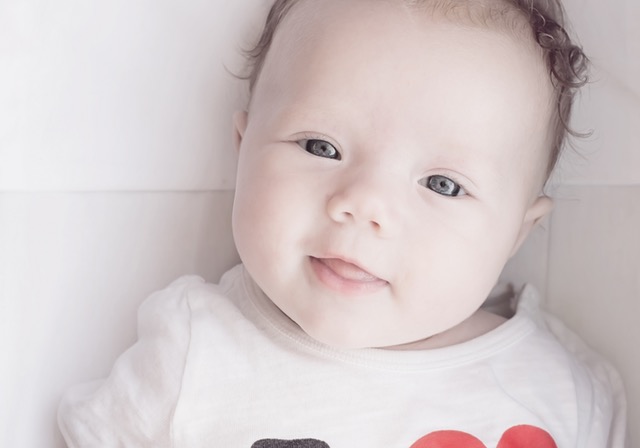
The high key method is used regularly for model photography, flowers, babies, and other subjects that are relatively feminine and delicate. Another area perfect for the high key is product photography. Practically speaking, the bright nature of the photo highlights the product and attracts the viewer’s eyes. Product photos shown on a white background tend to suggest that it has a high quality or upscale.
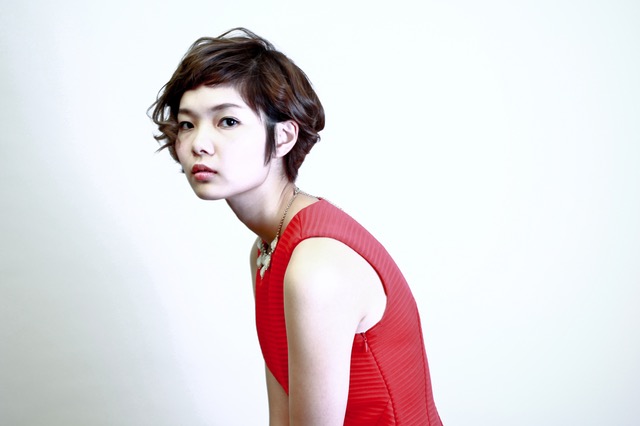
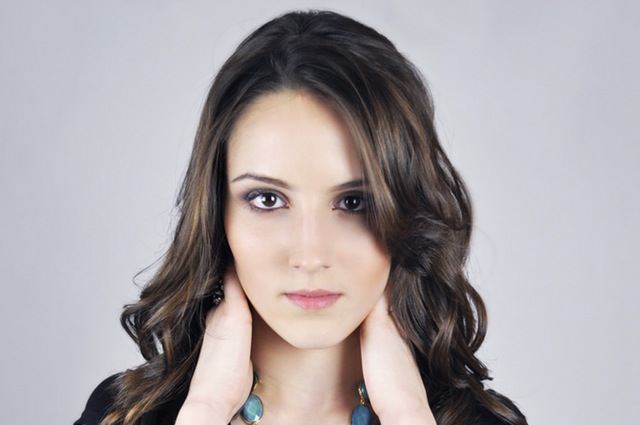
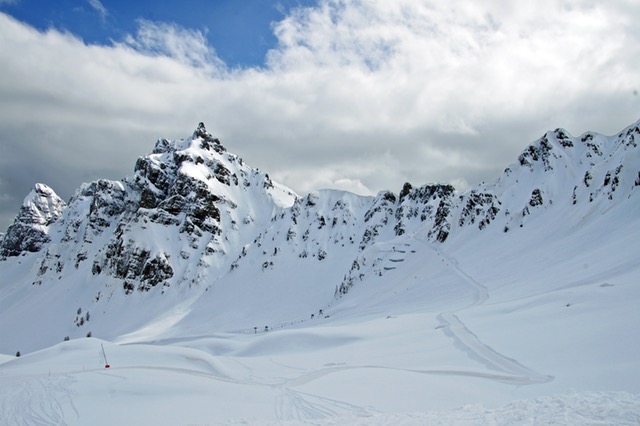
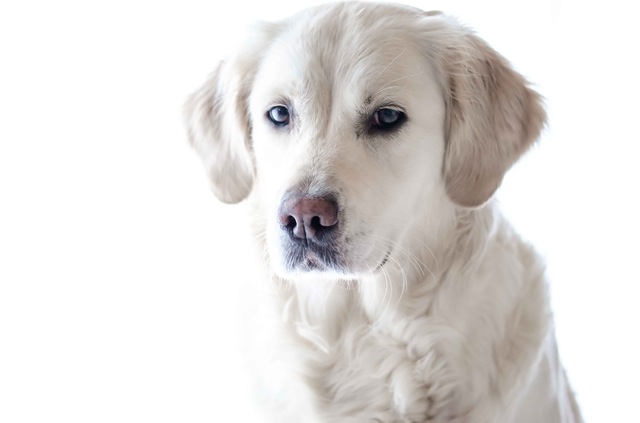
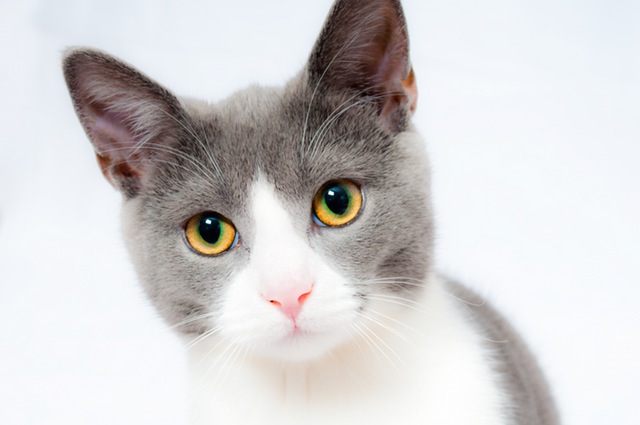
The photos below are some samples of high-key photos.
General guidelines
The high-key photography technique is the opposite of low-key photography. So, all you need to do is to do the opposite of what I mentioned in my post on low-key photography. Here are some general guidelines:
- Use a non-distracting background. That means the background tones should be continuous and preferably white, and it should not have deep shadow regions.
- Light the background enough. You need to overexpose it by 1 or 2 stops to make the light bounce off the background. But make sure there won’t be any blown-out highlights.
- Keep your subject close enough to the background (around 1-1.5 meters.)
- Use enough Key light and fill light sources to illuminate any shadows on your subject. Place the light sources close to the subject, the closer the distance, the softer the light you get.
Indoor High key Photography – studio setup
There are many ways to get a good high-key photo; the following setups are just to give you a good idea of one of the most popular methods of achieving the effect.
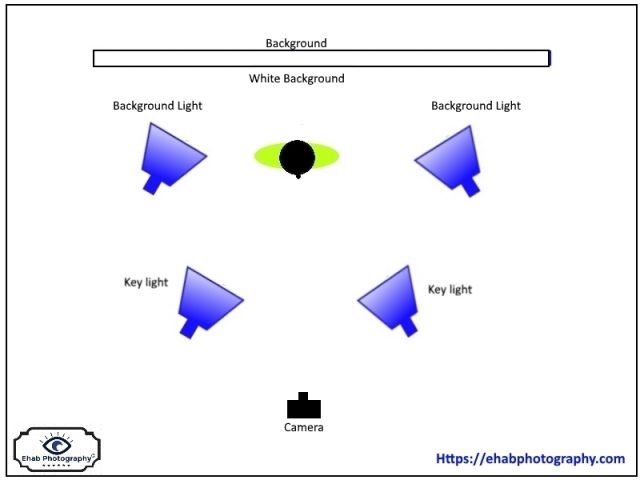
You need a seamless white backdrop of some kind. Many professionals mount a 2-2.5 meter wide roll of paper high on stands and then roll it down across the background and onto the floor of the shot. If you’re on a budget or in a hurry you can try using a sheet (watch for wrinkles) or an empty, clear, and white wall.
Use two background light sources to illuminate the background, these lights will act as both background lights and rim lights. Make them close to the backdrop, don’t be afraid that the light may bounce from the background; it is sometimes required to create halos around your subject. It is also recommended to keep your background lights at least one f-stop over your subject lighting.
Use two symmetrical key lights on each side of the subject. The key lights should provide a soft light and it doesn’t have to be placed very high up, just slightly above the subject head level. This setting will create a catch light in the eyes of the subject.
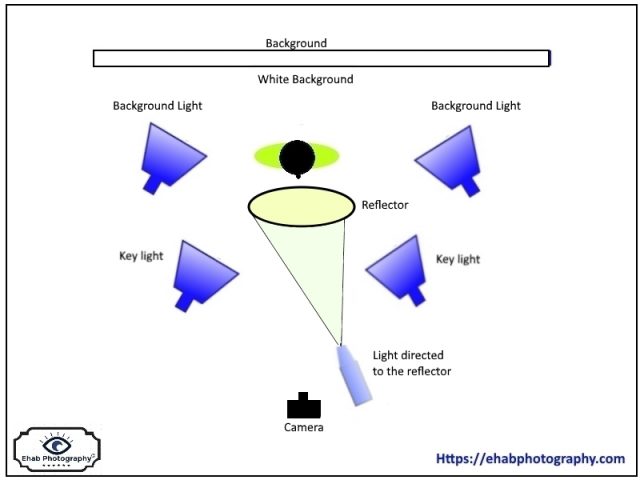
You may need a fill light and reflector to reduce the shadows on the face or neck of your subject. The following setting suggests using a reflector and a light source to be directed towards the reflector to bounce off the light towards the face of the subject.
Outdoor High key photography- Natural Light
Usually, the key tones in any image are the mid-tones. So, a high key means we are mapping the key tones or mid-tones to a higher level. I.e. we are brightening the key tones, as simple as that. So, normally, the highlight tones become whiter and the shadow tones are mapped to brighter tones, too. In natural light, you can’t control the light. To take a high-key photo in natural light is a matter of choosing a suitable scene to apply this technique. For example, if you can find a background that doesn’t have any deep shadow regions and has only bright tones, you can easily take a high-key photo. Another aspect of shooting a high-key photo in natural light is to look for a low-contrast scene.
Conclusion
High-key photography is about eliminating harsh shadows and creating a bright and low-contrast photo. It is generally used to convey an upbeat, funny, or beautiful subject. It is also used in product photos. If you want to shoot high key indoors, it’s best to have some studio lighting available, preferably 3-4 flashes: two on your subject, two on the backdrop. Also, make sure your camera’s settings are optimized to allow lots of light to reach the camera sensor. Ensure there’s enough light to brighten the scene considerably without blowing out the subject.
Related post
Photography Lighting Techniques – Softbox Vs Umbrella
Photography Lighting Techniques – All About Light Reflectors
Photography Studio – Setting Up Home Photography Studio
Thanks for reading the article, hope you found it useful and informative. If you have any comments or questions, please write them down in the box below, I’ll be glad to answer.
If you enjoy the site, don’t forget to subscribe, we will only inform you when a new article is posted.







Great post and amazing looking pics. I been flirting with the idea of taking up photography after having the opportunity to play around with a friends SLR camera. I have learned a lot about photography that I didn’t previously know and I would like to thank you for educating me on this subject.
156.205.240.230
Thank you for your nice comment, I’m really glad that you have learned something from the post.
Hope to see you again, there will be always new posts and photos waiting for you