In the photography world, it is all about light, so understanding and learning photography lighting techniques are essential. In this post, I will try to introduce to you the light reflectors. Quite often, available light is not sufficient to fill your subject’s shadow areas, or the light may be too intense for your desired outcome. The best way to compensate for light deficiencies is to add reflectors to your set. Light reflectors can be used to bounce, diffuse, or flag natural and artificial light.
What is a Reflector?
A reflector is a tool that reflects light. A reflector doesn’t create light; it redirects the existing light. There are important points to understand:
- The light from a reflector isn’t any brighter than what is already there.
- Generally, the quality of the light will match the quality of the light that’s in the scene.
- Reflectors come in different colors, and the color of the reflective surface may change the color of light that’s bounced back.
Reflectors are of different shapes and sizes, they are commonly found as an umbrella, which needs to be attached to a clamp in front of a studio light, or as a hand-held device, which is more portable, but often requires an assistant.
Choosing a Reflector
-
Shape and size
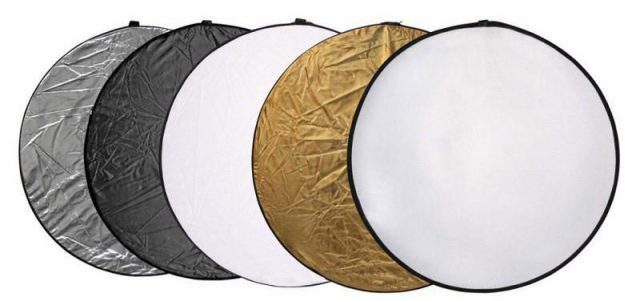
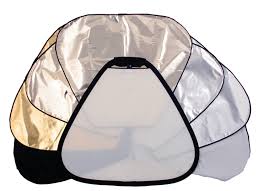
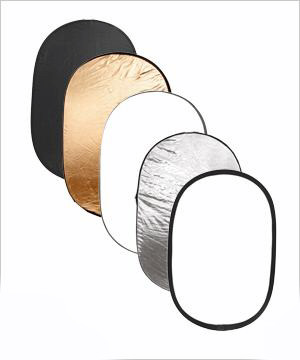
The first thing you have to decide on is the size of the reflector you’ll need. If you’re mainly shooting individual portraits, a smaller reflector might work better for you than a larger one. Of course, a larger reflector will generally produce a larger area of softer light, but larger reflectors are difficult to handle, so there is a compromise to be made. A 12” up to 40″ reflector is a pretty common size that is a nice combination of ease of use and nice light.
-
Color
- White produces an even, neutral-colored bounce light that works beautifully as a fill light source.
- Silver can increase highlights and yield a high-contrast image. It can be used in product photos or black and white photography.
- Gold produces a natural, golden warm fill that is great for sunsets or indoor portraits.
- Black is used as a flag to block light or can be used to subtract light.
- Translucent fabric is used to diffuse light, producing a broad light source and a soft effect. the reflector is usually held directly above the subject to soften the sun’s natural light. It will always go between the light source and the subject.
-
Holding and adjusting tools
You can manage to have an assistant to hold the reflector for you while you are taking the shot, or you may use a stand to fix the reflector on it.

Using a Reflector
The larger the light source (relative to your subject), the softer the light is going to be. To use reflectors to provide soft fill light, you may use the white or white/silver side and try to get them as close to your subject as possible. If there’s not a lot of light to work with you may use the silver side, you should move the reflector farther from your subject so the light doesn’t overpower the natural light and still just acts as a fill. Another important factor to keep in mind when shooting in natural light is not to allow your subject to look directly at the reflector. It is a bouncing UV light after all.
Natural Light
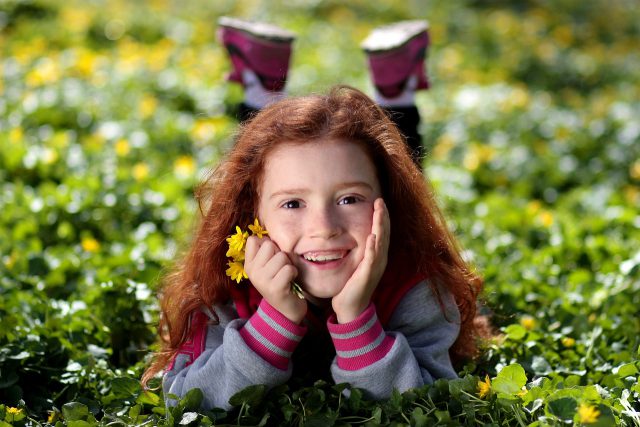
When there are unwanted shadows in your shot, there are essentially two solutions: add more lights or redirect the light you already have available. Common areas that are affected by shadows in portraits may include the areas beneath a subject’s facial features, such as beneath the eyes, nose, and chin. Reflectors are used by bouncing the available light and filling the shadows with highlights.
Artificial Light
Placing reflectors opposite of your main light source creates a great bounce effect for fill light. You can also place a reflector in the subject’s lap, or just in front of them at an angle, to soften all of the shadows under the eyes, chin, and to soften sharp features.
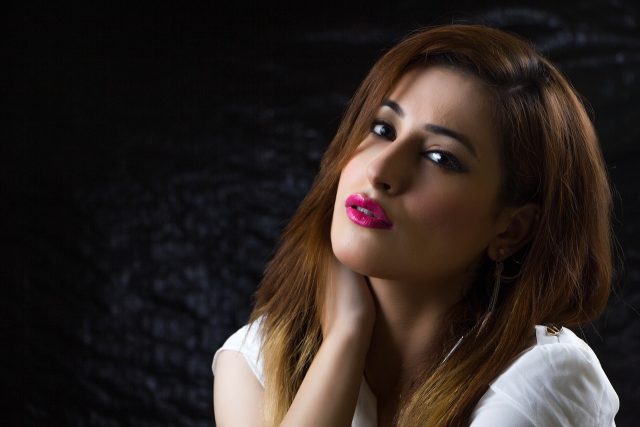
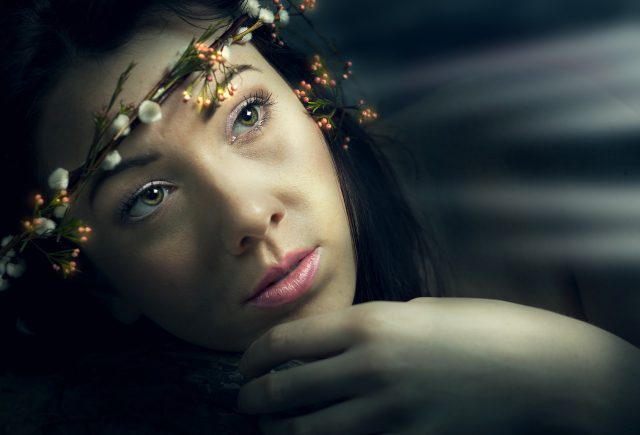
A “catch light” is an interesting spark in the eyes of the subject, it always catches the attraction of the viewers of the photo. There are many methods to create a “catchlight” in the subject’s eyes. Using a reflector under the person’s face or at any other suitable angle would direct the main light to the subject eyes and may add wonderful sparkles.
My recommended reflector
My recommended reflector set is
NEEWER 43 Inch/110 Centimeter Light Reflector Light Diffuser 5 in 1 Collapsible
Product Description
The Photo Basics 5-in-1 Collapsible Reflector Kit is versatile in the field and the studio, providing shadow-lightening detail in your subject, using available, or studio lighting. It contains a translucent white disc, which is perfect for softening direct sunlight, or lights without diffusion. Use the removable, reversible zippered slipcover to reflect light into the shadow areas of your subject. The cover consists of the following colors: silver, gold, white and black. This 42″ reflector is perfect for 3/4 length portraits, and medium still-life setups. It folds down to 1/3 its open size and comes with a carry case. We suggest the purchase of a pivoting arm and stand, to hold the disc where needed — especially if you are working without an assistant.
You Can Get The Reflector From My Recommended Retailer: Amazon
Conclusion
Reflectors are great tools for manipulating the existing light, as well as expanding the use of different types of artificial lighting. They are the cheapest, simplest, most versatile, and most useful piece of lighting equipment you can purchase. While excellent for portraits, they can also come in handy when shooting macro, landscapes, and many other types of photos. So keep practicing using reflectors and experiment with angles and reflector colors to achieve your desired effect.
Related posts
What are the Different Types of Light in Photography?
Photography Lighting Techniques- Portrait Lighting Setup
Photography Lighting Techniques- All about Light Reflectors
Thank you for reading the post, hope you found it useful. If you have any comments, you are welcome to write it in the box below.
If you enjoy the site, don’t forget to subscribe, we will only inform you when a new article is posted.






Hi Ehab,
I can see how there’s a difference in photos done by professional photographers compared to a personal picture shot by a phone camera or regular camera.
I personally take family pictures and I think lighting is very important to get the desired image. So, I do agree that lighting is a factor.
Great post. Thank you for sharing.
Thanks for your comment, hope to see you again.