

One of the basic Photoshop functions is to resize images for a specific application. To have high-quality prints of a photo, you need a larger image size, but for a photo to be published on the internet, it should be as compact as possible. Therefore, it is often necessary to crop and resize pictures to custom dimensions. In this tutorial, you will learn how to crop your photos to the desired size quickly and easily.
The crop tool in Photoshop provides convenient and easy-to-use ways to crop images directly during the workflow.
What does cropping mean?
Cropping is the process of trimming the edges of a photo, either digitally with photo processing software, or physically when a print is trimmed with a knife or guillotine. Ideally, cropping should be used as a tool to improve upon the composition of the original photo, though sometimes it is necessary in order to make an image fit a specific dimension of printing size.
Why do we crop a photo?
In photography, cropping is the removal of unwanted areas from the periphery of a photo. Cropping is one of the most basic photo editing processes, and it is carried out mostly for the following reasons:
- Crop your photo into standard print dimensions.
- Remove unwanted objects or irrelevant objects from the periphery of a photograph.
- Change its aspect ratio.
- Straighten the image
- Improve the overall composition.
- Magnify the primary subject
In Photoshop, you can use the Crop tool to crop and straighten photos. The Crop tool is non-destructive, and you can choose to retain the cropped pixels or discard them. In addition, you can add pixels to your photo by using the content-aware filling tool. The Crop tool also provides an easy way to straighten a photo while cropping. But if you are not an expert in this field you can get Image Cropping Services from a trustable service provider.
There are two crop tools available in Photoshop
-
The Crop tool in Photoshop
The crop tool can be found in the toolbar

The Crop borders display on the edges of the photo, and the options bar is shown below
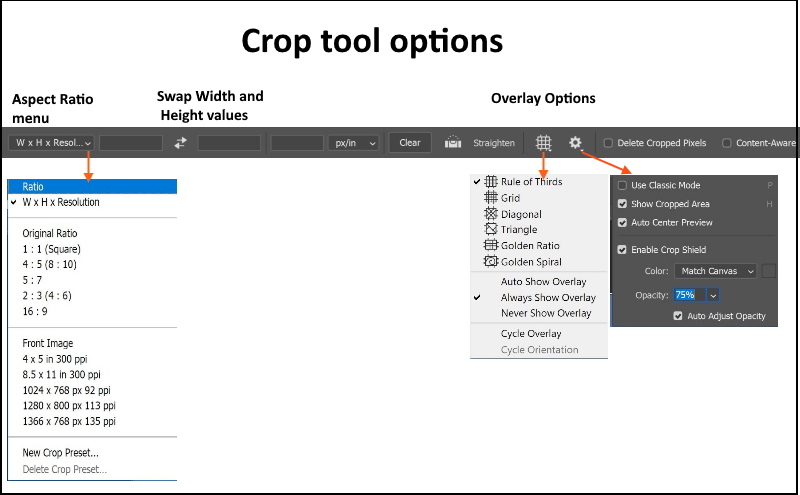
You can drag the corner and edge handles to specify the crop boundaries in your photo. Alternatively, from the option bar, you may choose the aspect ratio from the list, or type the width, height, and resolution.
The overlay options allow you to choose from some of the well-known composition rules (rule of thirds, diagonal, golden ratio, and golden spiral)
For more information about composition rules, you may check my posts:
10 Rules For Photo Composition
Top 10 Photography Rules – Guidelines For Better Photos
To apply a non-destructive crop and retain pixels outside the crop boundaries, you have to uncheck the Delete cropped pixels box.
If you enable this option to delete any pixels that are outside the crop area. These pixels are lost and are not available for future adjustments.
Photoshop uses content-aware technology to intelligently fill in the gaps when you use the Crop tool for straightening, rotating an image, or expanding your canvas beyond the image’s original size.
-
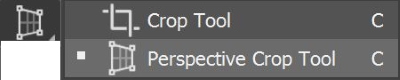
The Perspective Crop tool

The Perspective Crop tool lets you transform the perspective in an image while cropping. Use the Perspective Crop tool when working with images that contain keystone distortion. Keystone distortion occurs when an object is photographed from an angle rather than from a straight‑on view. For example, if you take a picture of a tall building from ground level, the edges of the building appear closer to each other at the top than they do at the bottom.
In photography, the term “keystone distortion” is used to describe the apparent leaning of buildings towards the vertical centerline of the photo when shooting upwards, a common effect in Architectural photography. Likewise, when taking photos looking down, e.g., from a skyscraper, buildings appear to get broader towards the top.
How to Crop Pictures in Photoshop
There are some important remarks to remember, let us mention them quickly:
- To reset the Crop Tool to its default settings. In the Options Bar, right-click (Win) / Control-click (Mac) on the tool icon.
- To reset the crop border, choose a different tool from the toolbar (any tool will do) and then reselect the Crop Tool.
- To change the crop size, you click and drag the handles to reshape the crop border into any size you need.
- To reposition the image inside the crop border, you can click and drag the image. As you drag, the crop border will remain in place while the image moves around inside it.
- To maintain the original aspect ratio of your image while you are moving the cropping borders, press and hold the Shift key on your keyboard as you drag any of the corner handles. This locks the aspect ratio in place.
- To resize the cropping border from its center (from the anchor point position), press and hold the Alt (Win) / Option (Mac) key on your keyboard as you drag a handle.
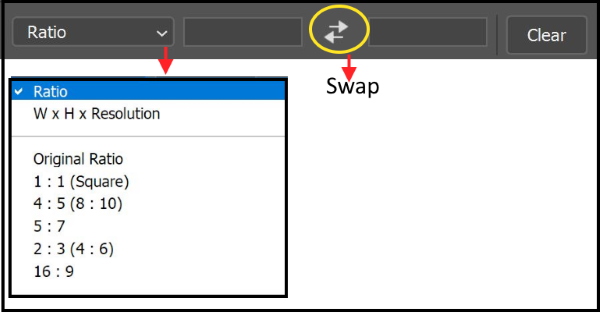
Crop to a specific aspect ratio
If you need to crop to a specific aspect ratio, like 5 x 7 or 8 x 10, you can set the aspect ratio in the Options Bar, click the Aspect Ratio option, and choose the required ratio. Do not forget you can swap the ratio. To swap the Width and Height values, click the swap icon (the two arrows) between them
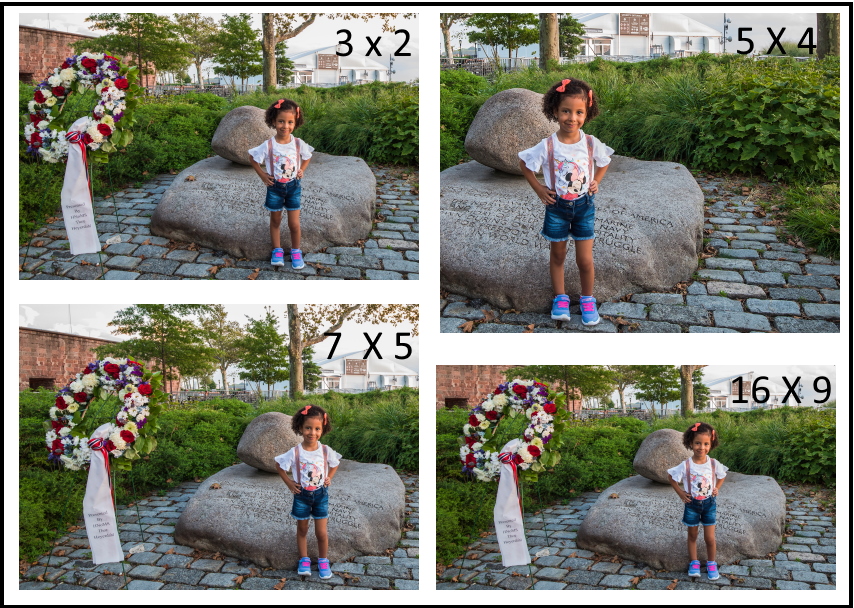
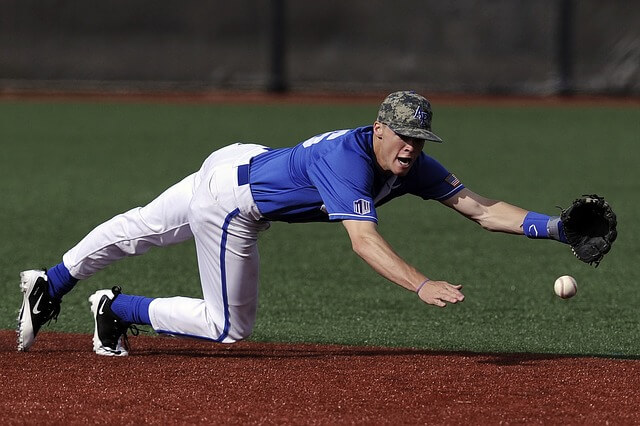
Example:
The following photo is cropped to different aspect ratios:

Photo by Ehab Amin
Crop to specific image size and resolution
Instead of cropping my image, for example to a 7 x 5 aspect ratio, let’s say I want to crop it so that it will print at a specific size of 7 x 5 inches. To do so, open the Aspect Ratio menu, and choose W x H x Resolution (Width, Height, and Resolution).

Then click inside the Width field and enter 7. Instead of just entering the number, also enter “ïn” (for “inches”). Then press the Tab key on my keyboard to jump to the Height field, and enter 5 in for the height, followed by “in”
Since the industry standard resolution for high-quality printing is 300 pixels per inch, enter 300 into the box, and make sure that the measurement type is set to px/inch (pixels per inch)
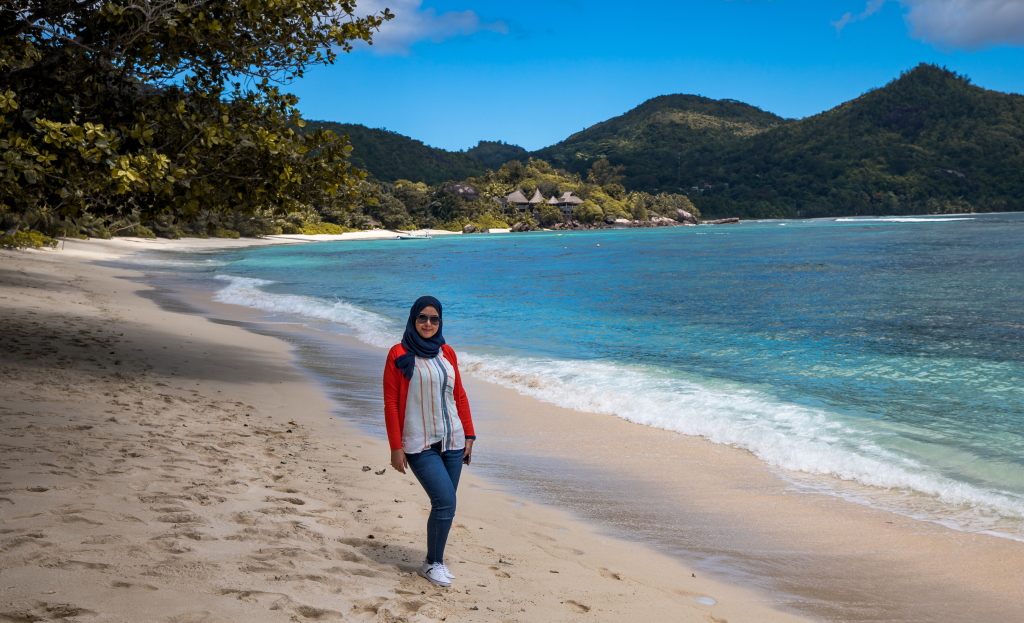
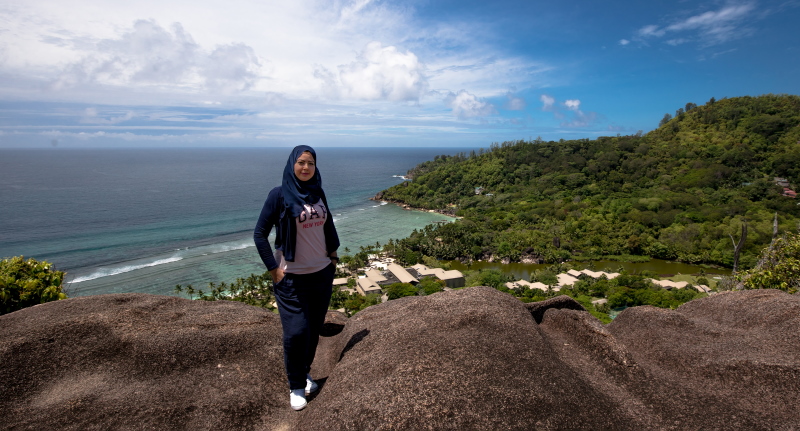
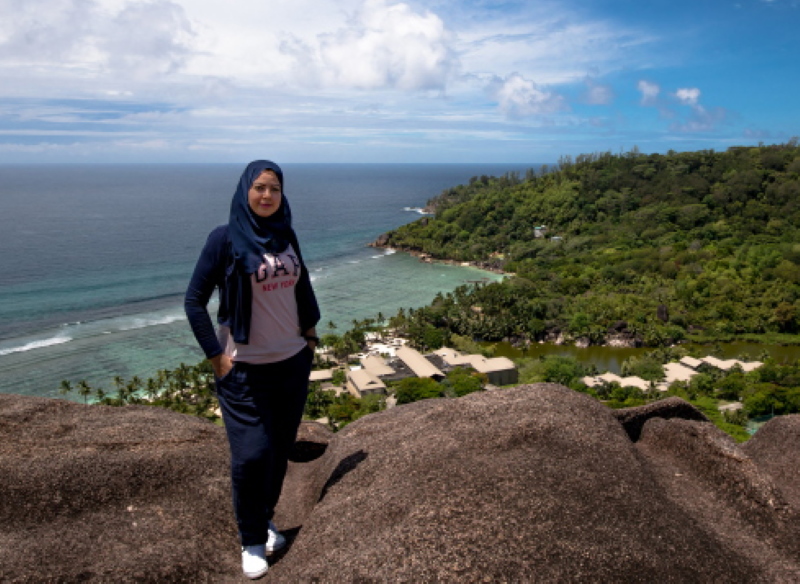
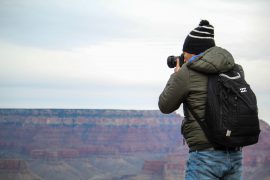
Straighten the image
You can straighten a photo while cropping. The photo is rotated and aligned to straighten it. The canvas is automatically resized to accommodate the rotated pixels. It is important to use the content-aware fill tool while straightening the photo.
To straighten a photo click Straighten in the control bar

Then draw a reference line to straighten the photo. For example, draw a line along the horizon or an edge to straighten the image along with it.

Photo by Laib Khaled on Unsplash
Photo by Joice Kelly on Unsplash
Change your composition
In the crop tool, there are many overlays of the well-known composition rules; you can use them to enhance your composition. The following photos show the cropping of the original photo using different composition rules.
Example 1
The original photo is shown below
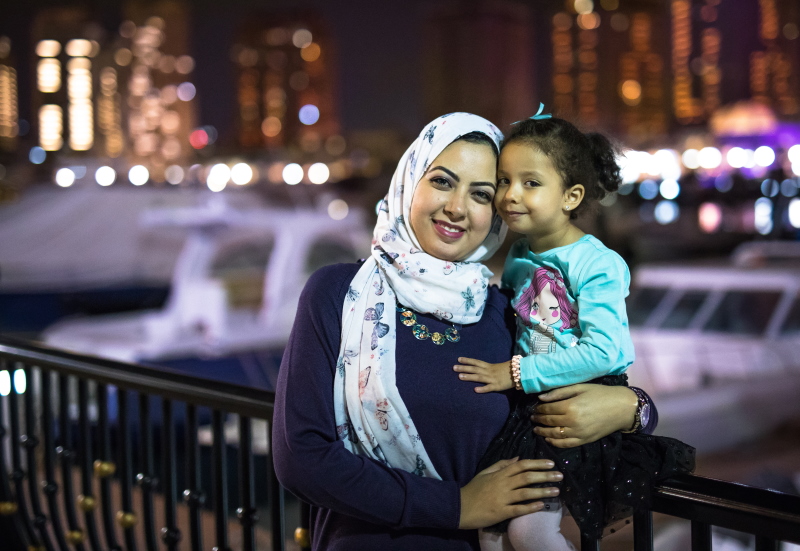
Photo by Ehab Amin
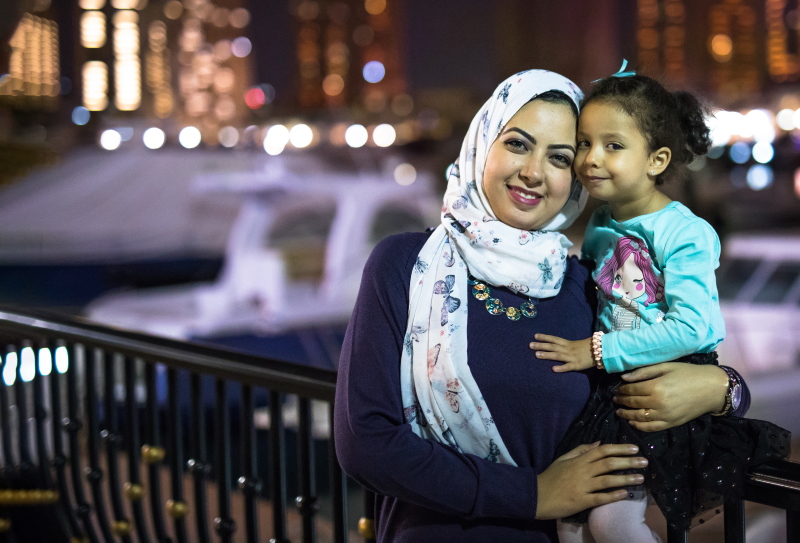
The image is cropped using the golden spiral overlay
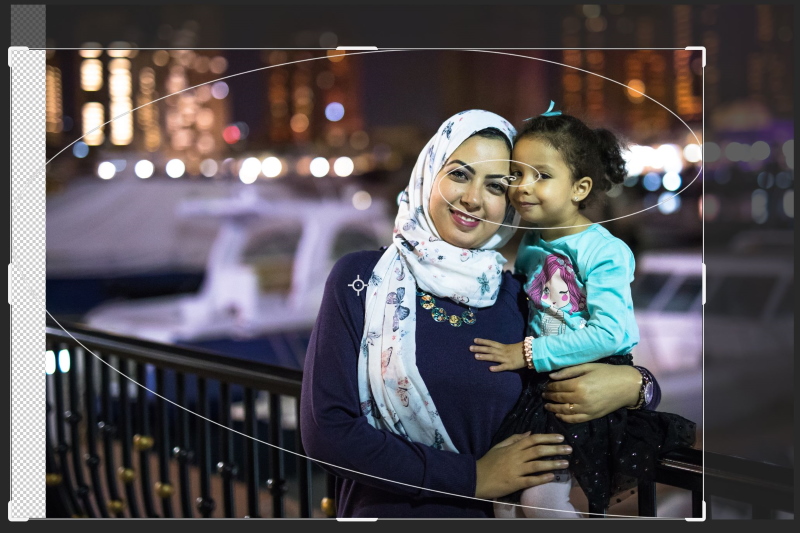
the final photo is shown below.
Example 2
The original photo is shown below
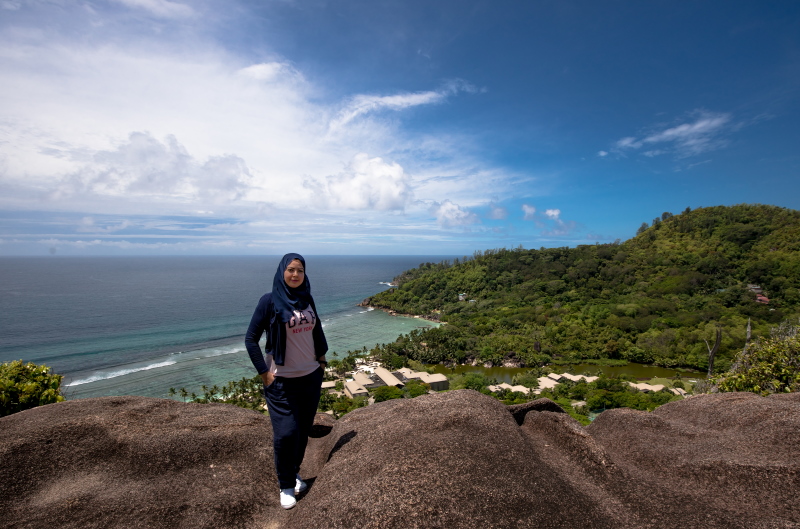
Photo by Ehab Amin
The below image is cropped using the golden ratio overlay
The below image is cropped using the third rule overlay
Using The Perspective Crop tool
To fix the keystone distortion, and crop the image at the same time, we can use Photoshop’s Perspective Crop Tool.
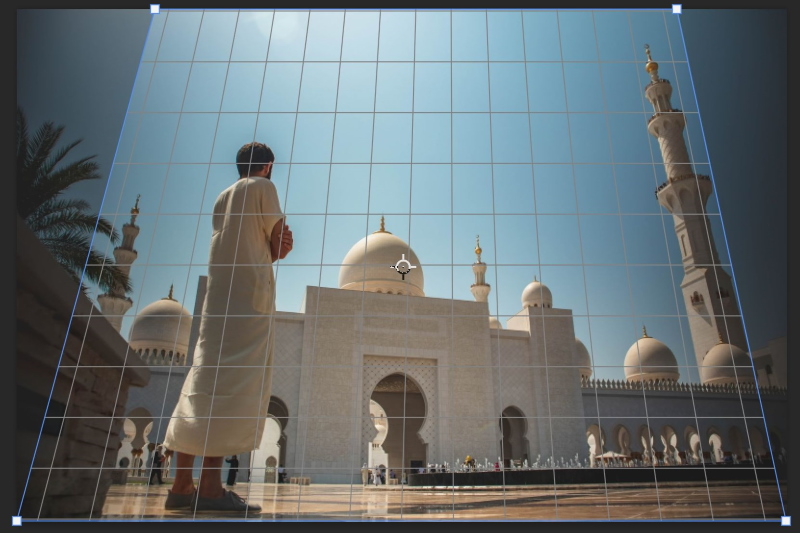
As an example the below photo was shot from the ground level and looking up at the mosque, the mosque seems to be leaning back as it rises upward, making the top look more narrow than the bottom. And the man at the left of the photo also looks distorted. In fact, everything in this photo seems to be tilting inward towards some imaginary center point high above the image.
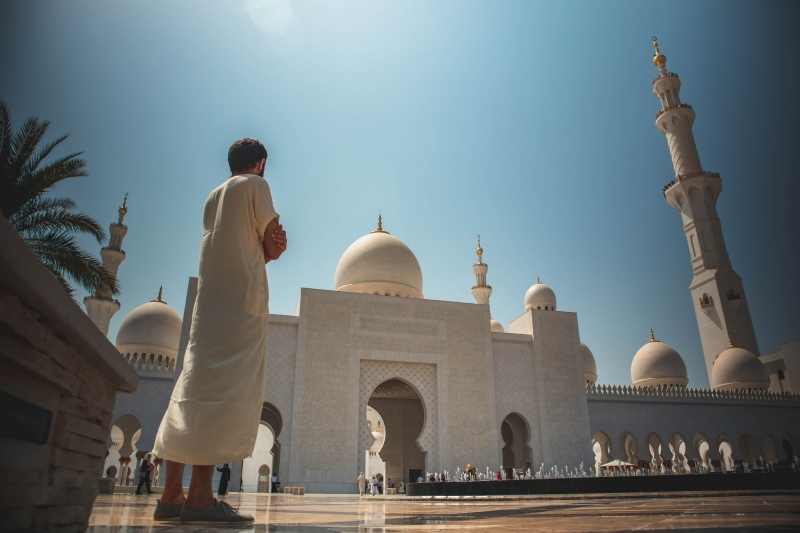
Photo by Artur Aldyrkhanov on Unsplash
To fix this distortion, select the perspective crop tool
Draw a gird around the photo (specify only the four corners)

Move the handles of the grid to make the lines of the grid parallel to the line of the mosque.
That is it!
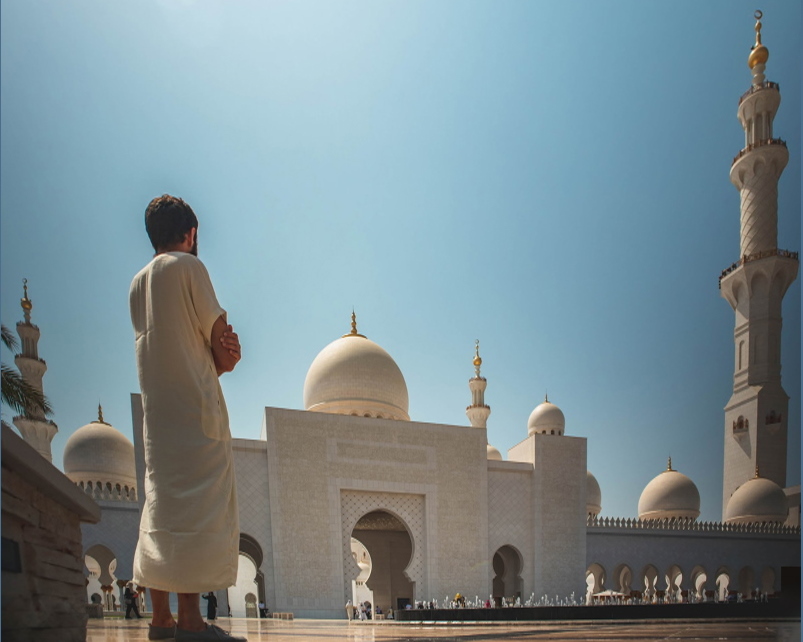
The edited photo is shown below

You may have noticed the man and mosque look shorter; it seems that the editing yield compression in the vertical axis, which is common with this type of correction. To fix this squashed look, we need two more steps:
Expand the canvas of the photo
Click Image > Canvas Size

Increase the canvas size by 30%
Select the photo, and use the free transform tool Ctrl + T to stretch the photo in the vertical direction until it looks normal.
Other examples
As you can see from the previous example, we fixed the distortion of the whole image. In some cases, it useful to extract only a small part of the image and adjust its perspective.
Example 1
The photo of the temple is shown below
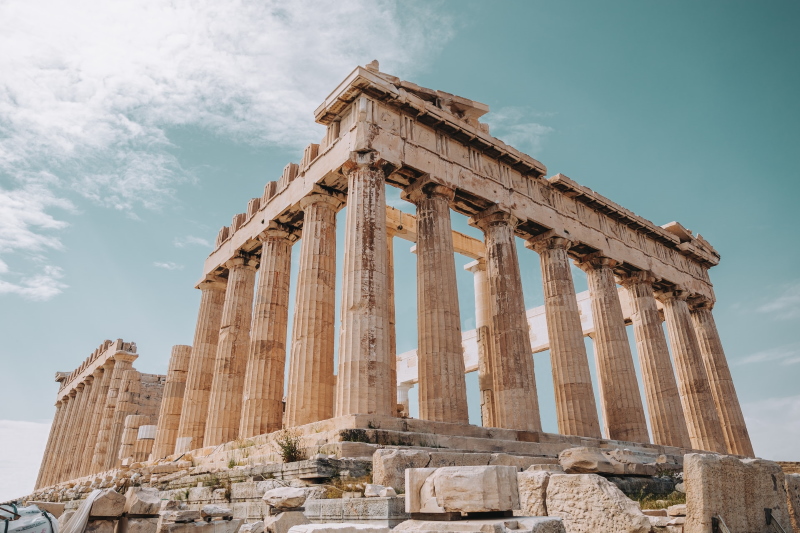
The cropping grid is drawn on the right side of the temple only.
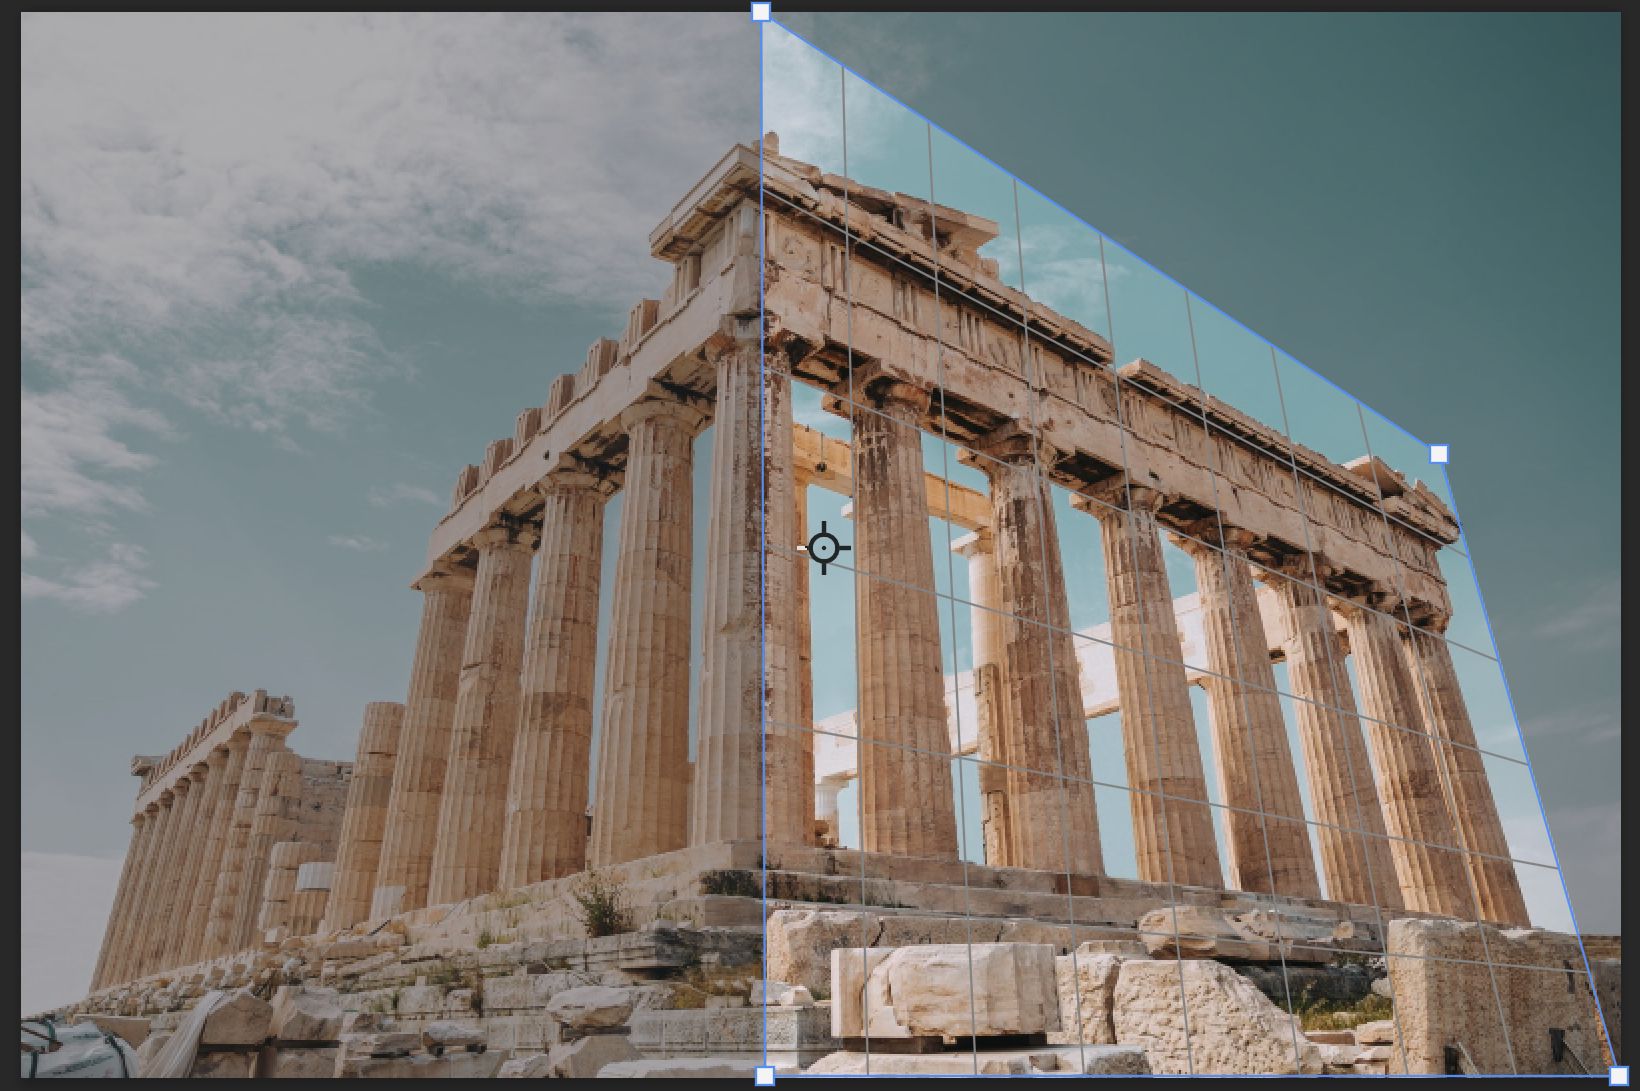
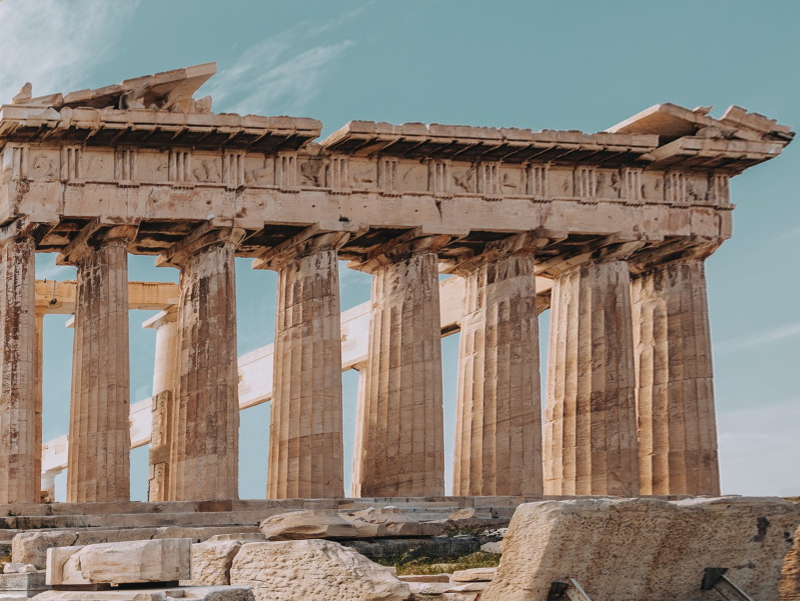
The final image is shown below.
Example 2
In this example, we use the perspective tool to select the book cover and modify its perspective.


Related Posts
10 Rules For Photo Composition
Top 10 Photography Rules – Guidelines For Better Photos
Define Composition In Photography
Rule Of Symmetry In Photography
Are you looking for Photo editing resources or editing Services?
Some photographers are struggling to learn and master editing software like Lightroom or Photoshop, they found the editing process is taking too much of their time. Therefore, assigning the editing tasks to an editing service may be the answer.
On the other hand, some others are looking for editing resources like actions, overlays, and textures to help them. For those I highly recommend paying a visit to my store, it has amazing professional photo editing tools.
In addition, you can check my editing tutorials, there are many tips and tutorials there.
Thanks for reading, I hope you enjoyed the article, in case you have any questions just drop them below & I will be happy to answer you.
If you enjoy the site, don’t forget to subscribe, we will only inform you when a new article is posted.


Excellent article. Is there a way to utilize the keypad to enter a certain border size? I want to print a 20×25 print, but I want just the border reduced, such that no picture part is lost!
Hi Lisa
You can add a border (frame) to your photo with custom dimensions by using image>canavs size, then you can resize your photo (with the frame) to the required printing size using Image>Image size . Thanks for your comment.
Hey Amin , this is amazing post on how to crop images in photoshop . post gives detailed knowledge about how to work with your images , infographics was also very helpful to get more clarity . i have bookmarked the page for my future reference , also shared with my team members . thanks for sharing it was really helpful .
Many thanks, glad you find the article helpful
wow, your site and your perspective on photoshopping are unreal! Your site is really clean and not super cluttered and I really love the last photo, how you were able to straighten out the book cover like that. I’ve struggled a lot with basic photoshopping techniques and you just gave me a little insight that I’d been lacking. Much appreciated!
Hi Rene
Thanks for your comment, I’m very glad you find the site helpful for you