


The Rules of Symmetry in photography are tools that not every photographer is introduced to. If you are a self-taught photographer, you no doubt have a sense of symmetry but may not be able to put it into words or action if asked.
In this article, I’ll be covering the three most common forms of symmetry: vertical, horizontal, and radial symmetry. I’ll also be visiting the concept of visual balance and how it relates to them! Let’s dive in!
Vertical Symmetry
An image with strong vertical symmetry feels balanced on both sides of the frame, split down the middle. The split can be done with lines but also colors, form, and even textures. Architecture images are some of the most obvious examples because there are so many clean lines to follow that it becomes obvious. However, vertical symmetry can also be extended to nature and people photography as well!
A great example of vertical symmetry is the classic “newlyweds leaving the church” image in wedding photography wedding photography. The bride and the groom are central and surrounded by family and friends on both sides throwing confetti and rice. This image is almost always framed with vertical symmetry in mind for a maximally pleasing feel.
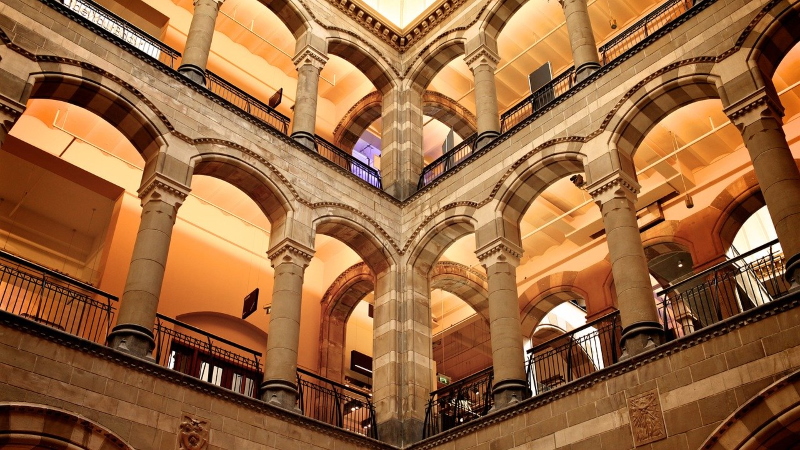
Image by Leslin_Liu from Pixabay
Horizontal Symmetry
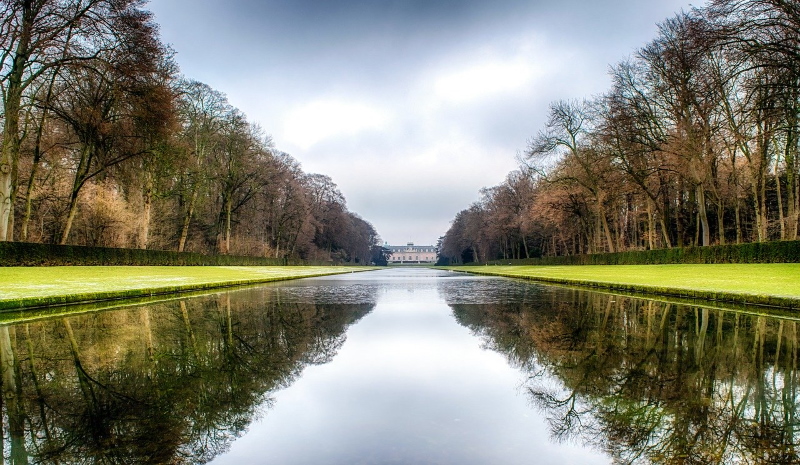
Horizontal symmetry seeks balance on the opposite dimension as vertical symmetry. Reflections are one of the most obvious uses of horizontal symmetry. The horizontal mirror image just begs to be balanced in terms of a perfectly straight horizontal line and enough space in the frame to show the reflection properly.
We should be looking for the water line in a reflection water line in a reflection and aligning it in such a way that it creates the emphasis we desire. Not necessarily directly in the middle, either. Landscape images that use reflections often include sky and clouds, for instance.
Flipping the image so that the reflection seems like the reality can also create a surreal, dream-like image. Horizontal symmetry in reflections also pairs well with the Rule of Thirds when we’re not going directly for the center of the frame. By choosing lines that split the image into thirds we can still create a sense of balance while providing room for reflection, subject, and the third area of visual interest such as the sky.
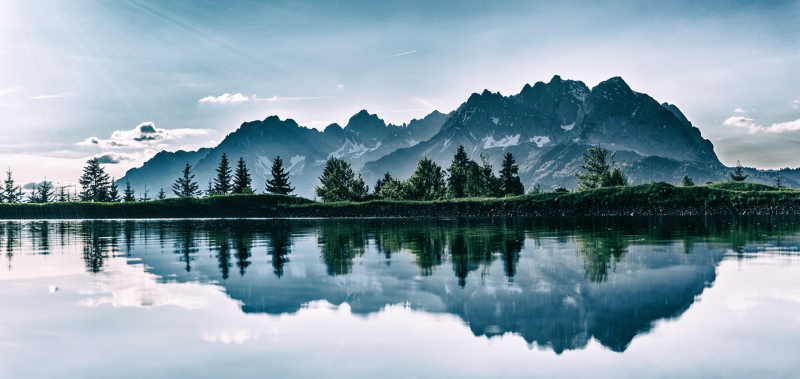
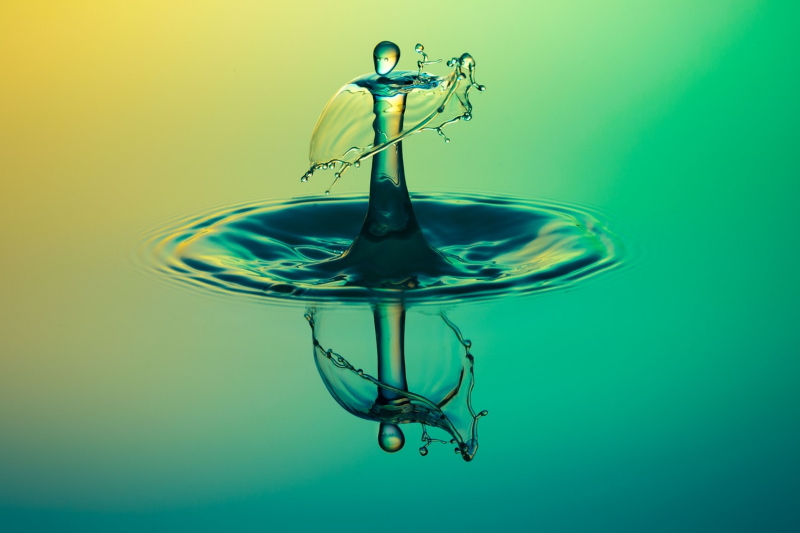

Image by Ramon Perucho from Pixabay
Radial Symmetry
Radial symmetry is the third most common form of symmetry we encounter in photography. The mind is pleased by natural order and the circular patterns found in splashes of water, the human iris, and flower petals, star trails, and sunsets are captivating.
While finding perfect circles is the first step knowing how to emphasize them comes next. Placing your circles in the foreground or background is ideal – water ripples from a thrown stone tell a very human story (someone threw it) and are visually pleasing in front of a mountain backdrop.
Alternatively, the silhouette man framed by the setting sun, especially if the sun frames his head, a point of high visual interest, has excellent radial symmetry despite the man being the subject. When viewed from above, a subject walking down a spiral staircase also gains interest from the circular stairwell.
Even seemingly common subjects like a bicycle wheel or barbed wire fencing viewed through the circular mesh gain an intriguing, sometimes abstract or minimalistic flavor when radial symmetry is used to carry the image.
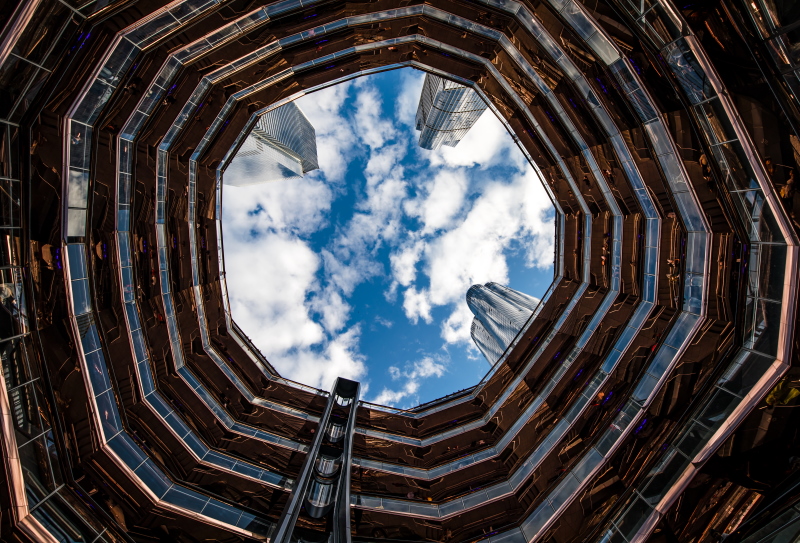
Photo by Ehab Amin
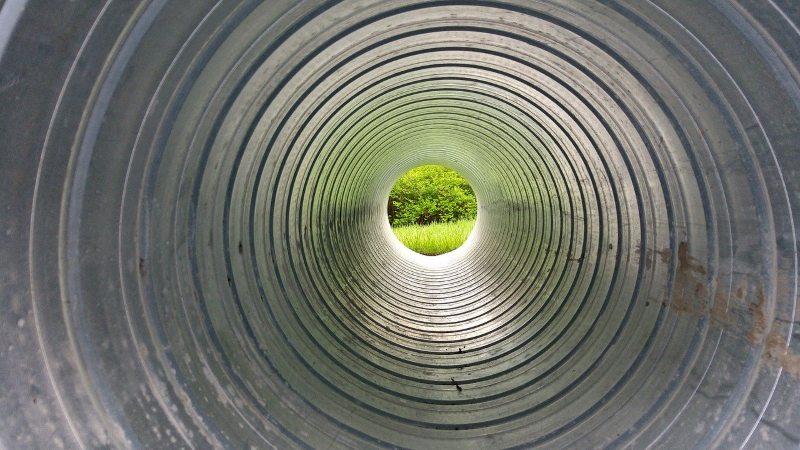
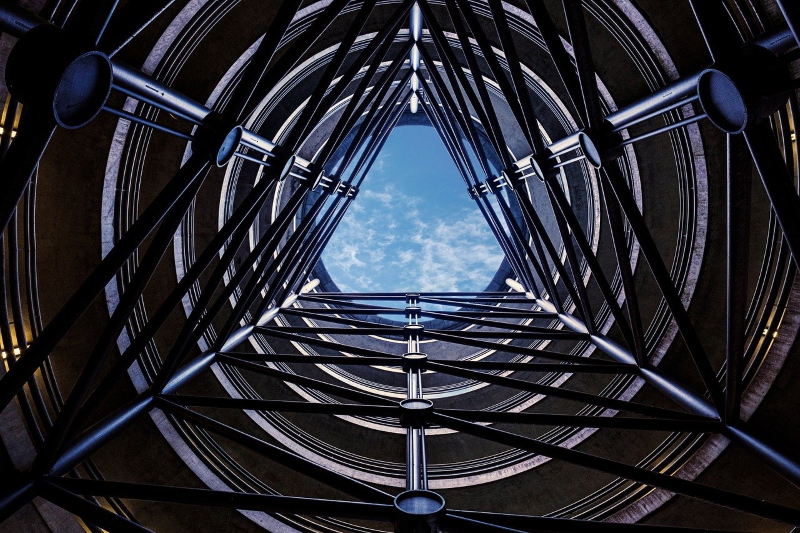
Image by Bruno /Germany from Pixabay
Visual Balance
We can use the visual balance to bring a pleasing sense of harmony sense of harmony to an image. An unbalanced composition feels energetic, unstable, and obviously lacking in harmony, especially when we can see a more pleasing possibility.
You want to consider both visual weight (how compelling a given subject is) as well as balance across the frame. While skyscrapers have more weight than warehouses humans have more weight than skyscrapers. A well-balanced downtown portrait could have a human in the center, framed evenly by background skyscrapers.
Of course, like all rules in art, we can also choose to make an image intentionally imbalanced in order to emphasize other aspects of the scene.
One way to create an imbalanced yet potentially pleasing image is by placing a large number of subjects on one side of the frame. For example, if I’m photographing a cityscape cityscape and I place all of the skyscrapers to one side with no tall buildings on the other, I’ve dramatically shifted the visual balance. But if the scene so happens to have the setting sun and clouds behind the skyscrapers the shift in balance can be both obvious and pleasing to the eye.
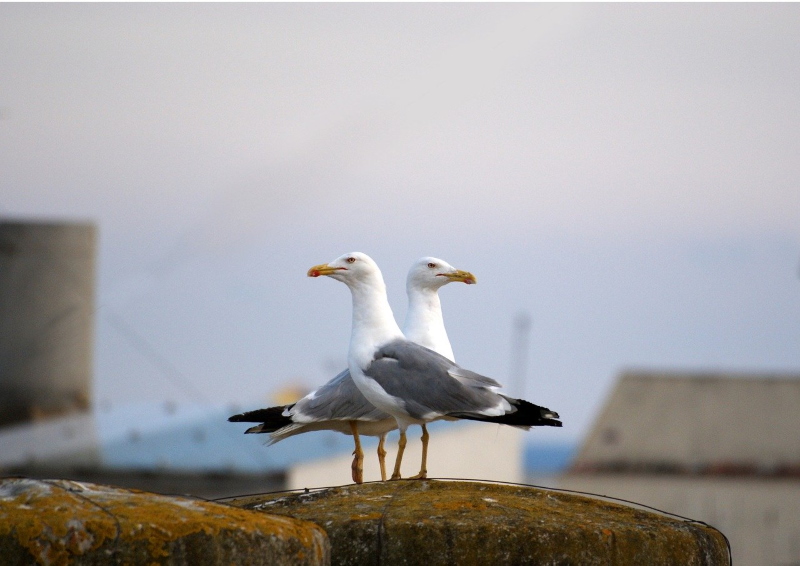
Another way to use visual balance is to place a single subject with a large amount of visual weight (such as a person) significantly to one side. Human faces are some of the most naturally engaging subjects and anywhere there is a recognizable person you can expect there to be a visual weight that can be adjusted.
In art, balance is dependent on the size and number of objects within a scene. If one side of a painting or photograph has a great number of large objects and the opposite side has a few small objects, the piece may look unbalanced to the viewer. Objects of the same size and number on opposite sides of an image tend to produce a balanced composition.

Image by Ernesto Eslava from Pixabay
Other Ways to Create Symmetry and Balance
Object Size
Large versus small is a classic pairing that affects symmetry and balance. If a large dog and a small dog sitting side by side in a vertically oriented photo the image may still be pleasing by nature of the subjects but critically lacks vertical symmetry. However, we can create more balance by spacing the dogs further apart or having the large dog lying down with the smaller one sitting up.
Colors
Certain colors have more visual weight than others. If I have a series of cups in a line and one of them is red while the rest are yellow, the red cup has the most visual weight. Areas of contrasting or complementary colors also create tension and balance depending on where they are placed within the frame.
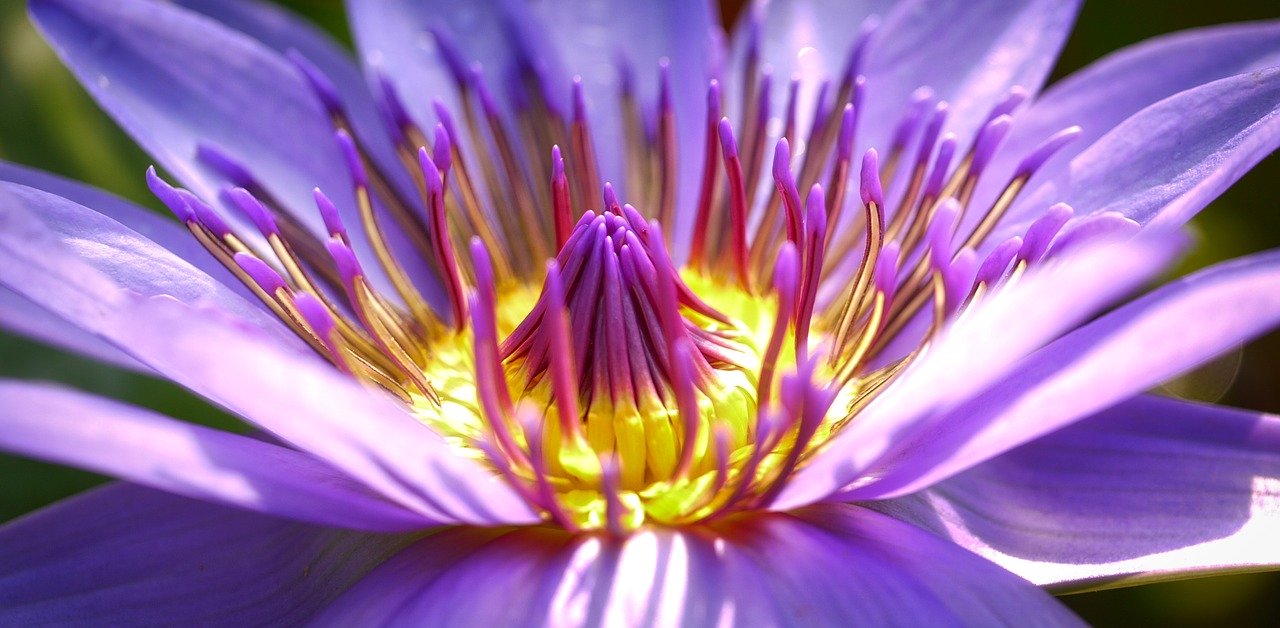
Image by Albrecht Fietz from Pixabay
Conclusion
Hopefully, you have a good understanding of how to use symmetry and how visual balance affects this perception! Symmetry is easiest to practice in still life photography. By setting up a mini studio with a variety of subjects you can play with these concepts and see how these concepts vertical symmetry, horizontal symmetry, and visual balance all affect your perceptions!
Related posts
Water Reflections Photography – A Brief Guide
Golden Ratio And Photography Composition
10 Rules For Photo Composition
Forced Perspective Photography Ideas
8 Abstract Photography Ideas To Get You In Experimental Mode
Artistic Abstract Photography Tutorial
Thanks for reading, I hope you enjoyed the article if you have any questions just post below & I will be happy to answer you.
If you enjoy the site, don’t forget to subscribe, we will only inform you when a new article is posted.


Hi Ehab, I immediately liked the photographs and the article was well put together. You explained an idea and then gave the reader examples with some fantastic photographs. I took a look at your “About Me” page, I really enjoyed reading it. Especially “Life is like a camera. Just focus on what’s important and capture the good times, develop from the negatives and if things don’t work out, just take another shot.” Are they your words? Man, I got to come up with something like that for my own “About Me” posts. Good Job.
Now that you have articulated what I need to be looking for, it all seems so straight forward. You speak/write with authority, simplify things, you’re instruction is easy to understand and you make the task sound easy and enjoyable. All good stuff for a successful post.
Good choice of photos, but why is only one of them yours? I suppose it doesn’t really matter, the tutorial was the important thing and It was you that chose the examples.
I enjoy photographs very much and have been thinking about buying a camera. For now, I’ll try to use my cell phone more. You have inspired me.
Garry.
Wow, The pictures are very beautiful.
Many thanks to you for giving us such a beautiful article about the Rule Of Symmetry In Photography. I have a brother, he is learning photography. I think your article will greatly benefit my brother. I think every photographer needs to know these rules. You have put here some very helpful guidelines. I think your article will greatly benefit him. I am going to bookmark it. If you don’t mind I will share it with him. I must say that this article is very helpful and informative.Thanks
Thanks a lot, glad that you found the article informative. Feel free to share it with your photography lovers.