

Are you looking to add some old-world charm to your photos? Want to create a vintage look that’s sure to stand out on your social media feed? Well, you’re in luck because, in this post, we’ll be sharing a step-by-step guide on how to make a photo look vintage.
Vintage photography has made a resurgence in recent years, with people embracing the timeless aesthetic of days gone by. It’s all about creating a nostalgic, romanticized mood that transports viewers to a different time and place. And the good news is, you don’t need any fancy equipment or years of experience to achieve this look.
In this post, we’ll walk you through the process of creating a vintage look in just a few simple steps. We’ll cover everything from selecting the right photo to adding the finishing touches that make all the difference. So whether you’re a seasoned photographer or just starting this guide is for you.
First, we’ll start by discussing the key elements that make a photo look vintage. We’ll explore the importance of color, texture, and composition and how they all work together to create that nostalgic feel.
Next, we’ll take you through the step-by-step process of creating a vintage look in Photoshop. We’ll cover everything from adjusting the brightness and contrast to adding film grain and vignettes. We’ll also show you how to use various filters and effects to achieve the desired look, all while maintaining the integrity of the original photo.
Finally, we’ll share some tips and tricks for adding those finishing touches that really bring your vintage photo to life. From adding scratches and dust to incorporating vintage frames and borders, we’ll show you how to add those subtle details that make all the difference.
By the end of this post, you’ll have all the knowledge and skills you need to make your photos look vintage. You’ll be able to create a timeless aesthetic that’s sure to impress your clients or followers. So, let’s get started on this journey of creating stunning, vintage photos!
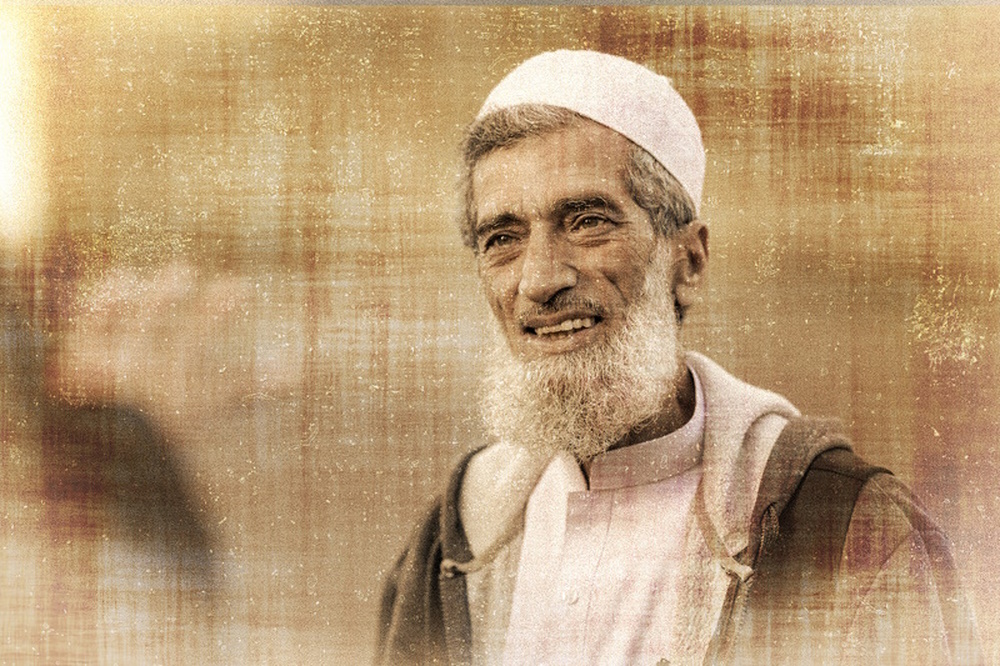
Example 1
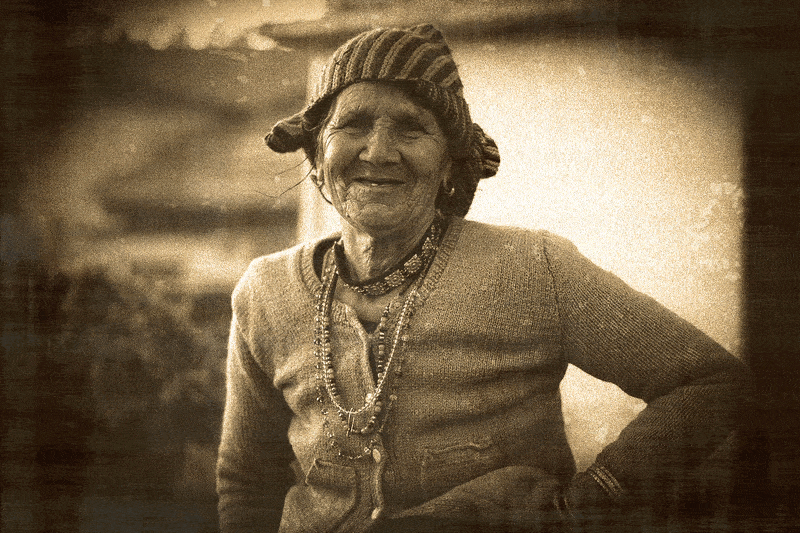
Photo by Yogendra Singh
The key elements that make a photo look vintage
When it comes to creating a vintage look for your photos, there are several key elements to consider. By understanding and mastering these elements, you can effectively create a nostalgic, old-world aesthetic that will transport viewers back in time. Here are the key elements that make a photo look vintage:
- Color: The color of your photo plays a crucial role in creating a vintage look. Most vintage photos tend to have a warm, sepia-toned, or muted color palette. You can achieve this effect by adjusting the hue and saturation levels, using a color filter, or applying a tinted overlay to the photo.
- Texture: Texture is an important element in creating a vintage look. Many vintage photos have a grainy, slightly rough texture that adds depth and character to the image. You can add texture to your photo by applying a film grain effect, using a textured overlay, or simply by adjusting the sharpness and clarity levels.
- Composition: The composition of your photo also plays a role in creating a vintage look. Many vintage photos have a simple, minimalist composition that focuses on the subject and eliminates distractions. You can achieve this effect by cropping the photo or adjusting the framing to create a more centered, symmetrical image.
- Lighting: Lighting is a critical element in creating a vintage look. Many vintage photos have a soft, diffused light that creates a romantic, dreamy mood. You can achieve this effect by adjusting the exposure, highlights, and shadow levels or by applying a soft light filter.
- Vignette: Finally, adding a vignette can also help create a vintage look. A vignette is a subtle darkening of the edges of the photo, which draws the viewer’s eye toward the center of the image. This effect can be achieved by using a vignette tool or by creating a mask and adjusting the levels manually.
By considering these key elements and experimenting with different settings and effects, you can create a vintage look that evokes the charm and nostalgia of days gone by.
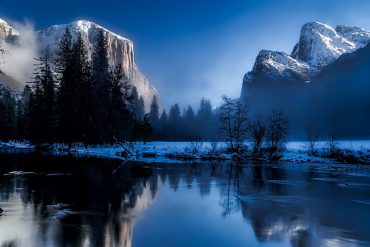
Example 2

Photo by Centre for Ageing Better
A Step-by-Step Guide
1. Choose a suitable photo.
Turning a photo into a vintage photo involves applying filters or effects that mimic the look and feel of photographs from a certain era, such as the 1960s or 1970s. Here are some tips on how to choose a photo that would be suitable for this effect:
- Choose a photo with a simple composition: Vintage photos often have a simple, uncluttered composition. Look for a photo with a clear focal point and minimal distracting elements.
- Look for a photo with a soft, muted color palette: Vintage photos often have a soft, muted color palette. Look for a photo with colors that are not too bright or vibrant.
- Choose a photo with a nostalgic theme: Vintage photos often evoke a sense of nostalgia. Look for a photo that features people or objects that are associated with a certain time period or era.
- Look for a photo with a film-like quality: Vintage photos often have a distinctive film-like quality. Look for a photo that has a slightly grainy or textured appearance, which can be enhanced with filters or effects.
- Choose a photo with good contrast: Vintage photos often have a high level of contrast between the light and dark areas of the image. Look for a photo with good contrast, which can be enhanced with filters or adjustments.
Overall, choosing a photo for a vintage effect involves looking for an image that has a simple composition, muted color palette, nostalgic theme, film-like quality, and good contrast. Keep these factors in mind when selecting a photo to apply a vintage effect.
2- Adjust the Colors / or convert to Black and white
There are two options you can choose between them, either adjusting the color or turning the color to black and white:
-
Adjust the color
The first step in making your photo look vintage is to adjust the colors. Vintage photos typically have a warm, slightly yellowish tint, which can be achieved by adjusting the white balance and color temperature of your image.
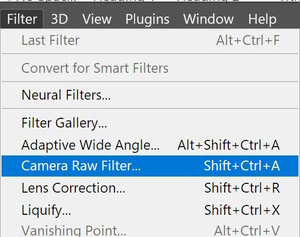
In Adobe Photoshop, you can use the Camera Raw filter
Then you can use the “Temperature” and “Tint” sliders to adjust the overall color balance of your image. Increase the temperature to make the image warmer, and adjust the tint to add a subtle color cast.

You can also experiment with the saturation and vibrance sliders to reduce the intensity of the colors and create a more muted, vintage look.

Keep in mind that vintage photos often have faded colors, so don’t be afraid to desaturate your image a bit.
-
Convert your photo to black and white.
One of the easiest ways to give your photo a vintage look is to convert it to black and white. This will automatically remove any distracting colors and create a classic contrast between light and dark.
You can use Photoshop’s Black & White adjustment layer to convert your photo to grayscale and adjust the tonal values of different color channels. Alternatively, you can use Photoshop Camera Raw Filter to apply the black-and-white effect automatically.

3- Adjust the Contrast
Vintage photos often have a soft, dreamy quality that can be achieved by adjusting the contrast and exposure of your image. In Photoshop, you can use the “Tone Curve” tool to adjust the contrast of your image.

By dragging the curve upwards in the mid tones, you can increase the contrast. To create a softer, dreamier effect, drag the curve downwards in the highlights. This will result in reduced contrast and slightly blown-out highlights, giving your image that vintage look.
You can also experiment with reducing the clarity and sharpness of your image to create a softer, more ethereal look. Use the sliders in the camera raw filter.

Keep in mind that vintage photos often have a slightly blurred or out-of-focus appearance, so don’t be afraid to experiment with these settings.
4- Add a sepia tone.
Another common feature of vintage photos is the sepia tone, which is a warm brown tint that gives your photo an aged look.
Sepia was originally a result of an old developing process for a black-and-white film that helped prevent photo decay. You can easily recreate this effect in Photoshop by adding a Photo Filter adjustment layer and choosing the Sepia filter from the drop-down menu.
You can also adjust the density and preserve the luminosity of the filter to suit your preference.

5- Add a Film Grain Effect
To give your photo that authentic vintage feel, you can add a film grain effect. This mimics the grainy appearance of old film photographs and can be achieved using a variety of tools and techniques.
In Adobe Photoshop, for example, you can use the noise filter to add a film grain effect to your image. Adjust the amount and size of the grain to achieve the desired effect. Apply the Noise filter to the layer by going to Filter > Noise > Add Noise and adjusting the settings.

You can also experiment with adding a light leak effect, which mimics the appearance of light leaking into the camera and affecting the film.
6- Add some blur or haze.
Another way to make your photo look more vintage is to add some blur or haze effect.
This can create a soft and dreamy atmosphere and mimic the low resolution or focus of old cameras. You can use Photoshop’s Gaussian Blur filter, click Filter > Blur > Gaussian blur to open the blue filter, and experiment with different settings.

7- Add some vignetting.
Vignetting is a term used in photography to describe the effect of darkened corners in an image, compared to the center.
This effect can occur naturally due to the optical design of a lens or can be added intentionally during post-processing to draw attention to the center of the image and away from the edges. There are several types of vignetting, including optical, pixel, and artificial vignetting. Each type has its own causes and can be reduced or increased using post-processing software such as Lightroom and Photoshop. Vignetting was often caused by lens distortion or light falloff in old cameras.
You can use Photoshop’s Camera Raw filter to add some vignetting to your photo, it is found under Effects

8- Add Texture
Another key element of vintage photos is the texture. Vintage photos often have a slightly grainy or textured appearance, which can be achieved by adding a texture overlay to your image.
There are many different texture overlays available online, or you can create your own by photographing a textured surface (such as a brick wall or a piece of fabric) and overlaying it on your image.
In Adobe Photoshop, for example, you can use the “Overlay” blending mode to blend your texture overlay with your original image.
Be sure to experiment with the opacity and blending modes to achieve the desired effect.
9- Add some scratches or dust.
One final touch you can add to your photo is some scratches or dust effects. This can make your photo look more worn out and damaged as if it has been stored for a long time in an old album or box.
You can use Photoshop’s Brush tool or Eraser tool to paint some scratches or dust on a new layer above your photo. You can also download online textures and overlays. then use one of them with your original photo to add the look of an old photo with scratches.

10- Experiment with different combinations.
There is no one right way to make your photo look vintage. You can experiment with different combinations of effects and adjustments until you find the style that suits your vision. You can also try different types of vintage filters, such as Polaroid, Tintype, Glitch, or Grunge, that can give your photo a unique retro vibe.
Making your photos look vintage can be fun and easy with digital tools like Photoshop and online photo editors. By following these tips and techniques, you can transform your modern photos into timeless works of art.
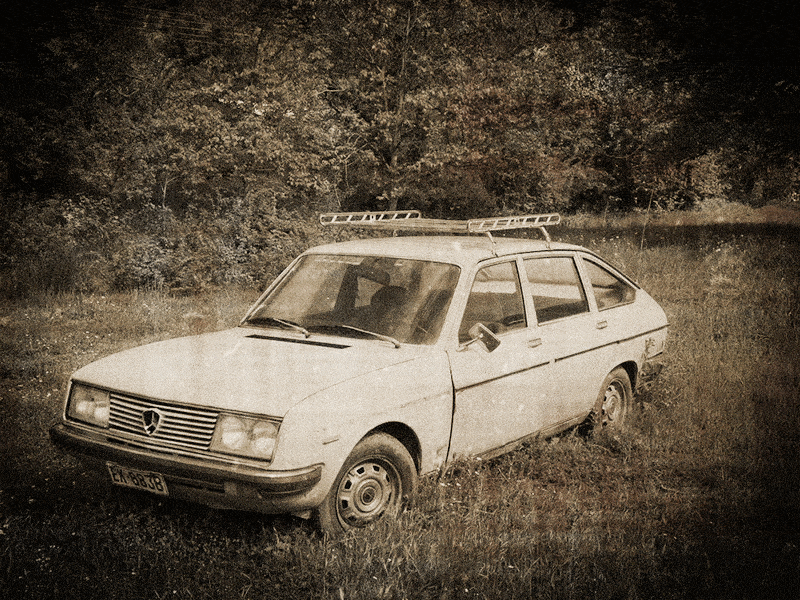
Example 4

Photo by Nextvoyage
Are you looking for Photo editing resources?
If are looking for editing resources like actions, overlays, and textures, I highly recommend paying a visit to my store, it has amazing professional photo editing tools.
In addition, you can check my editing tutorials, and my YouTube channel there are many tips and tutorials there.
Related posts
Old Photo Restoration- New AI Filter In Photoshop 2023
Thanks for reading, I hope you enjoyed the article, in case you have any questions just drop them below & I will be happy to answer you.
The featured Photo by Centre for Ageing Better
If you enjoy the site, don’t forget to subscribe, we will only inform you when a new article is posted.


Wow! This article is an amazing step-by-step guide on how to make a photo look vintage. I will bookmark your article and come back to it because I know there’s going to be an opportunity in my architectural design work to make really cool vintage presentations of older building design styles. Thank you for writing this article!
Thank you for your kind words! I’m thrilled to hear that you found my article helpful in learning how to make a photo look vintage. It’s great to know that you found the step-by-step guide easy to follow, and I’m glad to hear that you plan to use these techniques in your architectural design work to create some really cool vintage presentations.
Feel free to reach out if you have any questions or need further assistance. I’m always here to help!
The article is an excellent resource for anyone looking to add a vintage feel to their photographs.
It’s well-written, simple to understand, and includes step-by-step instructions on using various tools and techniques to achieve a vintage look.
Before-and-after examples are also helpful for visualizing the transformation.
This guide is an excellent resource for anyone interested in experimenting with photo editing and adding a nostalgic feel to their photos.
Do you have any tips or tricks for adjusting the vintage look to match the mood or style you want to convey in your photos? And which method do you believe is the most effective?
I’m glad to hear that you found the article helpful for adding a vintage feel to your photographs.
To achieve the desired advantage look, you can experiment with different settings and tools in your photo editing software. For instance, you can adjust the saturation, contrast, and brightness levels to create a more subdued or faded look. You can also play around with color filters to create a warmer, more nostalgic tone.
In terms of which method is the most effective, it really depends on the specific photo and the look you’re going for. Some people may prefer a more subtle vintage effect, while others may want a more pronounced and stylized look. It’s ultimately up to you to experiment and find the approach that works best for your needs.