

Highlights and Shadows are essential parts of a good photo because they add depth and interest. However, if they are too harsh, they can also be distracting and hide details of your scene.
Therefore, learning how to balance light in post-processing is one of the most essential skills for any photographer. Photoshop offers many tools that can be used to correct and adjust highlights and shadows. Using the Levels and Curves adjustment tools seems the first choice of many photographers. However, if you slide the midpoint of the Levels to the left, the entire image will lighten up, rather than just the shadows. Curves also face a similar problem.
In this article, I’m going to show you how to lighten shadows in Photoshop using three different techniques, and with detailed examples.
In the first technique, we use the shadows/Highlights adjustment layer, in the second technique, we will select the darkest area (shadows) of the photo, and then we will use one of the blending modes (Screen) to lighten the shadows.
Finally, in the third method, we will use the Camera raw filter to lighten the shadows. I think it is worth saying that these methods can be used together. Let us begin!
Useful shortcuts
- Duplicate a layer: (Ctrl + J)
- Select the highlights: choose channel and click Ctrl + RGB
- Invert a selection, click (Ctrl + shift + I)
- Save the selection in a new layer: press (Ctrl + J)
- Invert the mask: (Ctrl + I)
Method 1: Shadows/Highlights adjustment layer
The Shadow/Highlight command is one method for correcting photos with strong and harsh shadows. It can also be used for brightening areas of shadow in an otherwise well‑lit image. The Shadow/Highlight command does not simply lighten or darken an image; it lightens or darkens based on the surrounding pixels in the shadows or highlights.
You can access the command by clicking Image > Adjustment > Shadow/Highlight
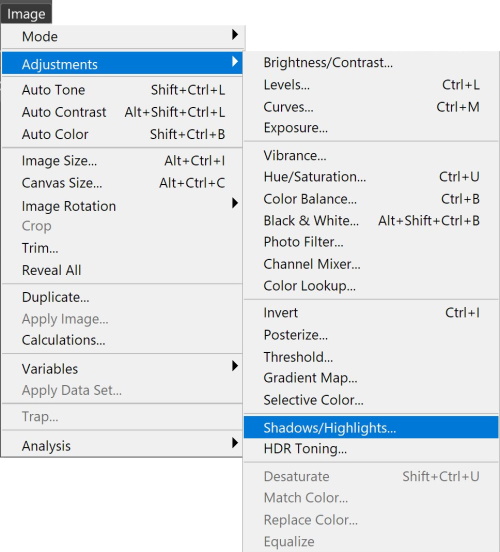
The command has the following sliders and options
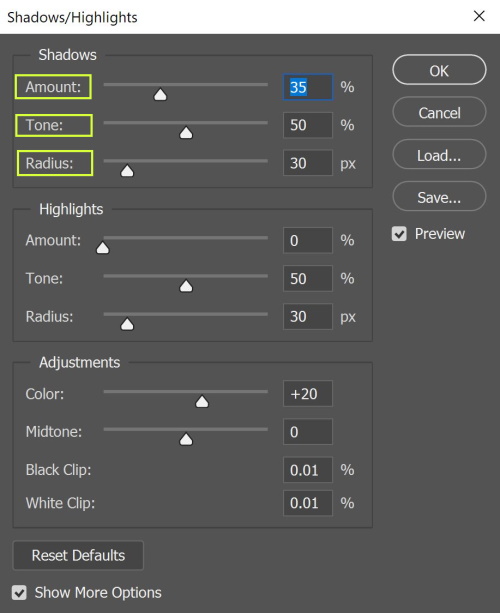
- Amount: Controls how much of a correction to make.
- Tonal Width: Controls the range of tones in the shadows or highlights that are modified. Smaller values restrict the adjustments to the darker regions for shadow correction and the lighter regions for highlight correction. Larger values increase the range of tones that are adjusted further into the mid-tones.
- Radius: Controls the size of the local neighborhood around each pixel. Neighboring pixels are used to determine whether a pixel is in the shadows or highlights. Moving the slider to the left specifies a smaller area, and moving it to the right specifies a larger area.
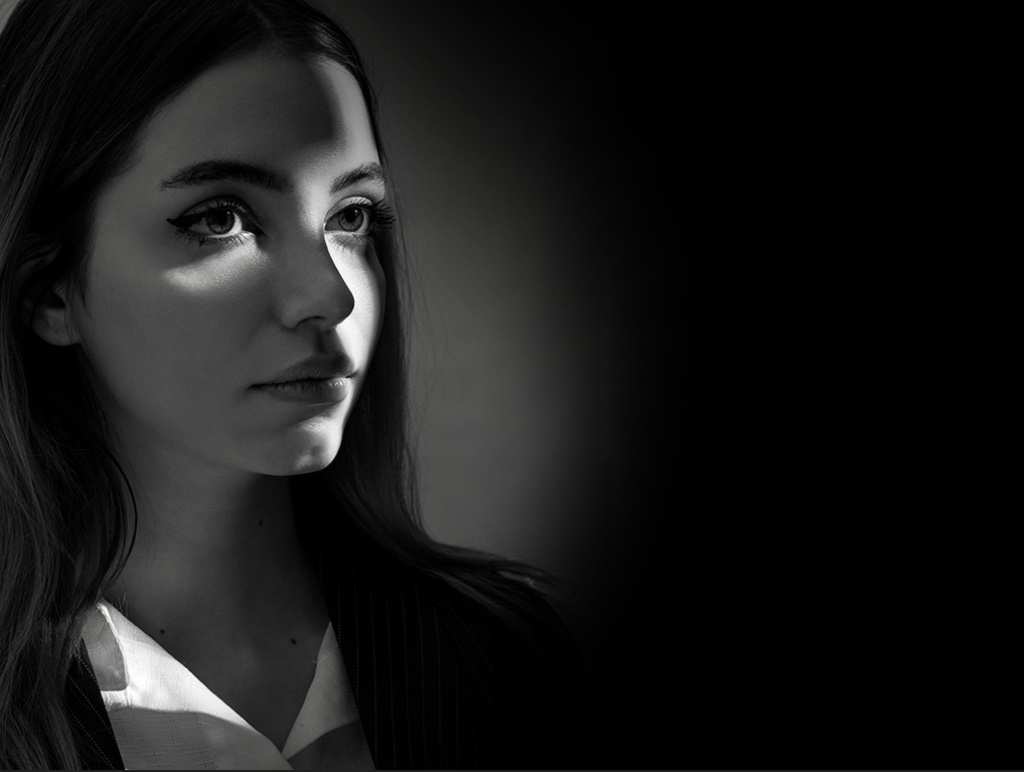
Example 1
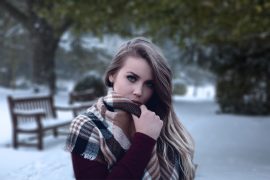
I will use the following image
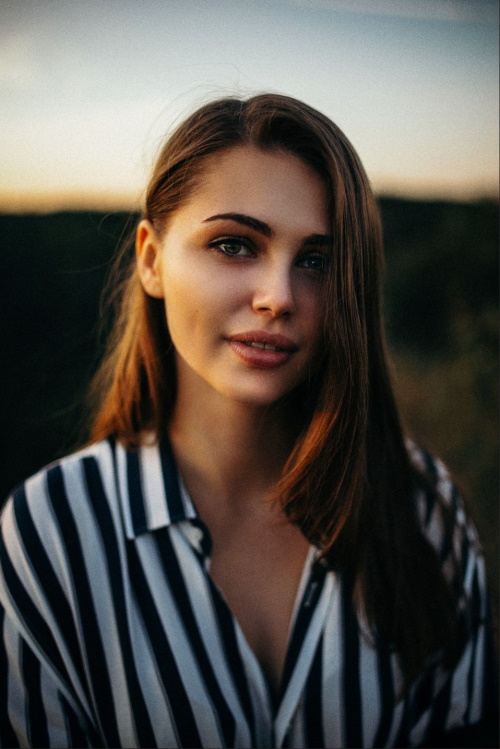
Photo by Štefan Štefančík on Unsplash
Step 1
Open the photo in Photoshop, and Duplicate the background layer (Ctrl + J)
Convert the layer to a smart layer
Step 2
Open Shadow/Highlight adjustment layer by clicking Image > Adjustment > Shadow/Highlight
Make sure that the Preview option is selected in the dialog box if you want the image to be updated as you make adjustments.
Adjust the amount of lighting correction by moving the Amount slider or entering a value in the Shadows or Highlights percentage box. Larger values provide either greater lightening of shadows or greater darkening of highlights. You can adjust both Shadows and Highlights in an image.
The before & after images are shown below

Method 2: Using blending modes and channels
In This method, we will select the darkest area (shadows) of the photo, and then we will use one of the blending modes (Screen) to lighten the shadows.
Example 2
I will use the following image
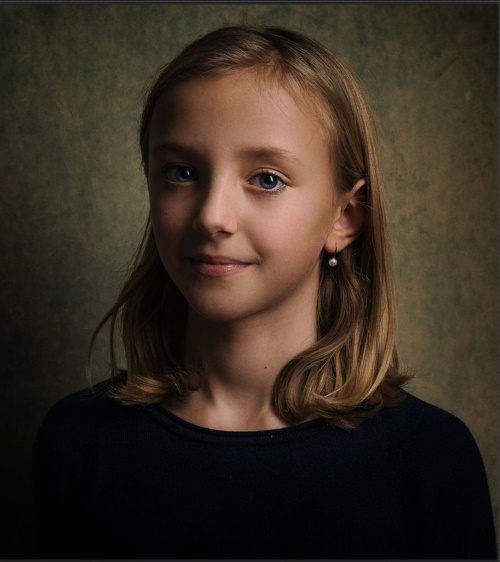
Photo by ?? Janko Ferlič on Unsplash
Step 1
Open the photo in Photoshop, and Duplicate the background layer (Ctrl + J)
Step 2
In this step, I will separate the subject from its background
Click a selection tool, then click Select and Mask, and then click Select Subject
Make sure to select output to Layer Mask, press O.K

Step 3
To select the highlights, choose Channel
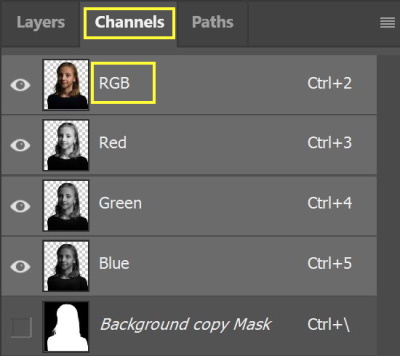
Hold Ctrl and click on the RGB channel
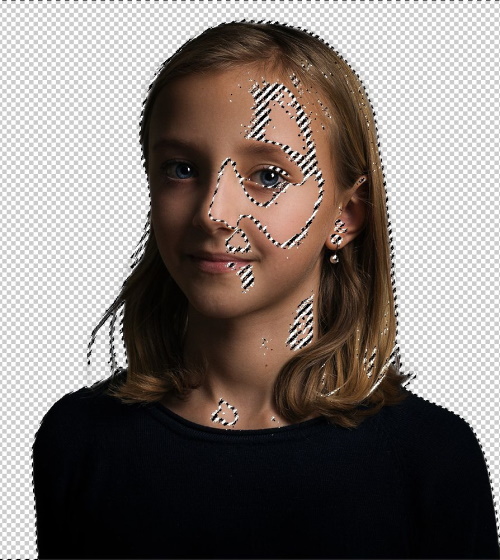
Step 4
To select the shadows, invert the previous selection
Press Ctrl + shift + I
Save the selection in a new layer, press Ctrl + J

Step 5
To lighten the shadows, change the blending mode to Screen
The before & after images are shown below

Method 3: Camera raw filter
In this method, I will use the Camera raw filter to lighten the shadows
Example 3
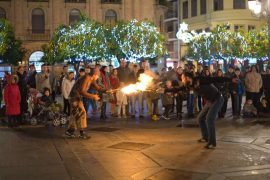
I will use the following image

Photo by Imansyah Muhamad Putera on Unsplash
Step 1
Open the photo in Photoshop, and Duplicate the background layer (Ctrl + J)
Convert the layer to a smart layer
Step 2
Open the Camera raw filter by clicking Filter > Camera raw filter
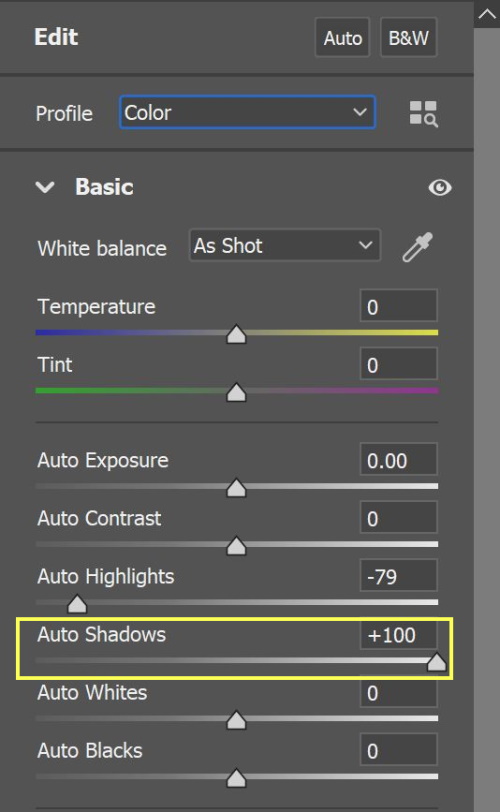
Drag the shadows slider to the right to reduce the shadows
Step 3
Invert the mask automatically generated by the camera raw filter click (Ctrl + I)
With the mask selected, use the brush tool with white color to reveal the areas where you want the filter to be applied.
The before & after images are shown below
Another example
The original Photo by Ehsan from Pexels
The before & after images are shown below
Related posts
What Are The Selection Tools In Photoshop?
Blending Tool In Photoshop Explained- Understanding The Blending Mode
Thanks for reading, I hope you enjoyed the article, in case you have any questions just drop them below & I will be happy to answer you.
If you enjoy the site, don’t forget to subscribe, we will only inform you when a new article is posted.


I have a lot of friends who are into photography so I know that they will appreciate this post. I know that they are always looking for ways to better their pictures and by doing so they will gain more clients. So I will be sure to pass it around, they will appreciate it
Thanks!
Hey,
I am not a photographer myself, but I do like to look at beautiful photos. For example, your opening photo (at least in my opinion) is a bull’s eye. Black and white photos can be so attractive after all!
So: all your interesting tips for working with Photoshop and optimizing your photos are definitely recommended for novice (as well as more experienced) photographers. I myself am very self-taught and if I was interested in photography I would have already started to try out your tips. It seems challenging.
Very nice work!
With best regards,
Thanks for your feedback