What is low key photography?
Simply it’s a style of photography that tends to give the image a dramatic look and give priority to the dark tones by underexposing the background and exposing the face perfectly by using any light source either by speedlites/strobes or natural light from a window, and here is an example from a histogram of a low key shot as shown all the information tends to be on the left side while the high key all the information should be bunched to the right side of the histogram, if you are a beginner I recommend to have a look to this post “What is low key photography” it will help you to get more to this photography style.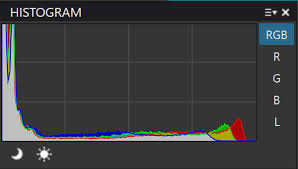
In this post, I will explain step by step how to create a low-key family portrait by using one speedlight and create a composite in photoshop to merge the images into one single photo
One light setup
By using one light setup you can create beautiful low-key portrait photos but you must know how to place the light source and how to use your camera settings to kill the ambient light and only let it catch the light that comes from your Speedlite. so what gear is needed? sure a DSLR/mirrorless camera, Speedlight, a diffuser (any can work either softbox/umbrella, etc..), light stand to use the Speedlite off-camera flash, flash trigger & finally black/gray background and if you have a light meter it should be great so you can measure easily the light comes from the Speedlite and let you know the exact aperture opening to use in your camera but it’s not a must tool as by trial and error and practicing you can guess your aperture easily.
before I describe the settings and setup for the images that we will use in the composite just I will list some low-key portrait shots using one light to get familiar with how different settings and lighting positions can give different results, all the images below taken with the same camera settings, ISO: 100 F/8 Shutter speed 1/250 (the fastest I can shoot it as my camera doesn’t support high-speed synchronization).
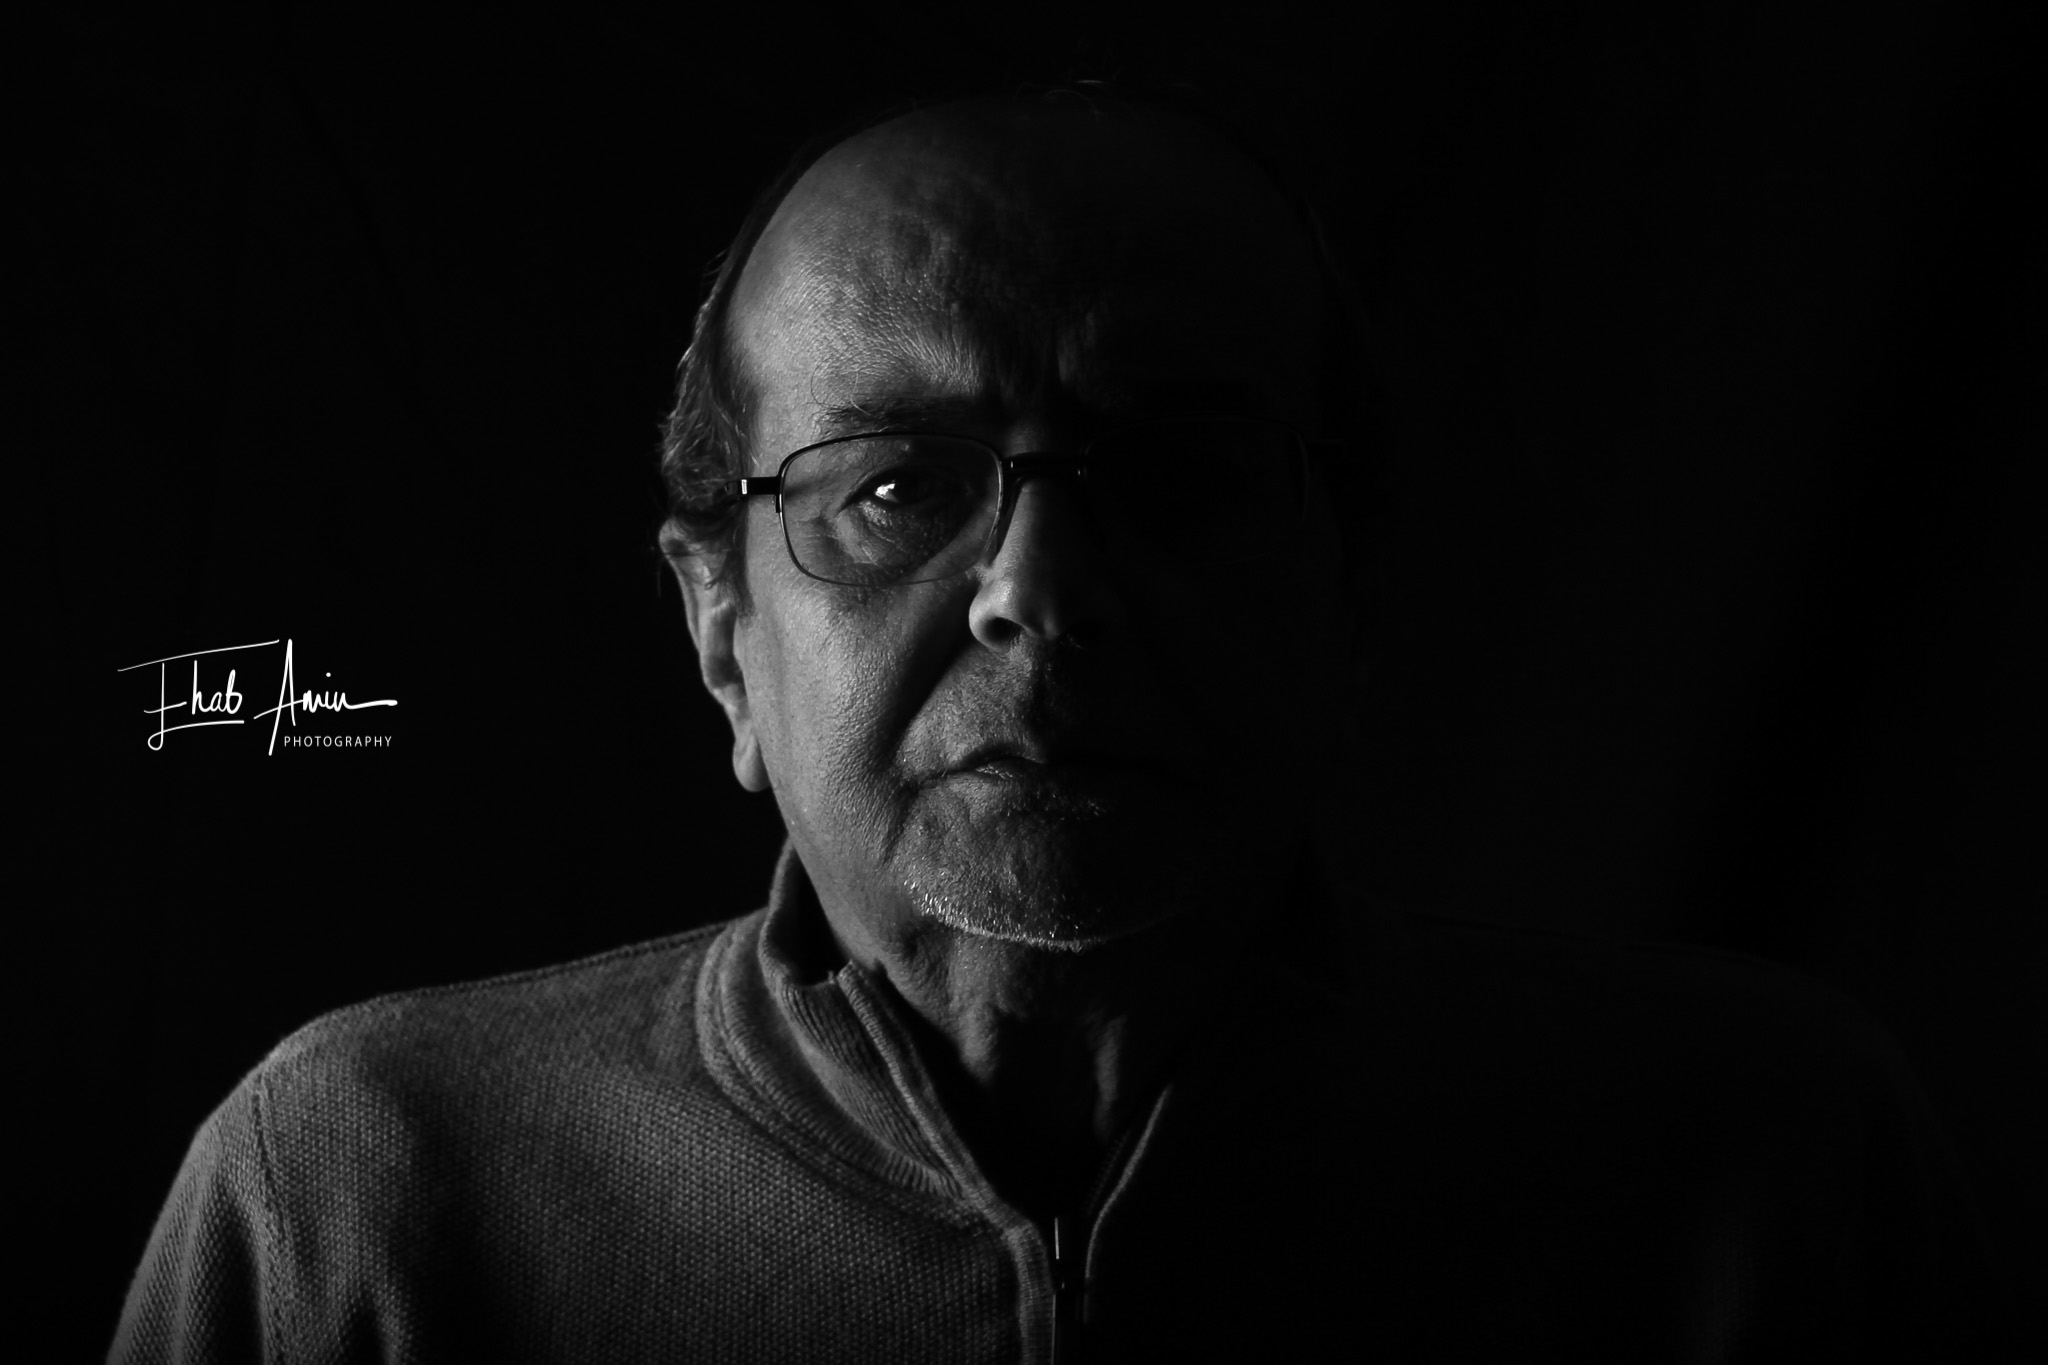
In this shot, the Speedlite with octa softbox was placed camera left at the same height as the subject and directed to his cheek (Flash power 1/4)
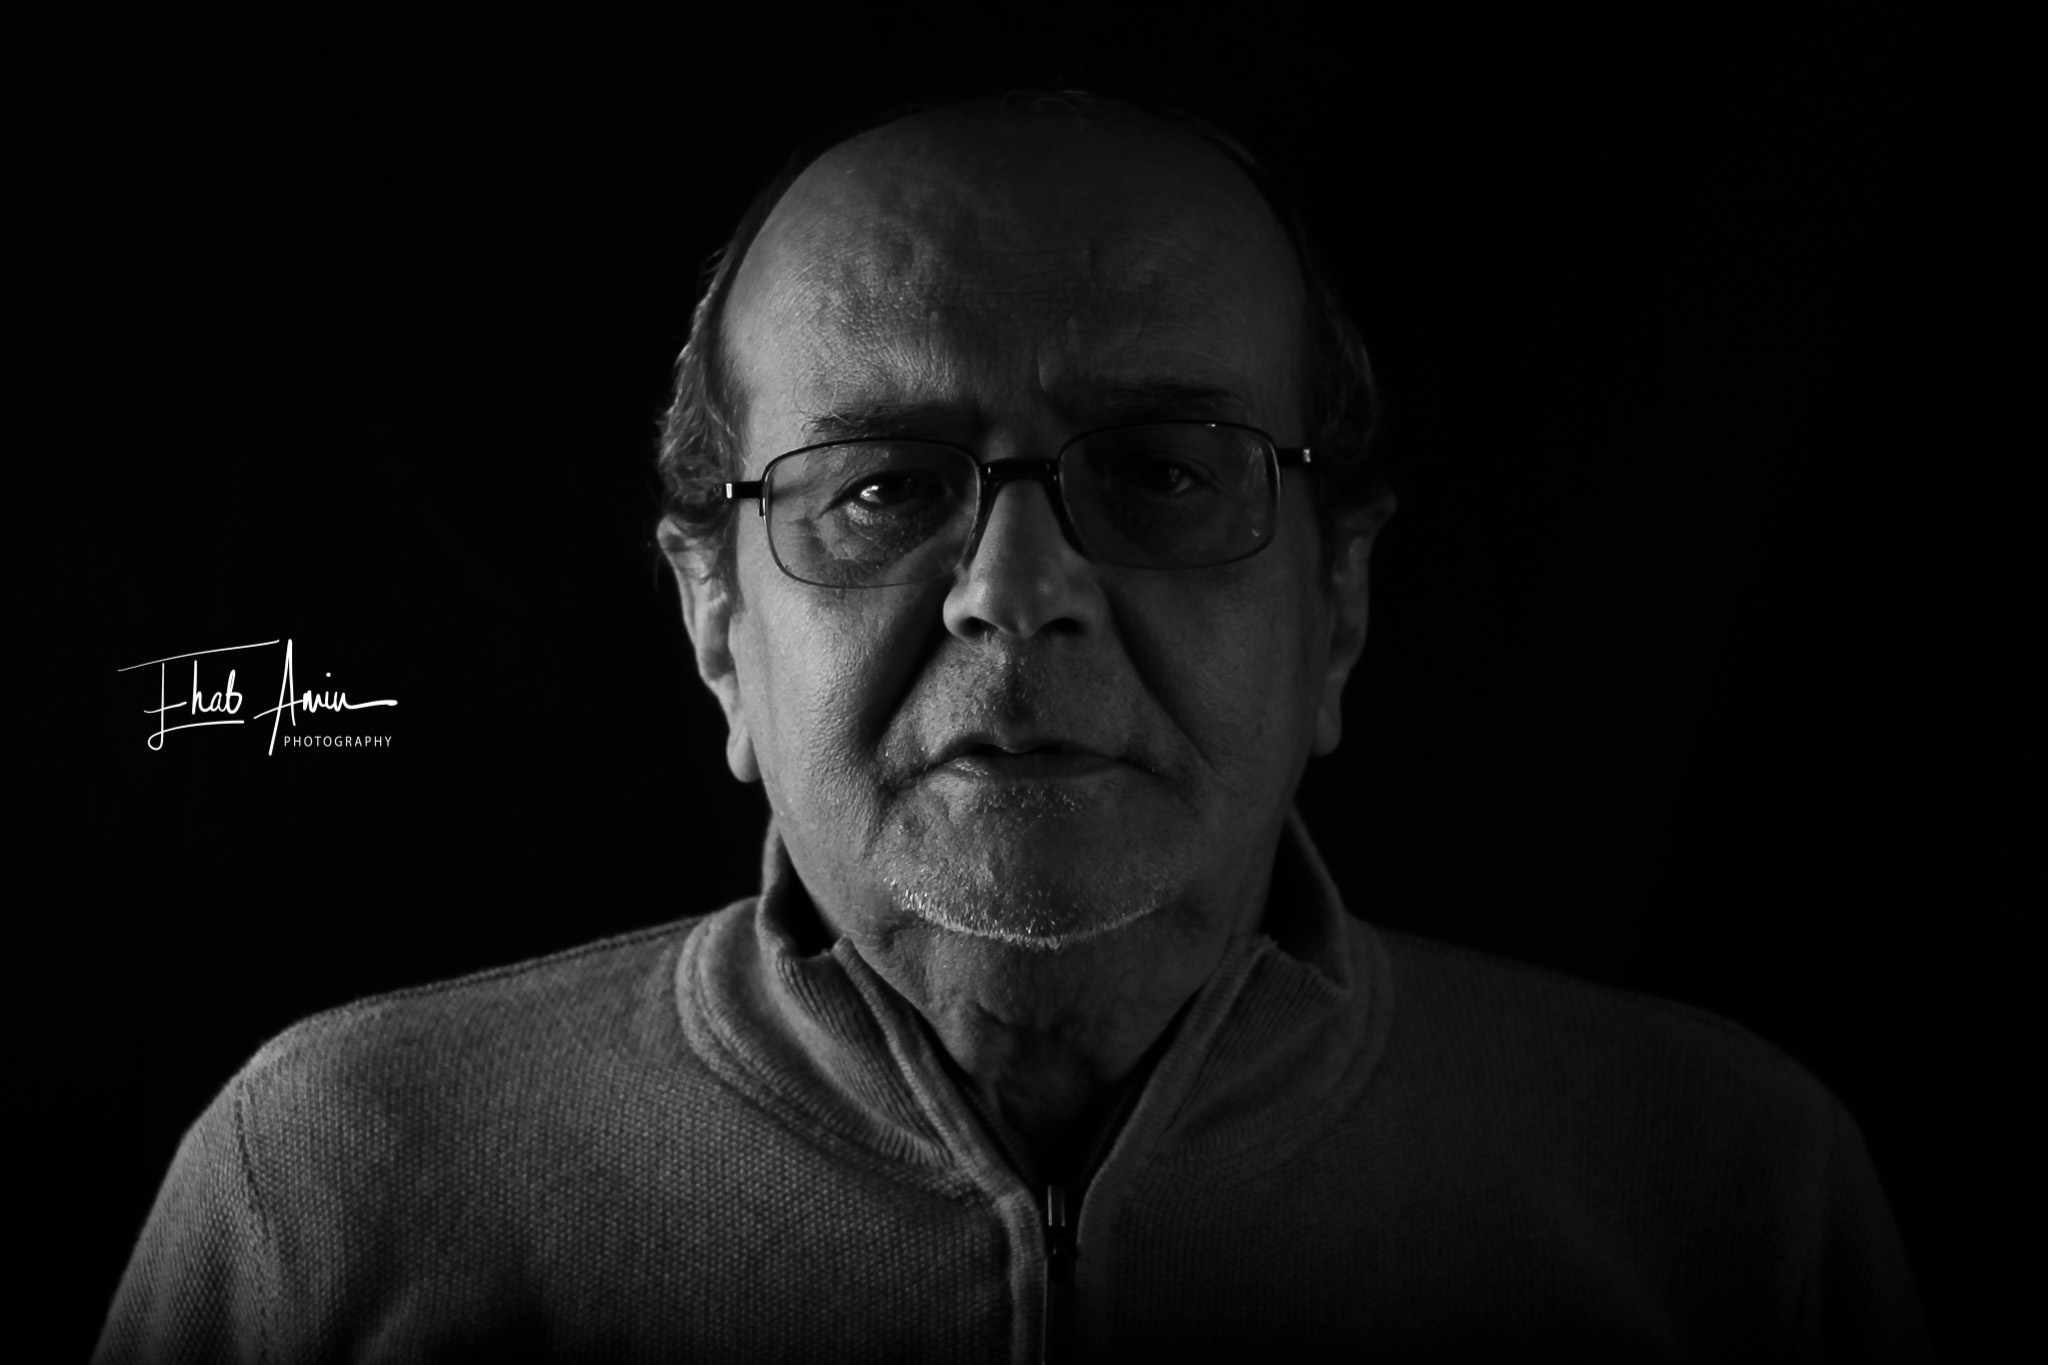
This shot is the same settings as the above but a reflector is added on the camera right to bounce the light to the other cheek.
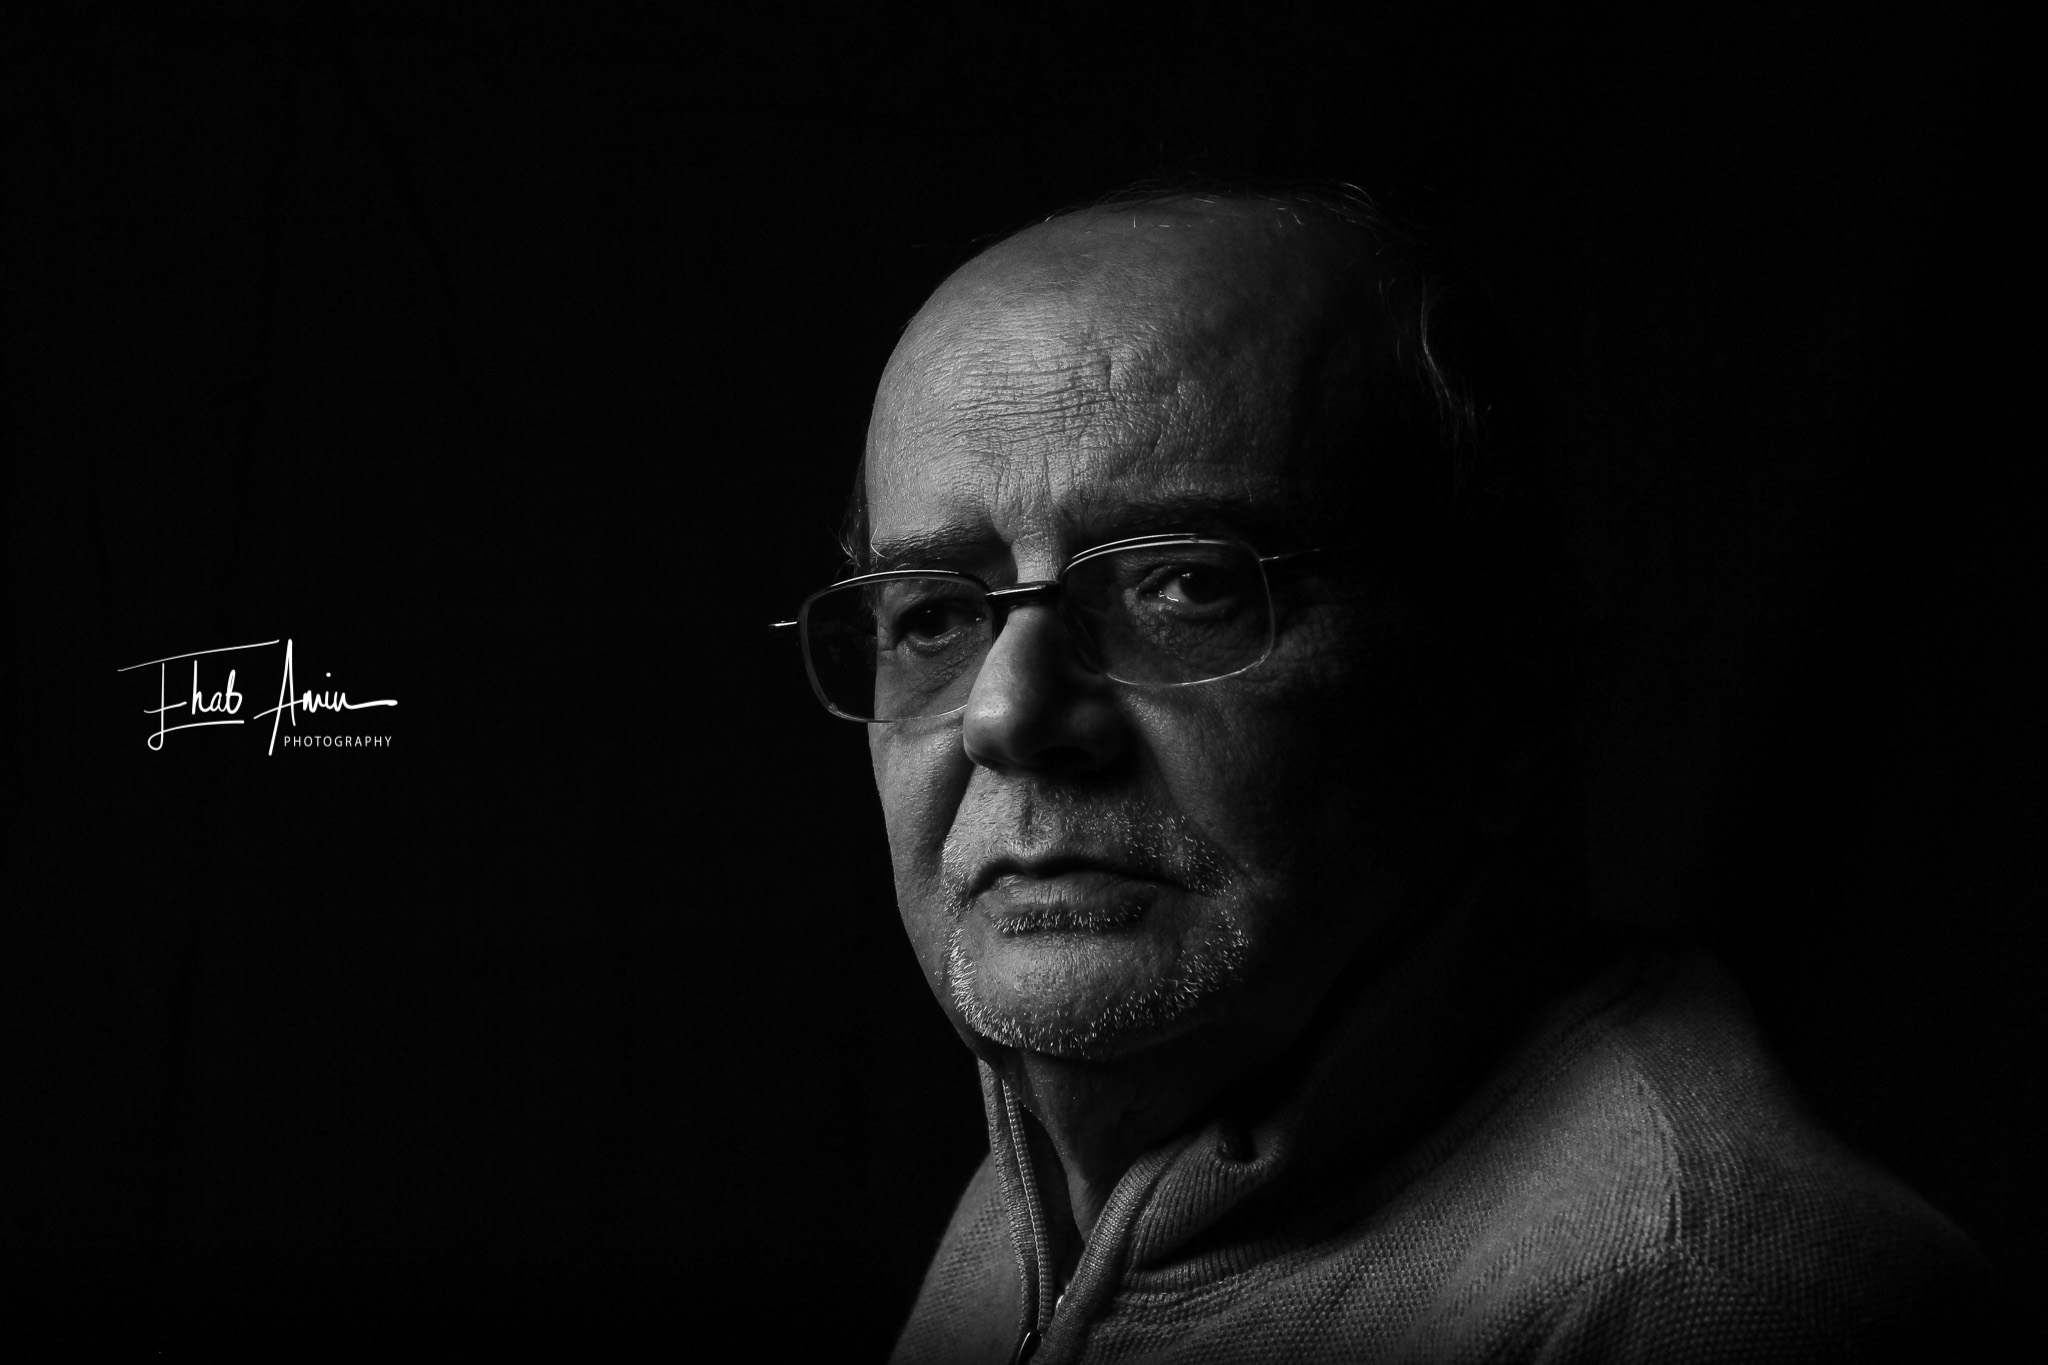
In this one, the Speedlite and the softbox were placed camera left high and with an angle of 45° toward the subject face
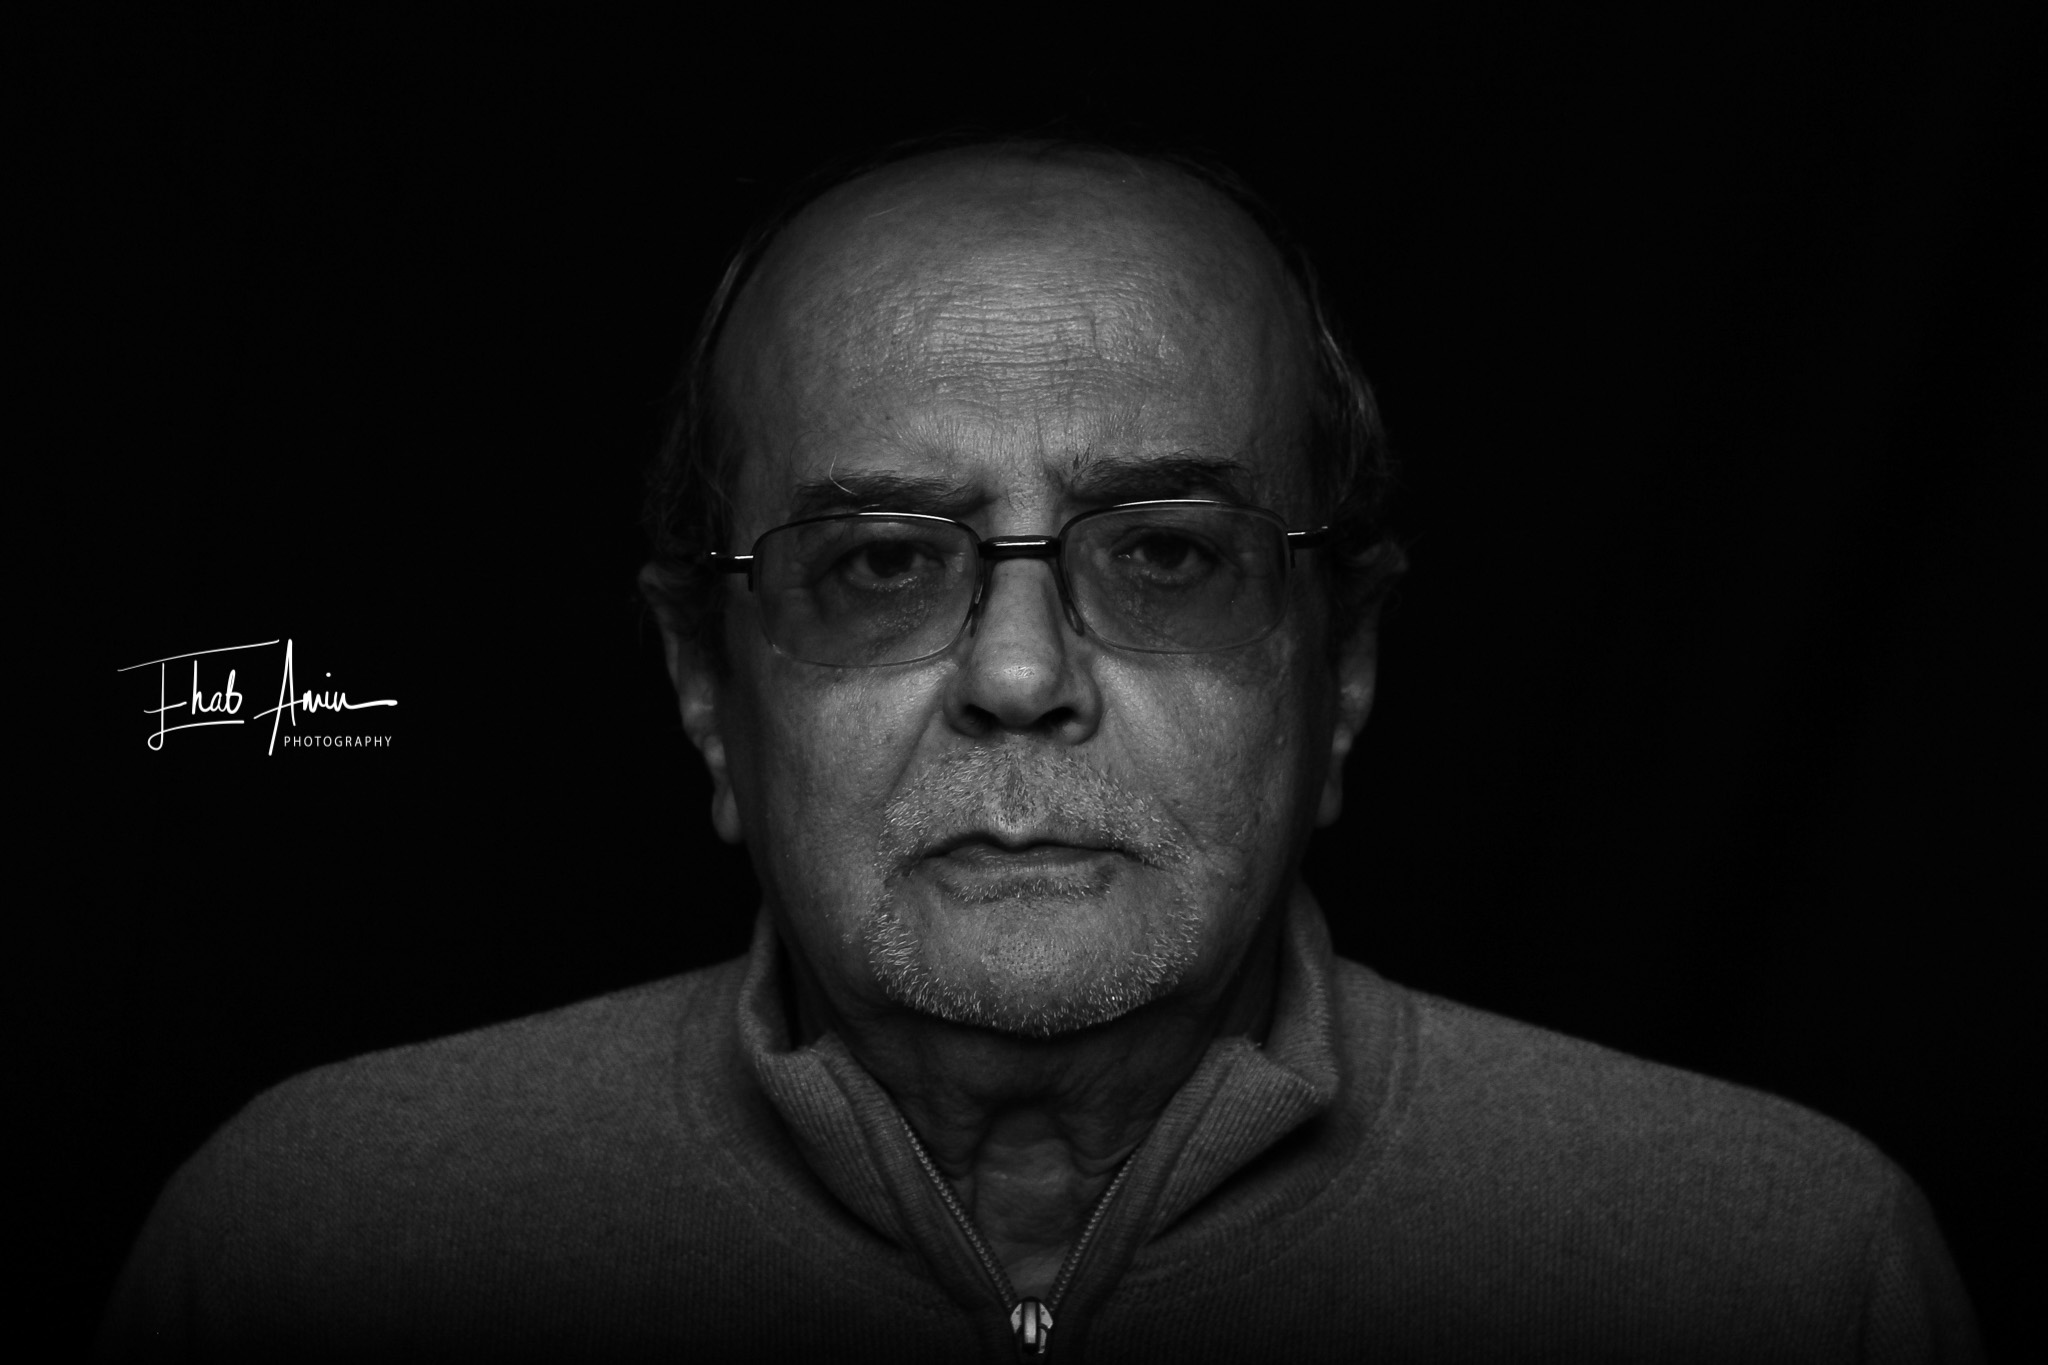
In this one this technique called butterfly lighting, the light was placed above the camera and with an angle of 45° towards the subject face
those are simple shots take with one light source, look at more lighting setups in this post “Photography Lighting Techniques”
Create a dramatic family portrait photo by using one light source
First, you have to place the lighting source high and with an angle 45 towards the face and don’t move it in the 3 shots to make sure that you get the same lighting on the face for the three images. also, an important note to consider is to let the person look at the same spot so in the composite looks real and more natural a middle of the softbox should be a great point to look at.
Camera settings
As mentioned above we want to kill the ambient light so I set my ISO to the lowest number the camera can go which is 100 and fast shutter speed of 1/250 and an aperture of F/8 which is the sweet spot in my lens and also no point shooting wide open as we need to make sure all the face in focus and crisp then by using light meter I adjust my flash power till the meter read F/8 then started to take test shots and take several ones till you nail it.
Here is the scenes shot for the simple lighting setup, just placed a toy to let my baby look at the center of the softbox which is the point we should all look at 🙂
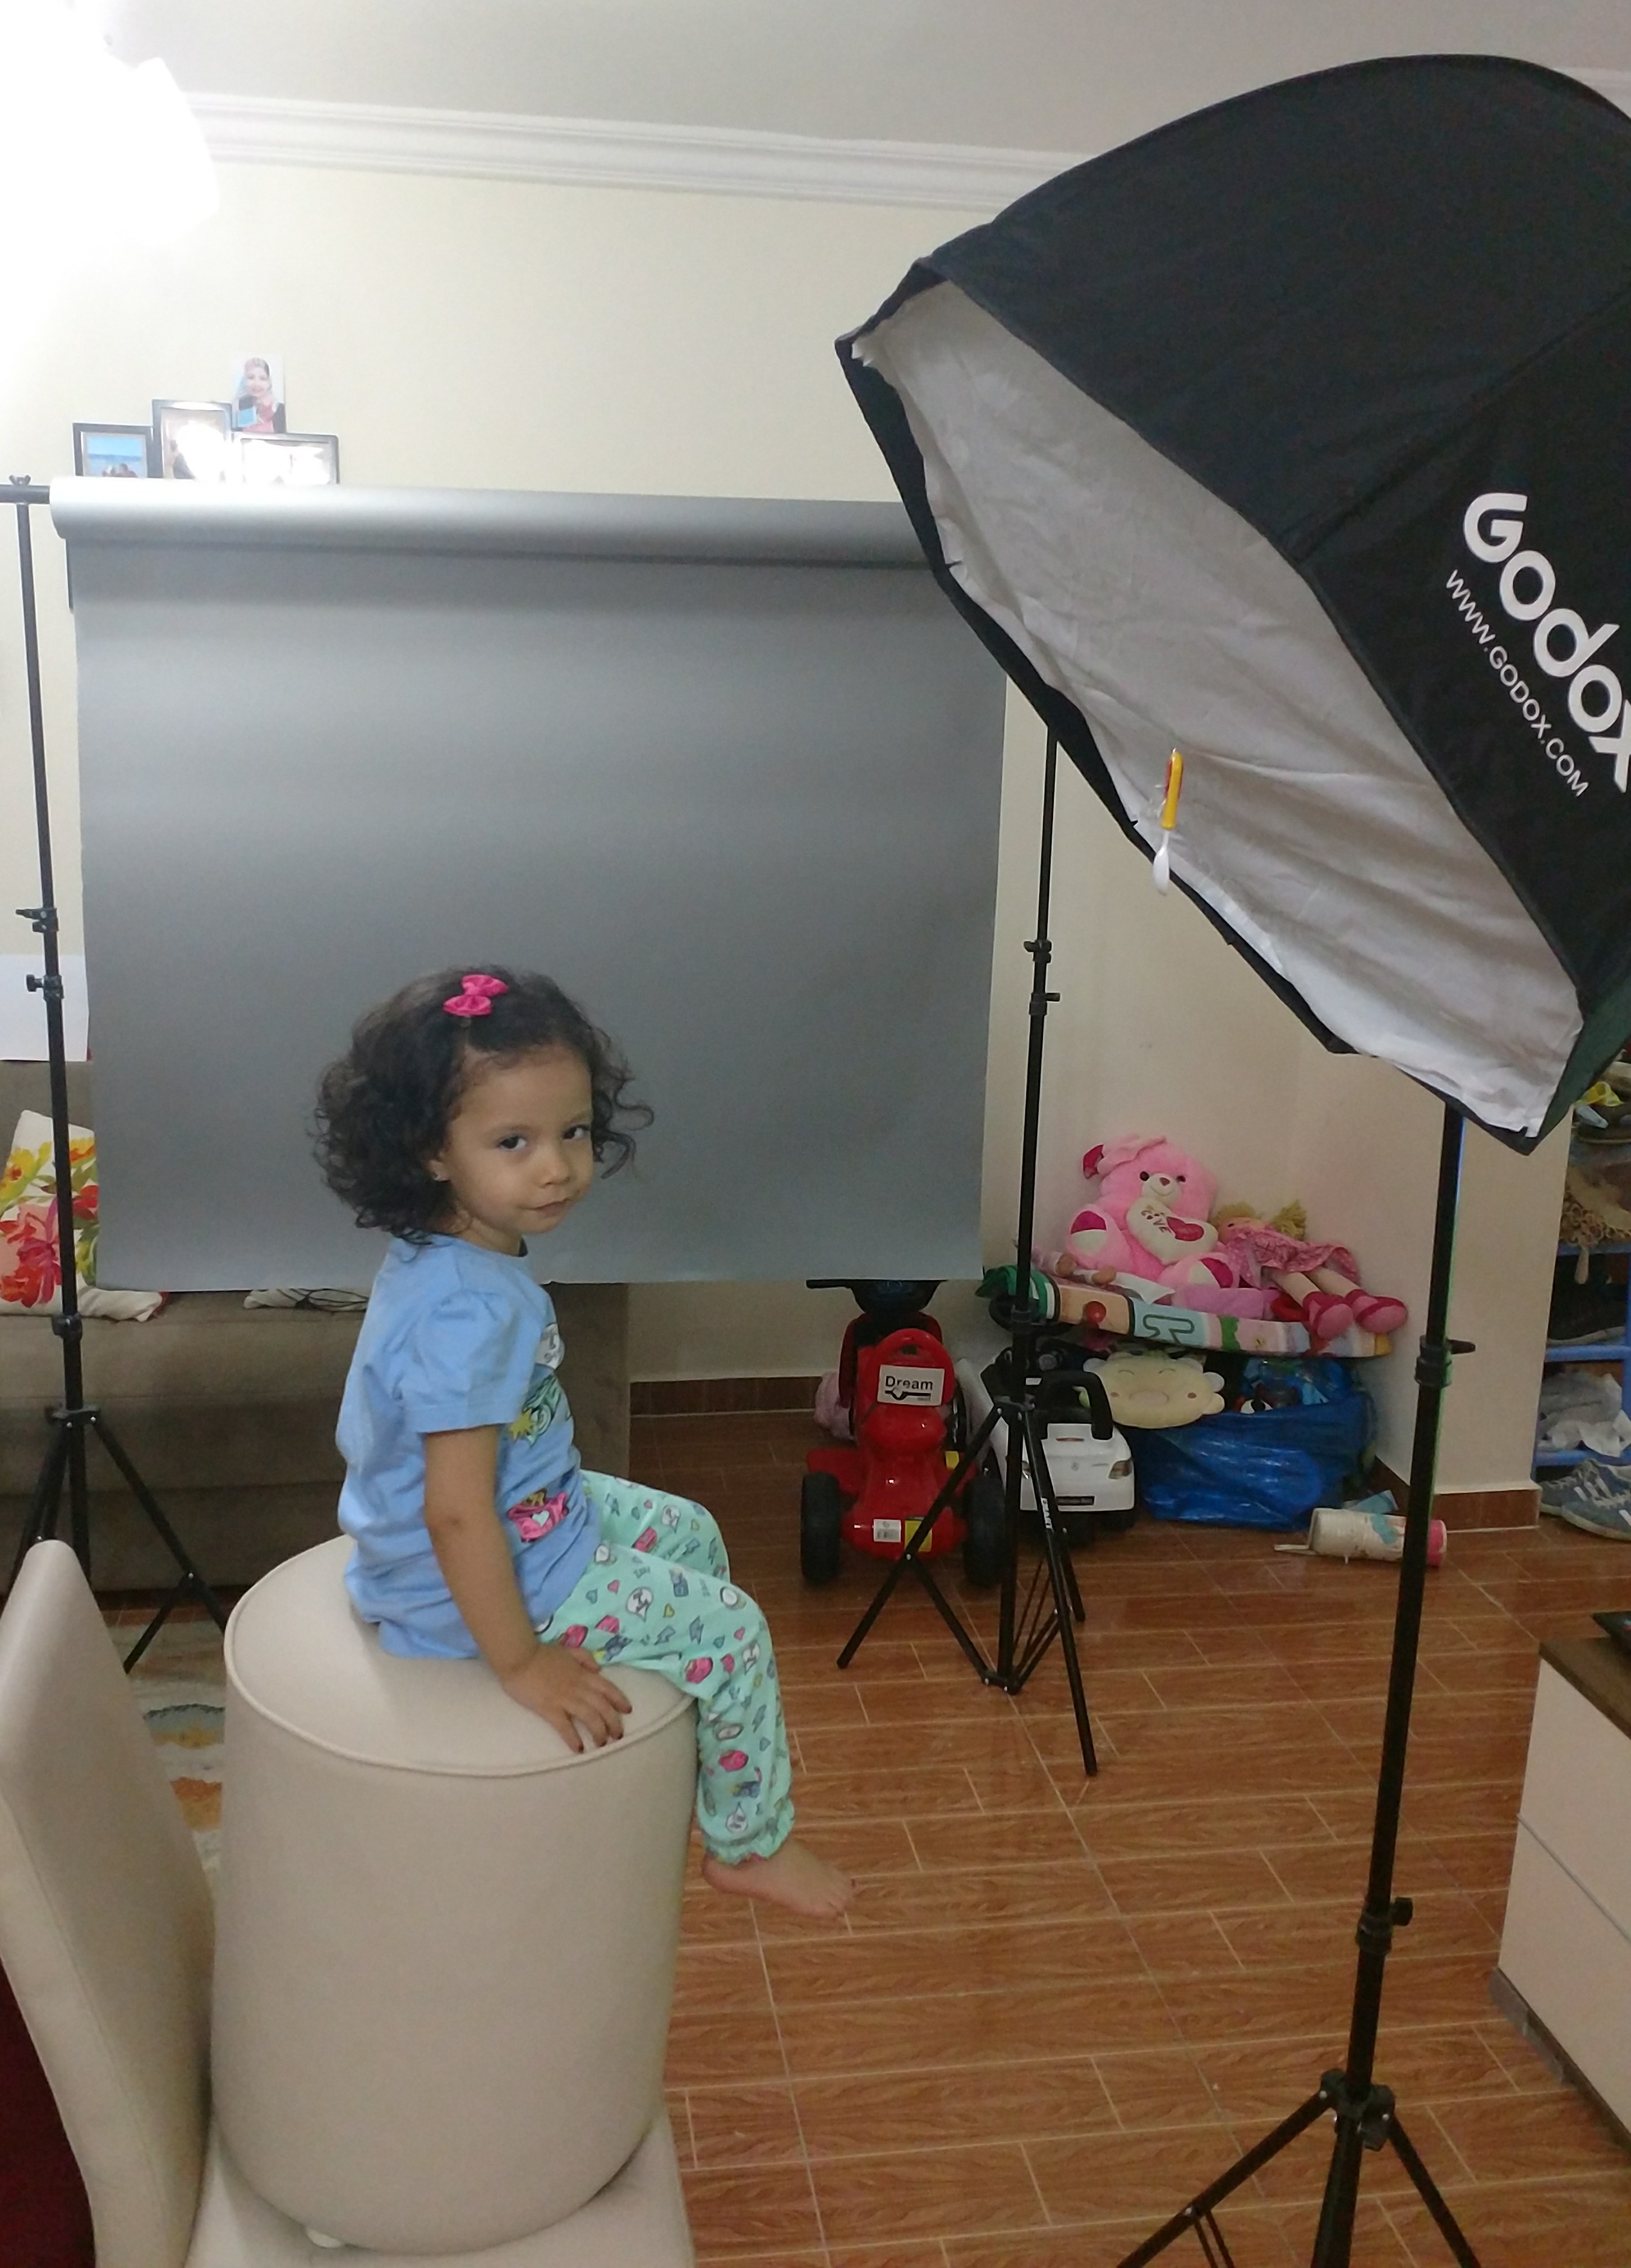
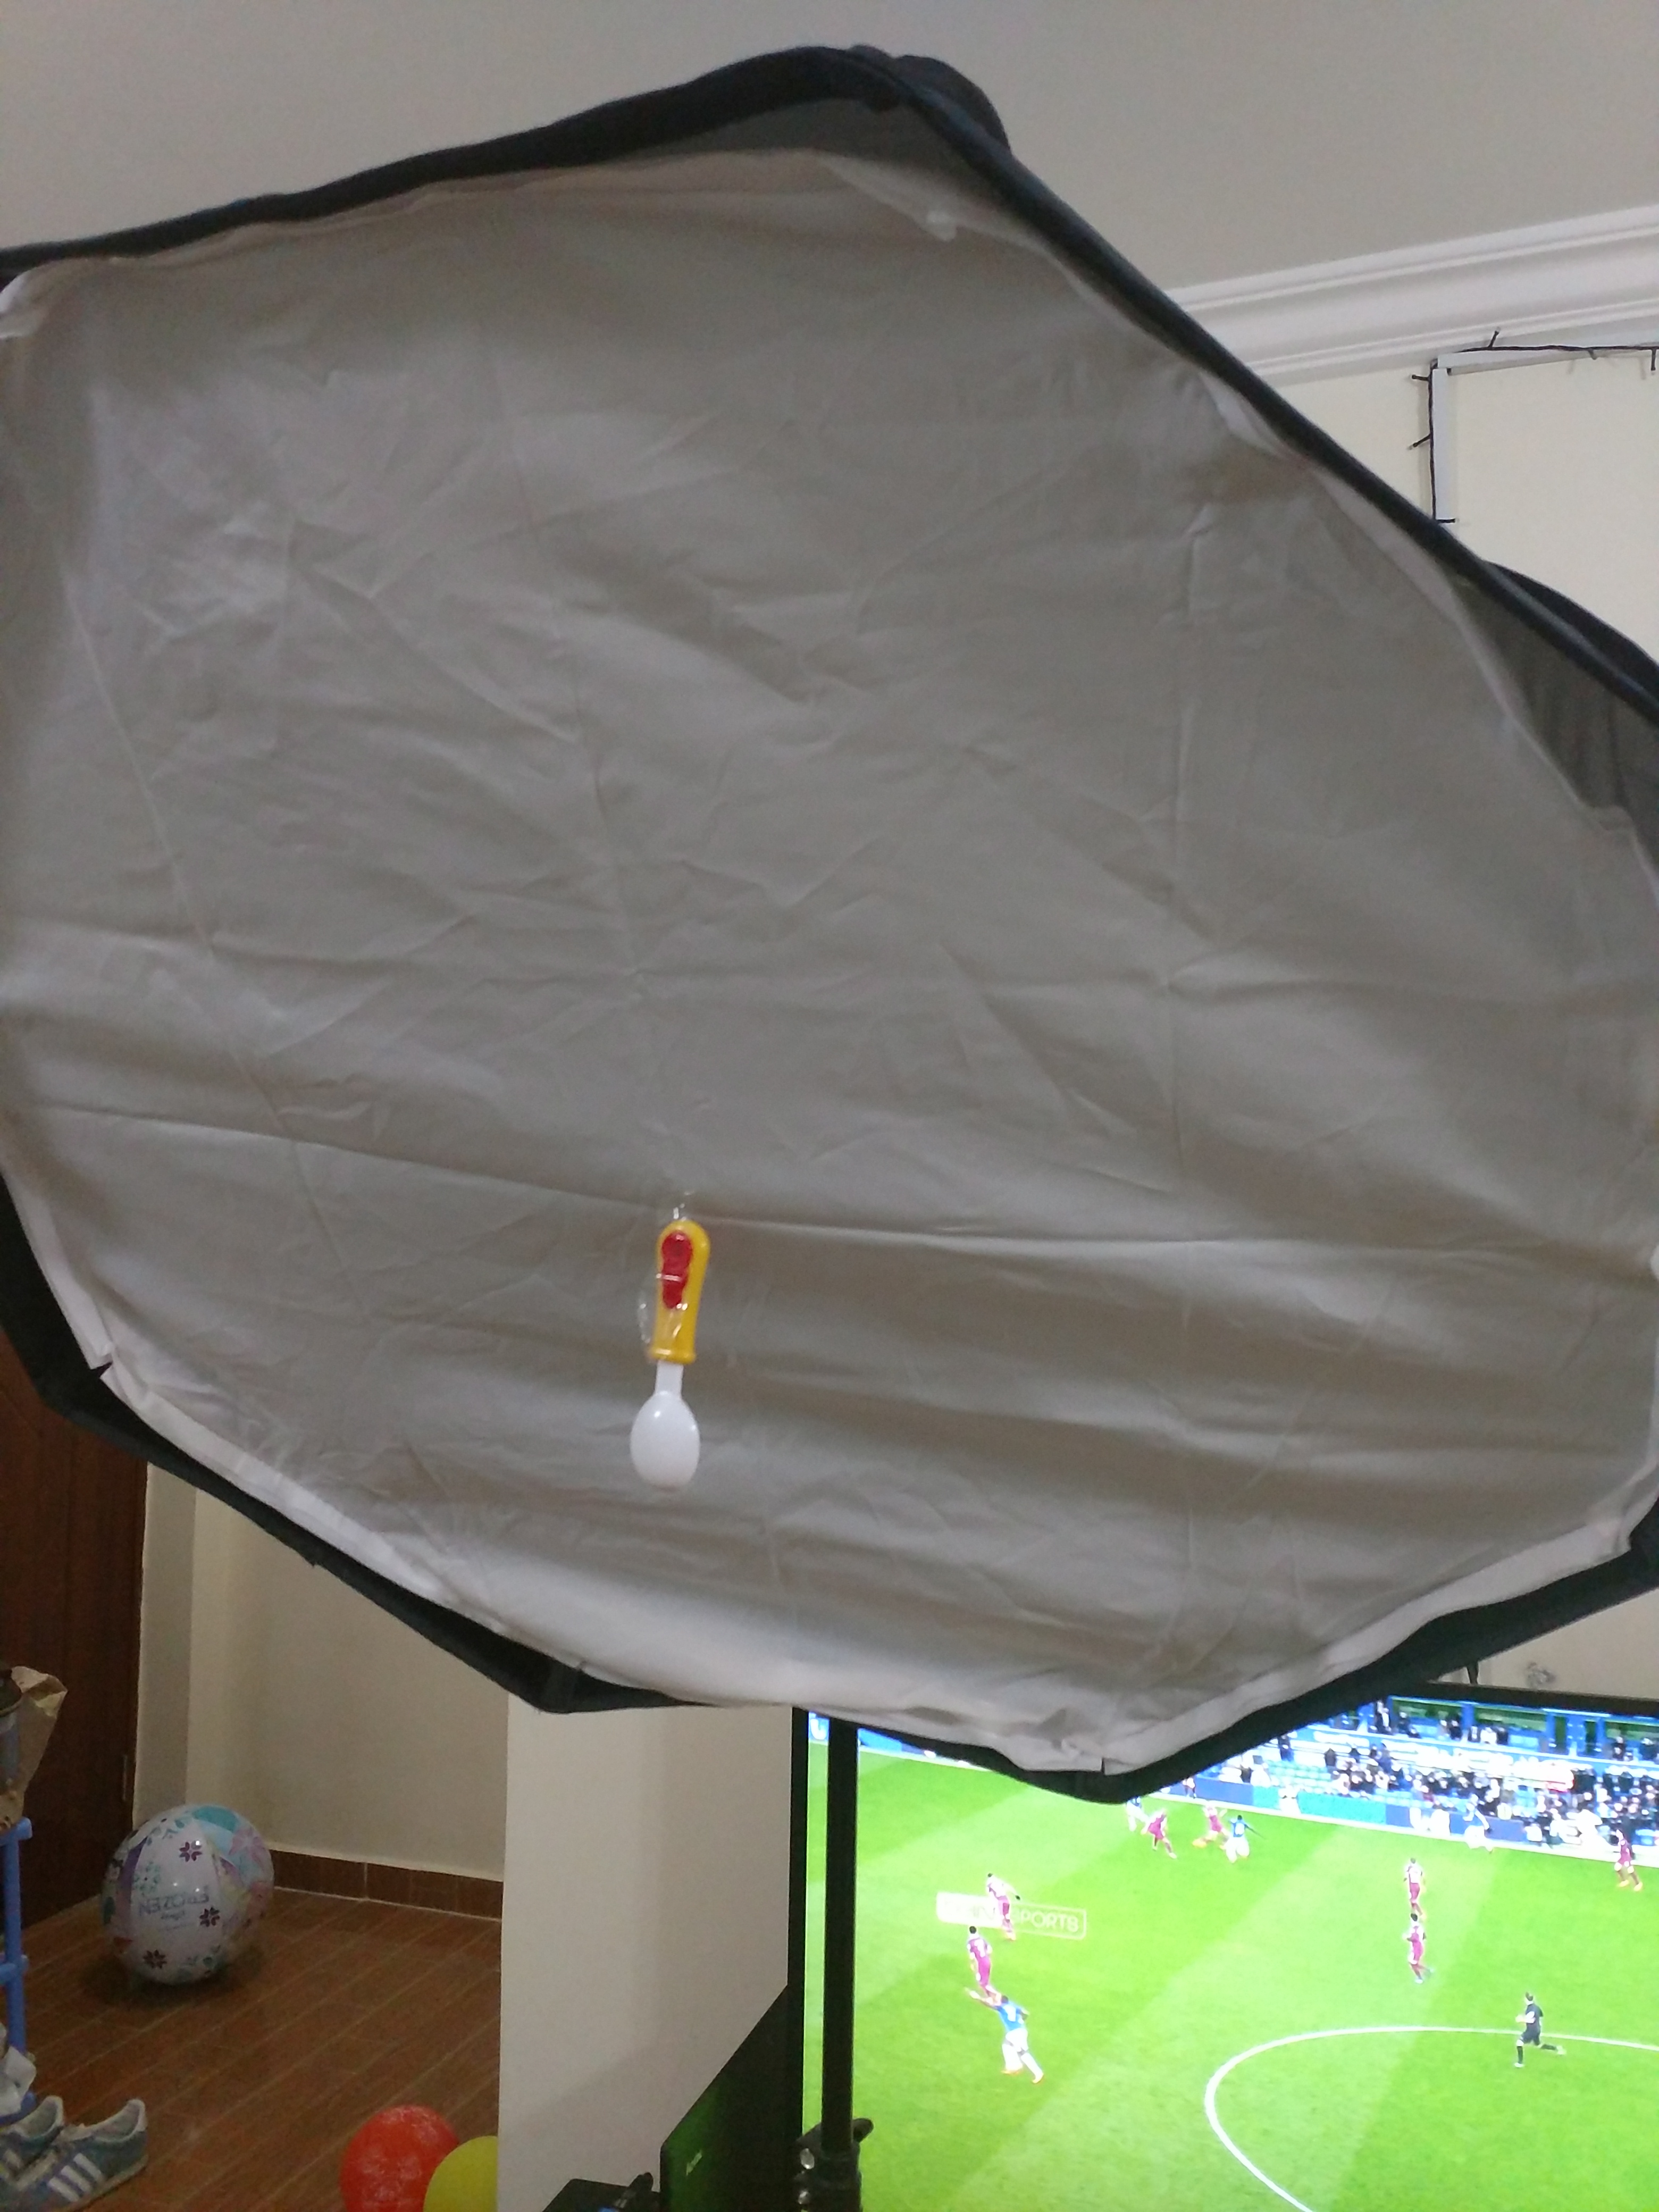
And here is the final 3 shots that will be used in the composite by Photoshop.
Now you need to merge the above three into Photoshop in some simple steps as below:
1) Add the 3 images into Photoshop either to do the basic adjustment through camera raw or if you have already done it at Lightroom.
2) Choose which image should be your background which the person is supposed to be in the middle of the composite.
3) Use any selection tool you like and select the subject face then copy & paste it on the background layer.
4) choose “Lighten” from the blending mode drop menu.
5) Use transform (Cltr+T) to resize
6) Add a layer mask and use your brush/eraser to remove unwanted areas
7) Go to the third image use the selection tool & copy-paste it to the main photo, it will be on the top so not too much adjustment to be made just transform to resize it.
8) finally export it as a jpeg image.
Watch this video tutorial for how to create a family portrait composite in photoshop.
Gear Used in shooting
- Canon T3i
- Sigma 50mm F/1.4
- YONGNUO YN600EX-RT II
- Yonguno Triggers RF605
- Godox Softbox 80cm
- Sekonic S-308 light meter
Related posts:
What is The Low Key Photography
Photography Lighting Techniques
How to Get Black Background Photos
Thanks for reading, I hope you enjoyed the article if you have any questions just post them below & I will be happy to answer you.
If you enjoy the site, don’t forget to subscribe, we will only inform you when a new article is posted.

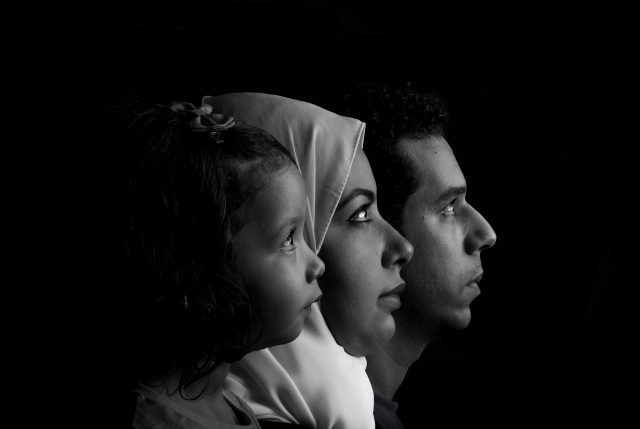


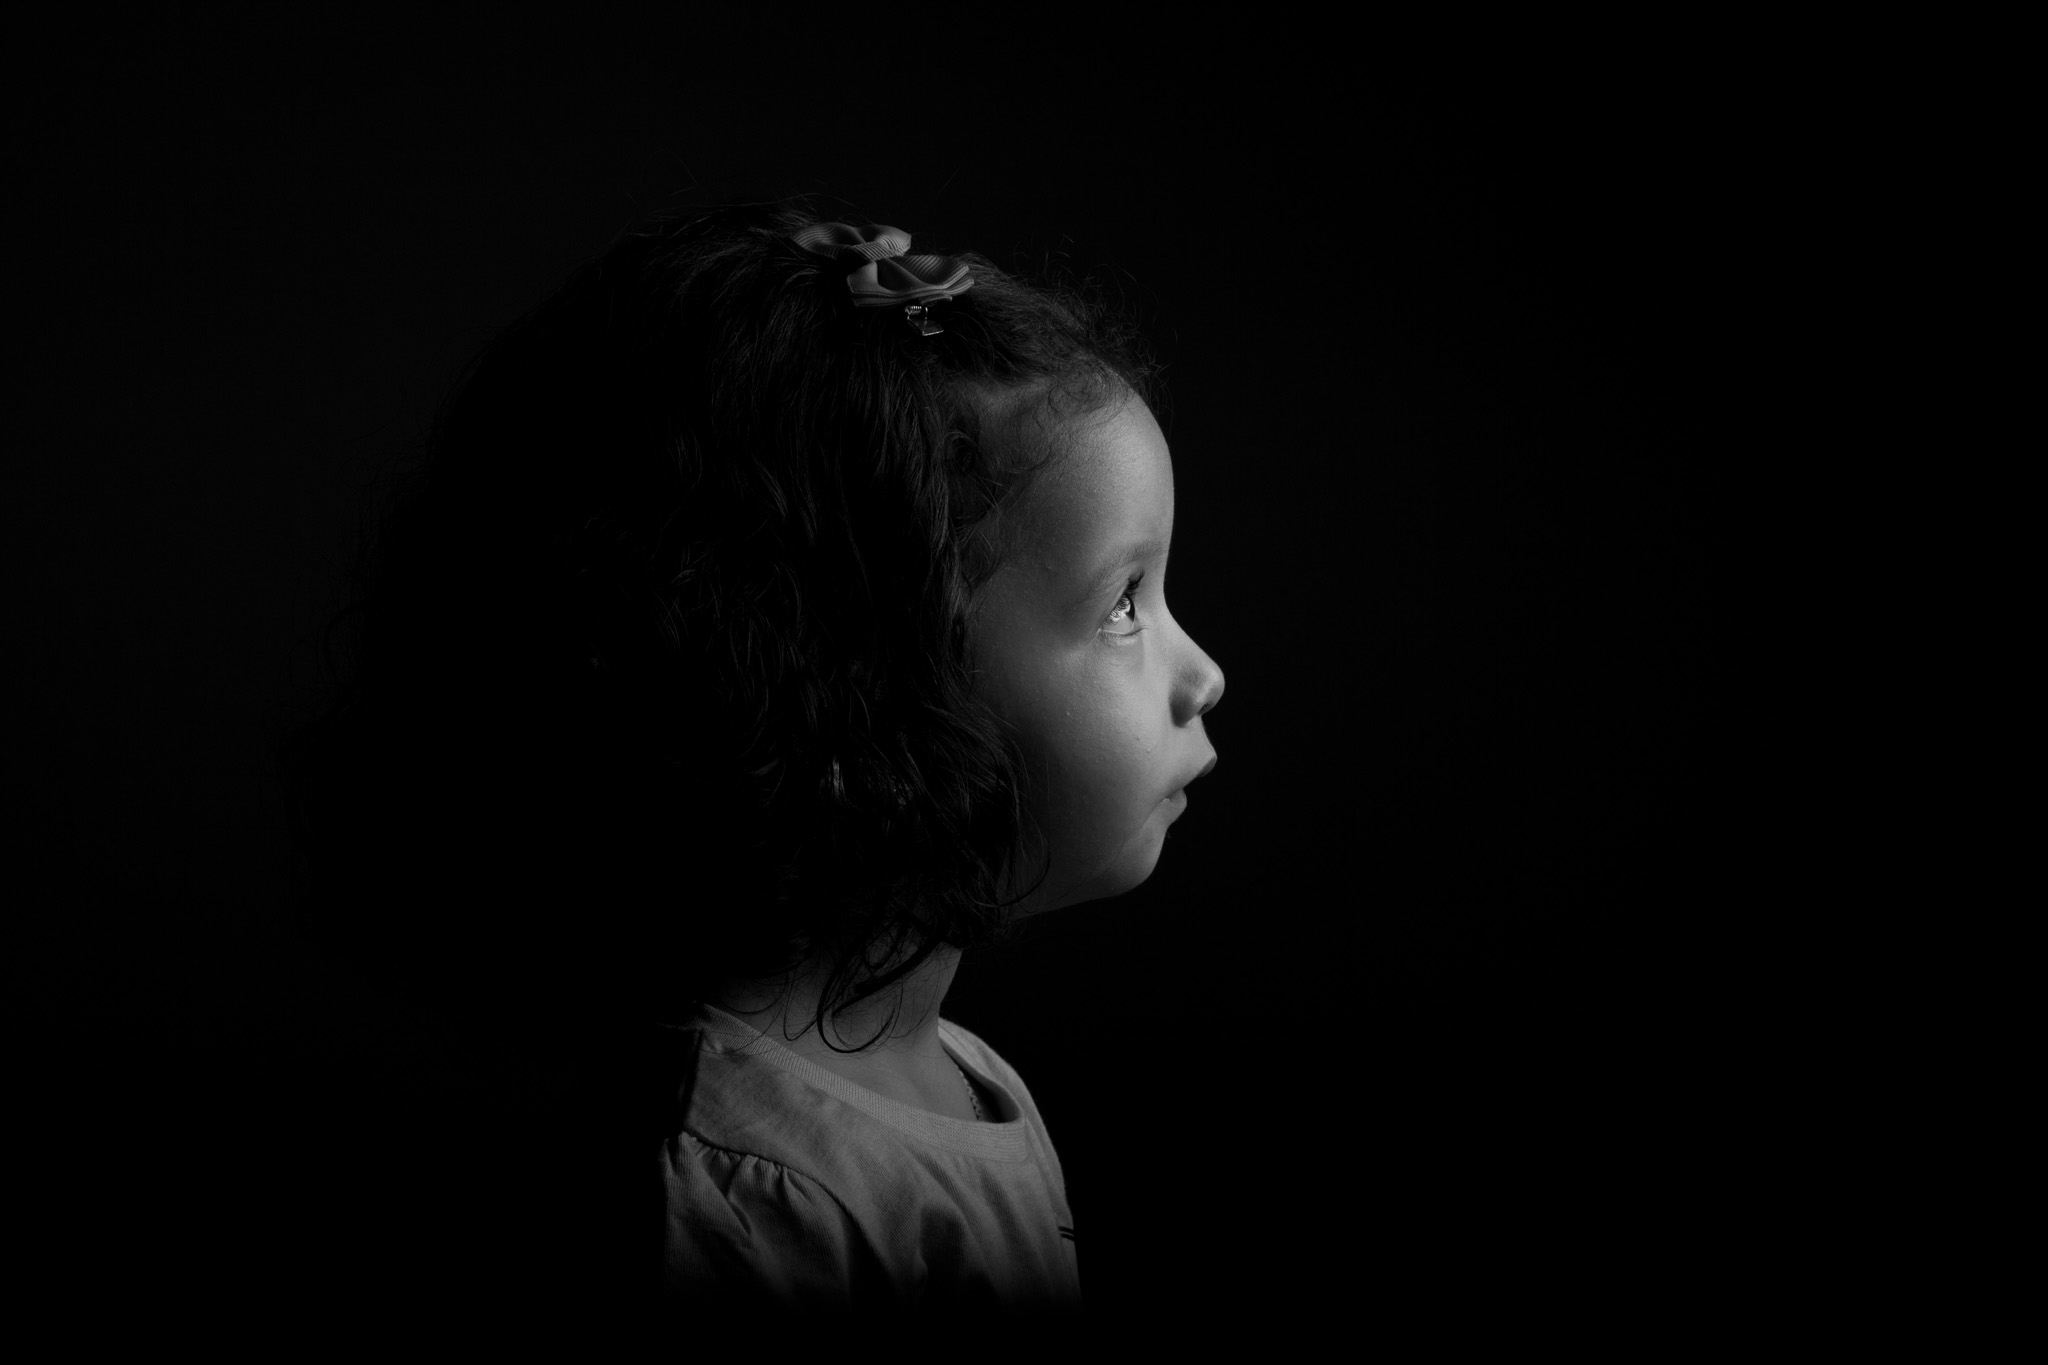
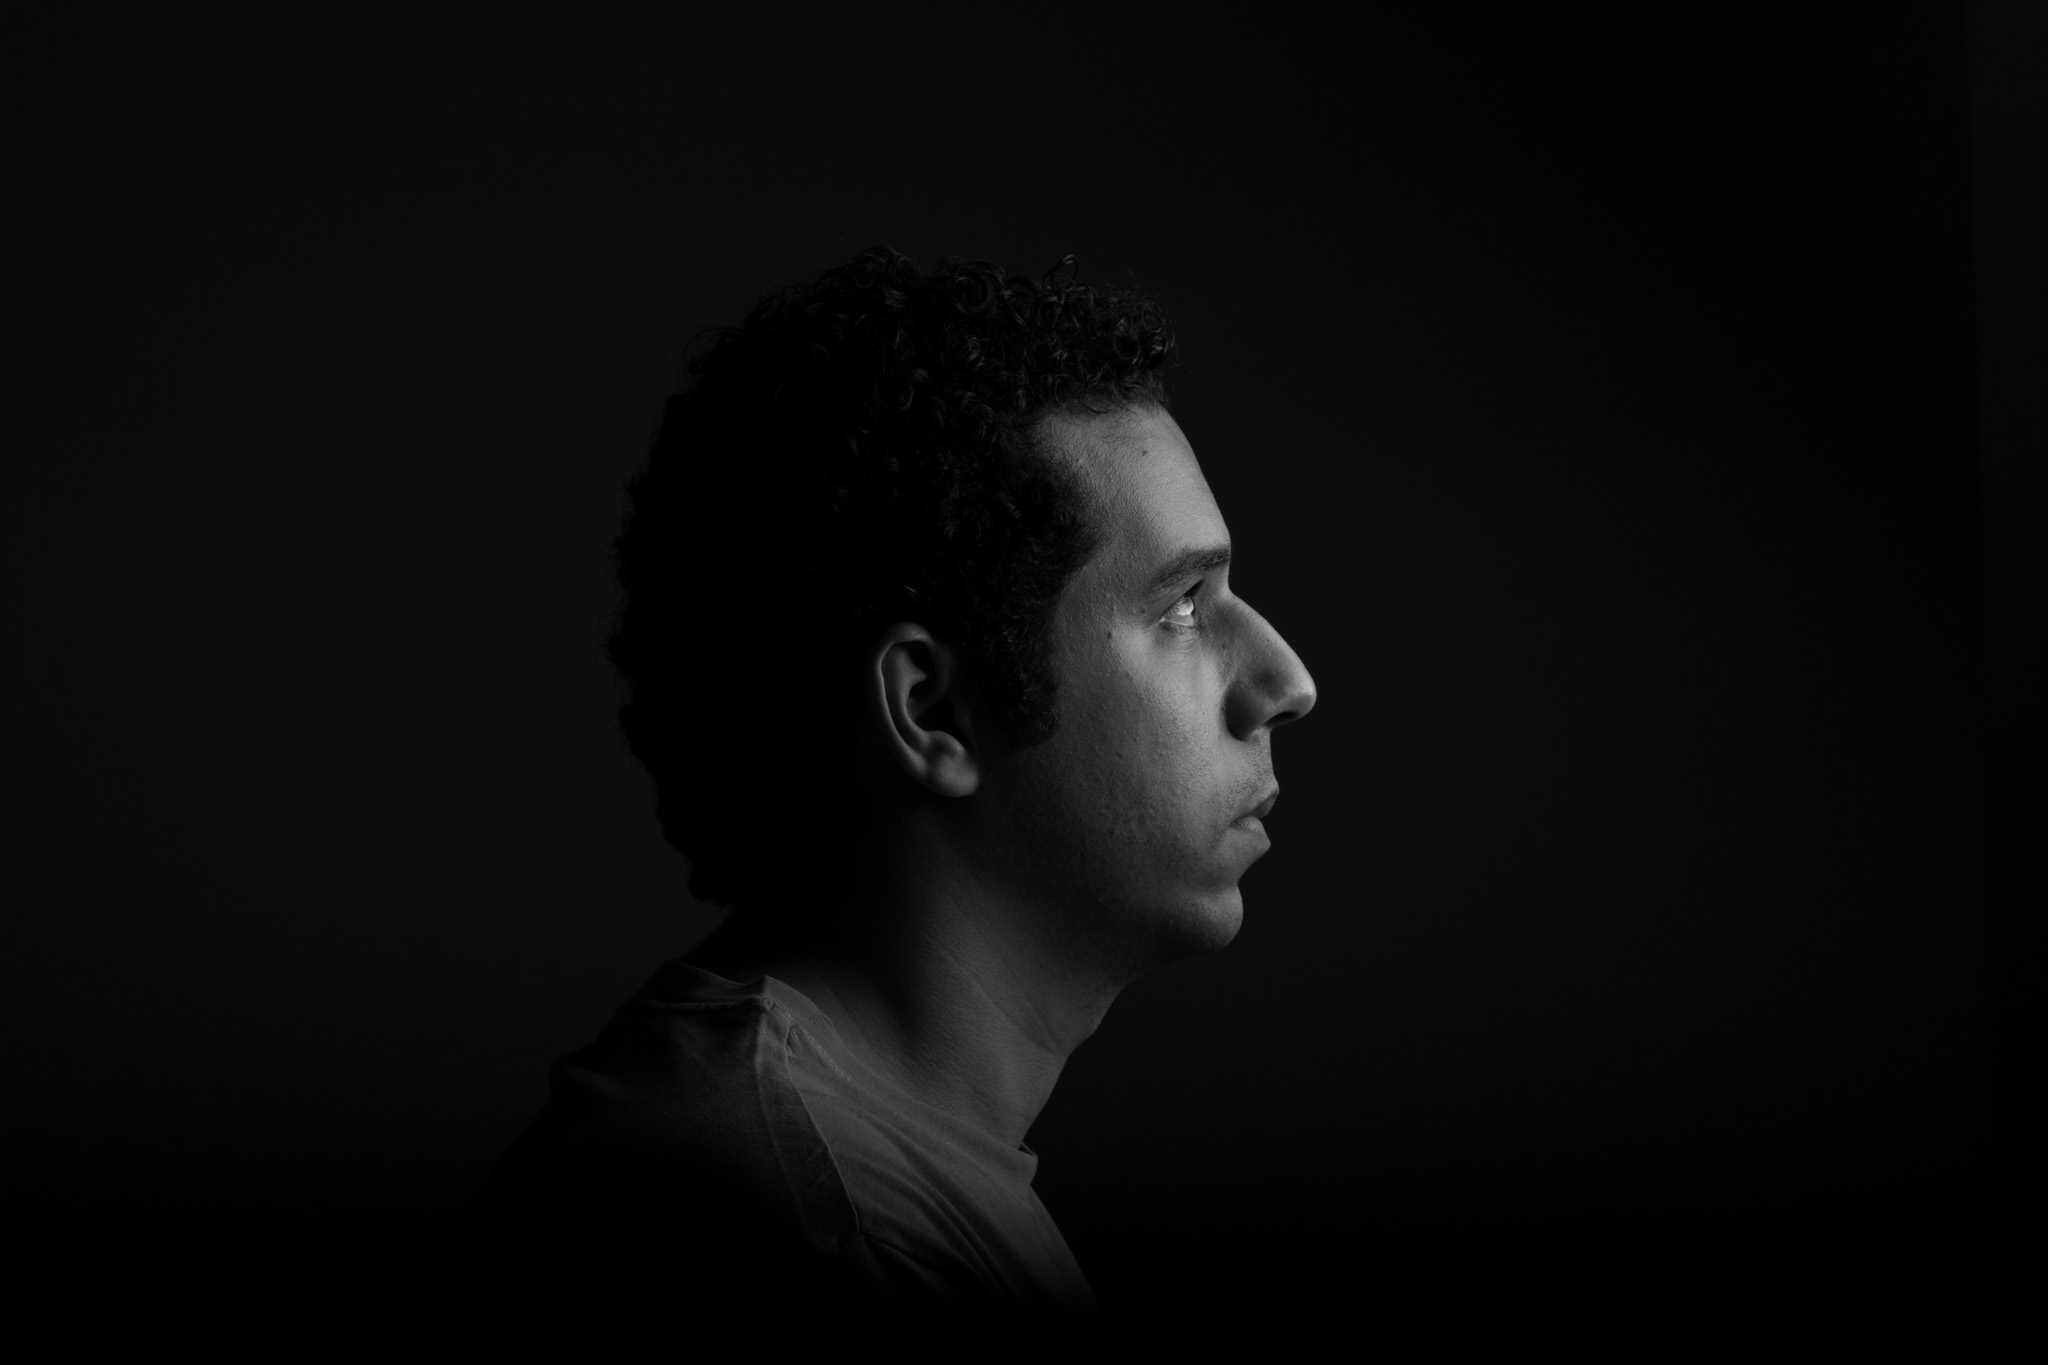
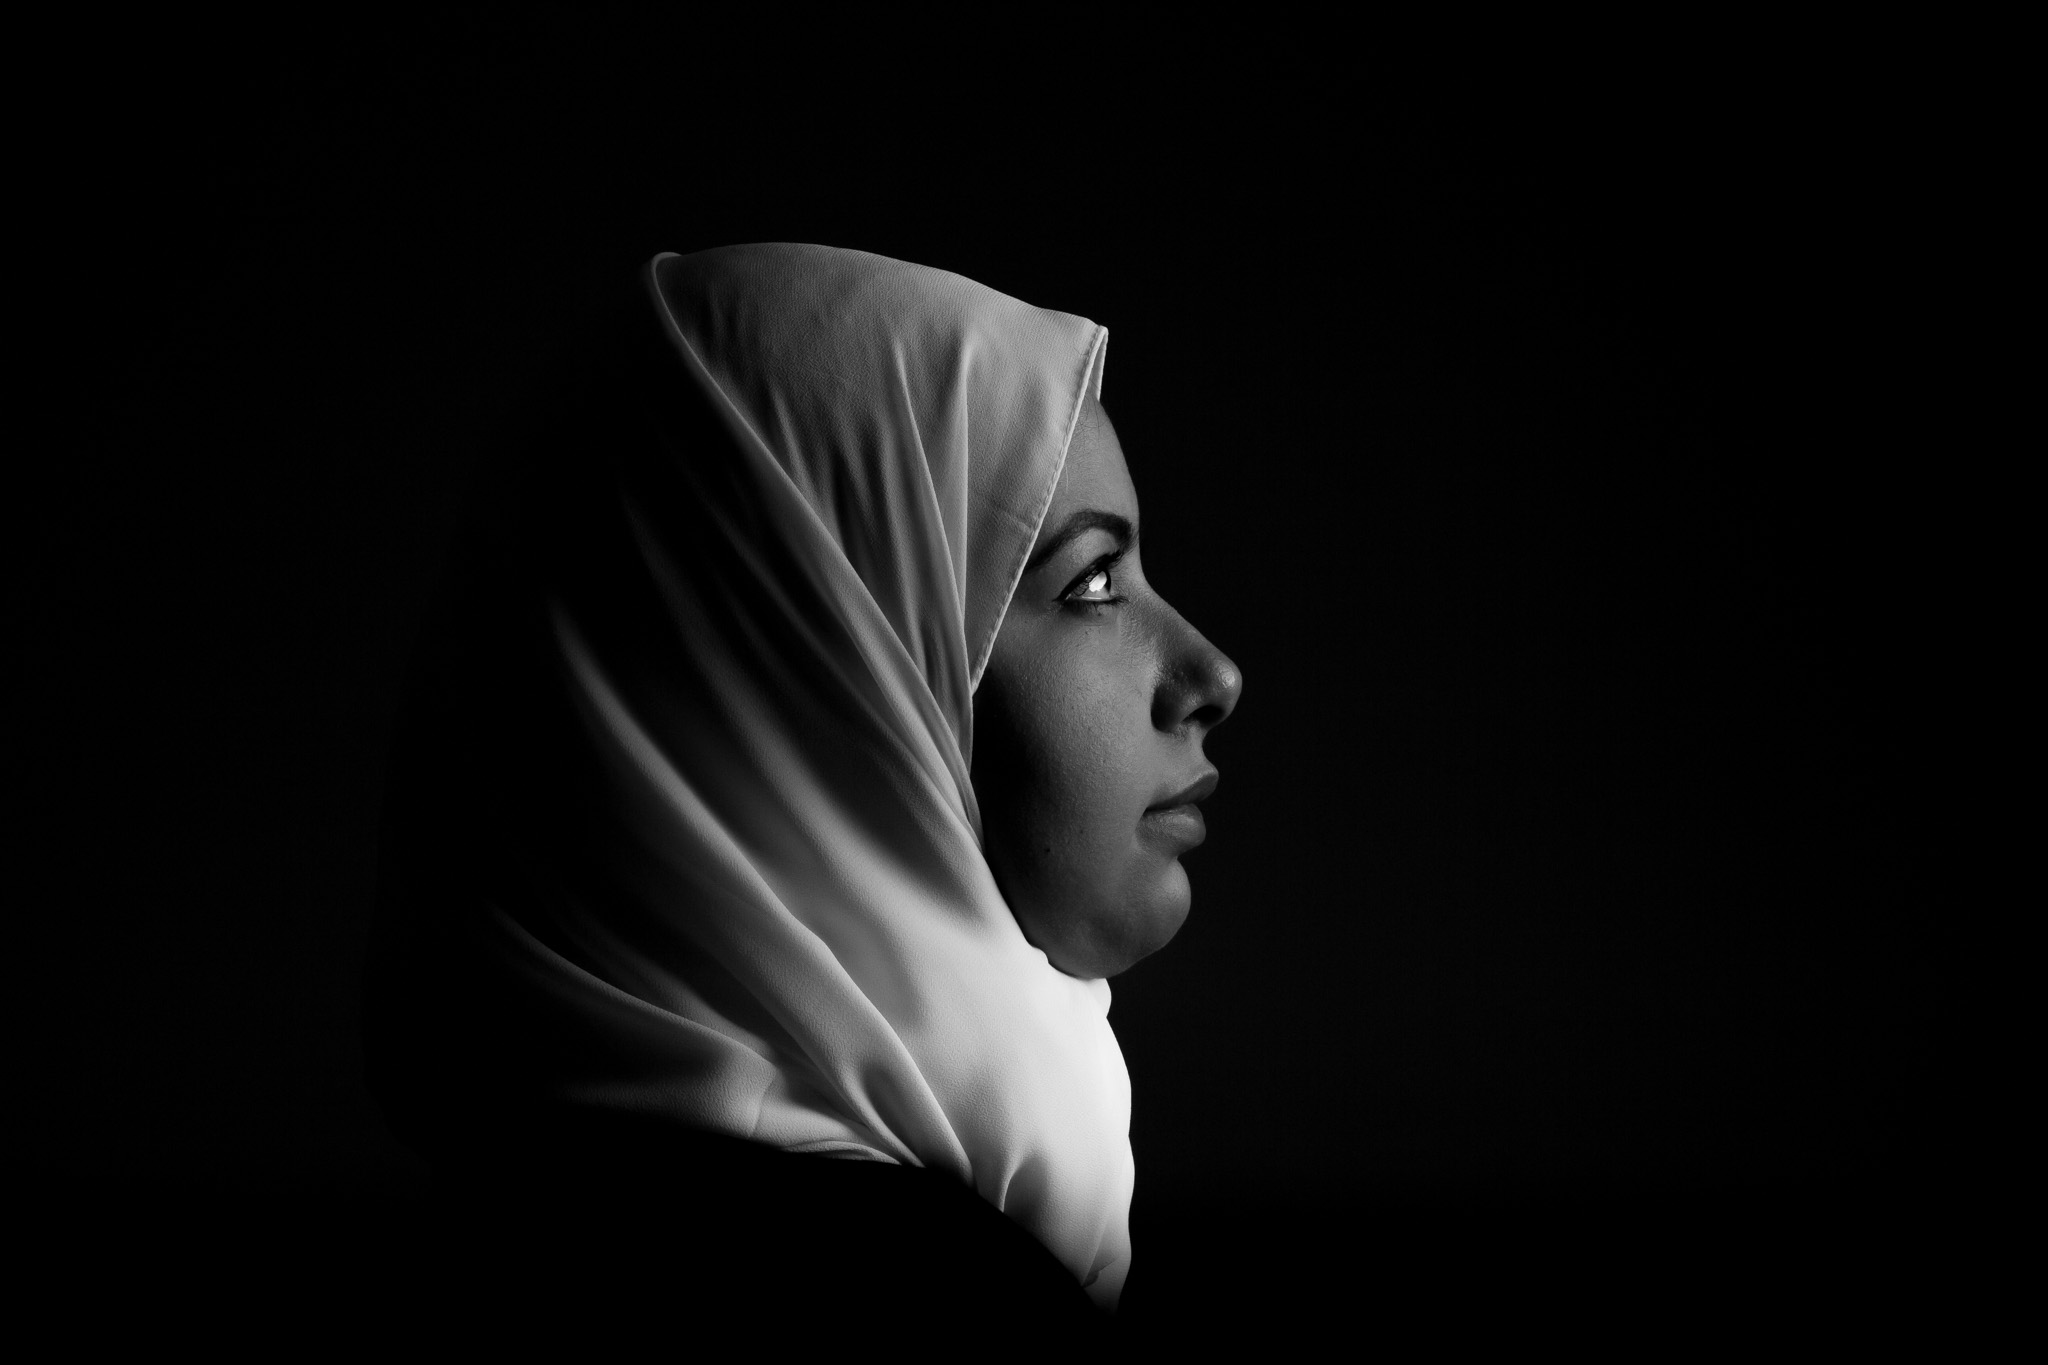


I am not an expert in Photography but I am simply fascinated by the beauty of your pictures. I was trying to understand all the technical aspects that you explain in your article and I feel like I should take a course on photography now. It is simply beautiful the way you captured the portrait of your wife, yourself and I believe your daughter in very natural light, a simple way yet so so beautiful. I might sign up for the course after reading this.
Thanks for your kind words much appreciated you may look at this mini-course, I think it could be a great start to get you into photography.