


An overlay is simply an image captured by a camera or otherwise constructed in an editing program. They are used to add special effects to your original images, like rain, snow, and light rays, etc. This post is part of a series of posts about resources for Lightroom and Photoshop software that are available in the markets. These resources are:
Lightroom Presets
They are a recorded set of editing steps for use only in Lightroom. You can read more about Lightroom presets in my post “Best Lightroom Presets For Photographers”.
Photoshop Actions
They are a recorded set of editing steps that you “play” in Photoshop. Once you hit play, it follows the steps of the edit and adds the effects to your image. Actions are not compatible with Lightroom. You can read more about actions in my post “What is Photoshop Action- How to Install and Use”
Photoshop Textures & overlays
Photoshop Textures are patterned images that you drag and drop onto the photo you are editing. You can adjust the blend mode and opacity and it adds the patterned effect to your image. Textures are not compatible with Lightroom. Photoshop Overlays are similar to textures, only they aren’t “patterned” with a texture-like design, and are sometimes transparent.
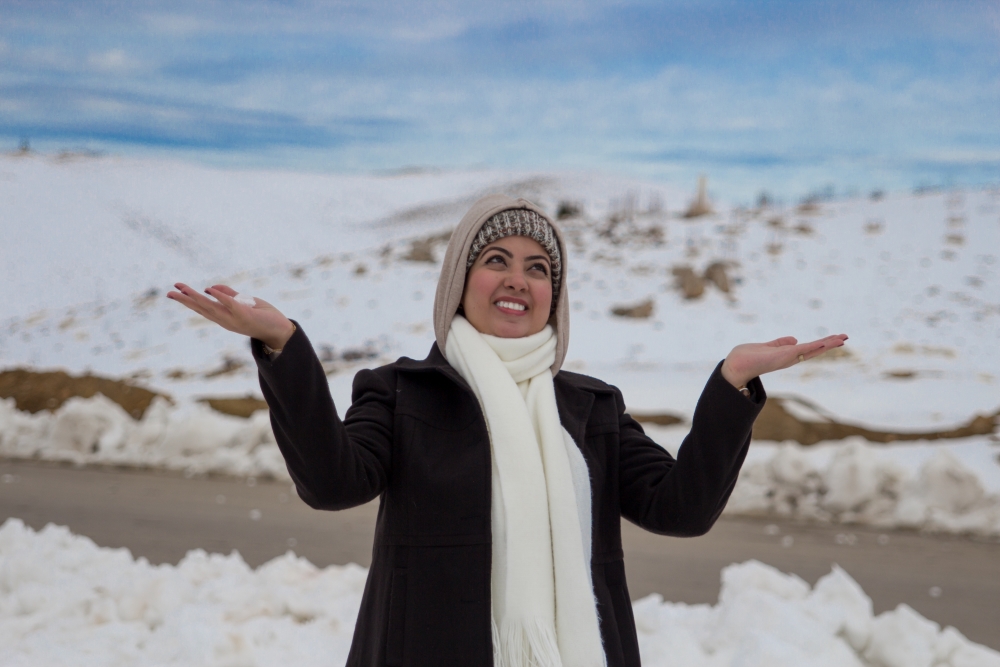
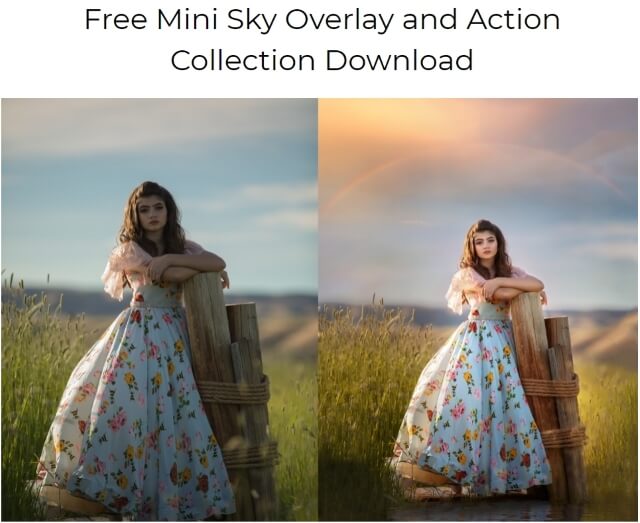
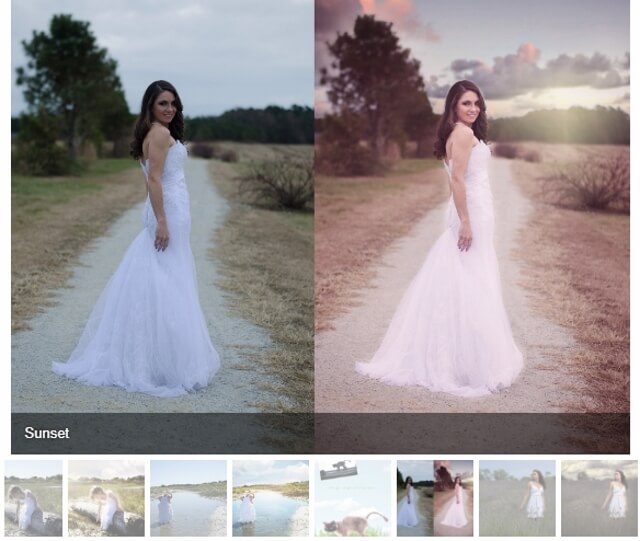
They can be dragged and dropped onto the image you are editing, and you can adjust the Blend Mode and opacity for different effects. Overlays can come in many different designs. There are Sky Overlays (which are not transparent), there are Overlays that have Sun Flares or other effects, and some that may be solidly colored or swirled. Overlays are not compatible with Lightroom. An example of applying an overlay is shown in the below photo.


You don’t need to create your own texture or overlays to get started. There are many pre-made, free textures and overlays available on the internet, and also there are many paid overlays that are more professionally made. You need to look for textures that have a decent size and resolution compared to your image size; a 200px/72dpi texture over a 3200px/300dpi image probably isn’t going to work so well. You’ll also want to make sure that the texture has the right copyright permissions.
How to apply an overlay to your photo?
Because overlays are image files themselves, they are not actually installed in Photoshop – and just need to be stored on your computer in a place you can easily recall when you want to use them. To apply an overlay over your image, just follow these steps:
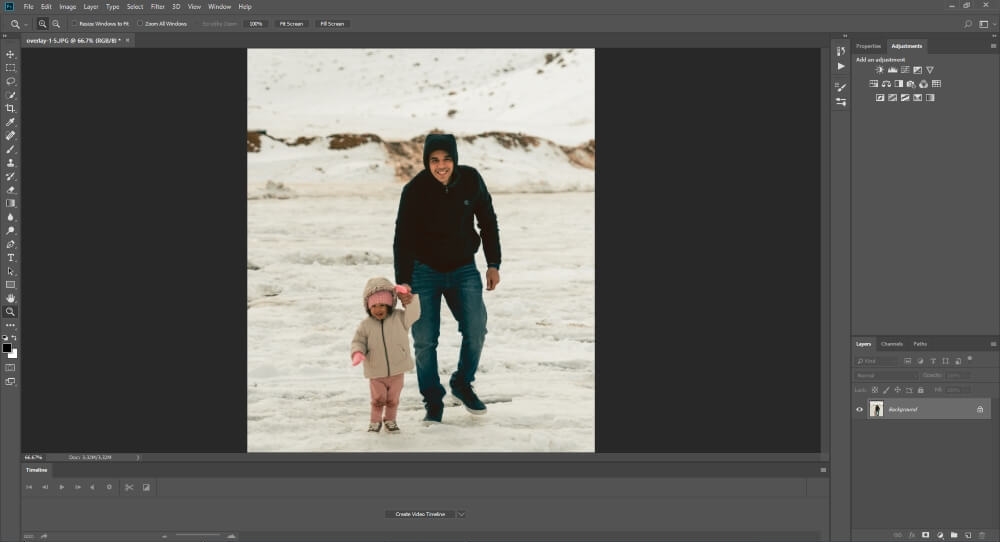
- Open the image that you want to use in Photoshop. This will be the image that you want to apply the overlay to it.
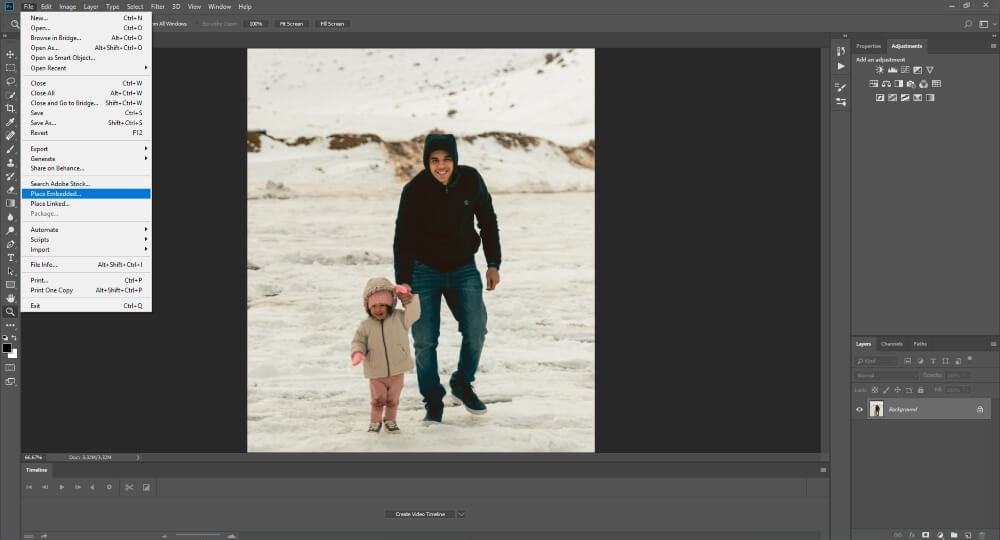
- Navigate to your top menu bar and select: File>Place embedded. Your overlay will automatically appear as a separate layer in your Layers Panel and it will be “placed” on top of your image.
- Adjust and move the overlay around the image or make it larger or smaller if needed.
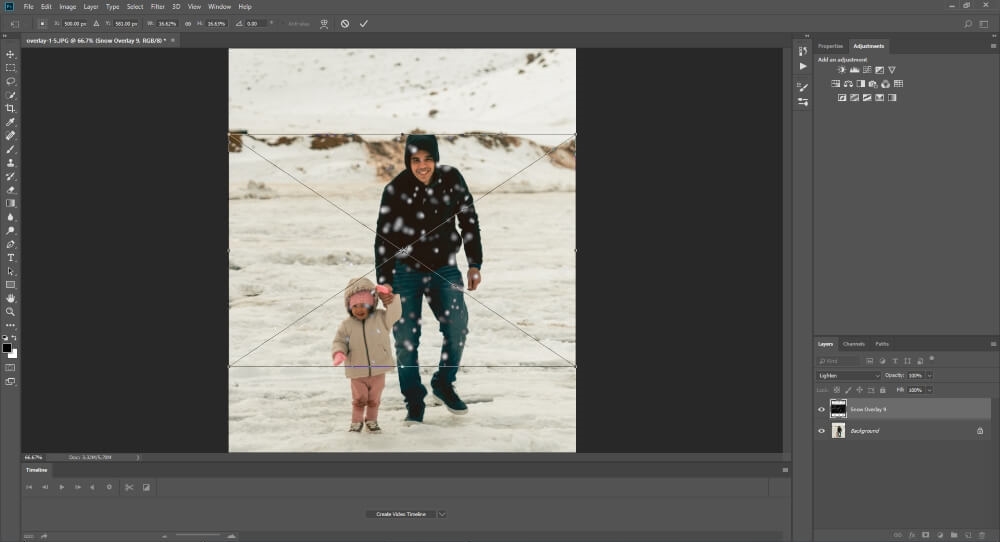
- Press “Enter” to lock your overlay in place.
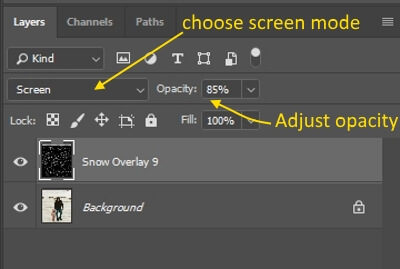
- Change the Blending Mode in your Layers Panel to “Screen” by clicking on the Blending Mode drop-down menu. And adjust the opacity. Also, you can use the brush tool to remove any parts of the overlay mask layer. You may also add a motion blur to either the snow or the rain overlays.
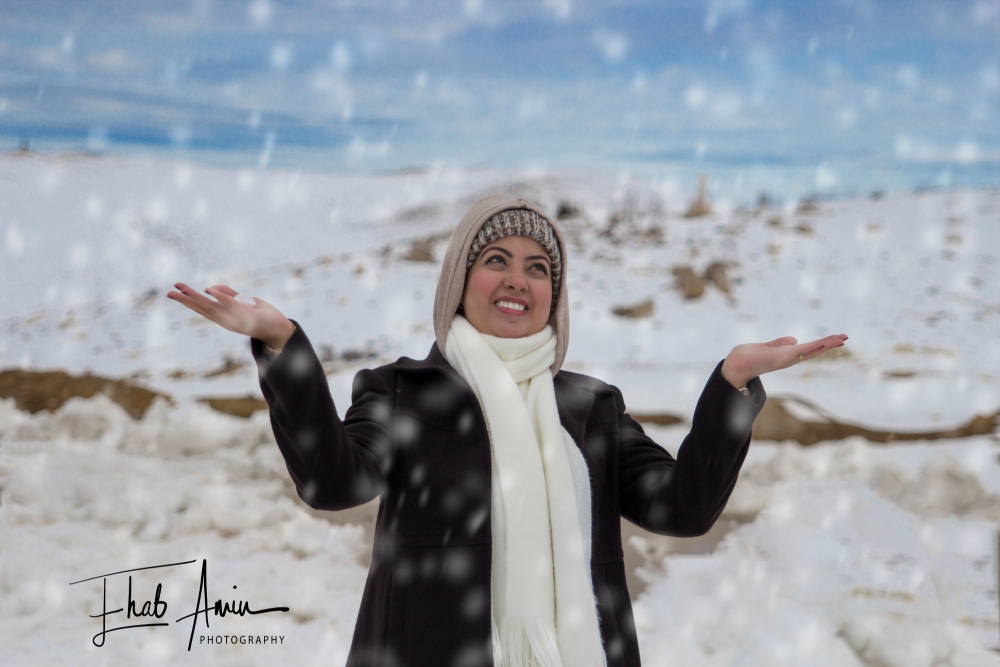
The final image with a snow overlay is shown below


Top resources for Photoshop Overlays
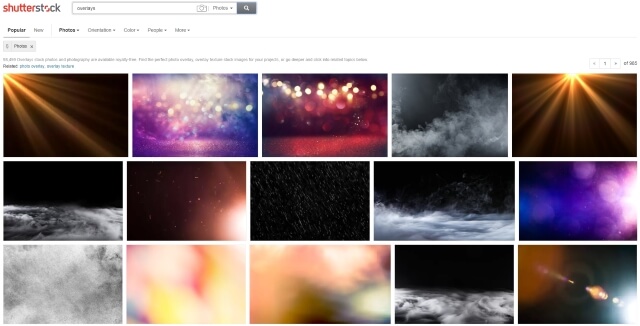
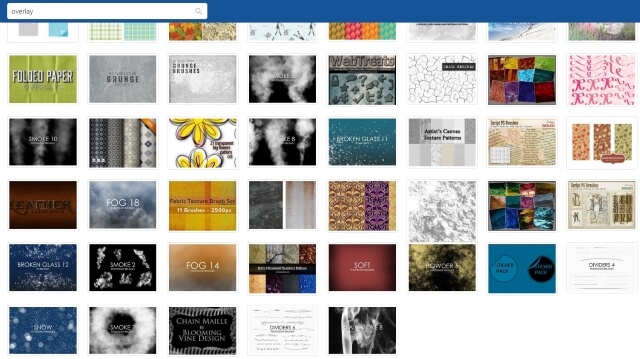
There are many sites that I highly recommend above others because of their quality, variety, and pricing. Below you’ll find my recommended shops for the best Photoshop overlays & textures. Let’s start by listing some free sites.
Free resources
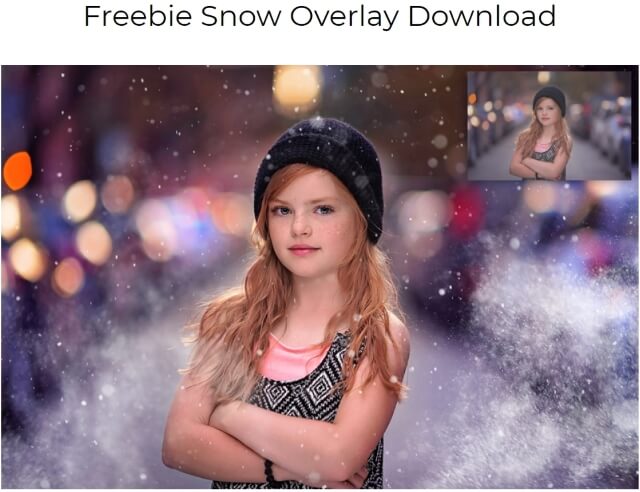
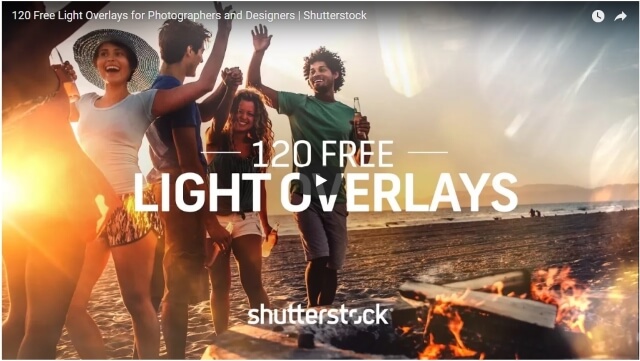
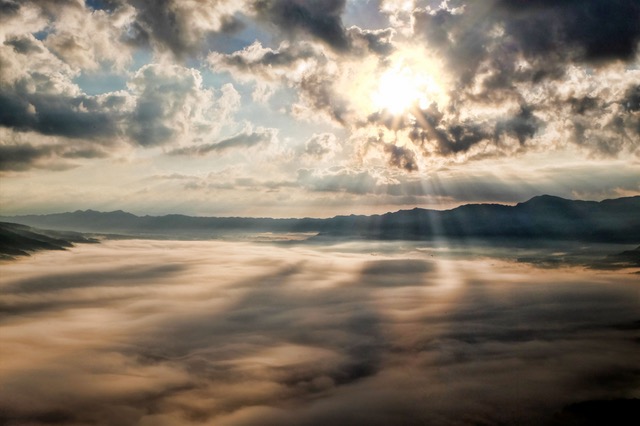
Light overlays are image files designed to layer on top of photos. This pack of 120 free light overlays includes transparent PNG files for easy, drag-and-drop use.
Paid resources
Glitter Collection Photoshop Overlays
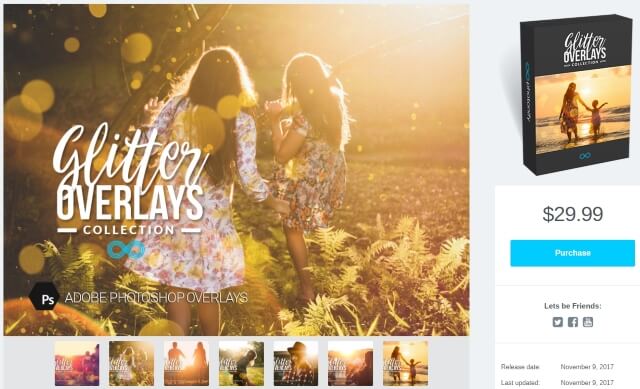
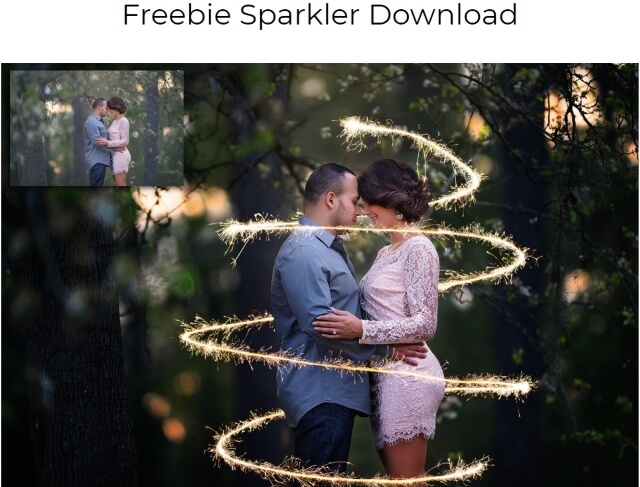
The glitter collection is a set of Photoshop overlays for adding shimmery bokeh-like artifacts to your photos. They are designed to be used on photos that have sun, sunsets, and outdoor lighting where you wish to add a little interest to the shot. They can be used for different types of photography such as portraits and landscapes. This set contains 30 Overlays for Photoshop which will add golden glittery artifacts to the image. It includes many different shapes and styles to choose from to create a unique look for your photos.
LIGHT OVERLAYS, LEAKS & LENS FLARES
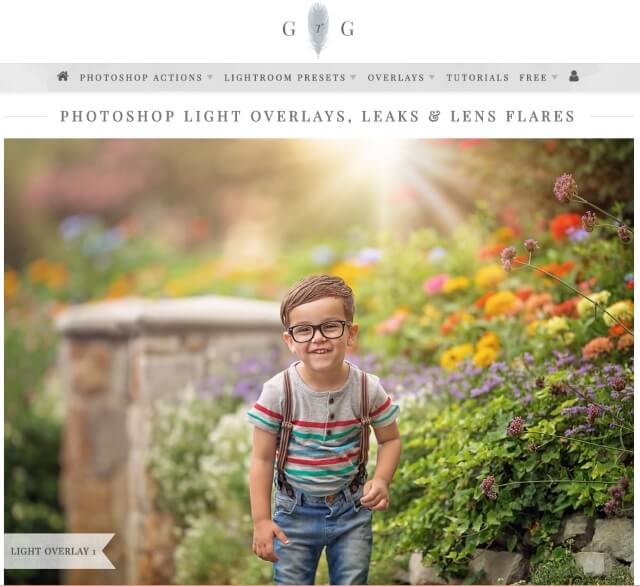
This transparent light overlay set includes the following:
- 12 Light Overlays & 1 Light Overlay Applicator Action
- Actions Easily Modified and Customized
- Easy-To-Follow Explanations and Guides Built Within Each Action
- Files for Photoshop CS2-CS6, Creative Cloud (CC), and Elements 11-18 Included
The complete overlays collection
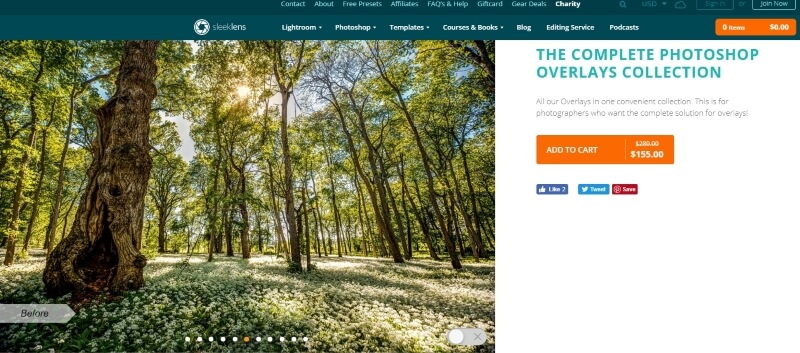
This set includes 135 overlays of light flares, light leaks, starburst, sky, autumn, and snow overlays for $155.

Are you looking for Photo editing resources or editing Services?
Some photographers are struggling to learn and master editing software like Lightroom or Photoshop, they found the editing process is taking too much of their time. Therefore, assigning the editing tasks to an editing service may be the answer.
On the other hand, some others are looking for editing resources like actions, overlays, and textures to help them. For those I highly recommend paying a visit to my store, it has amazing professional photo editing tools.
In addition, you can check my editing tutorials, there are many tips and tutorials there.
Related posts
What is Photoshop Action- How to Install and Use
Best Lightroom Presets For Photographers
Thanks for reading, I hope you enjoyed the article if you have any questions just post them below & I will be happy to answer you.
If you enjoy the site, don’t forget to subscribe, we will only inform you when a new article is posted.


Thanks for great post on Photoshop Overlays. It is very helpful because I am a photoshop designer. I learned more with your post. It will help me in photo editing work.
I wished to thank you for your time for this wonderful learning!! I undoubtedly enjoying each little bit of it and I have you bookmarked to check out new stuff in your blog post.
Wow!! That was so good, thank you.
Very nice blogs!!! I have to learn a lot of information about these sites…Sharing for wonderful information. Thanks for sharing this valuable information with our vision. You have posted a trustworthy blog keep sharing,
Thanks
Such a very useful article. Very interesting to read this article. I would like to thank you for the efforts you had made in writing this awesome article.
Thanks for a marvelous posting! I really enjoyed reading it, you might be a great author. I will be sure to bookmark your blog and will eventually come back later on, you have posted a trustworthy blog keep sharing.
I really appreciate your feedback, thanks
Thanks for marvelous posting! I really enjoyed reading it, you might be a great author. I will be sure to bookmark your blog and will eventually come back later on, you have posted a trustworthy blog keep sharing,
photo retouching services company
Thanks for your nice comment, you are always welcomed, and wish you the best!
I have a set of Free Lightning Overlays that you might want to add to your great article
https://www.photoshopsupply.com/patterns-textures/lightning-overlays
I hope you like it 🙂
Thanks
Very good guide. I have used the overlay effect a lot of times in various Photoshop compositions and if done right the result can show as good as the real thing. It can really enhance a photograph if the type of overlay suits the setting of the photo and this article hopefully will help many to master the use of this effect. Thanks for the info.
I agree with you, it is all about choosing the right and the appropriate overlay for your photo. Thanks for your comment and wish you all the success.
You have done a great job on providing us free photoshop overlays. I use photoshop daily and I actually know how it work but mostly I used to have problem with these overlay especially when it comes to Change the Blending Mode in your Layers Panel to the one that will fit the concept of my design or picture! Can you provide the best times to use these blending options?
thanks
There is no such best time to use these blending modes, as long as you understand the effect of each blending mode and what does it do to your photo, it is only your call. thanks for your comment.