The idea of exposing for highlights in your photo is catching the maximum dynamic range of the scene; of course, the photo looks underexposed. But you will adjust it back to normal exposure during your post-processing. This technique allows you to get all the details from your shadows without introducing noise to your photo. It is like HDR photography but more natural-looking, and you don’t need to use 3-6 shots to combine in the final photo.
Sometimes you might find yourself in a situation with plenty of light, such as outdoors or in a well-lit indoors, and other times you might have a low light situation that you need to create your own light with a flash or leave your shutter open for a very long time.
However, it’s also quite likely you could end up taking pictures when there is a lot of light as well as a lot of shadows, and then it can get tricky to nail the shot you want. Fortunately, there’s a term that can greatly assist you in these situations – it’s dynamic range. Knowing what it means and how it can affect your photography will go a long way towards helping you get the photos you are trying to create. So, let us begin by explaining the dynamic range.
What is the dynamic range?
Dynamic range in photography describes the ratio between the maximum and minimum measurable light intensities (white and black, respectively). In the real world, one never encounters true white or black — only varying degrees of light source intensity and subject reflectivity. Therefore the concept of dynamic range becomes more complicated.
When it comes to digital cameras, the digital sensors have a limited ‘dynamic range’. This means that they are only capable of capturing fine detail within a certain range of brightness levels. The exposure that’s set at the time of shooting forms the mid-point of this range and the camera can record detail on either side of this, in areas that are slightly brighter or darker than this ‘middle’ setting.
Dynamic range can be measured in stops. For instance, if a camera offers eleven stops of dynamic range, it means it can record detail in areas of a picture that are up to five stops brighter and up to five stops darker than the set exposure.
How do the human eyes handle the varying dynamic range?
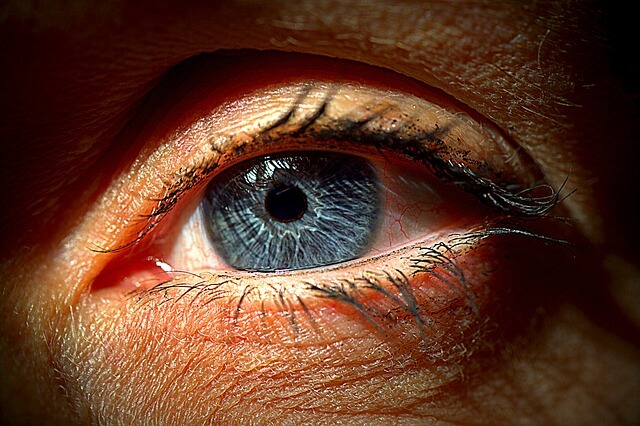
When you move your eyes around a scene, you might come across some part of the scene that is much darker or much brighter than the rest of the scene, and your pupils adjust the exposure instantaneously and usually unbeknownst to you. Essentially your eyes and brain create an illusion that everything in that scene is properly exposed to details in the highlights, mid-tones, and shadows.
The human eye can actually perceive a greater dynamic range than is ordinarily possible with a camera. If we were to consider situations where our pupil opens and closes for varying light, our eyes can see over a range of nearly 24 f-stops. On the other hand, for accurate comparisons with a single photo (at a constant aperture, shutter, and ISO), we can only consider the instantaneous dynamic range (where our pupil opening is unchanged) and it is around 10-14 f-stops.
How to assess the dynamic range by using the histogram?
A handy tool that can be used to assess the dynamic range of a scene is the histogram. You may check my post “How to Use Histogram in Photography”.
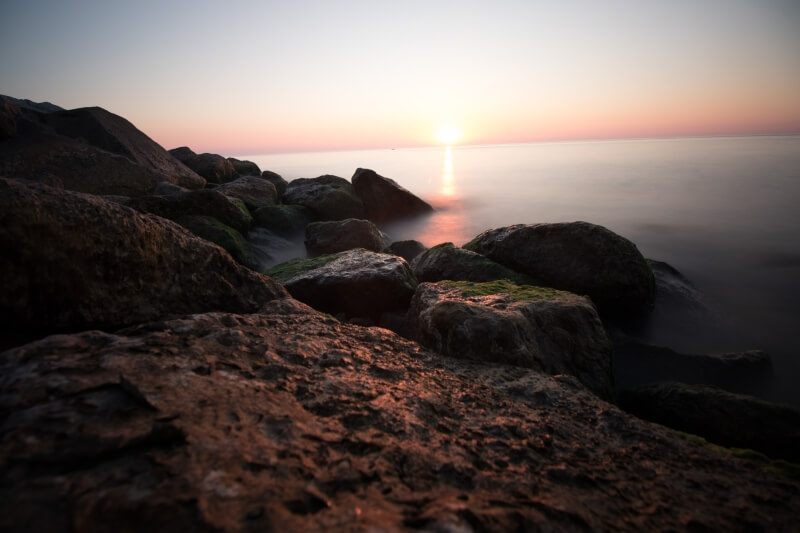
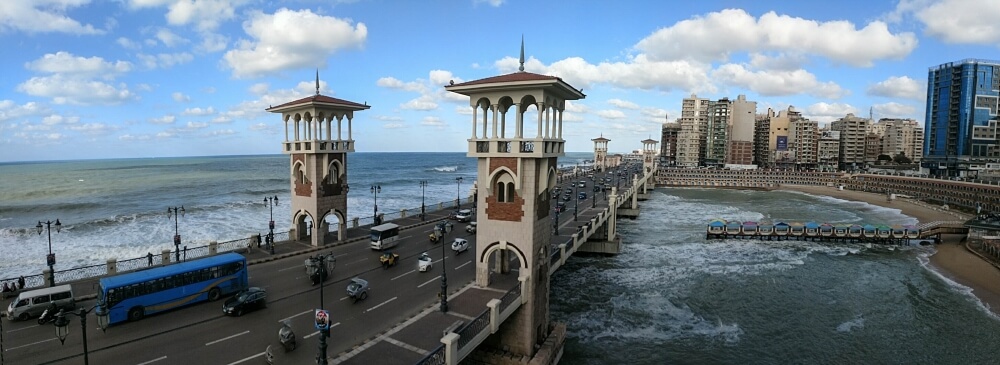
Suppose you are shooting a dark subject against a very clear bright sky, the difference in brightness between the deepest shadows on your subject to the brightest highlights in the sky may be greater than the dynamic range of the digital sensor. So the result will be that you are losing details. The below photo has bright and dark areas.
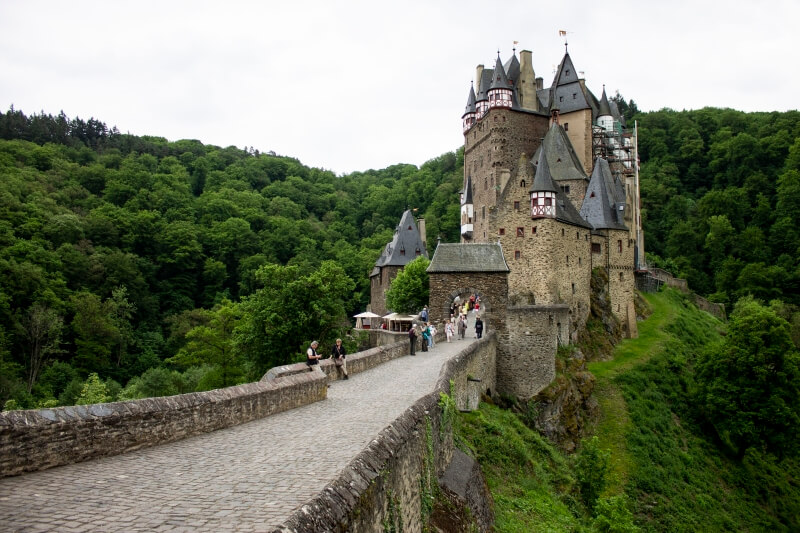
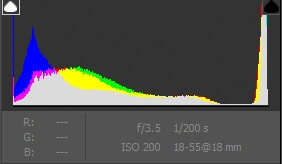
Its histogram is presented below with clipped peaks in both the bright and the dark side of the histogram. It simply means that the dynamic range of the scene is greater than the camera sensor can handle.
What is exposing for the highlights?
This is a technique used by the pro photographer to deal with a high dynamic range scene. Also, it is called “expose to the right”, it refers to the histogram associated with an image.
One magical way to expand the dynamic range of your scene, and recover detail in the shadows and highlights is by using editing software like Adobe Lightroom or Luminar they can utilize all the information in your RAW files and let you manipulate it in many ways.
In addition, if you’re looking to transform your photographs into stunning custom wall art, you can explore the wide range of options offered by Prints4Sure (https://www.prints4sure.com/). They specialize in providing high-quality custom wall art, including cheap canvas prints, photo tiles, and their innovative WallPics. With their services, you can bring your images to life and create personalized wall decor that truly reflects your unique style and vision. So whether you’re interested in displaying your favorite memories as beautiful canvas prints, creating a stunning mosaic with photo tiles, or exploring the creative possibilities of WallPics, Prints4Sure has you covered. Discover the world of custom wall art from A to Z with Prints4Sure.
In digital photography, it is always easier to recover details in shadows than highlights. If you overexpose a shot and burn your highlights, then tough luck, you can try and pull your highlights back, but you’ll be left with a yellowish faded cast on the highlights. Shadows, on the other hand, recover much better. There might be noise and banding, but at least there’s detail to see.
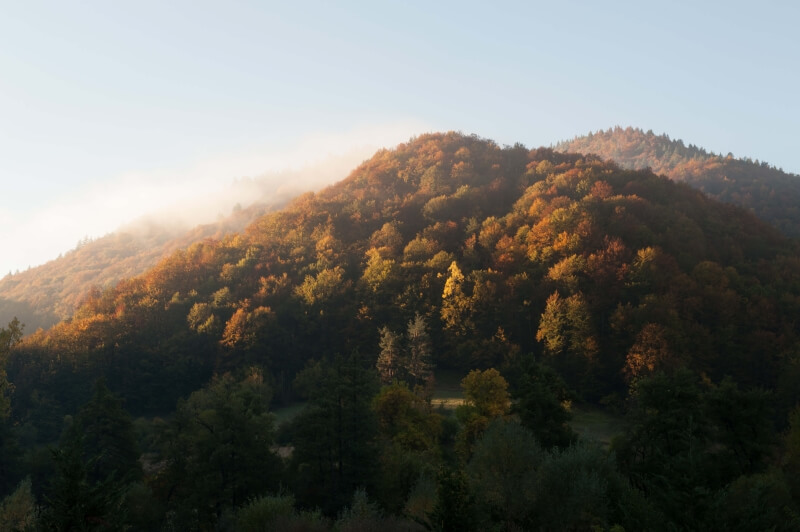
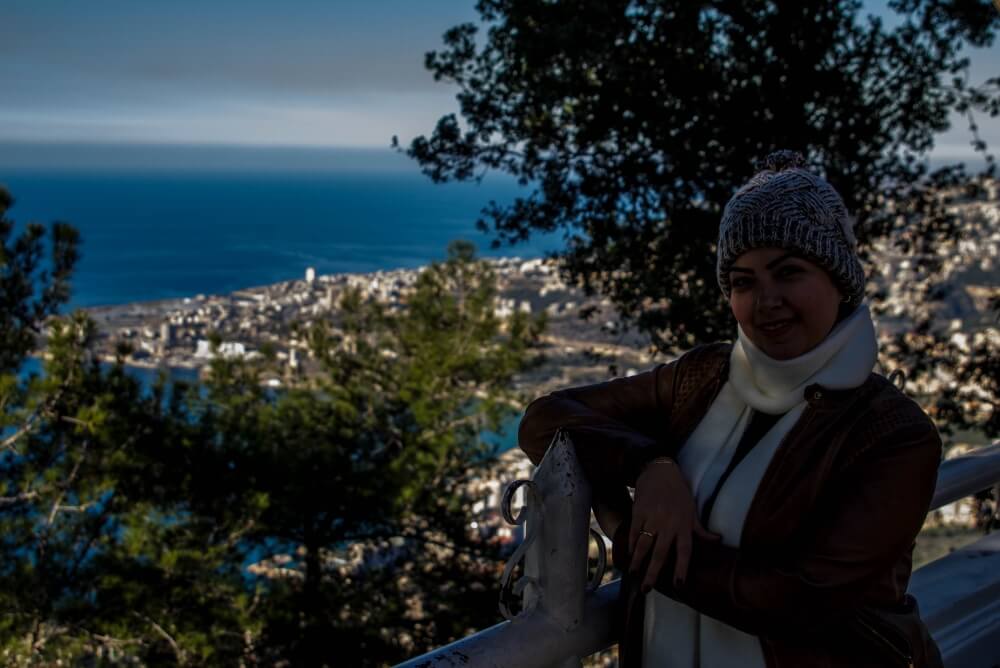
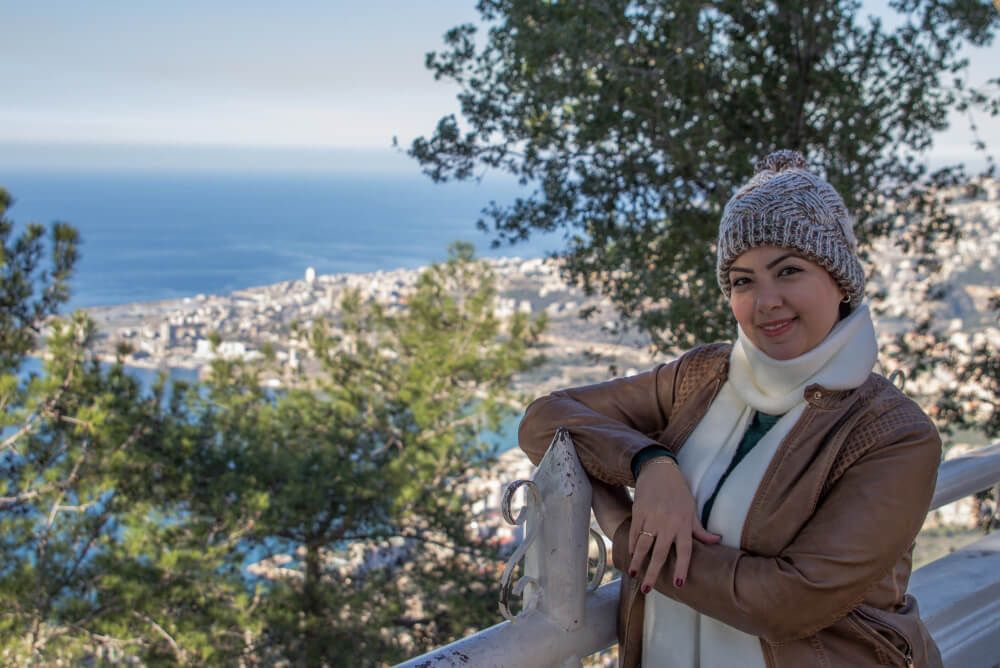
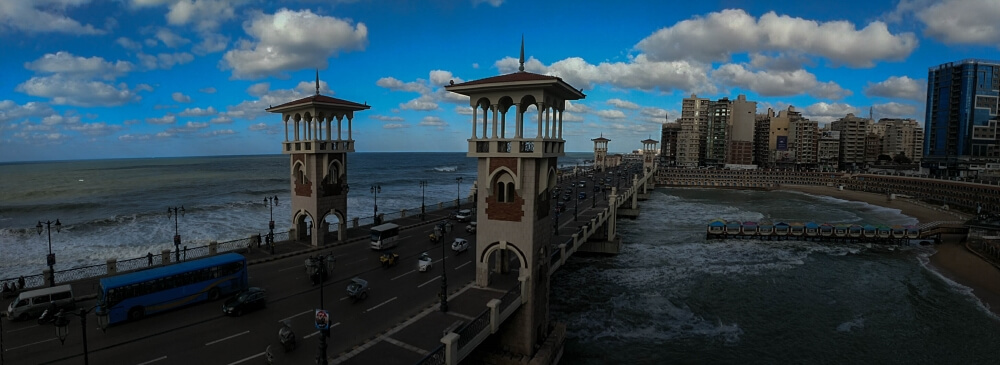
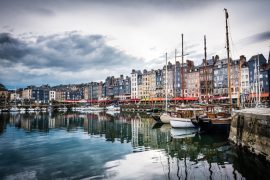
So the golden rule in this technique is to always expose for your highlights and not your subject. If you exposed for the highlights, the rest of the scene will be underexposed. But when using Lightroom, you can recover all those shadow details, without any noise or artifacts, AND keep detail in your highlights. If you have tried to expose for your subjects, then you would have lost much of the detail in both highlights and shadows. The below photos are examples of using this technique.
How to expose for the highlights?
You simply meter for the highlights. To expose for the highlights, you have to set up your camera for center-weighted spot metering. That means that whatever happens to be in the center of the scene will be metered and the exposure will be based upon that.
When you press the shutter button halfway, the camera will gain focus and set exposure, and, as long as you keep the shutter button pressed halfway, hold that exposure even if you move the camera around. So, what you do is point your camera at the highlights, push the shutter halfway then reframe the shot and push the shutter the rest of the way down to take the picture. You are just exposed for the highlights. Unfortunately, this is cumbersome because your camera gained focus on the highlights as well. When you recomposed the scene, the focus might not be true for the recomposed scene.
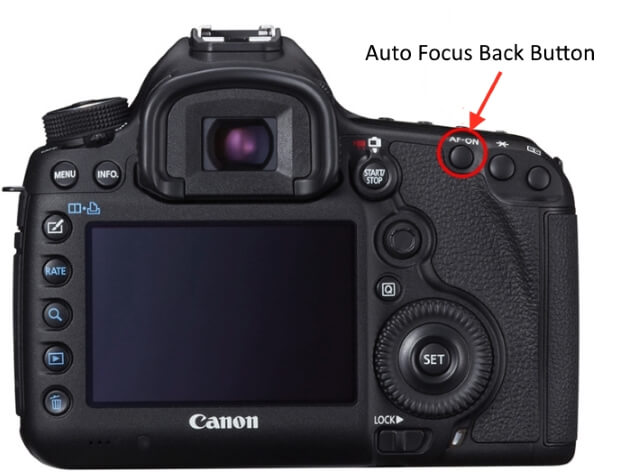
Most modern DSLRs allow you to move the focus responsibilities from the shutter button to a button on the back of the camera. Also, you can set up the shutter button so that when you press it halfway and let go, it retains the exposure and will lock it in no matter how much you move your camera around until the picture is taken.
With that setup, you point at the highlights, push the shutter halfway to gain exposure. Recompose the scene then focus by pushing the rear button, then push the shutter the rest of the way to take the photo. For more reading about the back bottom focusing, I recommend reading my post “Back Button Focus for Canon- What is it and how to use it“
To sum up these steps:
- Change the focus control to the back button.
To set up the back button focus on a Canon DSLR, locate the Custom Controls or C.Fn option in the menu (the wording varies depending on what model you are using), then select the shutter button/AF-On option. Under this menu, two options will set up back button focus. The Metering Start/ Meter + AF Start option turns on back button focus and will continuously adjust the metering on programmed auto, shutter priority, and aperture priority modes. The AE Lock / Metering + AF Lock will lock the exposure in the first frame, while still using the back button focusing method. - Set the exposure setting to “Lock” which allows you to let go of the shutter button while retaining the exposure.
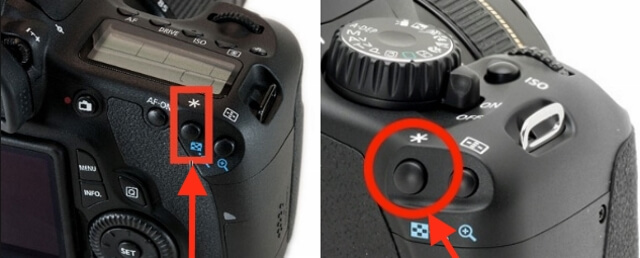
- After setting up your camera in that manner, you would point your camera at the highlights in the scene that you want to be exposed properly, press the shutter button halfway to expose those highlights. Because you set the exposure to “Lock”, you can let go of the button and the exposure you just set, will be remembered.
- Recompose and focus on the point you want to be in perfect focus by pressing the back focus button and press the shutter button to finish the shot.
- Use editing software like Adobe Lightroom to bring out the detail in the shadows and ultimately, you’ll have a dynamic picture that wouldn’t have been captured if you exposed for the correct exposure.
Another option to expose for the highlights
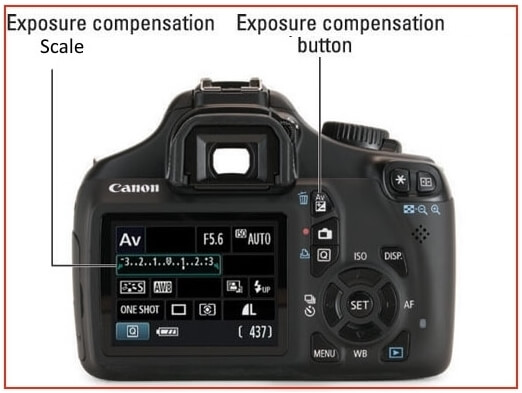
You may use the exposure compensation feature of your camera. You can leave your meter in whatever you are normally used. Then simply adjust your exposure compensation to minus (-) 1 to 2 stops. By underexposing a stop or two your camera will underexpose the highlight leaving details and leaving your blacks and shadows without many details at all. Then compel the process by post-processing software.
Factors to consider when exposing for the highlights
- Do not use this technique in low-light scenes.
- Use raw file format. Of course, you need as much data from your sensor as possible, and by shooting compressed JPEGs you will lose a lot of data.
- Shoot at the lowest possible ISO. The higher you go in your ISO, the more noise that will be introduced when you recover details in the shadows.
- Be careful, don’t overdo it. Expose for your highlights. You might just try to underexpose as much as possible until your image looks like a pit of darkness. The modern camera sensors are amazing, but they still, need some lights to process.
Related posts
Back Button Focus for Canon- What is it and how to use it
Bracketing – The Best Way To HDR Photography
How to Use Histogram in Photography
What is Photo File Format- How to Use it
How to Use the Exposure Compensation
Thanks for reading, I hope you enjoyed the article if you have any questions just post them below & I will be happy to answer you.
If you enjoy the site, don’t forget to subscribe, we will only inform you when a new article is posted.





Photography is such an art form I think, so many settings, so many variables just in one shot. What really frustrates me when trying to get a great shot is the amount of setting options you have.
Just by tweaking one a little can change the whole shot dramatically. And then there is the timing, if you take a little too long to get ready and set up you may miss the whole opportunity altogether.
Exposure tips are great to get that perfect amount of light into the lens, I like the centered metering approach, set light meter to whatever is in the middle of the scene and exposure will be focused on that.
I have a lot to learn about using these functions on cameras, that is why most of the time I just use auto so I can at least get a pretty good shot. Thanks for the great tips, I will have to practice more to get this right.
Amazing article. Photography is a science by itself and there are so many things to learn in it. Highlights and dynamic range is a big part of photography and you give very good explanation and advice on how to use it. I am not very experienced in this field, although I have basic knowledge of the technical terms, and your article really helped me clear up a lot. Thank you very much.
Thanks for the comment and glad that you find the post useful.