

The bokeh effect can be achieved with your camera if you manage to use a fast lens, fortunately, if you miss it for any reason, you can get the same effect in post-processing. In this article, we are going to explain four different methods to make Bokeh effect on your image using Photoshop. We will start by reminding you of some filters, tools, and blending modes that are used in this tutorial. Let us start
-
What is a good Bokeh?
Good Bokeh means a background without any hard edges or sharpness. Nothing in the background should distract the audience or viewer. The blurry area should have circles of light that are round and smooth.
-
The Threshold tool
The Threshold tool allows you to alter the amount of whiteness and blackness in an image. The Threshold adjustment layer can create a two-tone, black and white image from grayscale or color images based on a pixel intensity threshold. Any pixels lighter than the threshold are converted to white; any pixels darker than the threshold are converted to black.
-
The Maximum filter
The Maximum filter has the effect of applying a spread (dilation)—spreading out white areas and choking in black areas.
-
Color blending mode
The Color blend mode is actually a combination of the first two modes in the Composite group, Hue and Saturation. When you change a layer’s blend mode to Color, only the color (that is, all of the hues and their saturation values) from the layer is blended in with the layer or layers below it. The luminosity (lightness) values of the layer are completely ignored. The Color blend mode is perfect for when you want to add or change the colors in an image without changing the brightness values.
-
Screen blending mode
Looks at each channel’s color information and multiply the inverse of the blend and base colors. The result color is always a lighter color. Screening with black leaves the color unchanged. Screening with white produces white. The effect is similar to projecting multiple photographic slides on top of each other. It will hide dark pixels and reveal bright ones.
How to Make Bokeh Effect in Photoshop
There are many ways to add Bokeh to your photos; in the following paragraphs, we are going to explain four different methods in detail.
Method 1: Using the Bokeh effect filter
In this method, we separate the subject from its background then blur the background with “field Blur filter” and use the Bokeh filter to modify its size, color and lightness. We use the following photo in this example:

Photo by Katerina Holmes from Pexels
STEP 1
Open the photo file
Step 2
Duplicate the layer twice; use the shortcut (Ctrl + J)
Name the first layer “Bokeh” and the second layer “subject”
Step 3
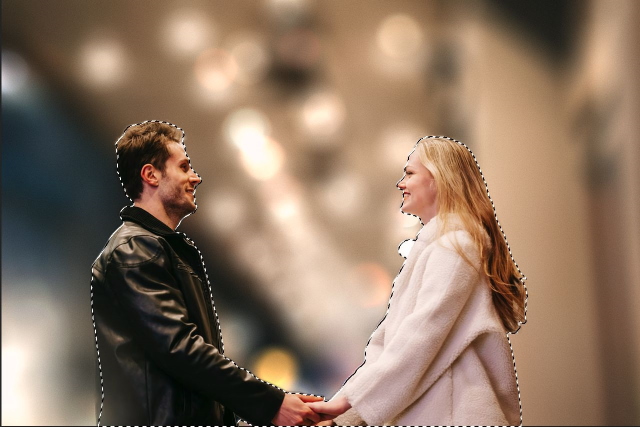
In the “subject” layer, select the subject using your favorite selection tool. We use the “Object selection tool” and select and mask.
Step 4
In the “Bokeh” layer, make a rough selection using Lasso Tool

Step 5
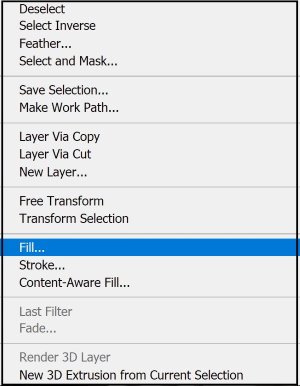
Right-click inside the selection, and click on fill
Step 6
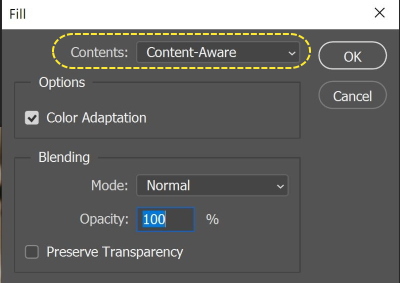
From the fill menu, choose “content aware” and press O.K
Step 7
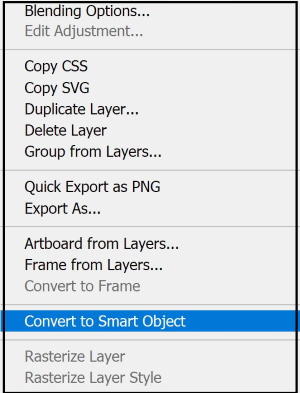
Convert the layer to a smart object, Right-click on the layer, and choose “Convert to Smart Object”
Step 8
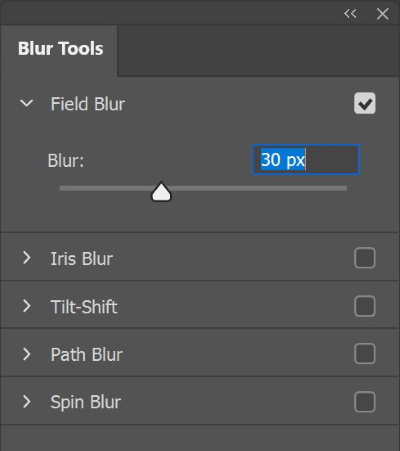
Use filter > Blur Gallery > Field Blur and adjust the blur amount
Step 9
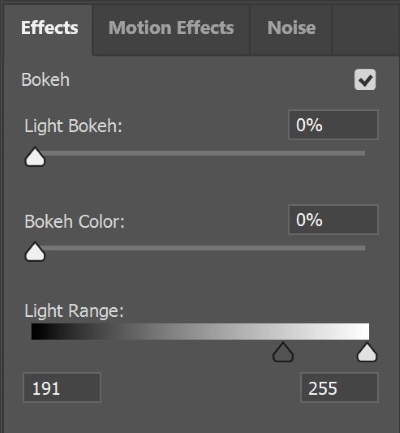
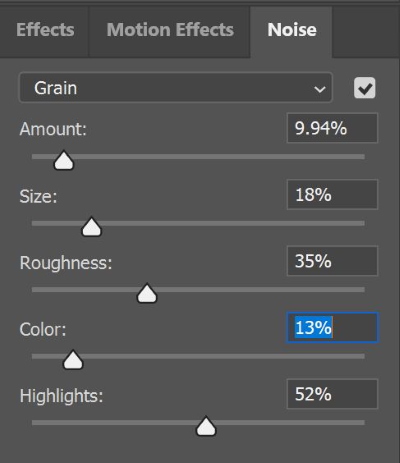
From the Effect menu, adjust the Bokeh light and color
Step 10
From the noise menu, add noise to the background to match that of the subject.
The final “before and after” image is shown below.

Method 2: Using the maximum filter
In this method, we separate the subject from its background then blur the background with “Maximum Filter” and use the Bokeh filter to modify its size, color, and lightness. We use the following photo in this example:
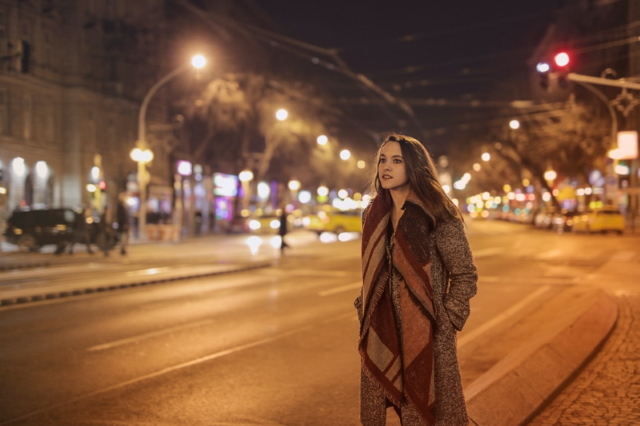
Photo by Andrea Piacquadio from Pexels
Step 1
Follow the same steps as the previous example up to step no 7
Step 2
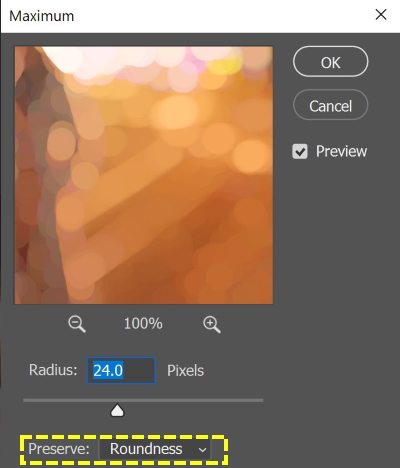
Use filter > Other > Maximum and adjust the blur amount. Make sure you choose “Roundness”
The final “before and after” image is shown below.

Method 3: Using Bokeh image as an overlay
In the 3rd method, we will use Bokeh images as an overlay to our photo. I download two free Bokeh images, and I will use the following photo.

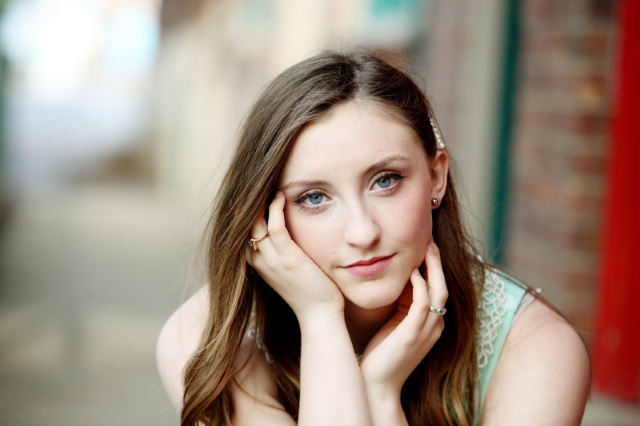
Image by Eden Ware from Pixabay
Step 1
Open both original and the Bokeh photos
Step 2
Copy the Bokeh photo (Ctrl + C) and past it in the original photo as a layer (Ctrl + V).
Rename it to Bokeh
Step 3
Convert the Bokeh layer to a smart object, Right-click on the layer and choose “Convert to Smart Object”, then change the blending mode of the Bokeh layer to “Screen”
Step 4
Use filter > Blur Gallery > Field Blur and adjust the blur amount
Step 5
From the Effect menu, adjust the Bokeh light
Step 6
To match the color of Bokeh with the color of the original photo
Duplicate the original photo; use the shortcut (Ctrl + J). Move the layer to be on the top of the Bokeh layer
Step 7
Add a clipping mask to the layer, (Alt + Ctrl + G). In addition, convert the blending mode to Color
The final “before and after” images are shown below.

Method 4: creating your own Bokeh image
In the fourth method, we will create the Bokeh image, then we will use it as the previous example. I will use the following photo

Photo by Andrea Piacquadio from Pexels
Step 1
Open the photo
Step 2
Create a new layer (from the bottom of the layer panel), and fill it with black (Shift + Backspace)
Step 3
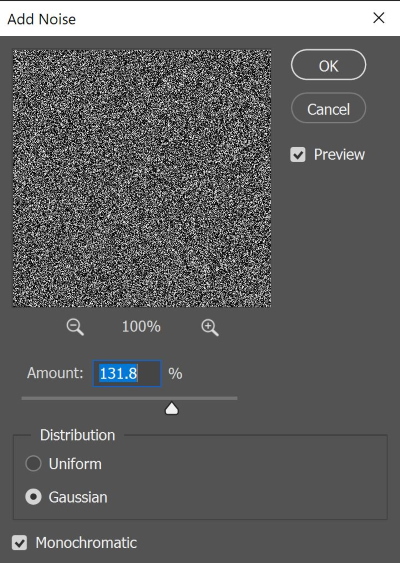
Add noise to the layer (Filter > Noise > Add Noise)
Step 4
Add blur to the layer (Filter > Blur > Gaussian Blur)
Step 5
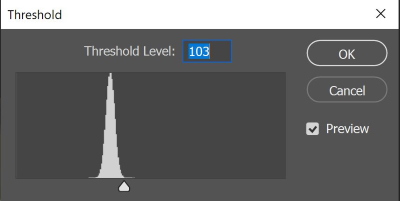
To control the number of the white points in the image we use the Threshold adjustment (Image > Adjustment > Threshold)
Step 6
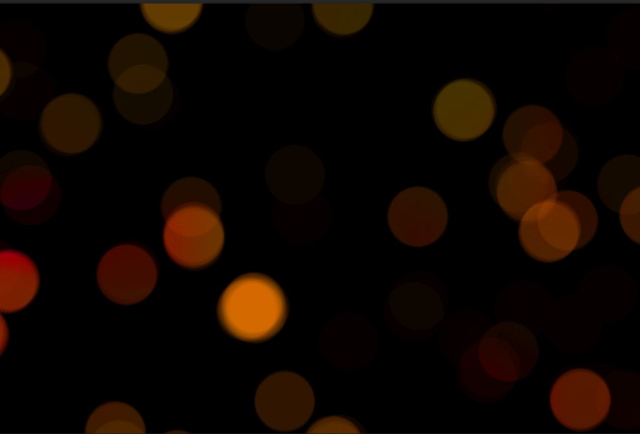
Add blur and adjust the size of the Bokeh, (Filter > Filter Gallery > Field Blur), and use the Effect. The layer is shown below.

Step 7
To match the color of the Bokeh with the photo color.
Duplicate the original photo; use the shortcut (Ctrl + J). Move the layer to be on the top of the Bokeh layer
Step 8
Add a clipping mask to the layer, (Alt + Ctrl + G). In addition, convert the blending mode to Color
Step 9
Change the blending mode of the Bokeh layer to Screen
The final “before and after” image is shown below.

Related posts
Bokeh Photography – What Is Bokeh Effect
Swirly Bokeh Lenses – What They Are And Why You Need Them
Blur Background In Photoshop CC
What Are The Selection Tools In Photoshop?
What Is A Mask In Photoshop? – A Complete Beginner’s Guide
Thanks for reading, I hope you enjoyed the article if you have any questions just post them below & I will be happy to answer you.
If you enjoy the site, don’t forget to subscribe, we will only inform you when a new article is posted.


Thanks for this great article How To Make Bokeh Effect In Photoshop. I am impressed with your tutorial because you guide us step by step, and I especially like that you have attached photos, both those with instructions and those with processing and visible effects. In this way, it is much easier to follow the instructions when I try to process these effects in photos in Photoshop.
I wish you much success,
Nina
Thank you for your comment, very glad you like the article, wish you all success
Hi Amin. Thank you for sharing your article and photos, they are amazing. I am a Graphic Designer. I try to keep up with the changes in Photoshop, but sometimes it’s hard. I don’t have the updated version, so you know by now my version is old. I do plan to upgrade real soon because my business depends on it. I really appreciate the tutorial, it came right on time. I left my email on your site. I want to follow you to learn more.
Thanks for your feedback