

If you appreciate a film’s appearance but don’t have a film camera, understanding how to edit images to seem like the film is the right alternative. Many applications are available to assist you in making your photos appear like they were taken on film. And it would also be amazing to publish your work using one of the best website builders for photography so the world could see your work.
With the correct equipment and some post-processing know-how, you can do it yourself in various ways. These techniques won’t give you a similar appearance to somebody who spent a lot of money on their equipment, but in most circumstances, the difference is negligible.
In this tutorial, I’ll offer you some pointers on how to take images so you may create your process for this style.
Why Would You Want To Make Photos Look Like Film?
Film photography is noted for its unique appearance, which has grown in popularity as the digital era has progressed. Its classic look gives your images a vintage feel, and it’s also less expensive!
The film effect is by far the most common image processing approach. There are several counter-arguments. Those are genuine points, but the cinematic aesthetic remains a popular design.
You can do many things to make a photo appear like a film. You might begin by using a preset for film simulation. Alternatively, you may start from zero and utilize Lightroom’s various options to replicate film and make photographs seem like film.
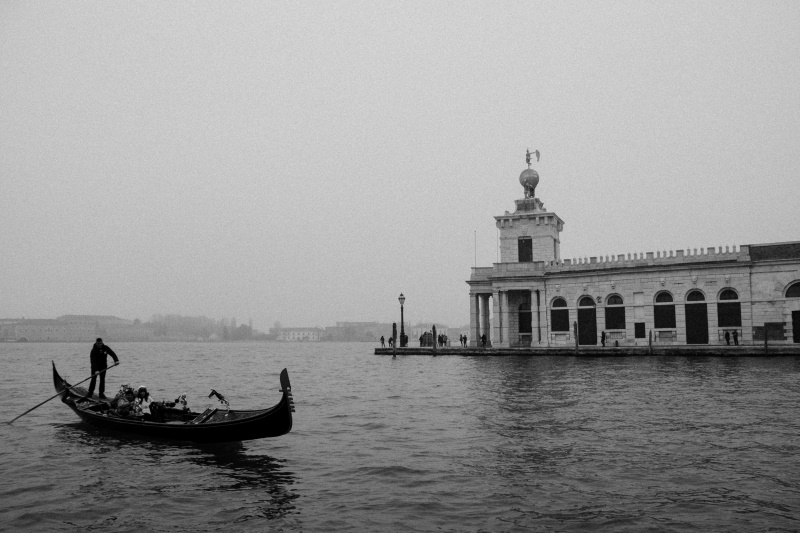
Photo by Sinitta Leunen
Step-By-Step Guide On Making Your Photos Look Like Film
Although various film types give your images varied characteristics, these methods will give your photos the standard film-like edit people see on social networks. This effect is achieved by softening the shadows and colors of the photographs to make them appear faded. Finally, with the assistance of certain grain, you can give the edit a more genuine film effect!
Step #1: Selecting The Appropriate Photo
You may wonder why you would want a photographer to picture your items with all the stunning photography available on the Internet. Why not utilize great stock photos?
It’s easy to answer: Stock photography isn’t a good investment. They may attract the attention of certain people, but they are unlikely to turn them into paying clients. This is due to three major drawbacks of stock photography:
- They aren’t customized to your product – they demonstrate generic explanations of what your product should look like;
- They aren’t tailored to your target market – they only demonstrate generic instances of what people think your item is for;
- But also, most importantly, they aren’t customized to your webpage and brand – they only prove generic examples of how photos should look on the web.
Generic images do not generate demand for your service or product. It doesn’t make people want to buy things, and it doesn’t make them want to open their wallets. To increase sales, you’ll need photography that conveys a story that your customers can relate to.
Step #2: Experimenting With Photo Clarity
This is the article’s most significant and most complex portion. Exposure isn’t only about brightness; it’s also about contrast, as you probably well know.
It’s about the brightness-to-darkness ratio of a picture, to be precise. A photo with such a high dynamic range can have bright and dark sections, whereas a photo with a low dynamic range will still have most of its parts near to middle gray.
When you look through a camera lens at a subject, you’ll observe that this is the case — the lens cannot generate brilliant highlights and black shadows. Mid-tones are always produced.
Step #3: Operate Using The Photo’s Tonal Curves
You’re ready to deal with your photo’s Tonal Curves now that you’ve accomplished steps 1 and 2. In Photoshop, Tonal Curve is a useful tool. It allows the user to select the form of each channel’s curve to change the tone of your image.
This is essentially the same as Levels, but somehow it enables you to perform more intricate repairs and get better outcomes. The easiest approach to using Tonal curves is to correct overall brightness first, then alter individual tracks for more precise fixes.
We’ll create an adjustment layer for this so that you may make changes later if necessary.
We’ll create an adjustment layer for this so that we may make changes later if necessary. We’ll also apply a clipping mask to our image so that only specific parts of it are impacted. This implies that the Levels Adjustment Layer will only affect the green parts of our vision. As you modify our curve, you won’t see any color fluctuations.
Step #4: In Photoshop, Add Extra Grain
The first step is to clone the background layer by heading to “Layer” and clicking “Duplicate Layer” at the top of your screen. You may give this layer whatever name you like or leave it as “Layer 1.” “Grain” was the name I came up with.
After copying your backdrop layer, you can go to the top of the screen and choose “Filter,” then “Noise.” When the filter appears, select “Add Noise,” set the amount to roughly 16%, and then click OK.
Clone this noise layer by pressing Cmd/Ctrl+J after you’ve added your noise using filter>noise>add noise. Desaturate this noise layer once you’ve copied it.
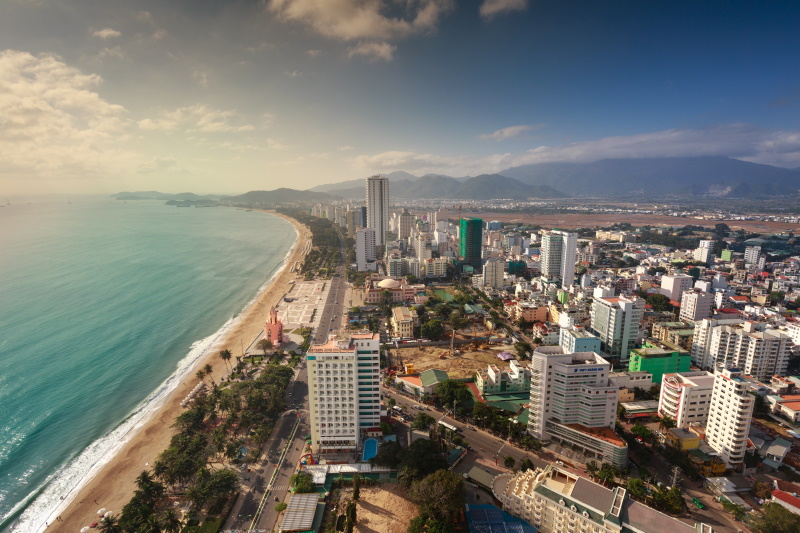
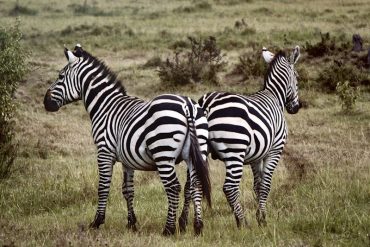
Photo by Quang Nguyen Vinh
Editing Tips To Bring Your Photos To Live
With today’s technologies, photo editing is no longer limited to pros or serious hobbyists. There are many tools to choose from, ranging from free or low-cost applications to professional software, some of which have steeper learning curves than others. We’ll look at broad concerns that apply to any program in this primer.
Because of flagrant usage of Photoshop and overblown Instagram effects, picture editing sometimes gets a poor name. While it’s accurate that editing may generate unnatural, artificial aesthetics that deceive reality, editing is more about restoring photographs to make situations resemble the way you remember them rather than making things look more remarkable than they were.
Even the greatest cameras can’t compete with the human eye, and the images we take on a level surface don’t always do justice to the scene we witnessed with our eyes. This is something that editing can help with. We’ll look at the most important factors to consider in the guidance below.
Tip #1: Learn The Fundamental Modifications
When understanding how to edit images, the first step to figuring out if the image’s components you want to change, exposure, contrast, and color, are basic modifications that even the most basic free editing applications will generally contain.
Depending on the application you use, each of those areas may have more specific adjustments. For example, while more basic programs may only allow you to adjust brightness, contrast, and color saturation, extra advanced software may include tools to adjust levels in specific areas of a shot, special forms of comparison, and also the ability to change specific colors in terms of tint, luminance, and saturation.
Tip #2: Analyze The Histogram
An image’s histogram is a crucial tool to grasp when understanding how to edit pictures and take pics that can be modified properly. This is a graph that can be found on the screens of many digital cameras, as well as in most advanced editing software. Although the histogram may appear to be complicated, the most significant feature of the histogram is rather simple to comprehend.
The line shows the number of distinct tones in your photograph. The shadows begin at genuine black on the left side of the histogram, and the tones lighten as you travel to the right, finishing in white.
Once you understand how the histogram performs, you can use it to assist you properly when shooting and fine-tune your edit by pushing in overexposed whites and raising underexposed darks.
Tip #3: Modifying The Exposure
Exposure refers to how much light is allowed to reach your camera’s sensor when taking a photograph. Slowing down your shutter speed or increasing the aperture allows more light to enter the camera, resulting in a brighter image.
Some photographers prefer to underexpose their photographs and then increase the exposure in post-production to bring out the detail. However, even if you take RAW images, which preserve more detail in dark regions, bringing that detail back up might cause noise. Exposure should normally be set to the right on the histogram.
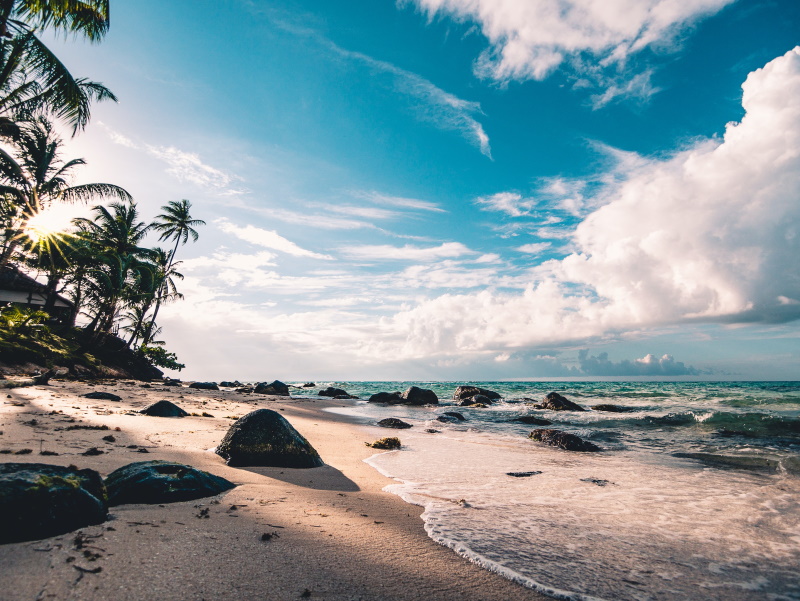
Photo by Fabian Wiktor
Tip #4: Modifying The Contrast
Darks become darker, and brightness becomes brighter when contrast is increased. Isn’t that the same thing we accomplished above by raising the highlights and minimizing the shadows?
Although the effects are similar, contrast adjustments influence the full dynamic range, whereas highlight and shadow modifications only affect a narrow range of tones. Saturation rises in tandem with contrast.
Tip #5: Modifying The Color
Saturation is the most fundamental color change in every editing tool or software. Increasing the depth and intensity of color in a photograph may significantly impact the ambiance of a shot.
Increase your saturation if you want your image to have more depth. Reduce it if you want a quieter, more muted sensation. Again, please don’t overdo it. Oversaturating washes away tiny color changes, making images seem flashy and unnatural.
Tip #6: Including Vignette Effect
A vignette is an image in art that fades gently into the surrounding material, avoiding a harsh edge. A vignette look is commonly created in photography by reducing the exposure of an image’s edge around a specified radius.
This may be employed in various ways, but the most helpful is that it can assist guide a viewer’s eyes into the center of a picture when used subtly. It’s also useful once distracting components extend beyond the composition’s boundary.
Tip #7: Error Fixing
Error correction is another crucial aspect of editing. You could have a great photo that doesn’t require much editing, but then you discover a mark where a bit of dust or grit landed on your lenses or camera sensor. Most basic smartphone picture editing applications won’t help you with this, but more powerful tools may help you eliminate undesired components from a photograph.
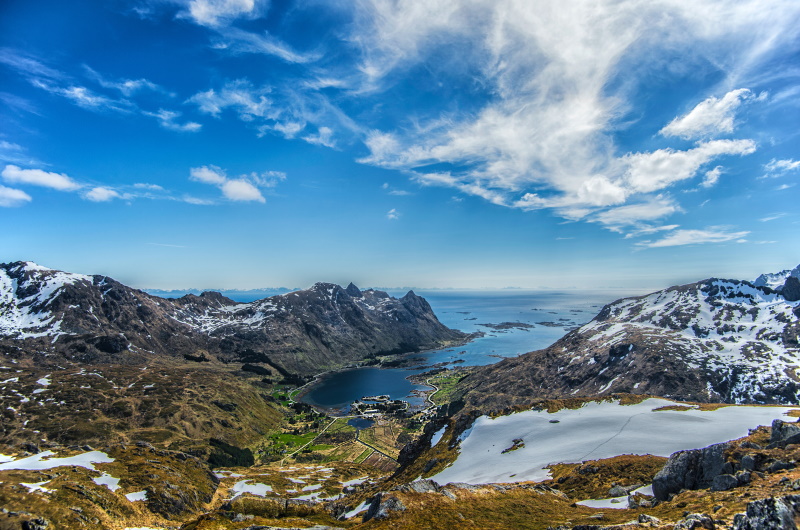
Photo by stein egil liland
Are you looking for Photo editing resources or editing Services?
Some photographers are struggling to learn and master editing software like Lightroom or Photoshop, they found the editing process is taking too much of their time. Therefore, assigning the editing tasks to an editing service may be the answer.
On the other hand, some others are looking for editing resources like actions, overlays, and textures to help them. For those I highly recommend paying a visit to my store, it has amazing professional photo editing tools.
In addition, you can check my editing tutorials, there are many tips and tutorials there.
The Final Verdict
Learning how to achieve this look might be entertaining but undeniably time-consuming. It’s one thing to remember all of these procedures; it’s another to have to repeat the cycle for all of your photographs.
Thanks for reading, I hope you enjoyed the article, in case you have any questions just drop them below & I will be happy to answer you.
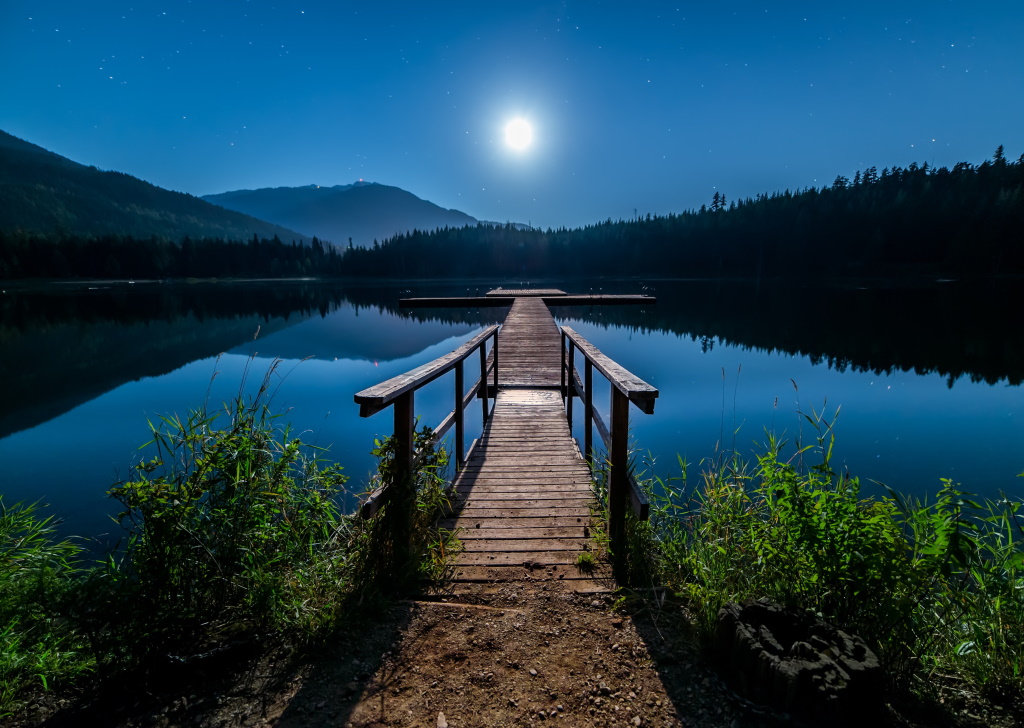
The featured Photo by James Wheeler
If you enjoy the site, don’t forget to subscribe, we will only inform you when a new article is posted.


This is a great post. Because I have a camera. But I do not know photography very well. So I’m practicing them these days. I found this post at the best of times. You have given step by step instructions on how to make a beautiful photo. I learned a lot of important things from this post. I will definitely share this post. Thanks so much for posting like this. Keep posting like this.
I agree with you that there are several drawbacks to using stock photographs. You want to have photos that represent your brand and are aimed at your target audience. So to be able to make photos look like film, is a great way to customize photos.
This guide, together with tips on how to make my photos look like film, will certainly help me to achieve the desired effects. Thank you for sharing your knowledge.
You are most welcome!