


We are living in a digital world and with just a few clicks; you can record a video and upload it to any social platform: YouTube, Instagram, Facebook, Twitter, TikTok, etc.
Some people may say that the quality of a smartphone video is not going to be as good as a professional kit, but with the aid of some planning, a good understanding of your gear, and applying a few shooting tips, you can create great quality video content.
Why use a smartphone to shoot video
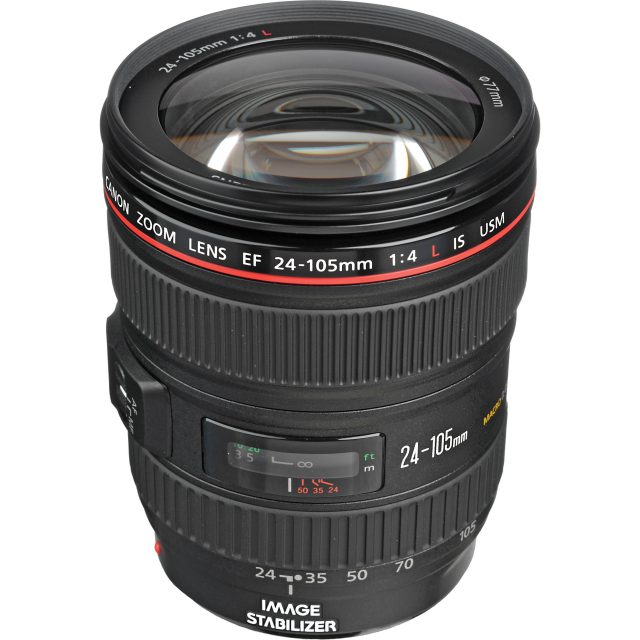
While shooting video with DSLR has its advantages: the ability to add interchangeable lenses, it offers an optical zoom rather than the digital zoom offered by smartphone cameras, and it performs better in low light situations than phone cameras. In addition to many other features like bigger sensor size, focus tracking, and image stabilization.
On the other hand, smartphone camera has their advantages too. Smartphones are extremely portable. You will likely have one on you at all times, making spontaneous capture very easy. They are very easy to use and generally produce smaller file sizes.
Finally, the cost of smartphones is usually far below a digital camera kit with all the lenses, batteries, and attachments required.
For more reading, check my post “Smartphone Camera VS DSLR Camera”
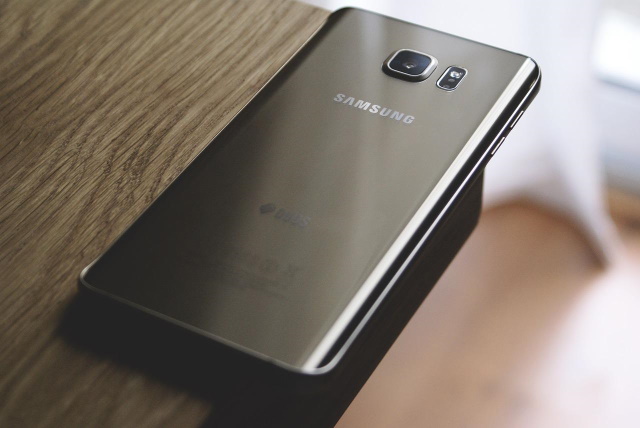
Image by StockSnap from Pixabay
How to Shoot Video with your Smartphone
Make a Plan for the video
The first step in creating any kind of video is content planning. You have to ask yourself three questions:
- What is the purpose of your video?
- What are the key messages you want to convey?
- Who is your target audience?
- “Content is key. To get your message across, think about what you want to say and then summarize. Nobody wants to sit through a rambling monologue so keep it short.”
Danny Coster, the Head of Moving Image said, “It’s highly recommended that you at least create a basic outline of your video content”.
Some people prefer to use simple bullet points that cover the key topics, while others prefer writing down the entire word-for-word script.
Select a Suitable Location
The main thing to remember is to find a filming location with the least possible amount of distractions (airplanes flying overhead, or kids playing outside)
Set up your phone video options
-
Make sure that your phone battery is fully charged.
Filming drains the battery very quickly so ensure your phone is fully charged and make sure to bring a power bank if you’re going to be without electricity for a long period of time (just to be sure!).
-
Make sure there is enough storage space to hold your intended videos.
Recording video produces a big file size, for example, a video recorded with a resolution of 1920×1080, frame rate 60, and duration of only 3 minutes will have a file size of 2 GB.
-
Turn off your phone camera flash.
-
Switch to Flight Mode or Do Not Disturb Mode.
Turning on Airplane Mode during recording prevents unwanted distractions and interruptions. It will also help with battery life if you can’t plug it in. A text message or a phone call will pick up on your microphone and the resulting sound can ruin your video.
-
Select the proper resolution
Some Androids are capable of shooting at 1080 pixels, while others are able to create videos in 4K. Obviously, 4K is ideal, but 1080p and even 720p (if that is your only option) are usually good enough.
-
Select the frame per second
Smartphone manufacturers have generally settled on having 30 or 60 fps available for video recordings. The frame rate indicates how many still frames are recorded (and then presented) in each second for a given video.
- Recording at 30 fps, is adequate for general, casual recordings, both in good-lit environments and in low light. You can record meetings and parties with your friends, or record the live performance of your favorite band. You get the full processing features of your Camera app and smartphone hardware, more performance in low light, the battery hit isn’t as large as with 60 fps recordings, you can store more videos on your device, and the recordings don’t take ages to upload.
- Recording at 60 fps is better when your subject is moving fast like a fast-moving car or a playing and running kid, 60 fps is smoother, with less motion blur. The quality decreases rapidly if the lighting conditions are less than ideal. In addition, when recording at 60 fps, the size of the file is greater and the smartphone consumes more battery than when recording at lower frame rates. On the other hand, you can edit the video further and slow it down, while retaining an acceptable frame rate. Thus, recording at 60 fps is perfect for fast-paced videos, in good lighting conditions.
The following table summarizes the differences between 30 fps and 60 fps
| Feature | 30 fps | 60 fps |
|---|---|---|
| Good lighting | Yes | Adequate |
| Low lighting | Yes | No |
| Moving subjets | No | Good |
| full processing features | Yes | Adequate |
| Battery Consumption | Moderate | High |
| File size | Moderate | High |
| File Uploading | Faster | Slower |
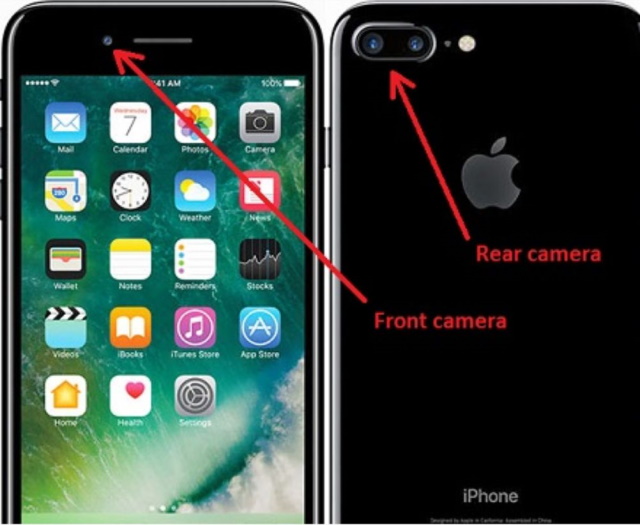
Choose the Front or Rear Camera
There are two options for this: the front-facing lens (the selfie camera) or the phone’s primary camera. Each one has its pros and cons.
- The primary camera on an Android smartphone is the main camera lens located on the back of the device. Using this lens typically results in the highest quality videos. If you are shooting a “talking to the camera” video alone, it can be difficult for you to see the screen for updates on video quality and recording progress.
- The front-facing camera (Selfie camera). This is the easier filming choice since you’ll be able to quickly glance at yourself while filming to make sure all is good. In addition, with Android camera updates, even the front-facing lens is perfectly capable of delivering high-quality footage.
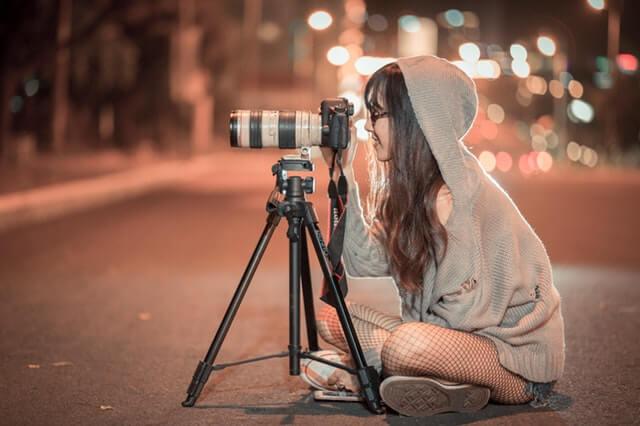
Stabilize your phone
One sure sign of an amateur recording is a shaky camera. Do not record video handheld if your phone does not has an optical stabilization system. Recent phone models like the newest iPhones and Samsung Galaxy phones have an optical stabilization system.
This system uses information from the phone’s gyroscope and accelerometer to precisely move the camera’s optics to compensate for the movement of the phone. Therefore, if your hand is shaking a bit, or you’re walking while you’re shooting, the phone can calculate and correct that movement.
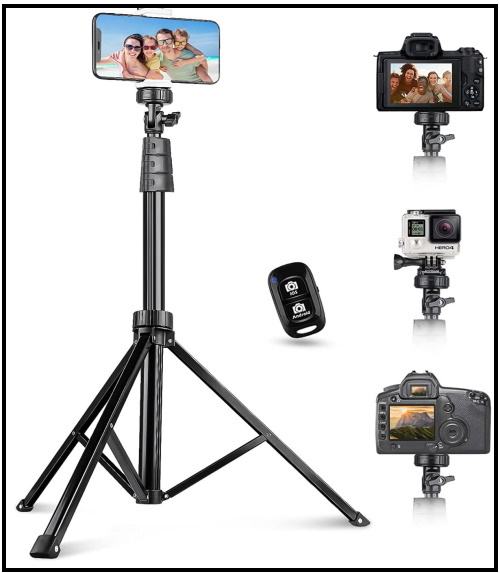
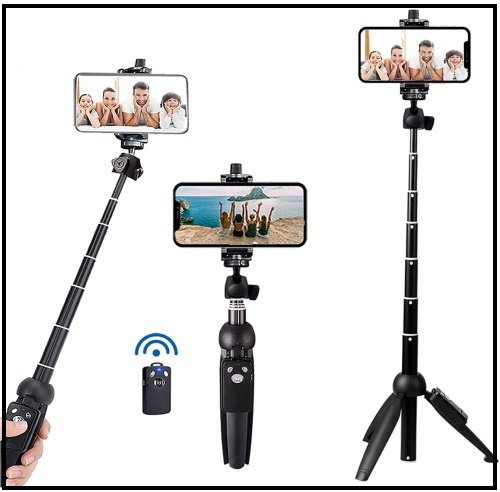
If your phone does not have this option, you can always buy some accessories for your phone. You can mount your smartphone on a tripod; it is the easiest and cheapest route if you are not planning to move the camera.
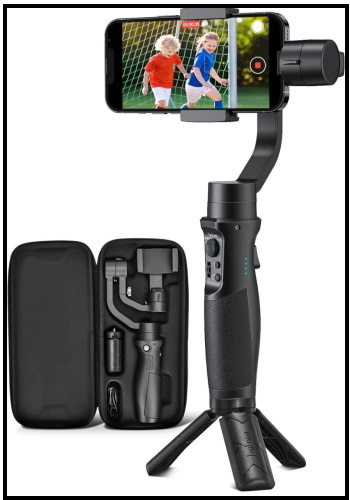
Otherwise, the best result is obtained when using a gimbal. These stabilizers will cost you a few hundred dollars and will take some time to master, but they’re the best way to make sure you’re shooting steady footage with your phone.
Record video in a good Lighting condition
Always record your video in a well-lit area if possible. This will prevent your videos from looking grainy and boost the quality overall. If there is a strong light source, stand opposite it. If you stand in front of a bright window, you will end up as a silhouette.
If you want to record a video and the lighting is not adequate, you have to find an external light source and avoid using your phone flash. Smartphones come with LED lights that are too bright and can easily skew the color temperature of your video.
Check the audio quality
Professional videos not only need to look good but also need to sound good, too! So, always remember to try to shoot your videos in a quiet location so viewers can hear the audio clearly.
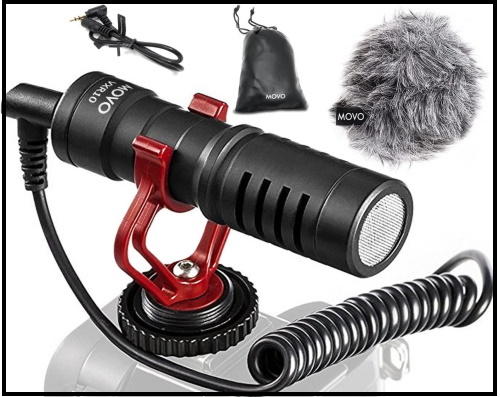
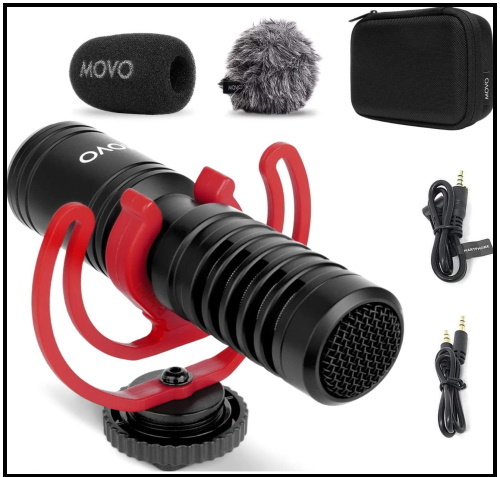
Try not to rely solely on your phone mic when it comes to audio. For crisp, clear sound, it’s recommended that you use an external mic. It will only cost you a little.
Use the Landscape orientation
Nothing ruins great footage like having two black vertical bars along both sides of your video. To avoid this amateur mistake, make sure to use landscape orientation and not portrait orientation while recording.
Mind the composition
Try to fill the frame with your subject. You can frame your subject slightly off-center to create a more visually interesting scene. Just play around and see what looks better. There are many rules for proper framing of your subject. One of the most popular framing tools is the rule of thirds, so if you enable a 3×3 grid on your camera app, you can line up the subject with one of the vertical ‘third’ lines or use the horizontal lines to get the horizon line in the desired position.
Be careful when you zoom
In order to zoom in while recording without losing the quality of your videos, you will need a device that offers a decent optical zoom. A smartphone with more than one camera on the back can offer a “telephoto” lens option to be used instead of digital zoom.
If you have a phone with only one back camera, you will need to get closer to your subject or use an accessory like clip-on lenses, to change the focal length.
Set and lock the AF/AE
Auto Exposure (AE)/Auto Focus (AF) is useful when you are shooting with variable light conditions or in an area where there are big differences between the light and dark objects in a scene. However, normally you do not need the phone to continually adjust the exposure and focus because you already have set the proper lighting and framing.
To activate the AE/AF lock, simply open the iOS Camera app and tap on the screen as if you were going to focus on an area. Instead of tapping and releasing, you need to tap and hold until the focus square flickers. When you release, you should see an ‘AE/AF Lock’ indicator on the screen.
Shoot a test video
It is highly advisable to shoot short test footage to check all your settings. For the test, set everything up as if it’s the real thing, sit exactly as you plan on sitting in the video, press record, and present for 10 to 20 seconds to see how everything is reading. This is a real time-saver, and the best part is that it will only take a few minutes of your time.
Shoot the main video
Now that you have done the preparation, it is finally time to shoot a video with your phone device!
Edit your video
Now you have shot your footage, it is time to start editing. For smartphone videos, there is a wide range of free and paid video editing tools.
Recommended accessories for shooting videos
While it’s not 100% necessary to invest in any additional gear, especially if you’re just starting out, there are a few tools that can take your smartphone videography to the next level.
Here is the recommended list:
Tripods
Gimbals

Check prices at Amazon
Microphone
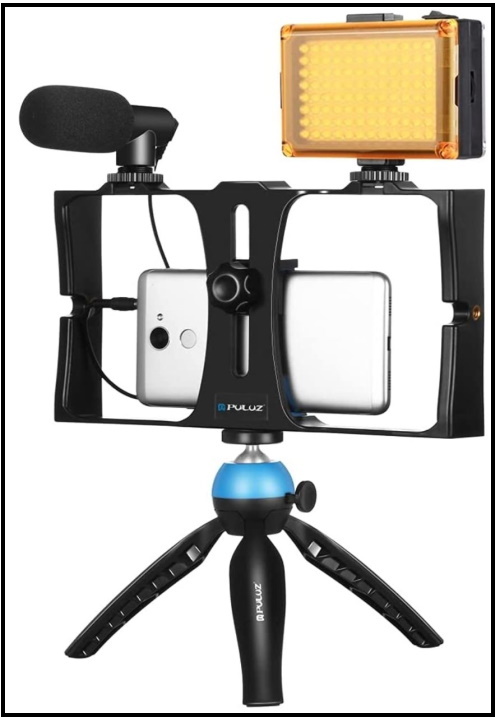
Video kits
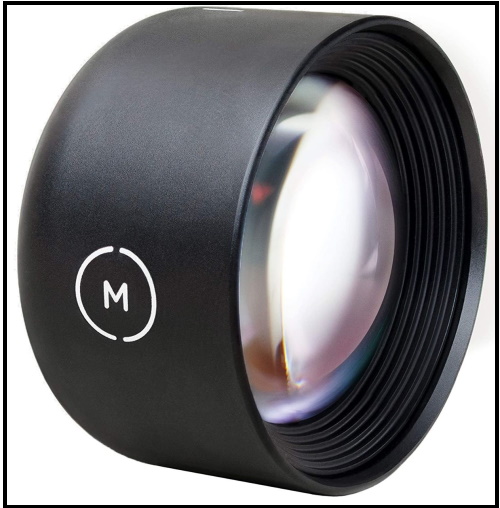
Additional lenses

The Xenvo Pro Lens Kit includes:
- COMPATIBLE WITH ALL SMARTPHONES, TABLETS, and LAPTOPS including ALL iPhone models, Samsung Galaxy and Note, Google Pixel, Huawei, and more.
- TRUVIEW 0.45x WIDE ANGLE LENS
- CLARUS 15x MACRO LENS
- GLOWCLIP RECHARGEABLE LED FILL LIGHT
- QUICK-RELEASE LANYARD AND TRAVEL CASE – TRANSPORT AND PROTECT YOUR LENS KIT
Thanks for reading, I hope you enjoyed the article, in case you have any questions just drop them below & I will be happy to answer you.
The featured Image by Fernando Aguirre Guzmán from Pixabay
If you enjoy the site, don’t forget to subscribe, we will only inform you when a new article is posted.


Wow, this is a very important post for me. Thank you very much for this valuable detailed post about How To Shoot Video With Your Smartphone. I’m not really good at making videos on my phone. I even tried to learn it from youtube. With your post, I can get good videos in the future. I will definitely buy the Stabilizer that you recommended. Keep posting like this. I will definitely share this.
Thank you for the comment, very glad you find the post helpful to you
I actually sold my video camera a few years ago as I was using my phone more and lugging the camera around less. I prefer not having too much clutter and having both was cumbersome. I didn’t really notice a drop in quality and for my purposes the phone video does a wonderful job.
The only problem is obviously the storage especially if you shoot long videos. I wonder if there is a way around that for the iPhone?
Unfortunately, iPhone does not have the option of adding storage cards. My advice is to free up your storage space before shooting your video. Also, you can plug a flash drive into your iPhone to get more storage or use
a wireless hard drive.
Thank you for your comment