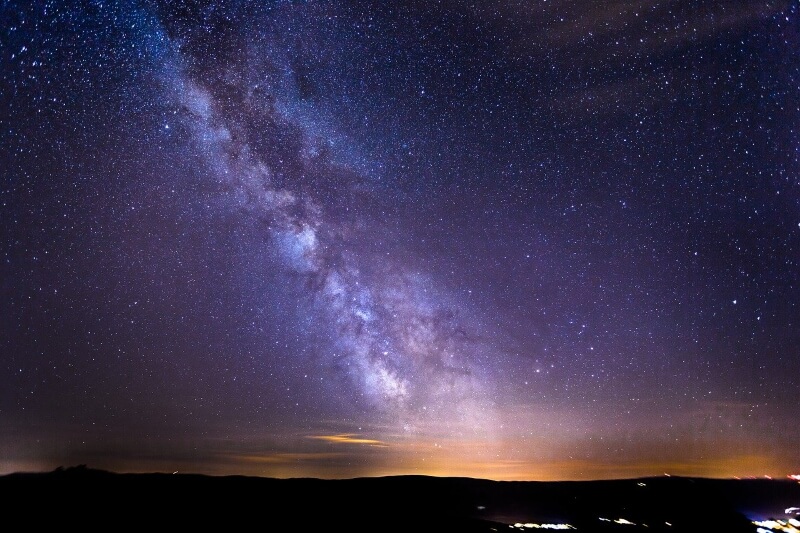


Photographing the Milky Way is one of the most rewarding astrophotography experiences you can have. However, it’s also one of the most challenging as there are several technical and environmental hurdles to overcome. Fortunately, I’ll be breaking these down in this discussion of Milky Way photography tips!
Tip #1: Choose the largest sensor you can afford
Sensor size has a drastic effect on light-gathering potential. When looking at interchangeable lens cameras, each increase in sensor size is roughly a stop of light (doubling or halving) in terms of light gathering.
This means with all exposure settings being otherwise equal, a Micro 4/3rds camera is only gathering (roughly) half of the light of an APS-C camera. And a full-frame body is gathering twice as much light as an APS-C setup. The larger the light gathering area, the cleaner the final image tends to be because you won’t need to push your ISO as high to compensate for a smaller sensor.
Modern sensor technologies can sometimes close this gap. However full-frame sensors are not only larger but also tend to have the best modifications. Back sensor illumination (BSI) is a recent invention that helps light penetrate past the wiring layers for improved low light performance and is found in most current generation full-frame bodies like the Sony A7 series. A few crop models like the Fujifilm X-T3 are also starting to make use of BSI.
Recommended read >> Full Frame Vs Crop Sensor.
Tip #2: Use a Tripod
To photograph the Milky Way, you’ll need to be using longer exposure periods than you can shoot handheld without blur. Even if your camera has in-body image stabilization IBIS, you’re looking at exposure times of 15-30 seconds, depending on the lighting environment and your gear.
Tripods allow you to set your shutter speed as long as necessary. If your camera has IBIS, lens Vibration Reduction or similar settings turn them off if at all possible because the tiny compensatory motions of the anti-shake system assume you’re constantly shooting handheld. These micro motions will rob you of sharpness if used with a tripod and also uses additional battery life.
Since you’re shooting outdoors, spend a bit more on a sturdy landscape tripod. Sudden gusts of wind can knock over flimsy plastic tripods and damage thousands of dollars of photographer gear in a single stroke.
Recommended Read >> Top-Rated Tripods & How to choose the right one.
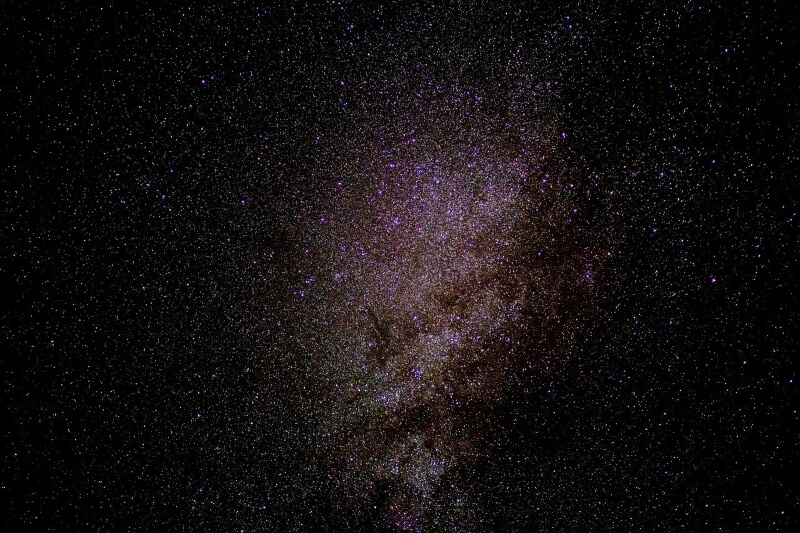
Image by Hans Braxmeier from Pixabay
Tip #3: Choose Lenses with a Fast Maximum Aperture
Lenses with a large maximum aperture are essential for light gathering when photographing the Milky Way and other astrophotography targets. The fastest zoom lenses are around f/2.8, which is enough in medium to dark sky conditions.
Prime lenses with an aperture of f/1.4 can gather four times as much light as f/2.8 lenses and allow two stops of flexibility in exposure adjustments. Keep in mind that when shooting with an especially wide-open aperture foreground elements may not be in sharp focus compared to the Milky Way.
You may need to Focus Stack your image, shooting a series of images with the plane of focus adjusted. Later in the post, you can combine your images into a single image that’s sharp across the scene!
I personally highly recommend the Samyang 24mm F/1.4 for Milky way photography.
Read more about Aperture.
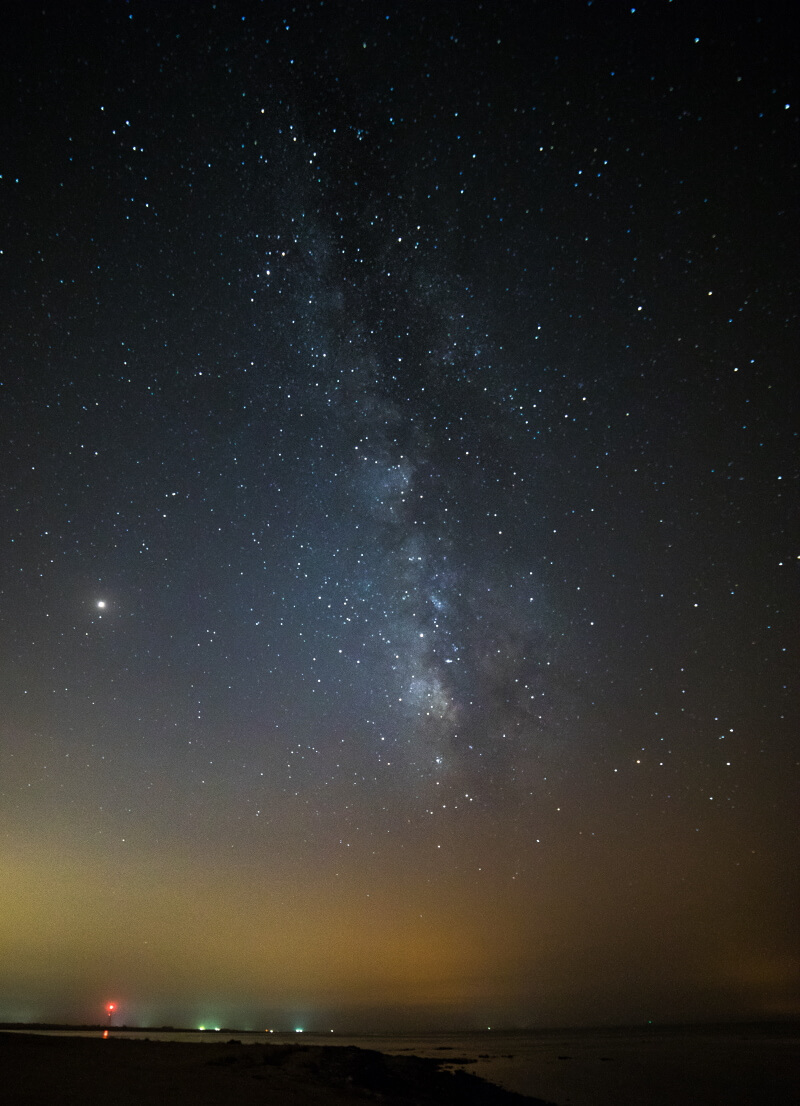
Photo by Ehab Amin
Tip #4: Find Areas with Low Light Pollution
Light pollution is a problem for astrophotography in general. City lights shine omnidirectionally and drown out stars and weaker lights, including the Milky Way. Even driving 50 miles or more from a larger city won’t necessarily be far enough as clouds and the atmosphere reflects city light for hundreds of miles.
Websites like Darksite Finder and Light Pollution Map display the best and worst locations for trying to photograph the Milky Way around the world. Chances are you’ll need to take a road trip in order to find patches of sky free from city lights. Many National Parks and patches of undeveloped land are specifically recognized as International Dark Sky Parks for astrophotographers and telescope viewers to enjoy.
Tip #5: Shoot in RAW
Whenever you intend on doing post-processing you want to be shooting in RAW mode. Astrophotography is very processing heavy therefore RAW is mandatory here. When you import your images in post RAW saves all of the critical image data you need for the cleanest possible edits.
Compressed formats like JPEG are lossy and don’t have nearly as much latitude. Even if you aren’t shooting with the latest and greatest BSI full-frame sensor and f/1.4 prime you can get several stops worth of exposure adjustments with RAW files and a modern sensor. White balance, noise reduction, and other post-processing adjustments also look cleaner using RAW.
Recommended Read >> Raw VS JPEG.
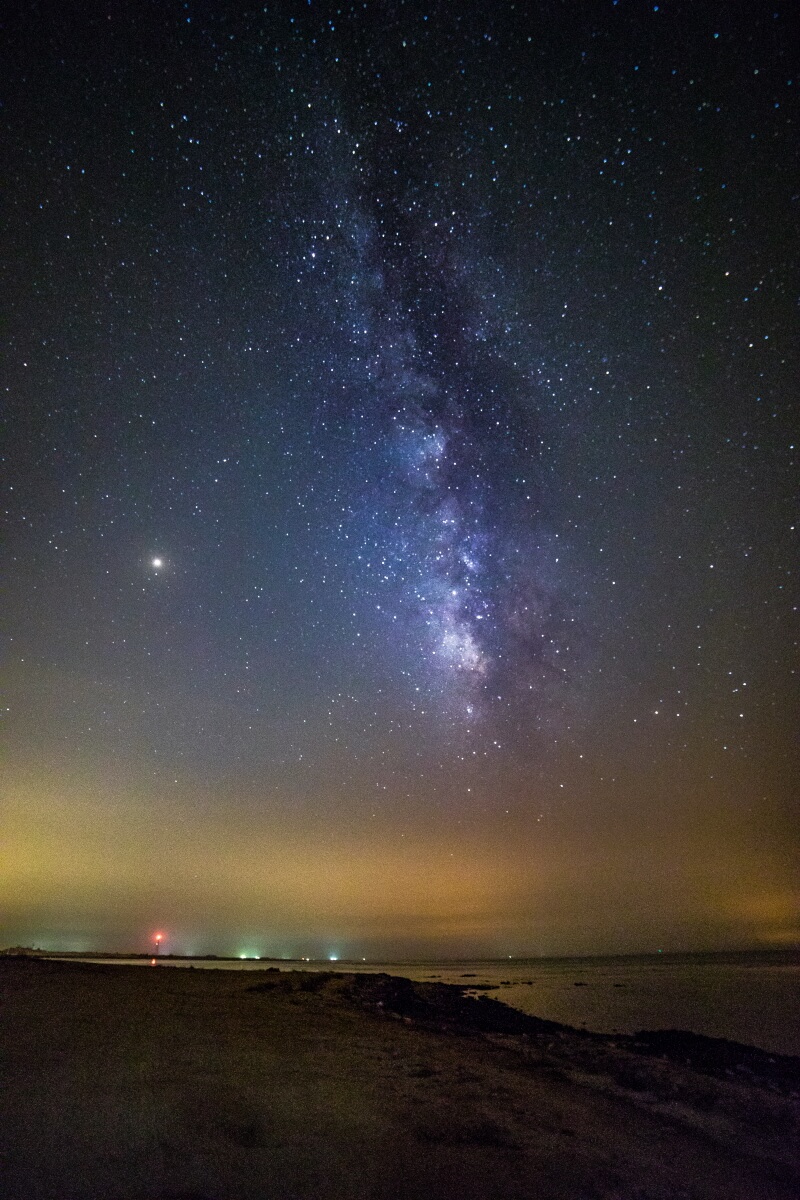
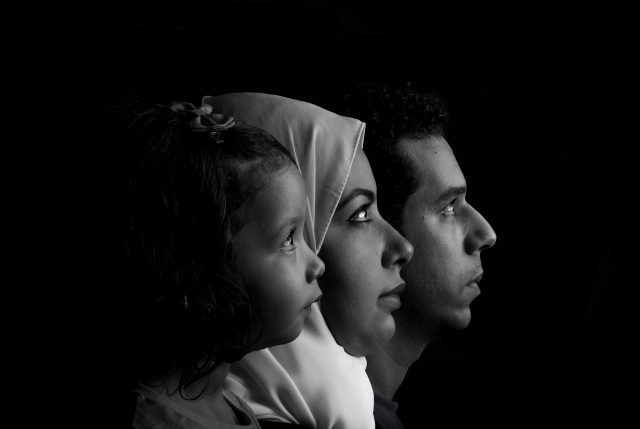
Photo by Ehab Amin
Tip #6: The 500/600 Rule
This is actually known as either the 500 Rule or 600 rule, depending on how conservative you wish to be. Stars “move” due to the Earth’s rotation. And if your exposure is too long for a given focal length, stars will start to look smeared as a result.
While star trail photography is fun in its own right when photographing the Milky Way we want our stars to be as sharp as possible. The 500/600 Rule makes this possible. Essentially for a given focal length, we want to take 500 and divide it by that number for our maximum exposure time.
If I’m using a 20mm prime lens then our result is a shutter speed of 25 seconds. An 85mm prime lens, on the other hand, has a 5.8 second exposure time before stars begin to streak. The 600 Rule is less conservative and results in slightly longer exposures. Your best bet is to experiment with both and see which works best for your needs!
Tip #7: Use the Following Post Processing Techniques
When importing your Milky Way images you’ll have several settings available in the post that will enhance your images even further.
The Levels Tool in Photoshop greatly enhances contrast and brings out additional details that are often missing. You should also use the White Balance Correction as needed if the color temperature is off.
Many programs also have Coma Correction. Comatic aberrations are caused by lens flaws and are especially prevalent in fast-aperture wide-angle lenses. They cause point sources of light along the edges of the frame like stars to gain “wings.”
Read More about Editing Tips.
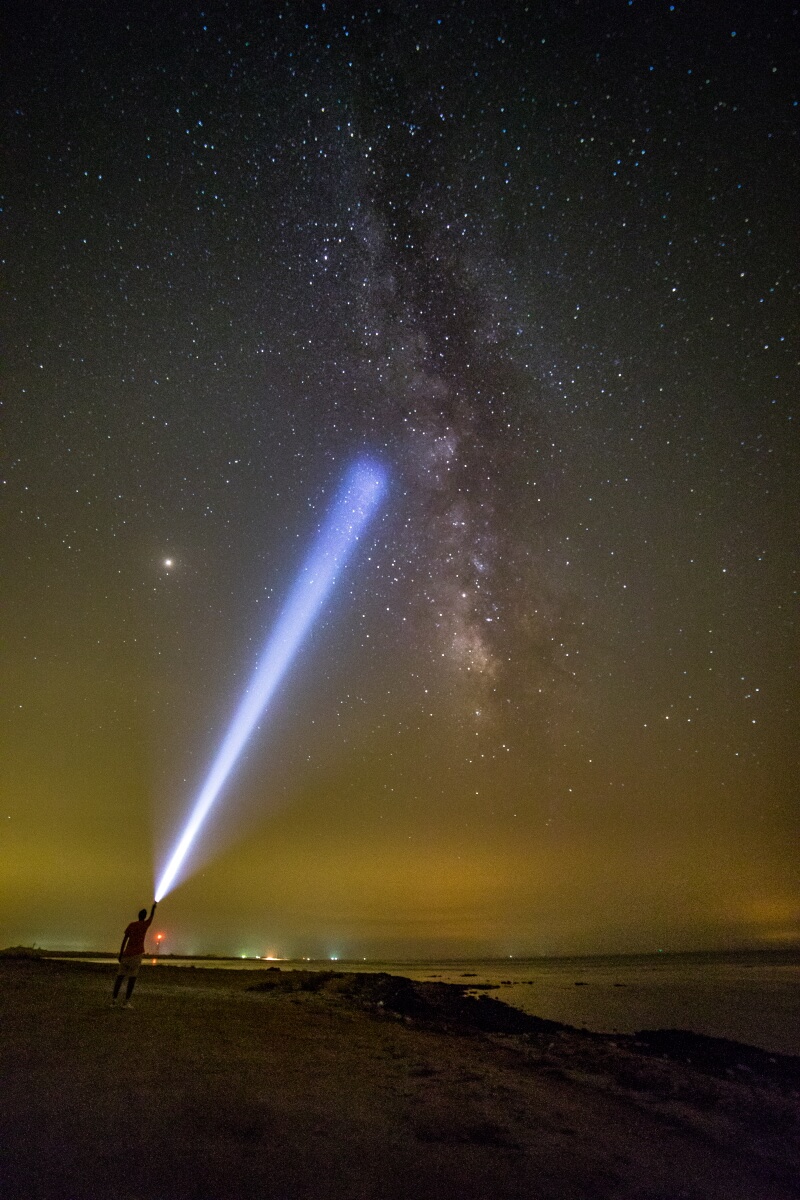
Photo by Ehab Amin
Thanks for reading, I hope you enjoyed the article if you have any questions just post them below & I will be happy to answer you.
The featured Image by Rene Tittmann from Pixabay
If you enjoy the site, don’t forget to subscribe, we will only inform you when a new article is posted.


Good tips for getting a great photo of the milky way. For city folks, it’s a magical thing to be able to see, but it takes a number of special steps to get a great milky way photo. Starting with a large sensor is a good tip.
The right location absolutely makes all the difference — my best shot of the milky way was near Moab in Utah.
Thanks Aly for your input.
I have thoroughly been captivated by this article Ehab. As one who’s always admired jaw-dropping shots from “over the fence” this article, even with all its camera settings jargon was very enlightening. You share wonderful tips for any budding astrophotographer and great explanations for the causes of star trail photography. Previously, it was simply all good to look at but now I appreciate it even better. I’ve shared your article with a photography-loving friend.
We are Blessed.
Thanks Mark for passing by.
Many thanks to you for sharing such an excellent article with us .Photography is my favorite and the most rewarding astrophotography experience I have ever photographed in Milky Way .Overcoming technical and environmental barriers is one of the challenges I face .I followed a few tips for Milky Way photography .I have Canon 6D ,I’ve used a tripod ,Fast lens with the widest aperture opening ,I have searched for areas with low light pollution .All in all, my Milky Way shots was excellent .
Lastly, I hope that through your articles everyone will find some very important tips for Milky way photography and will definitely share their new experiences with you.
Thanks Shata for your input, happy shooting.