

Food photography is the art and technique of taking photographs of food, which are typically used for advertising, marketing, cookbooks, menus, and food blogs. Food photography is important because it can greatly influence people’s perceptions of food, and ultimately, their decisions to try or buy certain foods.
In this article, we are going to explore the food photography aspects and provide a detailed guide and tutorials on how to take amazing food photos, in the end, we provide a list of frequently asked questions and their answers relating to food photography.
Introduction
When done well, food photography can make even the simplest dish look elegant and delicious. It can help showcase a restaurant’s menu, promote a food brand, or inspire home cooks to try new recipes.
Food photography is used by a variety of individuals and businesses to help them stand out from the competition and reach a wider audience, here are some examples:
- Restaurants: Restaurants use food photography to showcase their dishes and promote their menu items. These photographs can be used on menus, websites, social media, and advertisements.
- Food brands: Food brands use food photography to promote their products and create brand awareness. These photographs can be used on product packaging, websites, social media, and advertisements.
- Food bloggers: Food bloggers use food photography to showcase their recipes and food creations. These photographs can be used on their blogs, social media, and cookbooks.
- Cookbook authors: Cookbook authors use food photography to showcase the recipes in their cookbooks. These photographs can help entice readers to try the recipes and make the dishes look more appealing.
- Magazines: Food magazines use food photography to showcase recipes, food trends, and restaurant reviews. These photographs can help attract readers and make the content more visually appealing.
Overall, anyone who wants to showcase food in an appealing and appetizing way can benefit from using food photography.
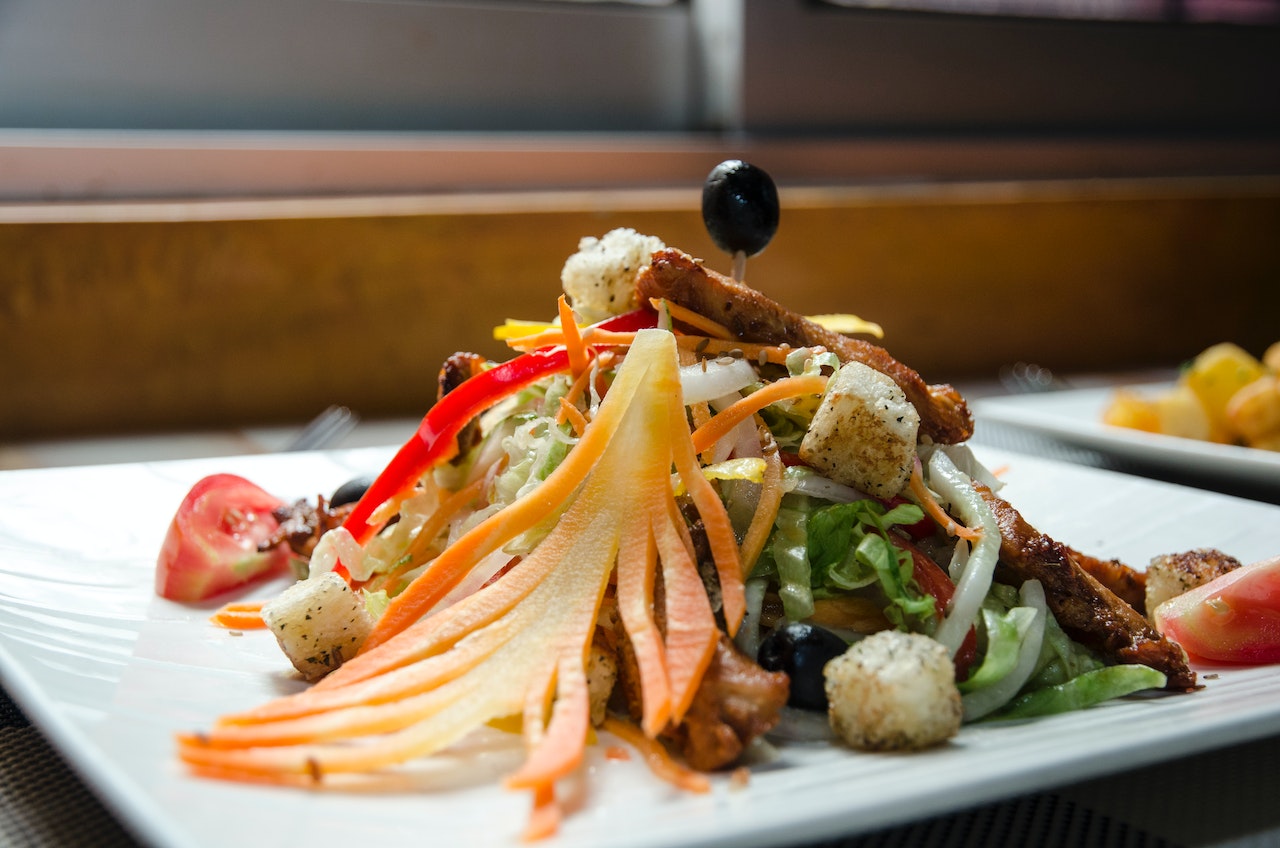
Photo by Zo Willibrord
Food Photography Tutorials
Food photography aims to capture the colors, textures, and details of food in an appealing and appetizing way that entices the viewer to want to taste the food. When done well, food photography can make even the simplest dish look elegant and delicious.
The following are straight forwards steps to help you get amazing shots of food.
-
Choose the right gear
-
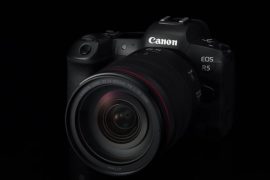
Camera:
While it is possible to capture food photography with almost any camera, it is advisable to use a camera with good low-light performance since you’ll likely be shooting indoors, or in restaurants in low-light environments. This camera should have a larger sensor for higher resolution, and a higher ISO sensitivity to capture more light, which results in better image quality in low-light situations.
Some of the top professional cameras for food photography include the Canon EOS R5, Sony Alpha A7R IV, and Nikon Z7 II.
-
Lens:
The type of lens you use will largely depend on your shooting style and the look you want to achieve in your photos. The most popular lens for food photography is a 50mm or 60mm prime lens, which offers a natural-looking perspective and allows you to get close to your subject.
A macro lens is also a great option, as it allows for extreme close-ups and details.
A good lens for food photography should have a wide aperture (i.e. low f-number) to help you achieve a shallow depth of field, which can make your subject stand out and create a nice bokeh effect in the background.
Another important feature of the lens is its minimum focusing distance, which impacts how close you can get to your subject. If you want to capture extreme close-ups, look for a lens with a short minimum focusing distance.
Some of the top lenses for food photography include the Canon EF 50mm f/1.4 USM, Nikon AF-S Micro-Nikkor 60mm f/2.8G ED, and Sony FE 50mm f/2.8 Macro.
2. Prepare the scene for photography
Preparing the scene for shooting includes many activities such as:
2.1. Styling the subject itself
In order to take a professional photo of food, you need the help of someone who is responsible for making the food look good, he is called a food stylist. Food stylists often work with photographers, and chefs to create images that are both visually stunning and technically accurate.

Photo by Depositphotos
Food stylist uses different techniques to create visually stunning and appetizing dishes, such as:
- Layering: Layering is a technique that involves stacking different ingredients on top of each other to create a visually appealing dish.
- Color blocking: Color blocking is a technique that involves arranging ingredients of the same color in a visually pleasing way.
- Garnishing: Garnishing is the art of adding decorative elements to a dish to enhance its visual appeal. This can include adding herbs, edible flowers, or other decorative elements to the plate.
- Negative space: Negative space is a technique that involves leaving blank spaces on the plate to draw attention to the food. For example, a beautifully plated steak with a small amount of sauce on the plate and negative space around it.
- Texturizing: Texturizing is a technique that involves adding different textures to a dish to make it more visually interesting. For example, adding crispy bacon to a salad or topping a soup with croutons.
With a little creativity and skill, a food stylist can turn even the simplest ingredients into a work of art.
Photo by Depositphotos
2.2. Styling the whole frame
- Add props
You can add props to your frame to enhance the food and create a visually appealing composition without taking away from the main focus. Props can add context and interest to the photo, but be careful not to overdo it.
Choose props that complement the food and add to the story, such as utensils, napkins, and tableware. For example, a rustic wooden cutting board can work well for a hearty Italian pasta dish, while delicate floral plates can complement a dainty dessert.
In addition, select props that have colors that complement or contrast with the food to create visual interest. For example, a bright red tomato can be paired with a green leafy vegetable to create a vibrant color contrast.
However, always remember to keep it simple and avoid using too many props that can distract from the food.
Photo by Nerfee Mirandilla
- Use a neutral background
Another way to style the scene is using a neutral background, a neutral background can help make the food stand out in the photo. Generally, it should be a solid color that does not distract from the food. White, gray, or beige are good options for neutral backgrounds in food photography.
For example, a rustic wooden background might be appropriate for a hearty soup, while a minimalist white background might be better for a delicate pastry.
Also, remember to avoid backgrounds with patterns or bright colors that can distract from the food. Use surfaces like a white plate, marble slab, or wooden board as your background.
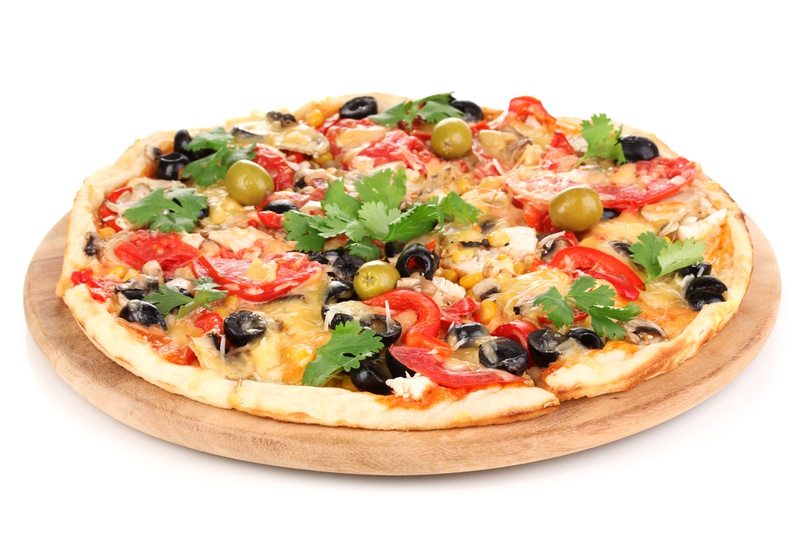
Photo by Depositphotos
- Consider the overall color matching
Color is a critical element in food photography, therefore, understanding the color theory can help photographers create more visually appealing images.
Complementary colors can create a striking contrast, For example, blue and orange are complementary colors. When used together, they create a high-contrast look that is visually appealing.
Analogous colors, on the other hand, are next to each other on the color wheel and can create a harmonious and cohesive look when used together. Analogous color schemes are often found in nature, and they can create a sense of balance and unity. For example, a yellow-green, green, and blue-green color scheme is analogous.
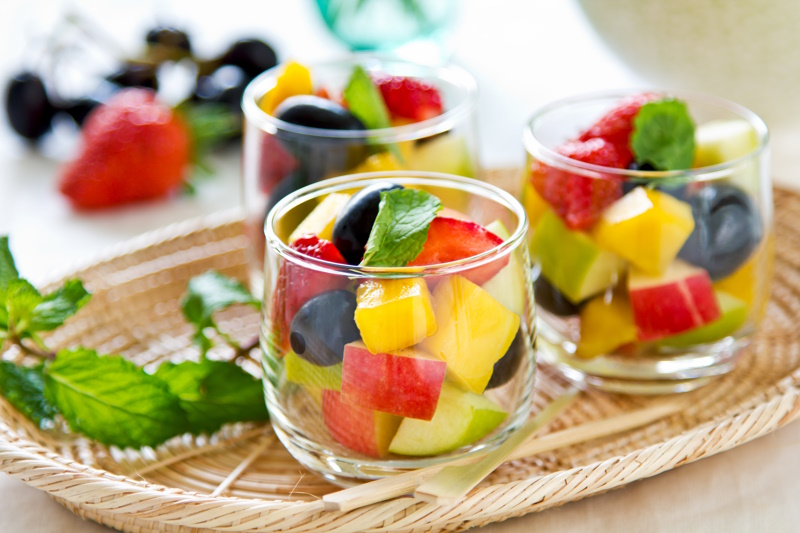
Photo by Depositphotos
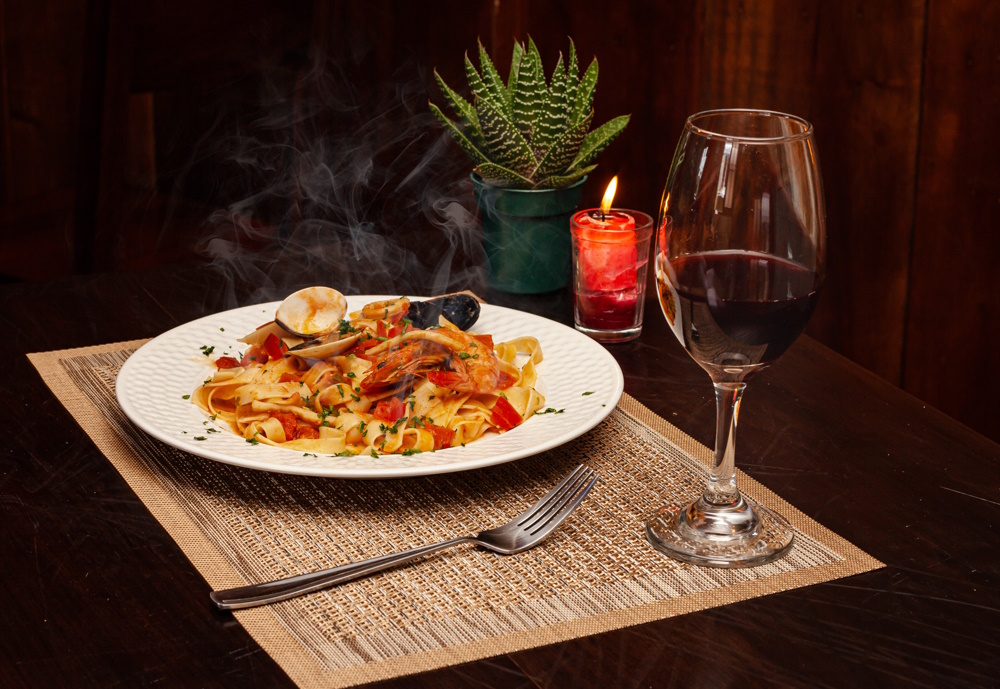
- Consider adding some special effects
Special effects such as smoke, bubbles, and steam are all techniques used in food photography to create an appealing and dynamic image.
Smoke can be used to add a sense of drama and depth to food photography. Dry ice or liquid nitrogen can be used to create smoke, which can be placed around or under the food to create a smoky atmosphere. Alternatively, a smoking gun can be used to add smoke to the food itself, giving it a charred or grilled appearance.

Photo by Carlos Damian
Steam can be used to create a sense of warmth and freshness in food photography. This effect can be achieved by placing hot water or broth in a shallow pan and then placing the food on top. As the hot liquid evaporates, steam will rise up and create a visually appealing effect.
Bubbles can be added to a glass of soda to create an astonishing photo, you can use carbonation tablets, or club soda to a glass of soda to create bubbles.
Image by Markus Distelrath from Pixabay
-
Decide the lighting type to use
Good lighting is crucial for food photography, as it can make your subject look more appetizing and bring out the colors and textures in your food. There are several types of lighting you can use for food photography, including:
- Natural Light: Natural light is a great choice for food photography because it can create a soft and natural look. It is best to use natural light during the day when the light is consistent and not too harsh.
Shooting near a window with natural light can create a soft, flattering look in your photos. Try diffusing the light with a sheer curtain or white sheet to create an even softer light.
The pros of natural light are that it is free, easily accessible, and can create beautiful results. The cons of natural light are that it can be unpredictable, and it may not be available at all times.
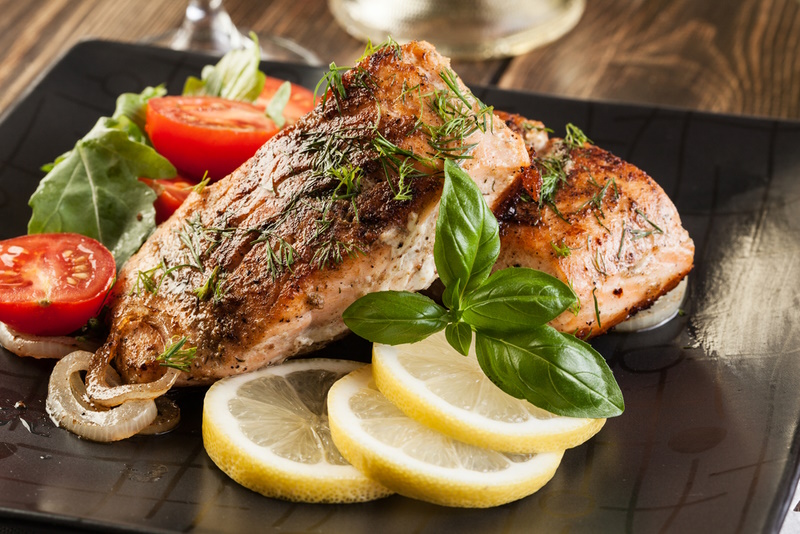
Photo by Depositphotos
- Artificial Light: Artificial light is a popular choice for food photography because it is consistent and can be controlled. There are several types of artificial lights you can use, including continuous lights, strobe lights, and LED lights.
Continuous lights are great for beginners because they allow you to see the results in real time. Strobe lights are more powerful and can freeze motion, making them a great choice for action shots. LED lights are energy-efficient and can be easily adjusted to create different effects.
The pros of artificial light are that it is consistent, controllable, and available at all times. The cons of artificial light are that it can be expensive, and it may take some time to learn how to use it effectively.
To enhance the quality of both natural and artificial light, it is recommended to diffuse the light using light modifiers. Diffused light is a type of lighting that creates a soft and even look. It is achieved by placing a diffuser between the light source and the subject or using a reflector to bounce light onto the food.
Diffused light is great for food photography because it can eliminate harsh shadows and create a more natural look.
-
Use a Tripod
Using a tripod is important in food photography for several reasons, primary, it helps you to achieve sharper images by reducing camera shake. This is particularly important when shooting at slower shutter speeds or with longer lenses, which are more prone to camera shake.
By using a tripod, you can eliminate the slight movements that occur when hand-holding your camera, resulting in sharper and clearer images.
Secondly, it gives you greater control over your camera settings. With your camera securely mounted on a tripod, you can take the time to adjust your settings carefully and make small changes without having to worry about holding the camera steady.
In addition, it allows you to experiment with longer shutter speeds or multiple exposures, which can help you create more creative and dynamic images.
Finally, it allows you to keep your camera steady and in the same position throughout your shoot. This means that all of your images will be consistent in terms of framing and composition, which is particularly important if you are shooting a series of images that will be used together.
-
Focus on the details
Focusing on the details is important in shooting food photography because the visual appeal of food is largely dependent on its texture, color, and presentation. Details such as the texture of the food, the way the dish is plated, and the use of props and lighting can make a significant difference in how appetizing the food looks in the final image.
Photo by Depositphotos
Additionally, food photography often serves a commercial purpose, such as promoting a restaurant or food product. In these cases, the details can make or break the image’s effectiveness in selling the product or enticing customers to visit the restaurant.
By paying close attention to the details, a food photographer can create a more visually appealing and effective image that captures the essence of the dish and encourages the viewer to engage with it. This can ultimately lead to greater success for the photographer, the client, and the product being promoted.
-
Use a shallow depth of field
When you use a shallow depth of field, you are essentially selecting a small area of the image to be in sharp focus while the rest of the image is blurred out.
Photo by Valeria Boltneva
This technique is particularly effective in food photography because it draws the viewer’s attention to the most important element of the image – the food itself. By blurring out the background and other distracting elements in the image, you can create a clean and visually appealing composition that emphasizes the texture, color, and shape of the food.
A shallow depth of field can also help to create a sense of mood or atmosphere in the image. For example, by using a wide aperture to create a very shallow depth of field, you can create a dreamy, soft-focus effect that adds a sense of romance or nostalgia to the image.
-
Mind the white balance setting
White balance is an important aspect of food photography that determines the accuracy of the color temperature in your images. Different lighting conditions can affect the color temperature of your images, making them appear too warm or too cool.
To adjust the white balance in your food photographs, you need to take into account the lighting conditions and color temperature of the environment. You can do this by manually adjusting the white balance settings on your camera or by using a software program to adjust the color temperature of your images after they have been captured.

Photo by BULBFISH
For example, if you are shooting in warm, incandescent lighting, you may need to set your camera’s white balance to “tungsten” to cool down the image and remove the yellow cast. Conversely, if you are shooting in cool, fluorescent lighting, you may need to set your camera’s white balance to “fluorescent” to warm up the image and remove the blue cast.
By adjusting the white balance in your food photographs, you can create images that look more natural and appetizing, which can make your food look more enticing and increase your chances of getting noticed by potential customers or clients.
-
Experiment with different angles
Experimenting with different angles is crucial in food photography as it can completely change the way the food is presented and perceived by the viewer. Experimenting with different angles can help you create a variety of interesting and engaging compositions in your food photography, and can help you find the angle that best showcases the unique qualities of each dish.
Here are a few angles you can try when shooting food photography:
- Overhead angle: This is also known as a “flat lay” and involves photographing the food from directly above. This angle is particularly effective for shooting plated dishes, as it shows off the entire composition of the dish and can highlight different textures and colors.

Photo by Engin Akyurt
- 45-degree angle: Shooting from a 45-degree angle can add depth and dimension to the image. This angle is particularly useful for capturing dishes with multiple layers, as it can show off the different components of the dish.
- Eye-level angle: Shooting from eye level can create a more intimate and personal connection between the viewer and the food. This angle can be particularly effective for capturing handheld dishes such as burgers or sandwiches.
Photo by Jonathan Borba
- Low angle: Shooting from a low angle can create a sense of drama and grandeur, particularly when shooting tall or stacked dishes such as cakes or layered desserts.
-
Shoot in RAW format
Shooting food photography in RAW format is better than shooting in other formats such as JPEG because it allows you to make adjustments in post-production without sacrificing image quality.
It is important to shoot in RAW file format for the following reasons:
RAW files contain all of the image data captured by the camera’s sensor, which provides greater control over editing the image in post-production. You can adjust the exposure, color balance, sharpness, and other settings without losing image quality.
RAW files retain more image information than JPEG files because they are not compressed. This means that you can recover more detail in the shadows and highlights that would be lost in a JPEG file.
Also, RAW files allow you to adjust the white balance after the fact, which can be particularly helpful in food photography where the colors of the food are essential to the overall look and feel of the image.
Finally, Shooting in RAW format can produce higher-quality images than shooting in JPEG format because RAW files have a greater bit of depth and more color information, which can lead to better image quality.
-
Edit your photos
Editing food photography photos is an essential step in creating visually appealing and appetizing images that will grab the viewer’s attention and evoke a sense of desire for the food.

Photo by Depositphotos
Here are some reasons why editing food photography is so essential:
- Correcting exposure and color: In some cases, the lighting conditions may not be perfect when capturing food images. As a result, the exposure and color of the image may not be accurate. Editing the image can help correct these issues, ensuring that the food looks as vibrant and appetizing as possible.
- Improving composition: Editing can help you adjust the composition of the image by cropping or resizing the image to highlight the main focus of the shot.
- Enhancing details: Editing can help to bring out the texture and details of the food, making it look more appealing and appetizing. This can be done through techniques such as sharpening and contrast adjustments.
- Removing distractions: Sometimes, there may be unwanted elements in the image, such as a distracting background or an unappetizing blemish on the food. Editing can help you remove these distractions and create a cleaner, more polished image.
- Brand consistency: For food photographers working for clients or businesses, editing can help ensure consistency in their brand’s visual style across different images and platforms.
Frequently asked questions and their answers about food photography
Q1: What equipment do I need for food photography?
A DSLR/ mirrorless camera, a tripod, a selection of lenses, diffusers, reflectors, and props for styling your shot.
Q2: What lighting is best for food photography?
Natural light is often the best option as it produces softer, more natural-looking images. However, if you’re shooting indoors, you may need to use artificial lightings such as softboxes or diffused light sources.
Q3: How do I make food look appetizing in photos?
Use fresh, high-quality ingredients, choose a visually appealing plate or background, style your shot carefully, and experiment with angles and lighting to create depth and texture.
Q4: What are some common food styling techniques?
Some common techniques include adding garnishes or toppings to the dish, using props such as cutlery or tableware, creating a sense of motion by adding steam or movement to the shot and playing with colors and textures.
Q5: How do I achieve a shallow depth of field in food photography?
Use a wide aperture (low f-stop number) to create a shallow depth of field and blur the background, making the food the focal point of the shot.
Q6: What are some common mistakes to avoid in food photography?
Avoid using harsh lighting or flash, overcomplicating your shot with too many elements, using props that clash with the food, and not paying attention to details such as messy plates or poor composition.
Q7: How important is editing in food photography?
Editing is a crucial step in food photography as it allows you to adjust colors, brightness, and contrast to enhance the overall look and appeal of the shot. However, it’s important not to over-edit or alter the natural appearance of the food.
Q8: How do I make food photos stand out on social media?
Experiment with different angles, lighting, and props to create unique and eye-catching shots. Use hashtags and captions to engage with your audience and share your knowledge and passion for food.
Q9: How do I shoot food on a budget?
You don’t need expensive equipment or props to create beautiful food photos. Use natural light and simple backgrounds such as white plates or wooden boards. Experiment with different angles and use household items such as paper or fabric to create diffused lighting.
Q10: How do I get started with food photography?
Start by practicing with simple dishes and ingredients, and experiment with different lighting, angles, and styling techniques. Learn from other food photographers and study their work to gain inspiration and knowledge. Above all, have fun and enjoy the creative process!
Conclusion
Food photography is an important genre of photography, to do it professionally, you need a camera, tripod, lenses, diffusers, reflectors, and props.
Natural light is best, but artificial lighting can be used for capturing food. To make food look appetizing, style carefully, choose visually appealing backgrounds, and experiment with different shooting angles and lighting. Common styling techniques include adding garnishes, using props, adding motion, and playing with colors and textures.
Mistakes to avoid include harsh lighting, cluttered shots, clashing props, and poor composition.
Related posts
The Best Food Photography Backdrops
Thanks for reading, I hope you enjoyed the article, in case you have any questions just drop them below & I will be happy to answer you.
The featured photo by depositphotos
If you enjoy the site, don’t forget to subscribe, we will only inform you when a new article is posted.


Although not directly related I recently watched a video on how they film food commercials and I was shocked by how much money and technology goes into making food look as it does in commercials. So I totally understand what you mean in this article and how important it is a good and professional photo compared to an amateurish one. It can make a huge difference with consumers. So the advice you give surely will help anyone who wants to make a difference in this field.
Thank you for the feedback
Thanks a lot for this valuable and comprehensive post about Food Photography Tutorials. This is actually a very important post. Because today food is a very popular topic in social media. I think in this post you have shown how to do food photography professionally. Keep posting like this. I definitely share this
Thank you for the comment