

Since light is a major aspect of any photo, so it is very important to have options to change and manipulate that light to get the best shot. Using a light reflector is a cheap and easy way to add another light source to your photo. Most professional photographers consider the reflector as a must-have accessory for studio portrait photography and even, it is a handy tool for outdoor photography.
What is a reflector?
It is a piece of reflective material to bounce light in a certain direction; the bouncing light has a much softer quality. This piece of material usually has a metal frame to keep it rigid enough to facilitate angling the reflector to a specific direction and control the direction of the bounced light.
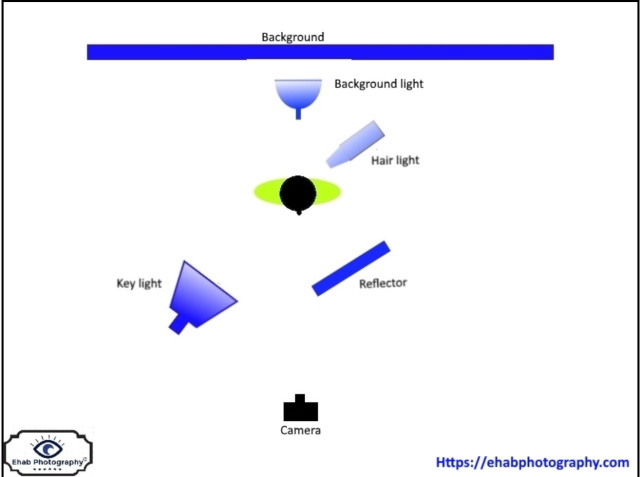
It has many uses, in a studio setting, reflectors are often used as fill lights, bouncing back the spill from a key light in order to lower the lighting ratio on a subject, and control the contrasts in the image with nice soft light. An example of a light setting in-studio portrait photography is shown below
In addition, it can be used outdoors to bounce sunlight back at a subject

How to choose your reflector?
The market of reflectors is full of many types with different shapes, sizes, colors, and features. Let us discuss how to choose your reflector
-
Reflector Size
Generally, the larger a reflector Size is, the softer the light it produces. A larger reflector creates a softer transition between the light and dark areas of an image, the shadows become less noticeable, and a larger reflector tends to be more flattering for all skin types.
Another important aspect when choosing a reflector, you need to pick up a reflector of a slightly larger size than the subject does. For example, a 45-inch light reflector will work for one or two people, but not for large groups. A rough guide for choosing the right reflector size is shown below for portrait photography:
- Headshots: 20” to 30”
- Headshots to ¾ body: 30” to 40”
- Full body and/or group shots: 52” or even up to a 48” x 72”
However, you have to keep in mind that the larger the light reflector is, the harder it is to handle and hold it without extra hands in outdoor photography.
-
Reflector colors
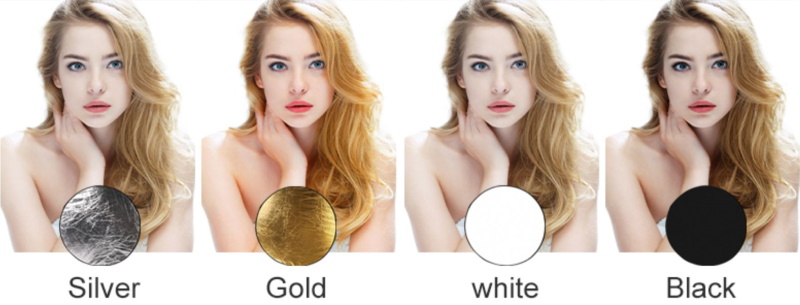
- Silver Reflectors
The silver reflector reflects most of the falling light, and it doesn’t alter or change the color of the light. It is commonly used in portrait photography studios
- Gold Reflectors
The gold color of the reflector reflects and amplifies the hue of the falling light, and it creates a warm colorcast. It is best used outdoors photography.
- White Reflectors
The white reflector doesn’t catch and bounce back as much light as the silver reflector, and it does not introduce any colorcast. That is why it is commonly used in product photography. If are using the reflector for both inside and out, it is your best option.
There are the two other reflector colors, but they aren’t technically reflectors:
- Black
It is used as a flag to block light or can be used to subtract light, especially in harsh light situations.
- Translucent
Translucent fabric is used to diffuse light, producing a broad light source and a soft effect. The reflector is usually held directly above the subject to soften the sun’s natural light. It will always go between the light source and the subject.
-
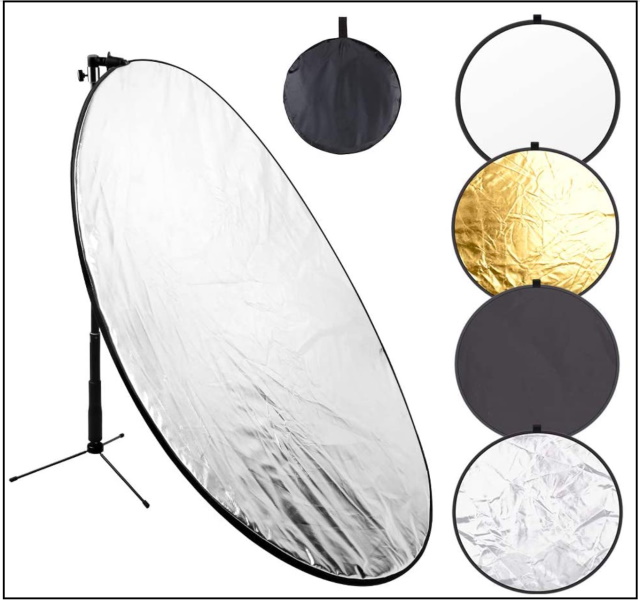
Reflector Shape
There are several different shapes of light reflectors available: round or circular, square or rectangular. Some photographers prefer square reflectors to round reflectors, not only because they are easier to grip, but because they also have more surface area (up to 15% more). Some other photographers, however, find round reflectors easier to hold when working alone on location. Finally, the shape of the reflector will change the shape of the catchlights in a portrait.
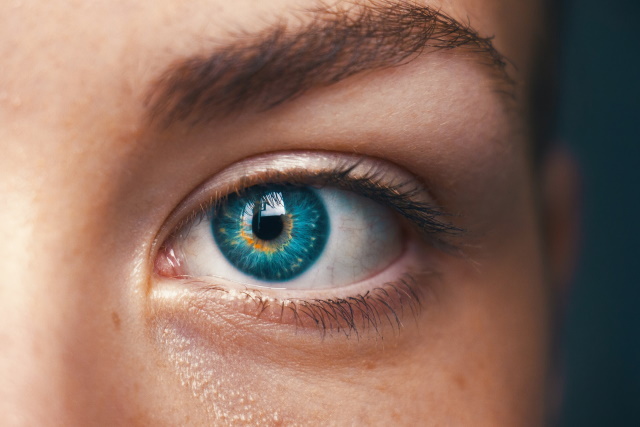
Photo by Amanda Dalbjörn on Unsplash
-
Reflector support and fixation
Although the size and color are the biggest factors in how they affect your images, there are some other factors to consider when choosing a reflector, you should think about how you are going to fix and hold your reflector in place, and how easy you can change its angle. There are many accessories to choose from, just pick the right one for you, and you may check my recommendation at the end of the article.
Tips for using a reflector
Using a photography reflector is straightforward, just hold and direct it at an angle that reflects the light to where you want it. Watch how the light changes as you adjust the angle, and find the angle that works the best for your shot. However, there are a few tips to getting the most from a reflector.
-
Use a reflector to fill in shadows
The primary use of a reflector is fixing odd shadows. For example, if the light is coming from behind the subject, using a reflector directly in front of the subject will help prevent a silhouette. If the light is coming from one side, using a reflector on the opposite side will help fill in the shadows. It is common to use a reflector placed on the ground in front of the subject to fill the shadow under the chin and nose in portrait photography.
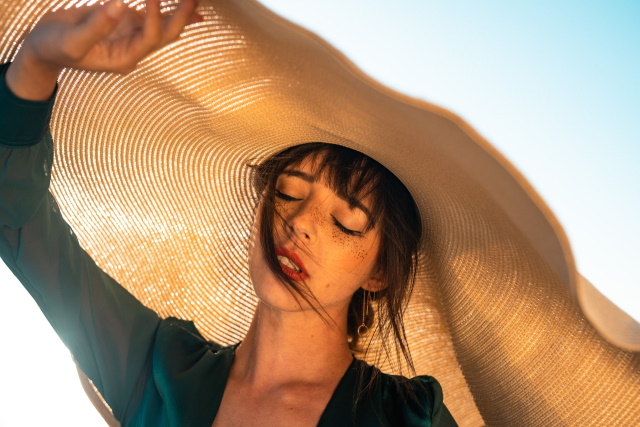
Photo by Alexander Stemplewski from Pexels
-
Position the reflector directly opposite the key light source
Positioning the reflector directly opposite the key light source, allows you to get most of the reflected light to your subject. If required, you can get less reflected light from other angles and positions.
A reflector can also be used as a key light, or main light. In other words, the reflected light is what is lighting your subject. In this instance, it’s best used more or less opposite where the light is coming from.
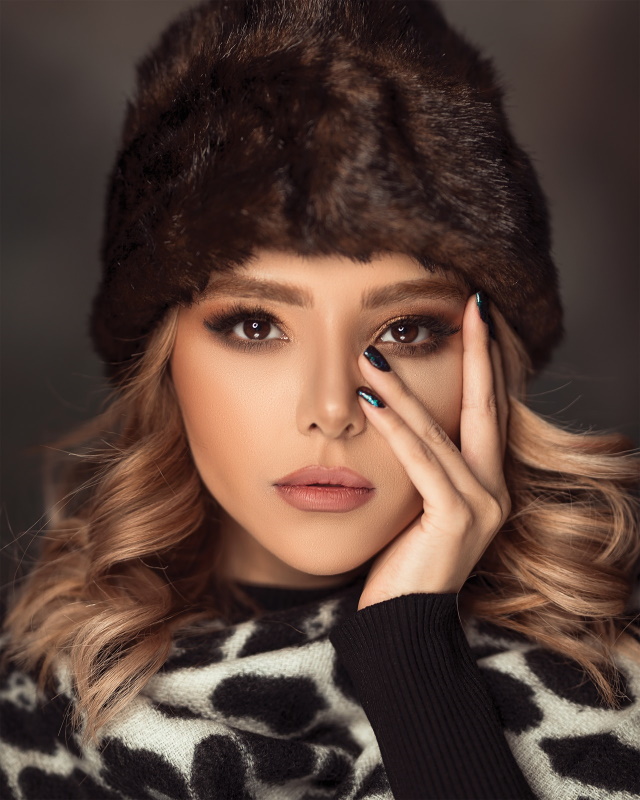
Photo by Ali Pazani from Pexels
-
Use the reflector to absorb or block the light
If you have an excessive light bouncing into your shot and you don’t want it there, you can use a reflector with black color to block the light. An example would be if you are shooting in harsh light, and there is too much light bouncing off a reflective surface, such as water, glass, or metal.
-
Use the reflector as a light diffusion
The translucent screen is a diffuser, as opposed to a reflector, as it diffuses the light hitting your subject to avoid harsh shadows. It’ll soften sunlight by a 1/2 stop.
-
Mind the distance between the reflector and your subject
The closer your reflector is to your subject, the stronger the reflected light will be. So try to experiment with different distances.
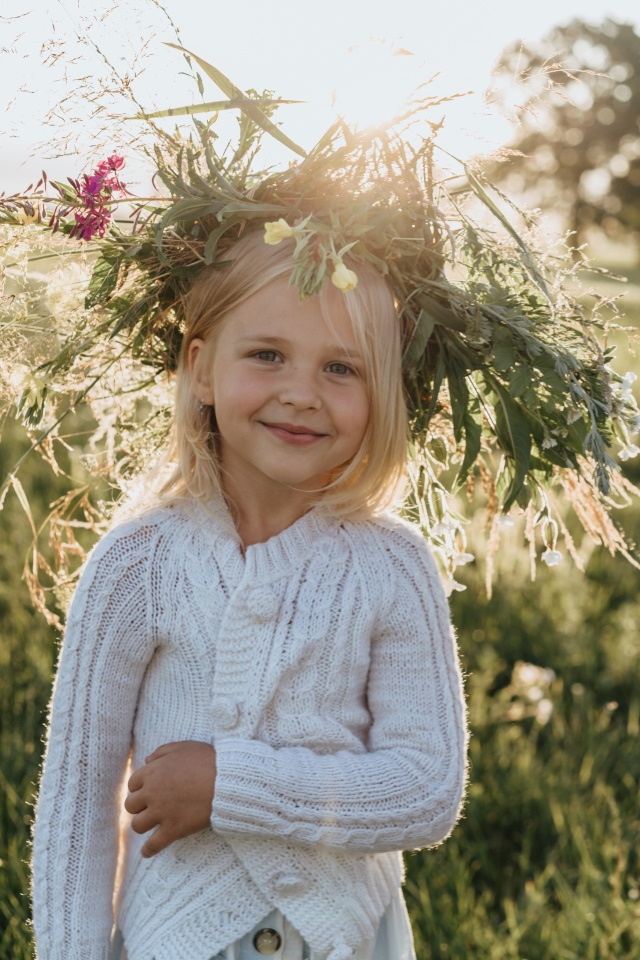
Photo by olia danilevich from Pexels
Recommended Reflector & accessories
24″ (60cm) 5-in-1 Photography Reflector

Product Highlights
- 5-In-1 lightweight reflector: Gold, silver, white, black, and translucent
- Gold: warms up the picture; Silver: brightens the picture; White: bounces light into shadows; Black: blocks out unwanted light
- Collapse multi-disc light reflector into a portable size for travel or storage, best for photographers on the go
- This photography reflector comes with a 10-inch durable zippered carrying pouch
- Note: Etekcity 5 in 1 lighting reflector includes one translucent panel with four-color covers that provide five photography effects, not five respective reflectors
Aluminum Light Photography Tripod Stand
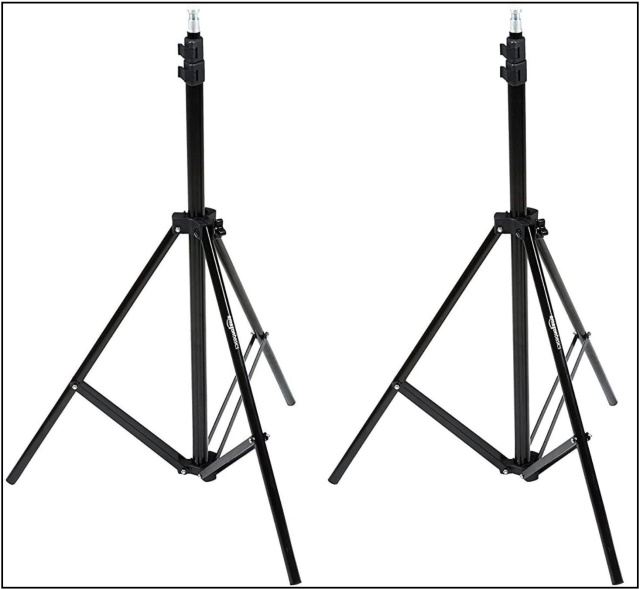
Product Highlights
- Set of 2 7-foot light stands with adjustable height (2.8 to 6.7 feet); ideal for photo studios or on-location photoshoots
- 1/4-inch screw tip; can hold standard lights, strobe flashlights, and backgrounds
- Made of strong yet lightweight aluminum with a sleek black finish
- 7-pound maximum load capacity (each); folds down to 2.2-foot size for easy portability and compact storage
- 2 carrying cases included; backed by an Amazon Basics limited 1-year warranty
Telescopic Reflector Holder
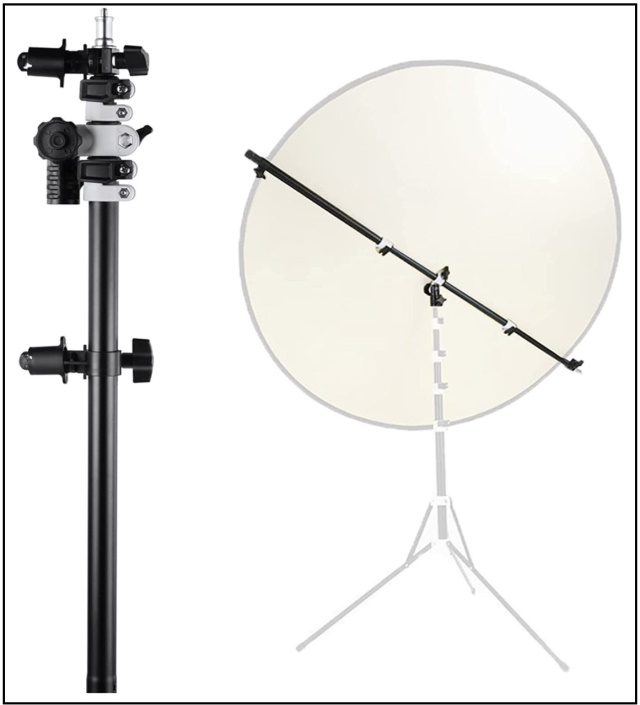
Product Highlights
- Multifunction: Dual-purpose retractable reflector bracket. Can be used as a reflector bracket, and reinforcement threads can be used to support flash, ring lights, video lights, etc.
- Telescopic Length: With its length of 21.65 inches and a fully extended length of 53.15 inches. Strong and durable can behold large-size photo reflectors.
- Heavy Construction: The reflector holder is made of aluminum alloy casting. It has a reliable load capacity, making you feel free while shooting.
- 360-Degree Rotation: This can be rotated 360 degrees, bringing you a splendid user experience.
- Satisfaction Guarantee: 100% satisfaction guarantee and lifetime friendly customer service.
Conclusion
Although reflectors are relatively cheap when compared to other lighting sources and modifiers they can often yield similar or superior results, plus they’re easier to use. Just remember the guidelines I shared above, and keep practicing, and you will be amazed of the results.
Related posts
What are the Different Types of Light in Photography?
Photography Lighting Techniques- Portrait Lighting Setup
Photography Lighting Techniques- All about Light Reflectors
Thanks for reading, I hope you enjoyed the article, in case you have any questions just drop them below & I will be happy to answer you.
If you enjoy the site, don’t forget to subscribe, we will only inform you when a new article is posted.


Thanks for sharing informative article, I really like this post.
Thanks for the comment
In preparation for a photo session, I’m performing tomorrow in bright light; this was quite useful and had precisely the correct amount of examples and information. A big thumbs up!
Thank you for the comment
My brother is a photographer and also uses these reflectors. It’s amazing the difference they make to a photograph. I never knew there were so many to choose from though. You mention the white reflector for product photography and I have seen him use one for when he shoots photos for advertising.
He would be interested in your article so I will share it with him.
Louise
Thanks, Louise
Now that I know about reflectors, I am going to start using them in some of my personal pictures. Your guide is very helpful in teaching us about various types of reflectors, and how to choose our reflector size, color, and material for photos. Have bookmarked and shared your guide on social media.
Thank you for your comment