

Bird photography is rather a specialized type of photography. In old days, bird photography was reserved for photographers who are willing to spend a fortune. However, with the advent of relatively inexpensive super-zoom lenses from Sigma and Tamron, it is much easier to get into bird photography these days.
In this article, I will give you a bird photography steps by step guide. I will talk briefly about gear but will focus more on the techniques for capturing great images of birds.
About your camera gear
Camera gear is the most important part of wild bird photography. If you want to shoot wild birds, prepare yourself to invest in a fast DSLR camera and one or more telephoto lenses.
You need a fast camera that has a shutter speed of at least 1/2000 of a second and is capable of shooting at 6 to 9 frames per second. And have a good autofocus system for quick focus acquisition.
The most important thing to keep in mind is that the speed of focus acquisition both on camera and on lenses is far more important than only the frames per second.
If you are considering purchasing a new lens for your bird photography, a lens with a focal length of at least 400mm will allow you to get some great shots They are called Telephoto lenses. Most professional bird photographers like to use lenses with focal lengths of 400mm, and even more (800 mm). You may check my post “Best Telephoto Lens for Canon”
Also, keep in mind that a lens with IS (Image Stabilization) is a plus.
Remember that crop factor will work in your favor if you are not using a full-frame camera. If you are shooting with a Canon APS-C sized sensor camera, you can take advantage of a 1.6 crop factor. That means a 400mm lens becomes equivalent to 640mm on a full-frame camera.
A tripod will make capturing sharp images much easier, Long lenses can get heavy especially in low light situations requiring longer shutter speeds. You will also find that it is simpler to track birds in flight from a tripod, as your panning motion will be smoother.
The Step by Step Guide
Setting up your camera
A good starting setup for your camera can be listed in the below points, but I recommend that you check my post about CAF and zone focusing system >>HERE<<
- Use Aperture Priority or Shutter Priority mode.
- Use continuous autofocus mode like AI-Servo (for Canon).
- Use burst or high-speed continuous modes.
- Use a zone-focusing system and select a 9-point or 21-point zone. This helps to keep the focus tight on the bird.
- Birds move quickly, this means you’ll want to use higher ISO settings for bird photography than the normal setting. Use ISO-400 for action shots. If your camera is too noisy at ISO 400, try to avoid shooting in low light conditions.
Pick up the best shooting time
The best time for photography is either during the early morning or late afternoon. It is all about the quality of light, during these periods of the day the light quality is soft. Soft light is the best light for bird photography because:
- It casts soft shadows on the bird creating a subtle depth.
- It has a golden glow during dawn and dusk.
- It helps to bring out the beautiful colors.
Luckily the same time is the best for birds. Early morning is typically the best for bird photography because birds actively look for food for themselves and their youngsters.
Choose the Light direction
The light coming from the main source (the Sun) towards your subject can take many directions, the following is various possible types:
The front light is the most favorable light for bird photography. It’s an ideal light to showcase the beauty of the bird. Front lighting illuminates the subject as they face one another. It also gives more predictable results by lighting the entire subject straight on; also you will get fewer shadows. Try to position yourself with your back towards the sun. Sometimes having the sun to the far left or right is OK, but having it behind you will give you the best light.
Sidelight is the least favorable light. It casts an unwanted shadow on the bird.
Backlight leads to creative photographs. It is helpful in creating silhouettes. It also helps in creating a halo (rim-light) around the bird giving it an angel look. This also helps to separate the bird from its background.
Locate your birds
Now you need to find birds to photograph. I recommend starting with the most common and local birds such as finches, sparrows, and robins that are used to people and do not mind cooperating with and even posing for photographers.
You need to know more about birds, their way of feeding, mating and nesting habits. Find out what birds are common to the area you plan to be shooting in and take some notes about when and where to expect them. If you’re out to capture specific birds, read about them. Understanding their habits increases the chance of getting close to them and anticipates their movement and flying.

Let them come to you.
Many newbie photographers will try to get close to their subjects. It’s often much more effective to just make yourself comfortable and wait patiently for the birds to come to their natural habitat. Learn to be still and move slowly. If you frighten your bird but it doesn’t move far, give it a little time and it may return, especially if you’re close to its nest or feeding ground. You should Consider Wearing earth-toned, or at least don’t wear clothes with bright colors. Shiny objects like jewelry, eyeglasses, and even your camera gear can reflect flashes of sunlight that can spook entire flocks of birds, so eliminate what you can and find ways to cover the rest.
Use a blind whenever possible. One of the best blinds is your car and you could get pretty close to a bird without scaring it with your vehicle. Birds are generally not scared of cars and you could drive up fairly closely and take some amazing shots.
Be extremely patient& quite
Birds tend to ignore you when they are very hungry. It is very easy to photograph them in action at these times. But care should be taken not to disturb them. Maintain considerable distance between you and them. They become alert the moment you are in their sight. An alert bird is ready to take off anytime. So, you have to be patient. They have to be comfortable in your presence. Birds feel threatened when you approach them too fast directly. They also feel threatened when you look directly at them, as any other animal would.
At last, keep your noise to a minimum. Noise is hard to control if you are walking through bushes or if you have to step on fall leaves that create a cracking sound, so watch what you are stepping on and do it very slowly to diminish the noise.

Shoot many photos
Take a look at the first shot and make sure that it is sharp and in focus, then Shoot lots of images If everything looks good, I normally shoot the bird in bursts of 5-10 frames at a time. If you have a fast camera that can handle 5-6 frames per second it would be very helpful. I then go through them later and choose the best shots.
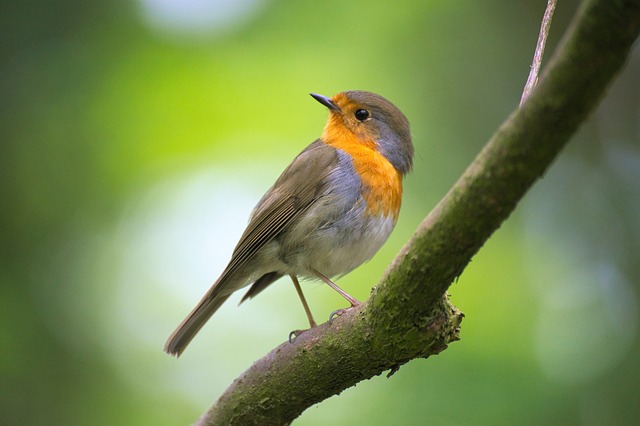
Photographing birds sitting on branches
For this type of photo, bokeh is a key factor in successful bird photography. However it is hard to control the bokeh simply because the bird will not let you walk around and plan your shot. But there are a few things you can do to achieve great bokeh. Make sure that there is a good distance between the bird and the objects behind it. The greater the distance, the better the background blur will be. Some photographers set up clear benches near bird hot spots or at their houses, which works great because they can set up feeders and take clear pictures of birds with a controllable background. If you want to know more about the bokeh effect, you may click >>HERE<<
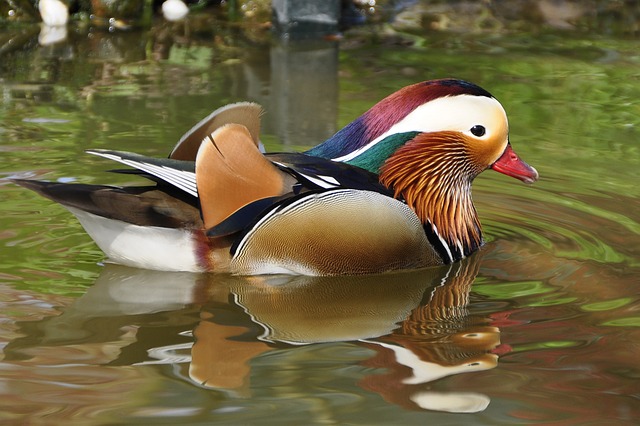
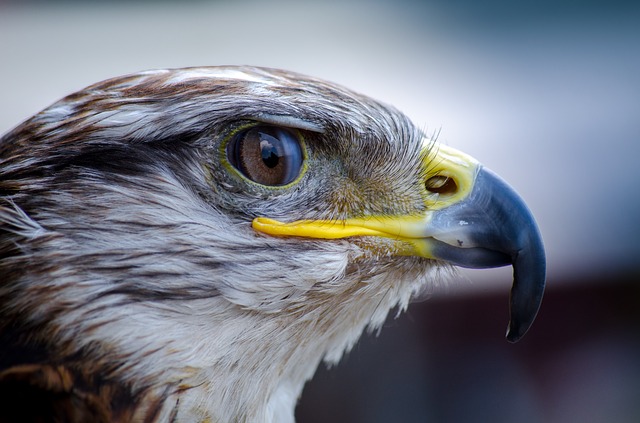
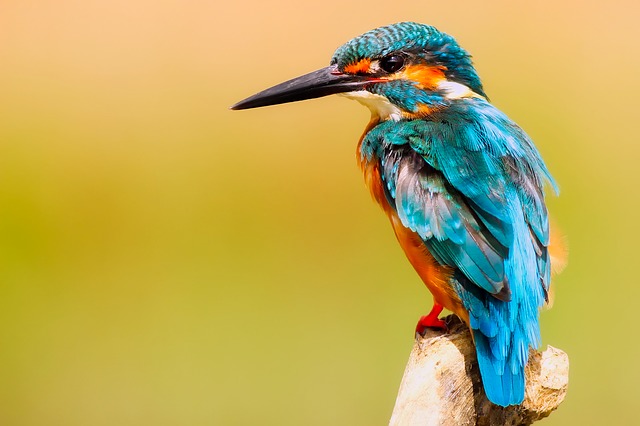
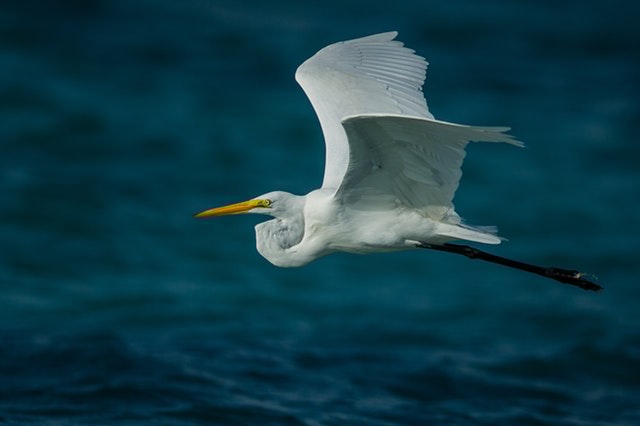
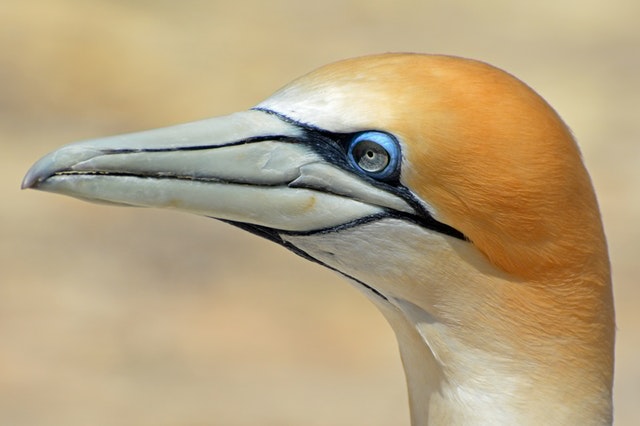
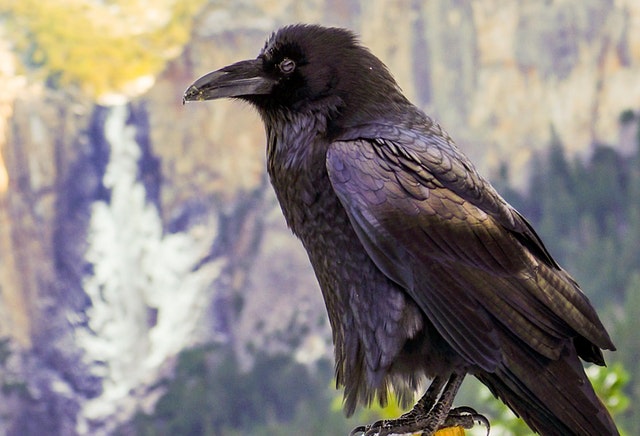
The following is a slideshow of some photos of birds


Photographing flying birds
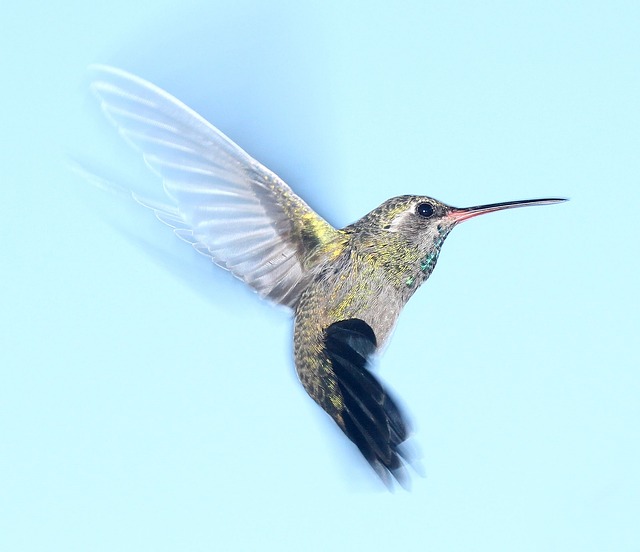
For birds in flight, high shutter speeds are required or the bird will look blurry. I find that a minimum shutter speed of 1/800-1/1600 for birds in flight works great for me, but in some cases, slightly lower shutter speeds are also OK, depending on the size of the bird and how fast it is flapping its wings. For example, to freeze this hummingbird in flight, I used a shutter speed of 1/1600 and even then, the wings look slightly blurred, just because the bird flaps wings faster than my shutter speed.
The following is a slideshow of some photos of flying birds


Post-processing
To have final breathtaking photos of birds, you should use your favorite photo editing software.
I use Adobe Photoshop Lightroom, CyberLink PhotoDirector 8 Ultra, also you can find some free software in my post The Free Photo Editing Software- The best 7 Software Packages
Photo cropping is an important part of editing bird photos. Because filling the frame with a moving bird is not always easy. Cropping helps photographers bring birds closer to the viewers and highlight them, rather than distracting the view by unwanted objects. However, if the bird is only taking 10% of the frame or less, cropping will produce a photo that can be used for the web only, but not for a large print.
Thanks for reading the article, hope you enjoy it and found it useful to you. If you have any questions, drop it in the box below and I’ll answer it as soon as possible.
If you like the site, don’t forget to subscribe, we will notify you if a new article is posted.
In case you like to see other types of photography, you can click this link ” The Different Types of Photography “, you will find 25 more types of photography.


Wow! That was a great tips! I love photography. And admiring those bird photos.
right now I’m still saving money to buy my first camera. Hopefully can buy it soon enough. Can’t wait to make my own shot after reading this.
Thank you for the article that inspired me a lot.
Hi, Satria
I’m glade that you liked the article, hope to see you again! and thanks for your nice comment.