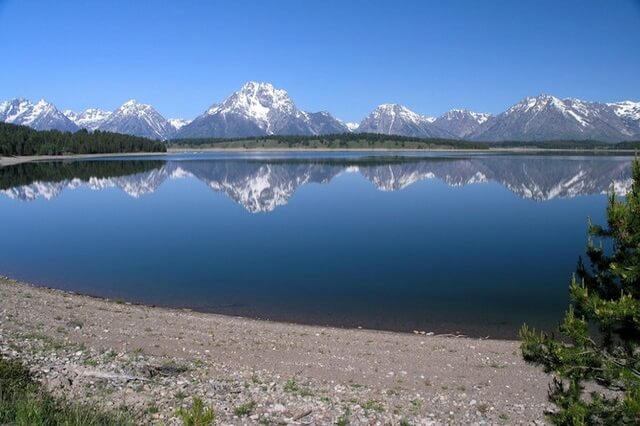
Reflection photography also referred to as mirror photography, can be considered as part of abstract photography art. It is about using reflective surfaces especially water to create an artistic echo of a scene. Water reflection photos are appreciated by many people but they are not easily achieved. This is because photographing reflections, especially on water, requires the use of manual camera settings. Also, there are a couple of things that you need to consider to capture the stunning mirror image of the water.
In this post, I gathered some useful tips to help you shoot better water-reflective images.
I recommend this book for those are photography beginners.
Photographing Water Reflections Tips
Find the perfect subject
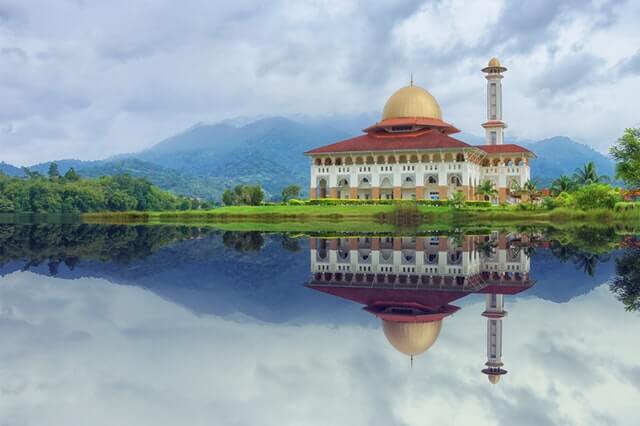
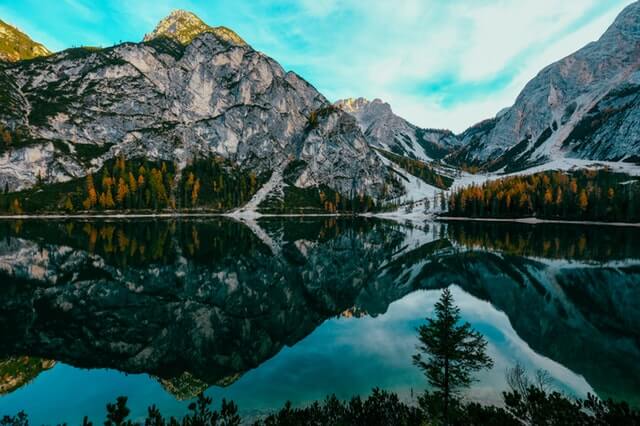
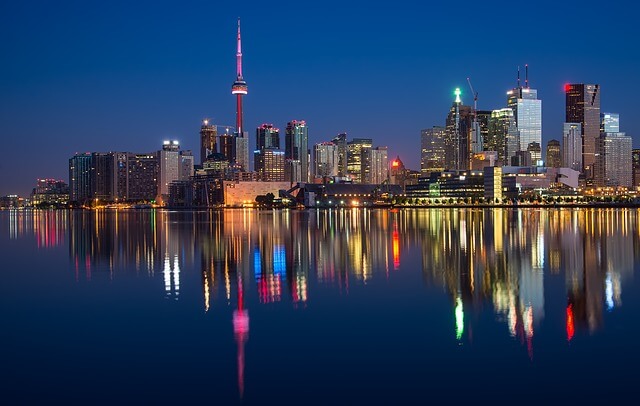
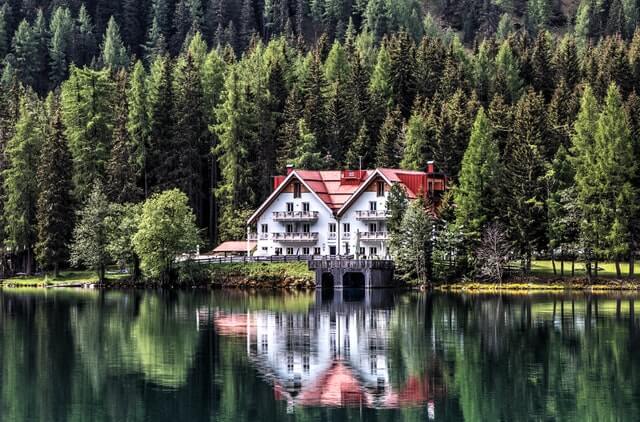
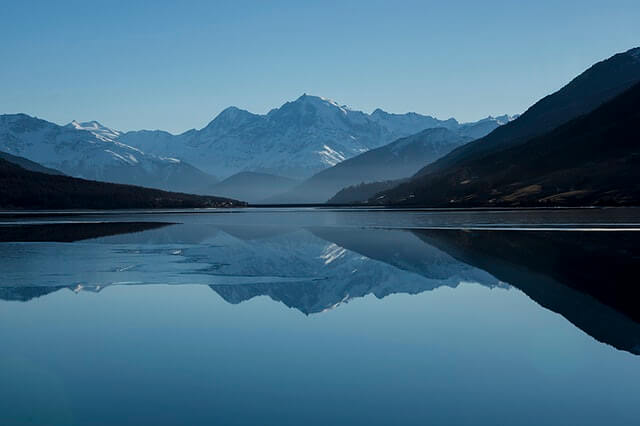
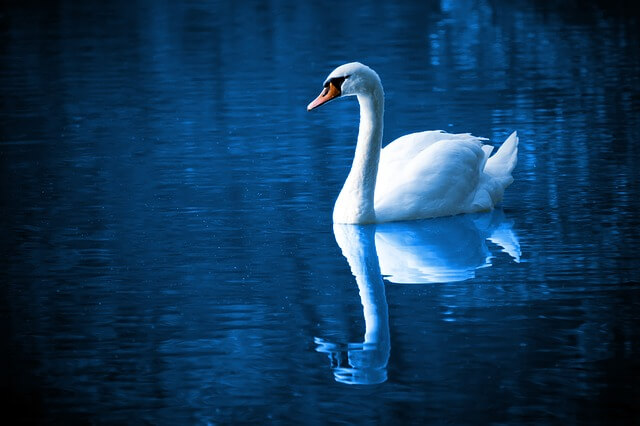
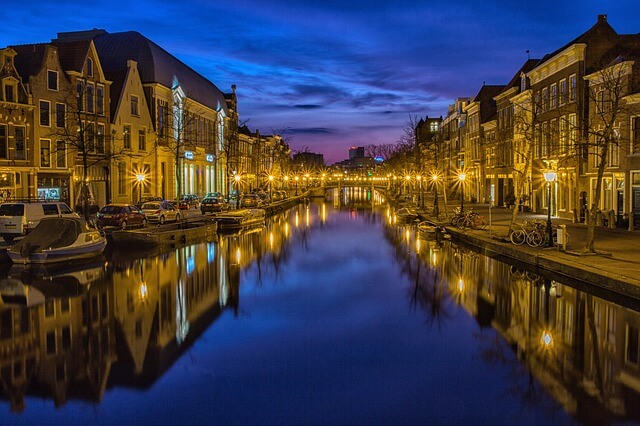
You should consider your image composition, by simply mind what is being reflected in the water. Subjects that look great in water reflections are forest landscapes, lights of the city skyline at night, mountains, birds, and waterfalls.
Calm water is a key parameter when considering the quality of the reflected images in the water. Calm lakes and rivers are good locations to catch amazing water reflection photos.
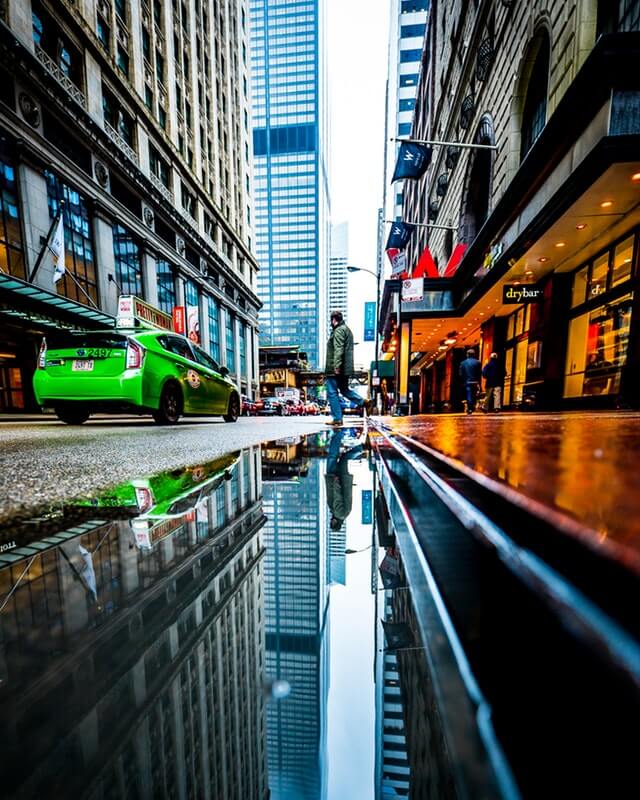
Even water reflections in those water puddles you find in the streets after the rain can give you great opportunities to catch wonderful water reflection photos.
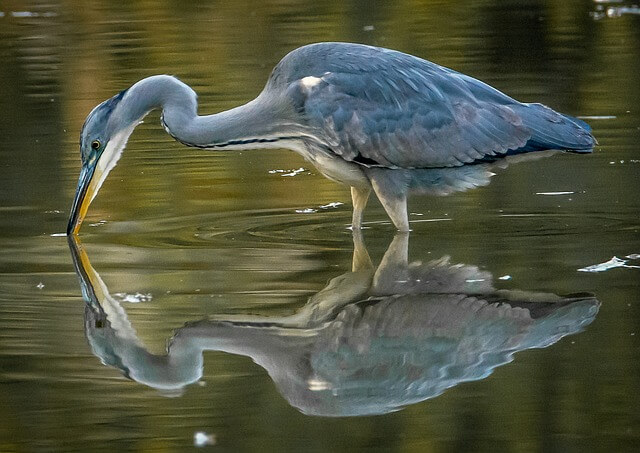
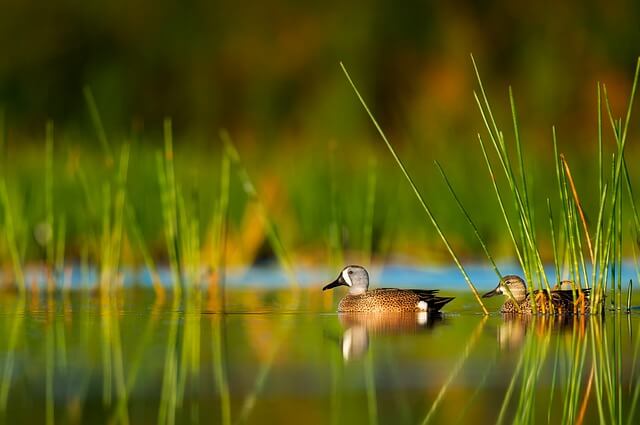
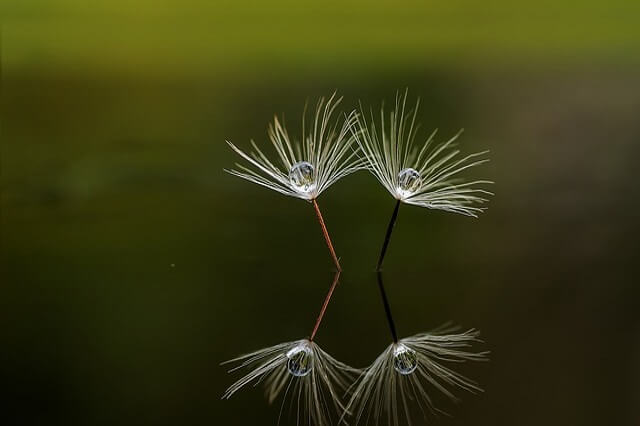
Taking close shots of subjects like birds and reeds or other grasses sticking out of the water and their water reflections can easily provide magnificent subjects for water reflection photography.
Shoot at the perfect time
-
During Calm Weather
To get the best-looking water reflection, the one that has the mirror image you are hoping to achieve you’ll want the water to be perfectly still. So it is advisable to shoot when there’s absolutely no wind at all, as it will cause ripples and blur the water surface.
-
When The Sun is Low
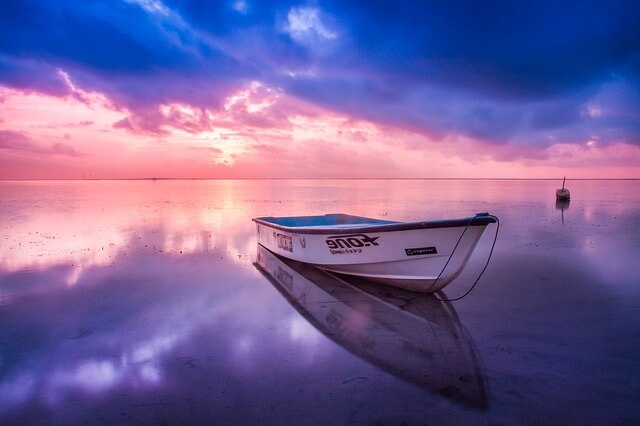
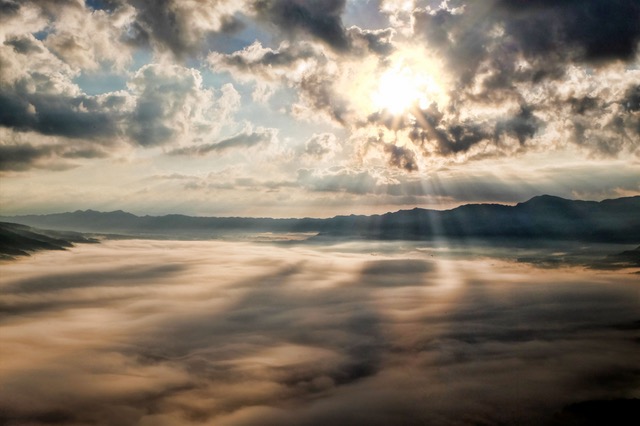
As a general photography rule, you should avoid shooting water reflections under bright sunlight, as this will give you glares from the sun and harsh shadows. Instead, try to shoot during the golden hours (shortly after the sun rises in the morning and late in the day before the sun sets down.) You’re more likely to capture better water reflection photos.
Also, during the blue hour, just before sunrise or after sunset, when indirect sunlight is evenly diffused, it is the best time of day as the light is less harsh and the water can be at its calmest condition. Shooting the city lights in the back of the water surface, and Just before nightfall approaches is a good subject. The special blue color of the sky at this time of day together with the light from the buildings produce dazzling photographs.
Consider the Point of View
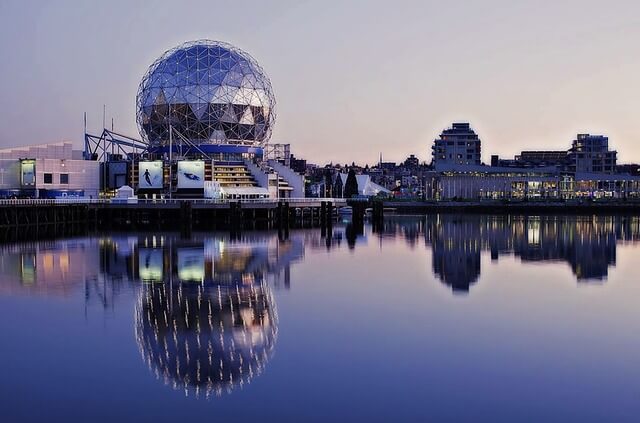
It is important to practice how to angle your camera in order to properly frame both the land and water. Landscapes are usually taken with the water reflecting an exact mirror image of the land elements above, so level and elevate your camera until you get equal amounts of the land on both surfaces.
Use the right gear
-
The right lens
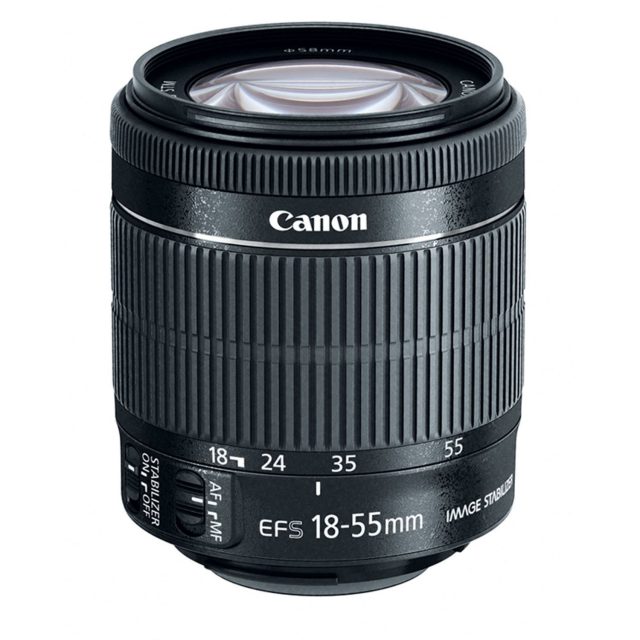
The choice of a Lens really depends on the subject matter, if you are shooting a landscape a wide-angle lens is the best choice while shooting a far bird or reeds sticking out of the water a telephoto lens is required. For the landscape lenses, I wrote a post named “Best Canon Lenses For Landscape – Top 5 You Need To Know”. And for the Telephoto “Best Telephoto Lens For Canon- The Full Guide”
-
Tripod
A good sturdy tripod is an absolute must when shooting landscapes, which is the main shooting subject to catch when shooting water reflections. It greatly helps you frame your shot steadily, position and angle your camera any way you want especially extreme low or high angles. It also allows you to take test shots of the exact same scene until you get the best shot.
-
Lens Filters
If you are taking slow shutter speeds shots during the day, and want to even the light to capture blurry and velvety smooth water you can use ND filters. It can still work beautifully for colorful reflections. Polarizing filters, on the other hand, will help cut some glare, make the skies appear bluer, and help you capture more vibrant colors in general.
Camera setting
-
Manual setting
Using automatic exposure settings may give you reflections that look darker than the actual look, so set your exposure point manually, and expose for the area of water where there’s no reflection.
-
Aperture
To bring out details and stronger reflections and to provide enough depth of field to keep everything in focus, you have to use a smaller aperture. You may use around f/11 or f/11 for landscapes or f/5.6 for smaller objects and area size.
-
Shutter speed
Use a fast shutter speed to avoid capturing the movement of the water ‘blurring’ the reflections too much and any other movement in the surrounding environment
-
ISO
Because you are using a smaller aperture and fast shutter, you may have to use a bit higher ISO value but try not to go above ISO 400 or 800 to avoid adding too much grain or noise to your image.
Focus on the Water reflection
As you properly use a small aperture, your entire image with the main subject and its water reflection that’s a lot closer to your camera the reflection will likely look sharp, and in focus.
If you’re planning to print large copies of your photos or you are forced to use a relatively large aperture, it is important to pay much attention to your focus point. Make sure you do focus on your reflections, this will ensure that the reflection is as sharp as possible in your photos. You may check my post “How to Focus and Recompose- Tips to Achieve Sharp Focus”. If your camera has a back focus option, use it, it is a convenient way to set your focus.
Thanks for reading, I hope you enjoyed the article if you have any questions just post them below & I will be happy to answer you.
If you enjoy the site, don’t forget to subscribe, we will only inform you when a new article is posted.





The photos here are amazing! Thanks for the tips on how to take water reflection photos. I enjoy photography, but haven’t yet found a situation like that where a body of water is still and calm enough to get a photo like this. The idea of using puddles, though, is something I hadn’t thought of. We don’t have many lakes around here, but when it rains, we sometimes have large areas covered in water. To take a water reflection picture using a puddle, would the camera need to be down pretty close to the ground?
Thanks for your comment, unfortunately, you don’t have calm and still lakes. It is necessary to have this condition to get sharp mirror reflections. Instead, you may try to use the long shutter speed technique and you may get amazing photos.
For your question about shooting reflections through a puddle, it really depends on your composition, how to frame the shot, and how high is your main subject. Try different view angles.
Thank you for this brilliant article on shooting pictures with a water reflection. I never knew there was so much involved in capturing the right picture. With this article, anyone will be able to take amazing pictures of water reflections. I am a novice when it comes to taking pictures and with your help, I feel that I can take amazing photos thank you again for this article.
Glad you like the article and thanks for your nice comment.
I learnt so much from this article, shooting at the perfect time, never knew there is always a perfect time to shoot in photography, shooting when the sun is low would be lovely, photography is beautiful. Using the right camera settings and the right gear will definitely bring out a beautiful image. Thanks for this article
Water Reflections Photography is a real beauty. I can never take photos like this.
Anyways this article has the best step by step instructions about taking a good Water Reflections Photography. It explains about the camera setting and a lot more about it.
It is a well written article and the instructions were easy to read and understand. Thank you so much for sharing this article.
Thanks for your comment