

One of the most important things for the e-commerce business is the quality of photos that are presented on the advertising website. Audiences to your store can’t see, touch or smell your products, but they can only visualize them throughout your product photos. The way you present your products online has a significant impact on sales. Low-quality product shots can easily destroy the desire of your consumers to even continue reading the rest of your post. On the other hand, beautiful shots will attract the audience and make them stick around for enough time to read the rest of what you are trying to say.
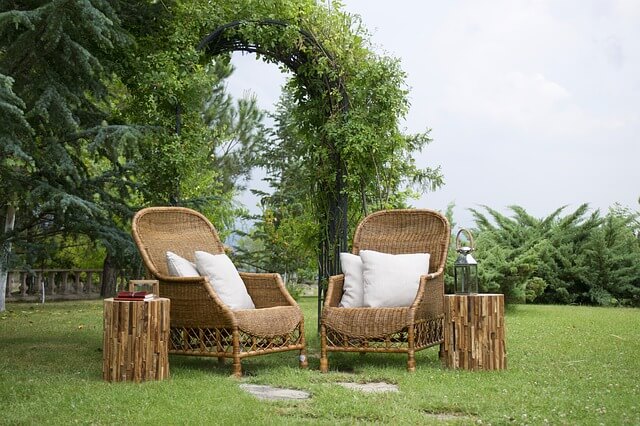
Product photography includes huge types of different products that are of varying sizes and weights. For the big size product, like furniture, chairs, and tables they are normally photographed outdoors with natural lights or indoors with the appropriate lighting system. This type of product photography is much like everyday shots.
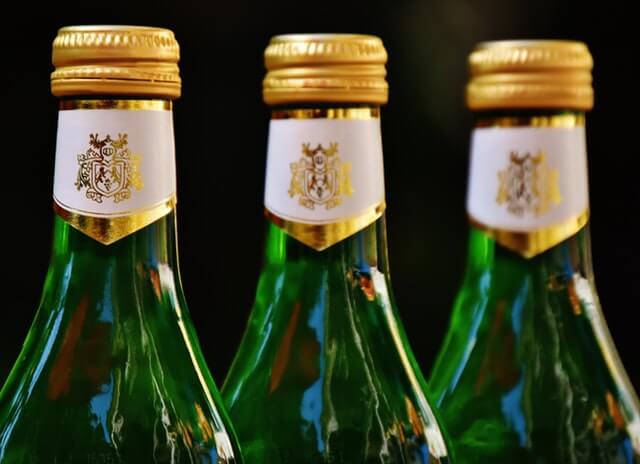
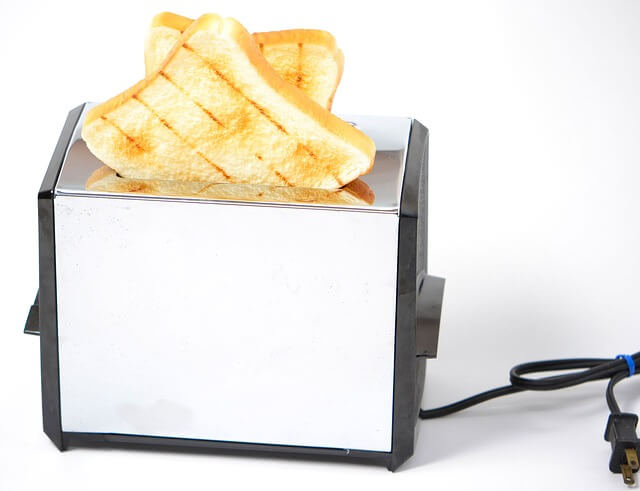
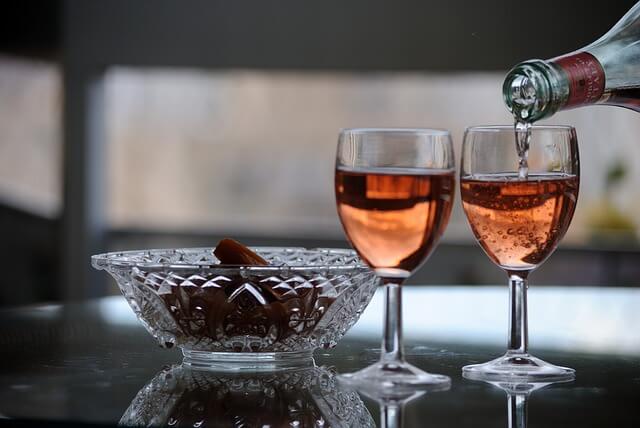
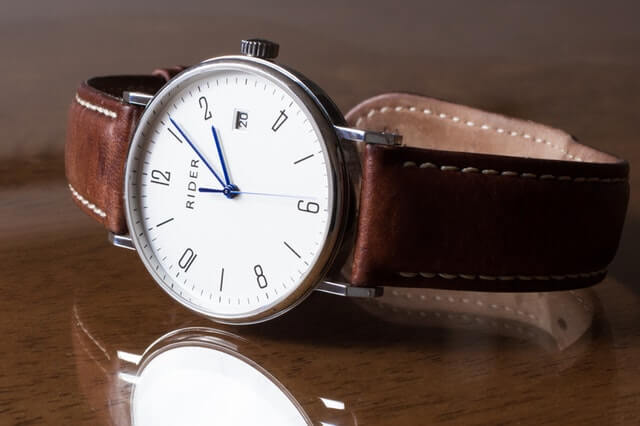
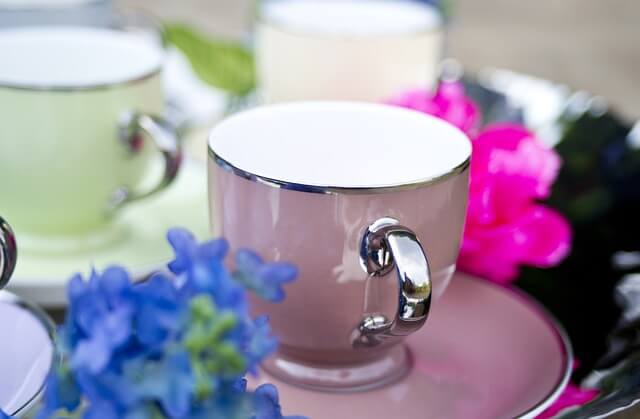
For the small and medium sizes product like watches, rings, wine bottles, ties, shoes, food, mobile phones, kid’s toys, and plates and cups etc., the challenge is how to provide a good and adequate lighting that produces photos without any shadows cast, and to shoot in macro to file the photo frame. The slide shows below show some product photos.


In this post, I’ll show you how to set up your own studio and shoot your own product photos in simple steps. You are going to learn how to save money on product photography and how to improve your store’s look and performance. I’ll also take you through some tips on how to optimize your product images for e-commerce so that you can increase your online sales.
Setting up your studio
Camera & Lens
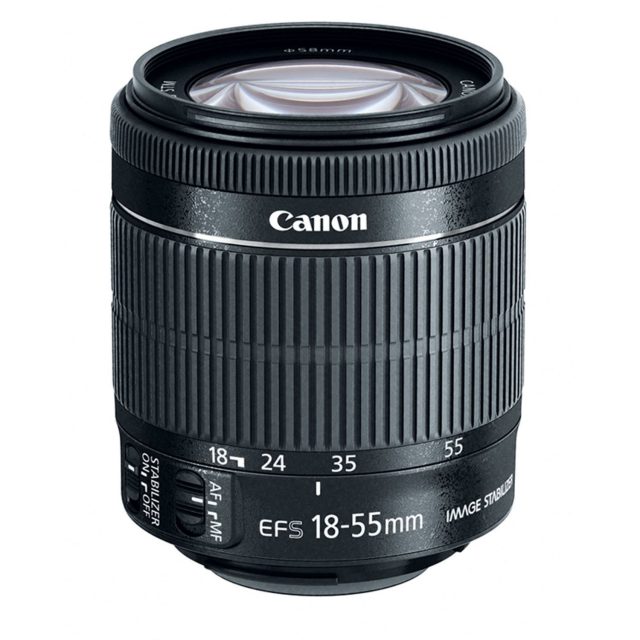
DSLR cameras are getting more affordable every year, so if you plan on taking lots of product photos, it may make sense to invest in a good digital camera. You may check my post >> Best Cameras For Product Photography<< The post reviews some Canon models that are perfect for most types of photography. As for the camera lens, be sure to invest in decent lenses. I normally use a Canon EF 50mm F/1.8 STM & Canon EF 100mm f/2 USM lenses which can accommodate mid-range and portrait work.
For some recommended lenses, you may check my post “Best Camera Lens For Product Photography”
Here are a few things to keep in mind when pulling together your gear:
- Don’t use a wide-angle lens. You will distort your product.
- Use the right aperture for the right shot. A wide aperture like f2.8 or f4.5 will narrow your depth of field, leaving parts of your product out of focus. A small aperture like f8 or f11 will give you a wider depth of field, keeping your entire product crisp and in focus.
- Use the correct white balance. When shooting, you should set it to the same Kelvin temperature as your lights.
Tripod & remote shutter release
You’ll need to use a tripod to stabilize your camera and easily duplicate the same shot for each of your products. I would also suggest getting a timer remote or a shutter release trigger, that way you can take your pictures without any camera shake.
Lighting system
If you are going to use your studio for other photography types like portrait or use it to shoot the rather larger product, you may check my post >> Photography Studio – Setting Up Home Photography Studio<<, it will give an overview of the required equipment and tools. But if you need only a lighting system that is required for small and medium-sized product photography only, light tents are a good solution.
A light tent or lightbox is a contraption with translucent sides that diffuse light coming from multiple sources. This allows for even, nearly shadow-less lighting against a simple, solid background. If you choose to purchase a light tent kit, it will usually come with one or more light tents, two light bulbs, two light stands, a tripod, and fabric backdrops in various colors.
The following are two examples of light tens:
LimoStudio 16″ x 16″ Table Top Photo Photography Studio Lighting Light Tent Kit in a Box
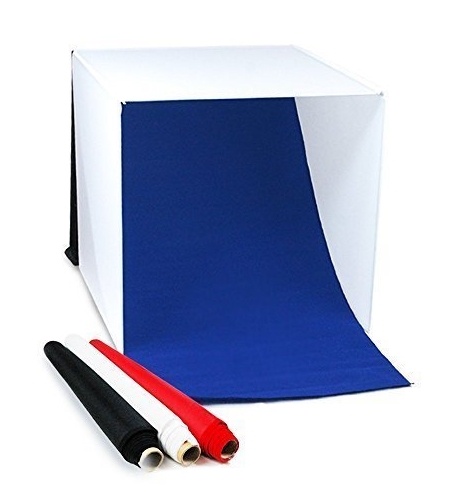
Product highlights
- 1 x Camera Stand Tripod / 1 x White Photo-shooting Tent, 16-inch Cubic with Color Backdrops / 2 x High Output Table Top LED Light / 1 x Cellphone Clip Holder
- Photo-shooting box helps create soft and neutral light and minimize the contrast between shade and hot-spot / Red, black, blue, white backdrop fabrics are included
- LED light stand specifications: 5500 Kelvin / 600 Lumen / 120-degree Beaming Angle / Maximum Height, 9.5-inch
- Table Top Mini Camera Stand: Height adjustable with a max 8-inch tall / 1/4-inch standard screw tip
- Cellphone clip holder is compatible with any smartphones easily
Fotodiox Pro LED 28×28″ Studio-in-a-Box for Table Top Photography
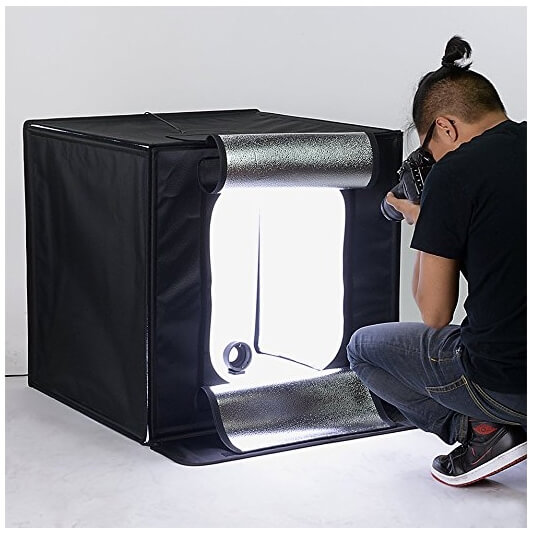
Product highlights
- Comes with Integrated LED Lights & Diffusion Panel
- The studio folds up into a self-contained carrying case
- Compact and adequate workspace 28×28″
- Comes with four choices of backdrops- blue, white, and black
- 24-Month Manufacturer Warranty
The standard set-up for light tent photography is to place the tent on some kind of table or end table, with the light sources (with identical power) directly opposite each other on each side and the tripod centered in front. Placing the tent up on a table makes it easier to see and maneuver, as well as easier to use your tripod for shooting.

The aim of using the lighting tent is to provide you with a high key photo type that is most appropriate for product photography. The key to a good setup is to shoot against a white backdrop. The white backdrop will reflect white light back onto your product and prevent any color spills. It’ll also ensure that your camera’s white balance calibration is on point, which will result in inaccurate colors.
Tips & tricks for product photography
These tips & tricks apply to the general studio setups when you have the ability to use more light sources and reflectors.
- A good idea is to place a small piece of Plexiglas under the product to create a subtle reflection. This arrangement works well on any solid color background and gives very good results, especially with a product made of glass (wine bottle, perfume, Diamonds rings, etc.)
The same reflection effect can be achieved with a glass plate on a wooden table like the photo below.
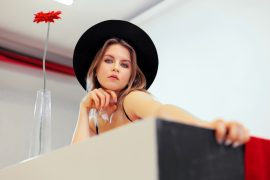
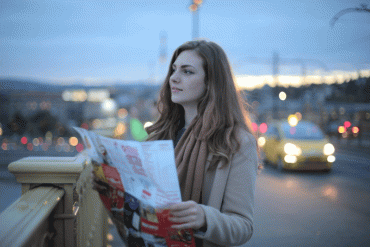
- If you’re looking to create cool backgrounds for your products, bokeh is an example of a simple and popular style. Bokeh is a blur effect done by a specific type of lens. You can read this article to learn how to create an amazing effect >>Bokeh Photography – What Is Bokeh Effect<< the following photo is an example of using bokeh.
- There are differences between different types of lights, and these differences are often not very noticeable to the human eye. Daylight, room lights, fluorescent lights – they all have different “temperatures” which can cast different tinges onto the objects you photograph. Setting up the White balance is the process of removing these color casts. Your digital camera may have the ability to set white balance automatically, but it’s better to set it manually. Use your white background in the image as a guide and make adjustments to the settings until it appears pure. You may check my post>>What Is White Balance? – A Beginner Guide<< for more information about white balance. Also, you mustn’t mix different kinds of light. It will make adjusting the white balance much harder, if not impossible.
Optimize your photos
Statistics show that about 40% of advanced websites do not take more than 3 seconds to load and that Google has confirmed that site loading speed is a ranking factor. One of the simplest ways to speed up a website is to optimize images and photos before you upload them. To do that photo optimization you have to do the following:
-
Resize your image to the correct dimensions
DSLR cameras will save photos at the highest possible resolution which is usually many times bigger than what it is needed for displaying on the web. A one-megapixel photo is about 1200 pixels × 900 pixels which is a good size for most websites. So you should resize your photos to less than one megapixel (The less is the better).
You can also quite easily use Google Chrome’s “inspect element” feature to see the size of any element on a web page. If for example, the width of your main text is 800 pixels, you should resize your photos with a maximum width of 800 pixels.
You may use your photo editing software to resize the photos. If you don’t have editing software you may use one of the following free software that is listed in my post >>The Free Photo Editing Software- The best 7 Software Packages<<
-
Covert the photo’s file type to the right type.
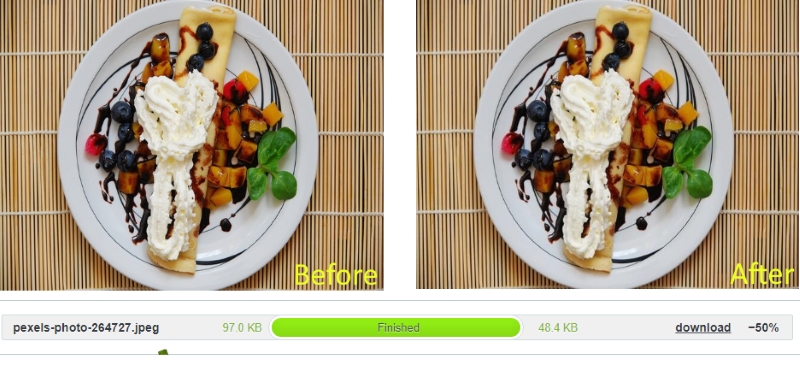
Photos contain metadata that takes up space and increases the size of the photo. Unless you have specific reasons to keep this content, it can be washed away without affecting the quality of your photo. There are online websites that offer compression tools to change the file type to a compressed file. TinyPNG and Kraken.io are excellent compression websites. Just upload your photos and after compression, you download them to your PC with a much-reduced file size. The photo below shows that the original photo has a file size of 97 KB, after compression, it became 48.4 KB, with no apparent loss in sharpness.
Related posts
Best Cameras For Product Photography
Thanks for reading, I hope you enjoyed the article if you have any questions just post them below & I will be happy to answer you.
If you enjoy the site, don’t forget to subscribe, we will only inform you when a new article is posted.

Thank you so much for the best tricks that you have described here perfectly. This is very helpful. Keep sharing these valuable tips.
You are most welcome Jayden!
Hello Amin,
Thank you for this very informative article on photography tips and tricks. You go way above and beyond a beginner level with all of the information provided on photography. It looks like you have a great wealth of experience in this area. I am not an expert, but I have found the value in optimizing my images to the correct size before uploading to my site. I had the same site speed loading issues above the fold since I had a huge photo for my background photo.
I didn’t realize until later on that that was the issue all along, well at least part of it. I am interested to find out which of these light box studio products that you like best or would recommend as your #1 choice? I definitely need better lighting and a tabletop studio could greatly benefit my product photos for my ebay listings. I recently upgraded to a Samsung Galaxy S7 phone, which is an upgrade for me at least. I had an iphone 5s previously before it crashed and I was unable to restore it.
I would like to check out some of the DSLR cameras that you recommend and might check out your online course. It looks like it could be a very useful introduction for someone like me that needs to learn the fundamentals of how it works. I have seen some of the blurred out effects and wasn’t really a huge fan, but I can see how it can highlight a product or feature quite nicely with a high degree of quality. I also use tiny png, which is an excellent tool. Sometimes I use a free web-based software called Pixlr to optimize my images as well. It is a great alternative to photoshop that is free and easy to learn. Thank you for all the information provided in this article and I will look some of the products recommended here.
Thank you for your comprehensive comment, and very glad you find the article informative and useful to you. As for my recommended light box, well it really depends on your product size. The important issue is to provide the necessary lighting to produce a high key photo.
Thank you very much for this amazing post, you must have put a lot of energy into this, I find this really helpful and highly informative, this is the fourth time am stumbling on your blog and it shows clearly that you are well versed with enough experience in photography, how can I resize pictures with bigger resolutions?
Thanks for the comment, there are many free tools to resize your photos, you may check my post “The Free Photo Editing Software- The Best 7 Software Packages“. Also, there are many online services to crop and or resize your photos