

When you are performing a composite of two photos and you want them to match well and look real. You need to match their perspective, luminosity, saturation, and colors. In this tutorial, we are going to show you how to match a subject into any background. However, before we start, we will briefly explain the color modes and some of the Photoshop tools that will be used in this tutorial
Overview of the color modes
RGB and CMYK are the most common color modes. Here is a brief description of both system

RGB (standing for Red, Green, and Blue) is a color mode used by computer monitors, televisions, and any sort of electronic screen. All of the colors you see on the screen are actually made up of various combinations of tiny red, green and blue “boxes” known as pixels. This is also the color mode used by all internet graphics. If you are making any artwork for the web or any other project that will be viewed on a monitor, you would want to use RGB as the color mode. However, RGB is not a color mode meant for printing.
CMYK (standing for Cyan, Magenta, Yellow, Key (Black)) is the other main color mode that is meant for printing. By combining different percentages of the ink colors, cyan, magenta, yellow and black, a wide variety of other colors are created. This is the method used by your inkjet printer at home all the way to commercial printing presses.
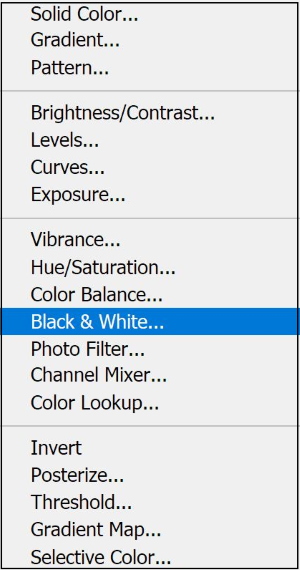
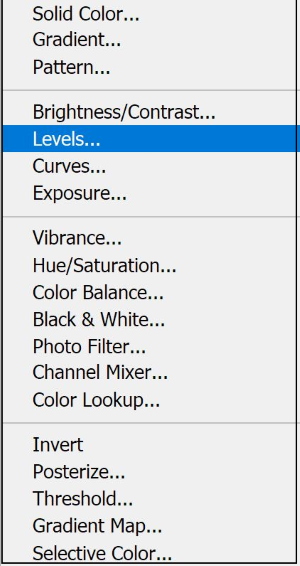
Selective Color adjustment layer
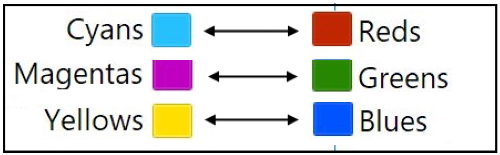
The selective Color adjustment layer in Photoshop uses CMYK colors to correct an image. You can modify the amount of process color in any primary color selectively, without affecting the other primary colors. For example, you can use selective color correction to decrease the cyan in the green component of an image while leaving the cyan in the blue component unaltered. The tool provides nine color channels: Reds, Yellow, Greens, Cyan, Blues, Magenta, Whites, Neutrals, and Blacks.
As you can see in the selective color panel image below, you can see which color each slider affects. Moving the slider to the right will increase the color, and moving the slider to the left will increase the opposite of that color, as shown below
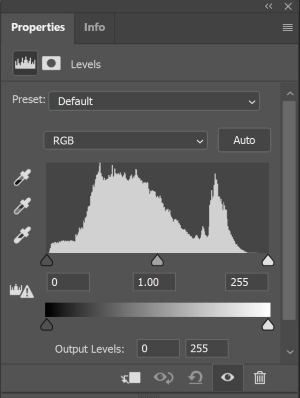
Level adjustment layer
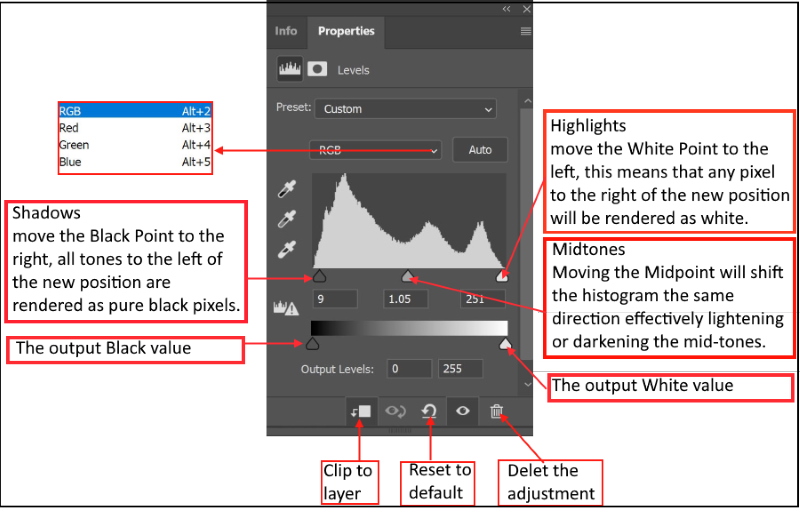
The level adjustment layer is used to adjust brightness, contrast, and tonal range. It performs the adjustment by specifying the location of complete black, complete white, and mid-tones in a histogram. The position of the black (shadows) and white (highlights) point sliders redefine the histogram’s “Input Levels” so they are mapped to the “Output Levels” (default is black (0) or white (255), respectively) as shown below.
Steps to Match a Subject into Any Background
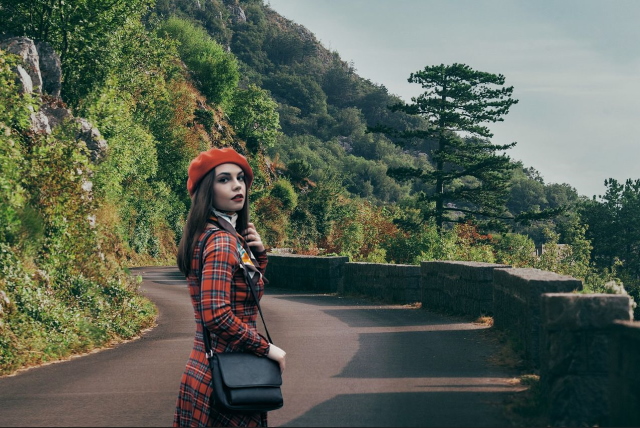
The following photos are used
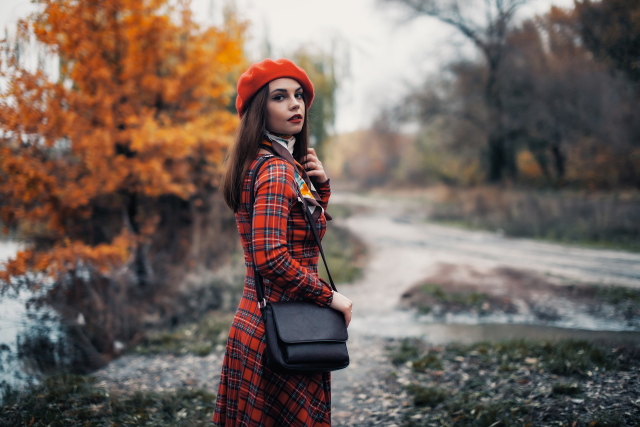
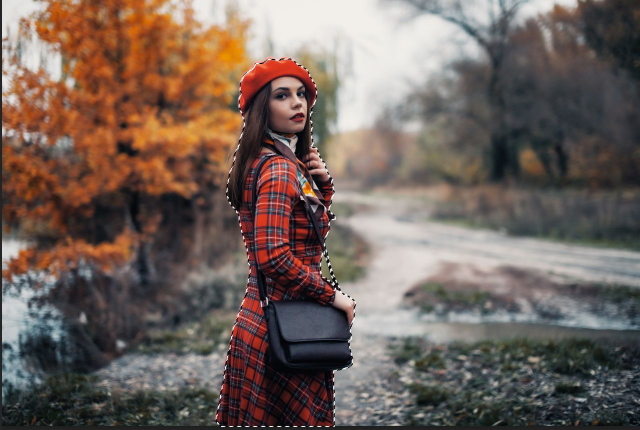
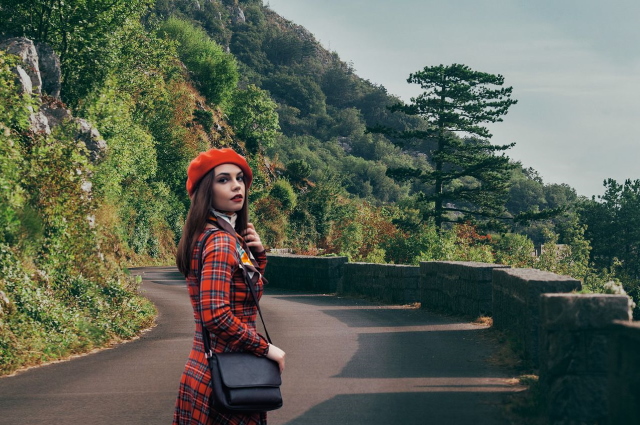
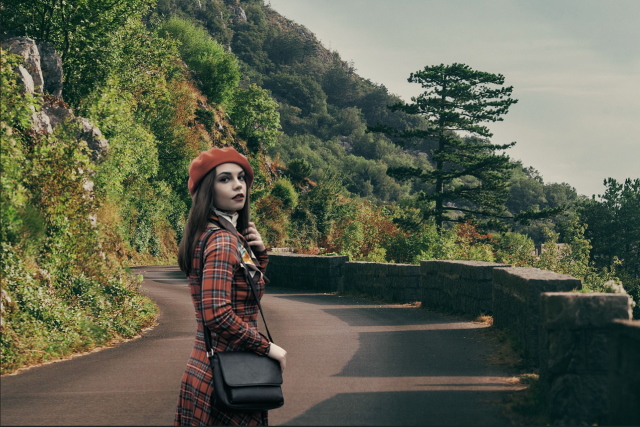
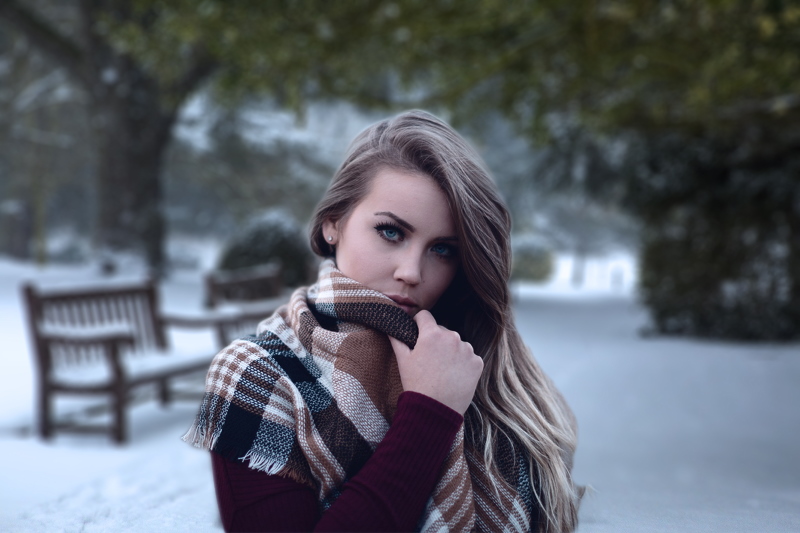
Subject photo:
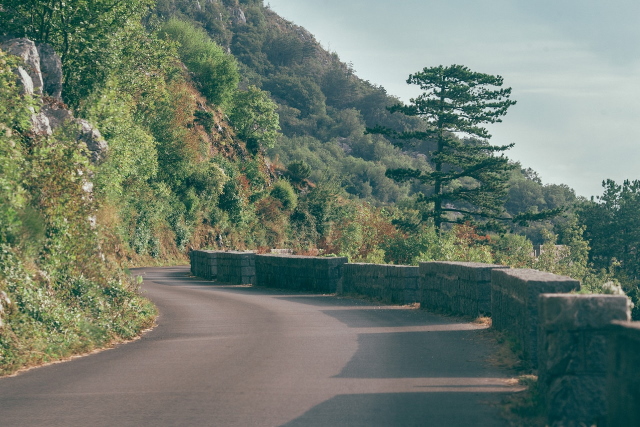
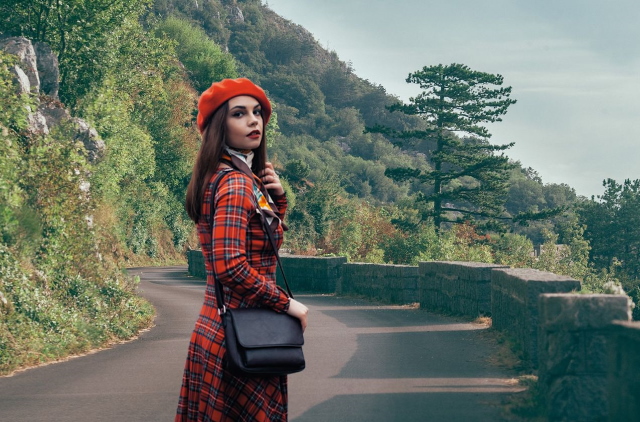
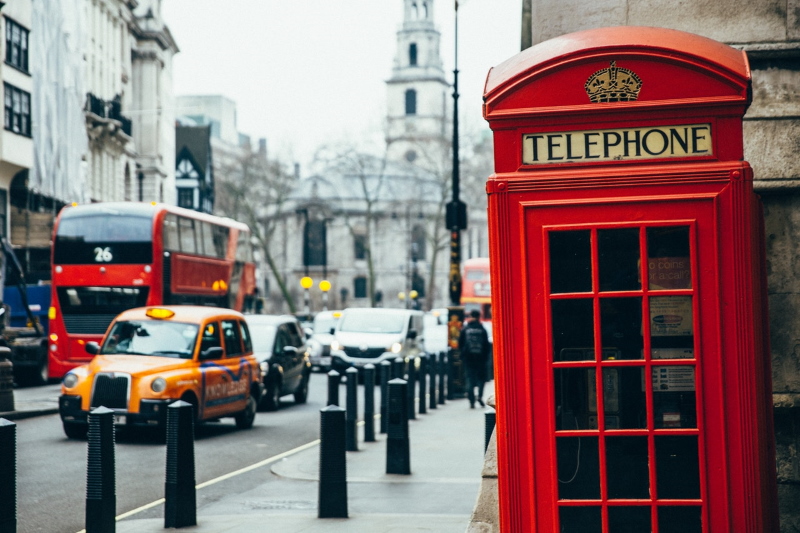
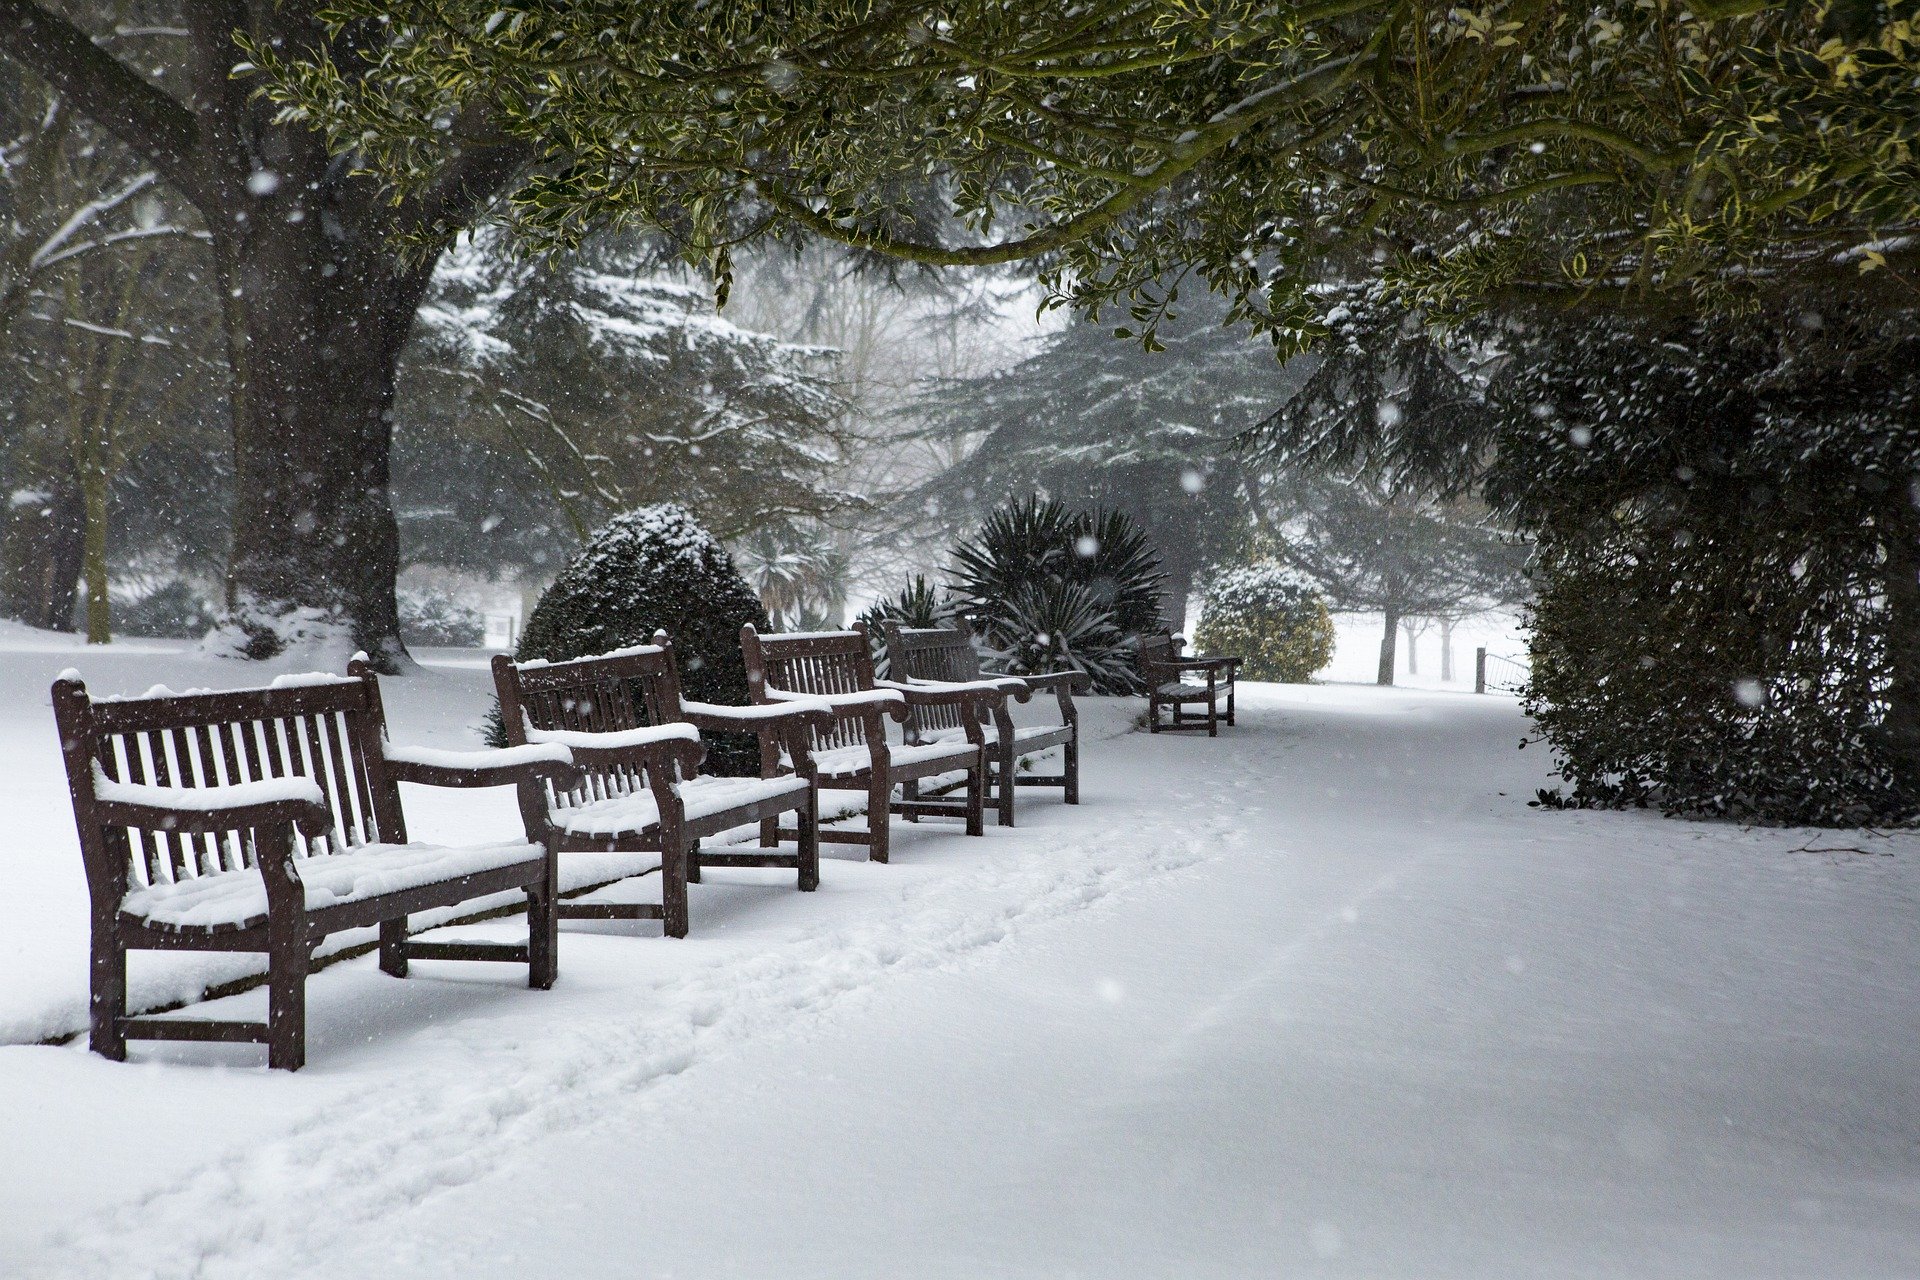
New background photo
Step 1: Make the initial composite
- Open both photos in separate documents
- In the subject layer, select the subject using any selection tools. We use Object Selection Tool from the toolbar

- The selection is shown below
- Copy the selection (Ctrl + C), then past it (Ctrl + V) in a separate layer in the background document, as shown below
Step 2: Matching the perspective
To find the proper position of the subject with regard to the new background, we need to find an estimation of the horizon lines in both photos and match them.
- Draw some lines that match the divergent lines in each photo. The horizontal line that passes through the intersection of these lines is the horizon line. As shown below


- Then, in the subject layer, move the subject to make the two-horizon lines matches each other. To scale the subject press (Ctrl + T), move the anchor point to the horizon line, hold (Shift + Alt) and drag the corner hand to scale the subject while maintaining its perspective.
Step 3: Matching the luminosity
To match the luminosity of the subject and the background, we need to figure out the brightness of shadows and the highlights of both layers and then match them.
- To help to see the difference in luminosity between the two layers, create a black and white adjusting layer
- Create a level-adjusting layer on top of the background layer
- To find out where the darkest shadow in the background layer, drag the upper left handle while holding the Alt key, and figure out where the black color begins to show up
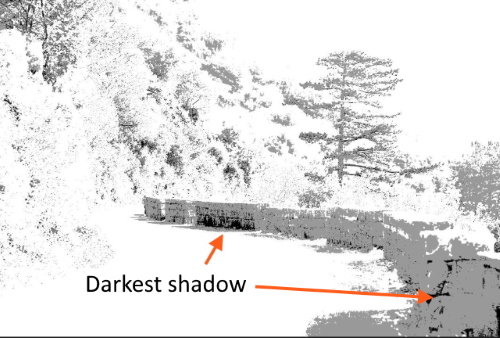
- Use the dropper tool and click on the darkest shadow, then click on the set foreground icon and record the brightness value [ B=1 ]

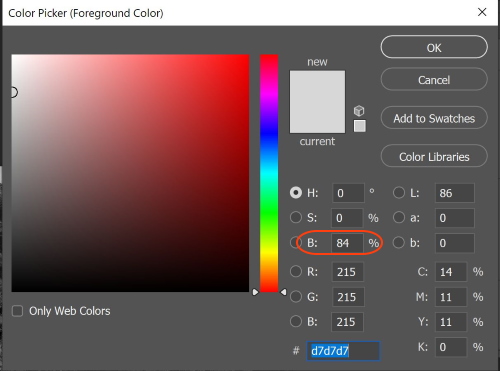
- To find out where the brightest highlights in the background layer, drag the upper-right handle while holding the Alt key, and figure out where the white color begin to show up

- Use the dropper tool and click on the brightest highlights, then click on the set foreground icon and record the brightness value [ B=84 ]
- Repeat the same process for the subject layer and get the brightness value for the darkest shadow and the brightest highlight. Shadow. the result is [ B=3 ] for shadow, and [ B=77 ] for highlights
- Therefore, to match the luminosity, we need to decrease the brightness value of the background layer from 84 to 77. Drag the right handle of the level curve, and check the result by the eyedropper tool.
- Change the blending mode of the adjusting layer to Luminosity. The result is shown below. Do not forget to delete the black and white layer!
Step 4: Matching the colors
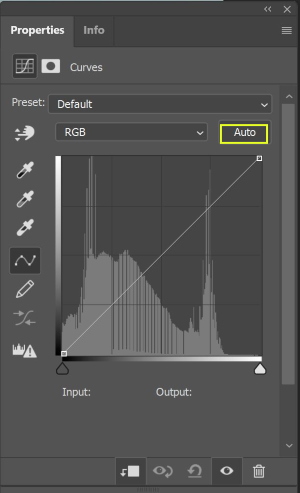
- Create Curves adjusting layer.

- Clip it to the subject layer (Ctrl + Alt + G)
- From the properties window, Hold the Alt key and click Auto
- Choose “Find Light & Dark Colors”
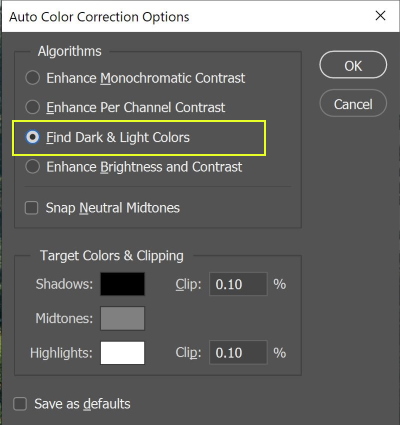
- Click on the shadows
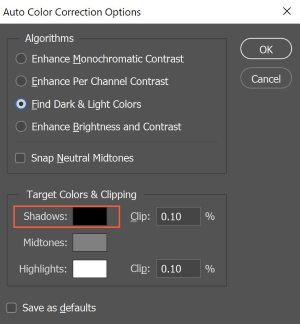
- Click on the darkest shadows of the background (as we know it from the luminosity adjustment)
- Click on the Highlights
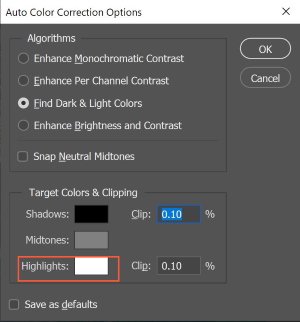
- Click on the brightest highlights of the background (as we know it from the luminosity adjustment)
- Press O.K
- Change the blending mode to Colors
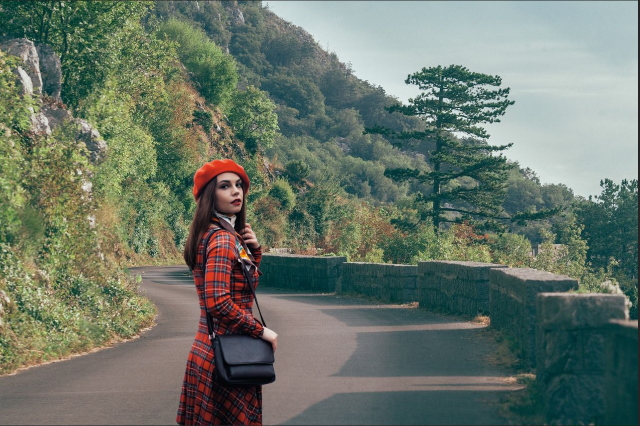
The result is shown below
Step 5: Matching the saturation
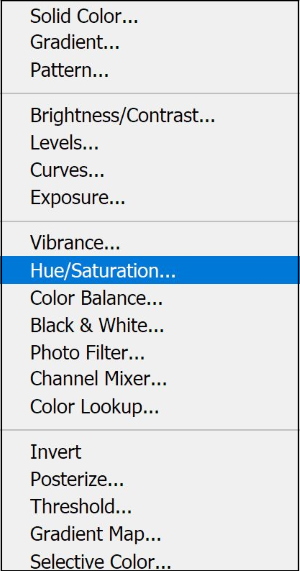
- Create Hue/Saturation adjustment layer
- Clip it to the subject layer (Ctrl + Alt + G)
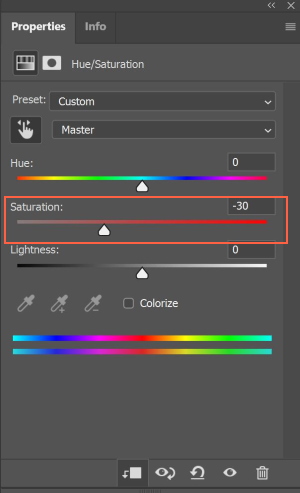
- From the properties window, adjust the saturation to match the background
- Change the blending mode to saturation
The result is shown below
Step 6: Final touch
We apply a filter to the composite photo
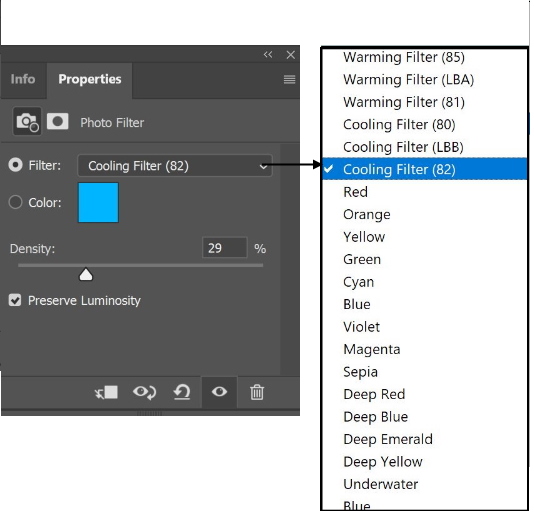
- Create a Photo Filter adjustment layer
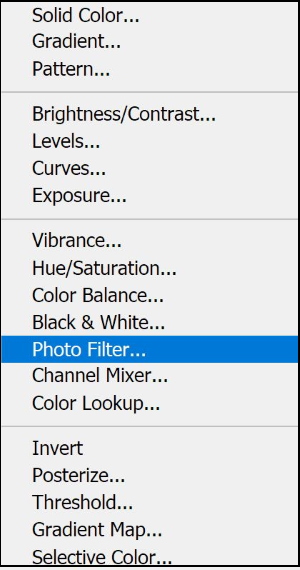
- Choose a filter and adjust its density
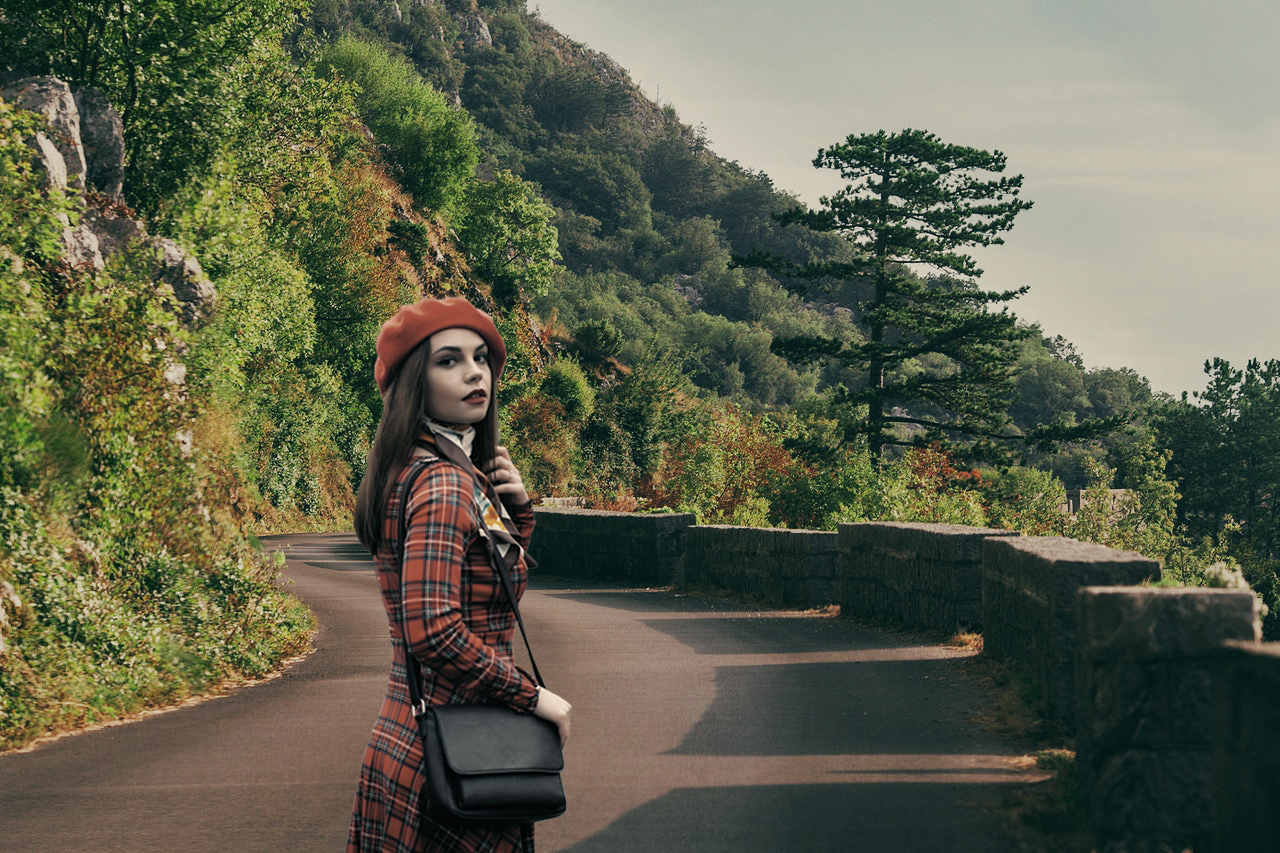
The result is shown below
More Examples
1-We use the same subject photo but with another background photo
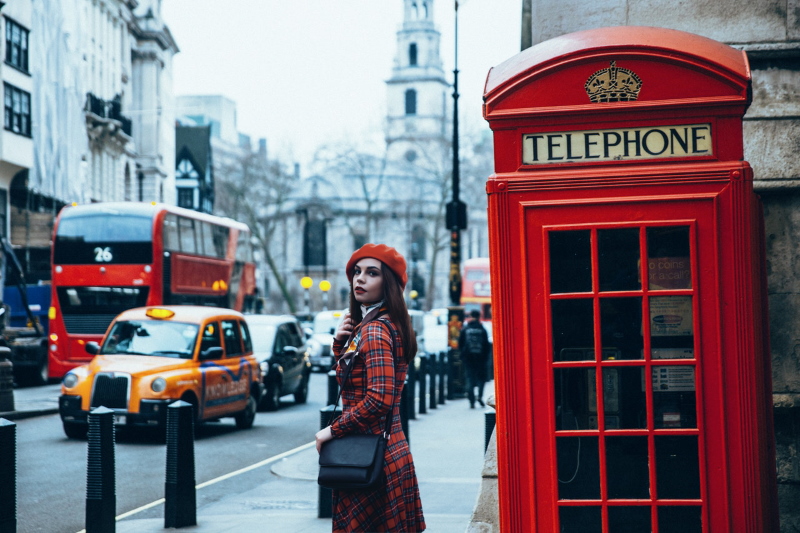
The composite photo is shown below
2- The subject and background photos

The composite photo is shown below
Related posts
Best Way To Select Hair Photoshop
What Are The Selection Tools In Photoshop?
What Is A Mask In Photoshop? – A Complete Beginner’s Guide
How To Place Anything Into Perspective In Photoshop
Blur Background In Photoshop CC
Thanks for reading, I hope you enjoyed the article if you have any questions just post them below & I will be happy to answer you.
The used photos are credited to:
- Image by olcay ertem from Pixabay
- Photo by Maria Orlova from Pexels
- Photo by Dana Tentis from Pexels
- Image by Pexels from Pixabay
- Image by Vincent Ciro from Pixabay
- Image by Diana Parkhouse from Pixabay
If you enjoy the site, don’t forget to subscribe, we will only inform you when a new article is posted.


Thank you kind sir for teaching us the fundamentals of compositing!
You are welcome!
I just started my class in photography and I had no idea what I was doing. And I only joined that class because I thought it would be something easy for me to do but I can see now that there’s a lot more that goes on behind the lens, pun intended. Anyway, I decided to do a little more digging and I ran into this website and this article. Holy crap! You really explain think so clearly, and I missed it you explain it a lot better than they do in my class
Thank you for your nice comment, wish you all success
Great post.I just cannot imagine myself getting to this level without knowing all these basics
The way it has all been presented is just amazing here. In all honesty, what has been shared here is the single most important information shared. I value all of these and the idea of trying it out makes sense to me. God bless you for sharing this offer with us and for me personally. Great post shared here.. thanks
Hi Zayom
I appreciate your comment and I’m very glad you like the article. Thanks!