

Removing the background from a picture is a popular photo editing procedure. There are dozens of possible reasons to perform this type of edit. For example replacing a boring background with a more picturesque one or a solid color, uploading product images to eBay, Etsy, or Amazon, preparing photos for job-seeking or dating websites, creating photo jokes and collages, retouching vacation photos for fun, or making a better impression, and many more.
Photoshop offers many methods, tools, and techniques to help us remove the background from our photos easily, and most recently they’ve introduced a free background remover as a quick and professional solution. In this tutorial, I will mention six different methods; and you can even use some of them together.
Six methods to remove background from a photo
- Quick Action: Remove background
- Background Eraser tool
- Select and Mask
- Select using Color Range
- Magic Wand tool
- Blend If tool
Guidelines to remove background from photos
- Duplicate your original background layer, or, click on the lock to release it (in the layers panel) and turn it into an editable layer.
- To see the effect after removing the background, create a solid color adjustment layer, and place it under the layer you want to remove its background.
- To keep the transparency of the background after removing the original one, save the photo file in PNG format.
- You can use the above six mentioned methods together
Useful shortcuts
- Duplicate layer Ctrl + J
- Decrease Brush Size [
- Increase Brush Size ]
- Default Foreground/Background colors D
- Switch Foreground/Background colors X
- New layer via copy Ctrl + J
- Invert selection Ctrl + Shift +I
- Convert mask to selection click the mask thumbnail + Ctrl
Method 1: Quick Action: Remove background (Automatic)
Quick Actions are a new feature added to the Properties panel in Photoshop CC 2020. Make sure that the ‘Properties’ is checked in the ‘Window’ main menu.
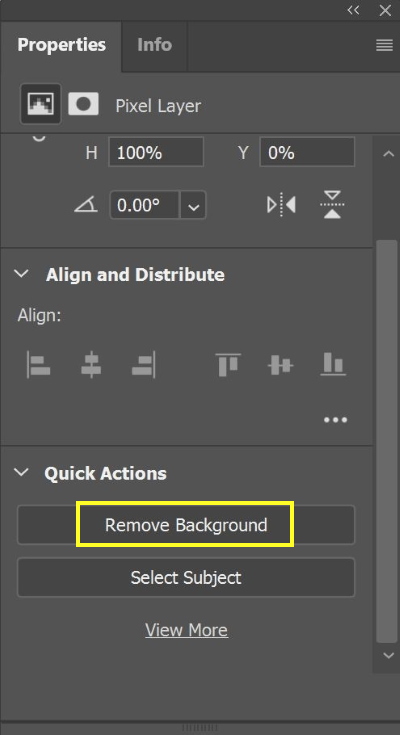
The ‘Quick Action’ feature in Photoshop 2020 is quite good in removing the background for web cutouts. It’s smart and efficient to work with. I will use the below photo to remove its background.

Photo by Sabrina May on Unsplash
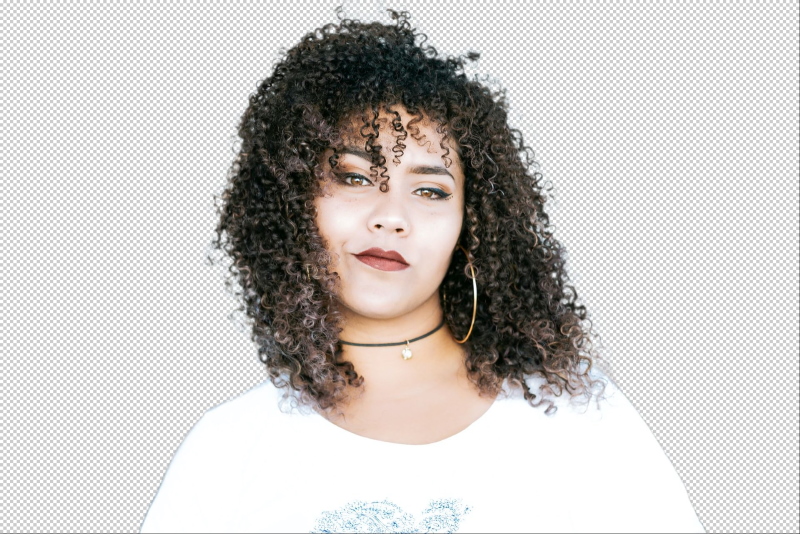
Just click on ‘Remove Background’. You will see that the file is automatically rendered and the background is removed. To keep the background transparent, you need to save the file in PNG format. The result is shown below.
Method 2: Background Eraser tool
The Background Eraser tool erases pixels on a layer to transparency as you drag. You can erase the background while maintaining the edges of an object in the foreground. By specifying different sampling and tolerance options, you can control the range of transparency and the sharpness of the boundaries.
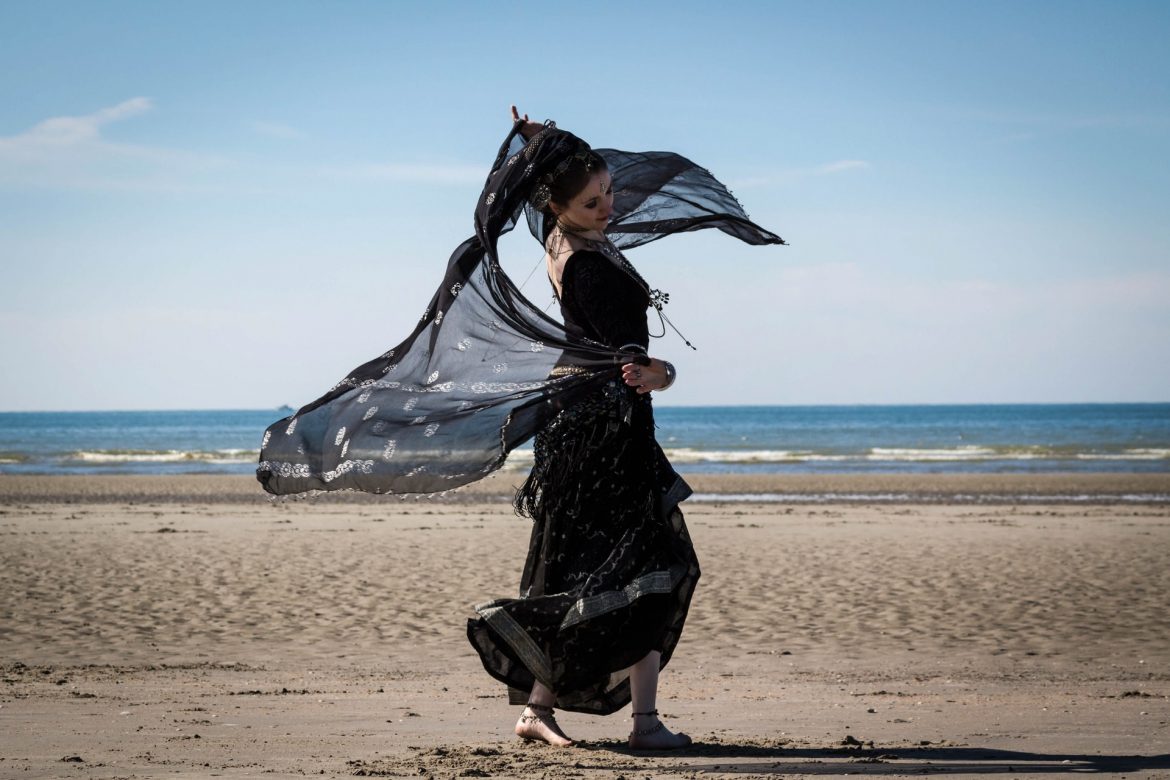
In the following example, I will remove the background from the photo below

Photo by Juli Kosolapova on Unsplash
Select the Background Eraser tool
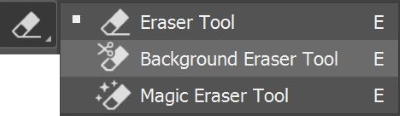
The options menu is shown below
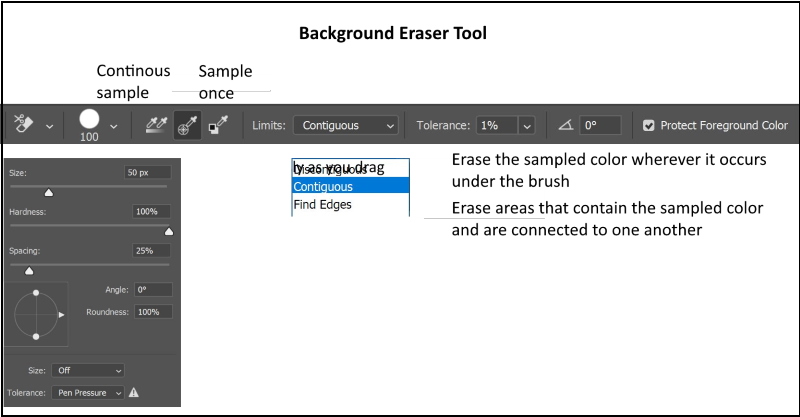
The background eraser tool samples the color in the center of the brush and deletes that color wherever it appears inside the brush.
Click the brush sample in the options bar, and set brush options in the pop‑up panel
For Tolerance, enter a value or drag the slider. A low tolerance limits erasure to areas that are very similar to the sampled color. A high tolerance erases a broader range of colors.
Select Protect Foreground Color to prevent the erasure of areas that match the foreground color in the toolbox. For more information click here
Create a solid color adjustment layer below our photo layer
Drag the brush through the background you want to erase. The process is destructive
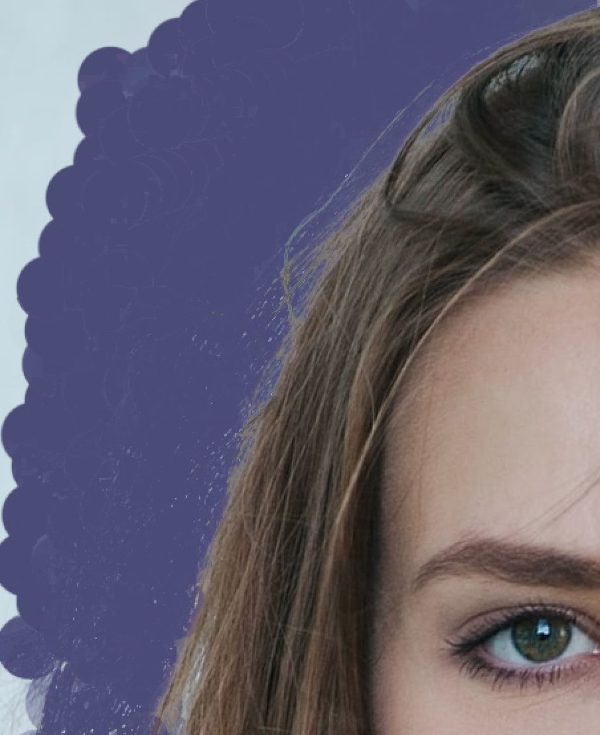
You may need to readjust the tolerance and the brush size as you continue deleting the background.
The result is shown below
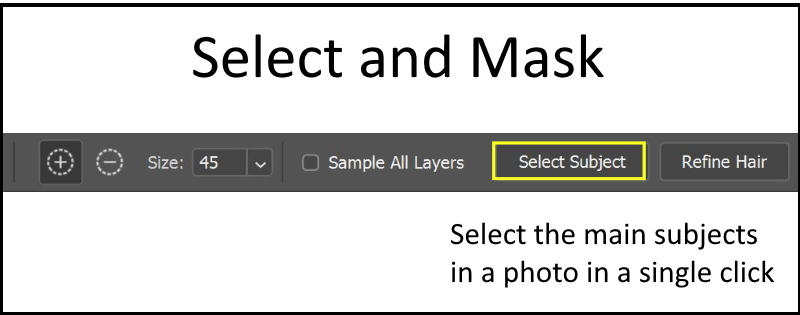
Method 3: Select and Mask
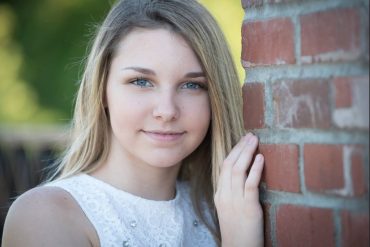
It may be the best tool to separate your subject from the background, it works also non-destructively. In the following example, I use the below photo:

Photo by One zone Studio on Unsplash
To get the tool, click Select > Select and Mask. Alternatively, use the shortcut Alt + Ctrl + R
On the top of the screen, the options menu appears as shown below
On the left side, a set of tools shows up also
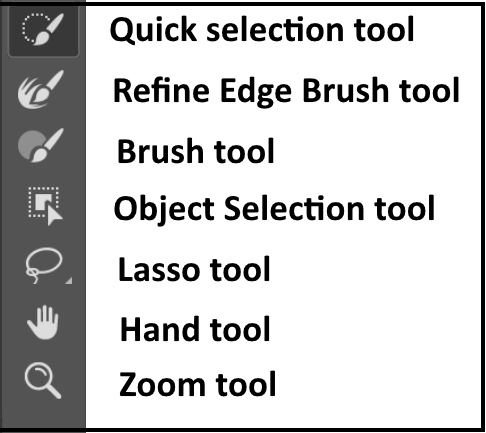
Start selecting our subjects using the Quick Selection tool, or Select Subject tool

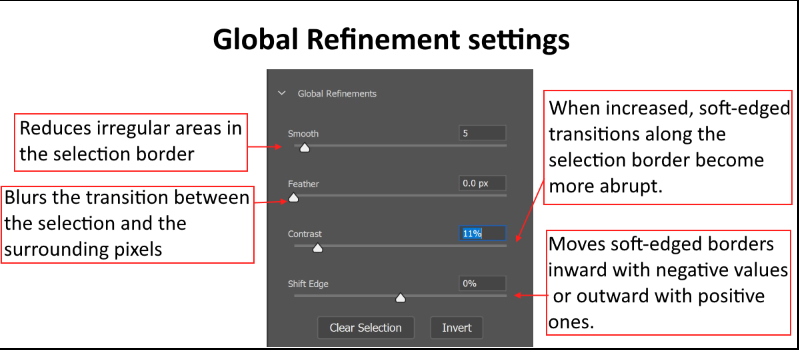
Refine the selection using the Refine edge tool, and the setting on the right side of the screen under Global Refinement.
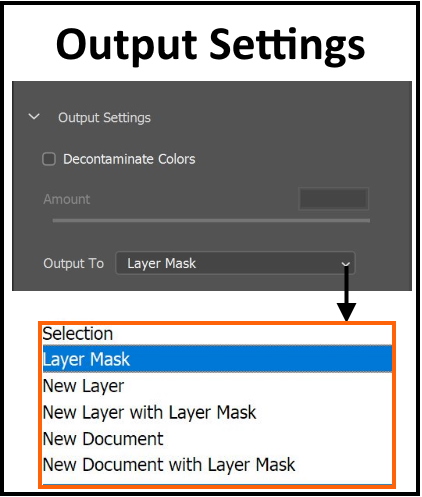
Finally, save the selection as a mask.
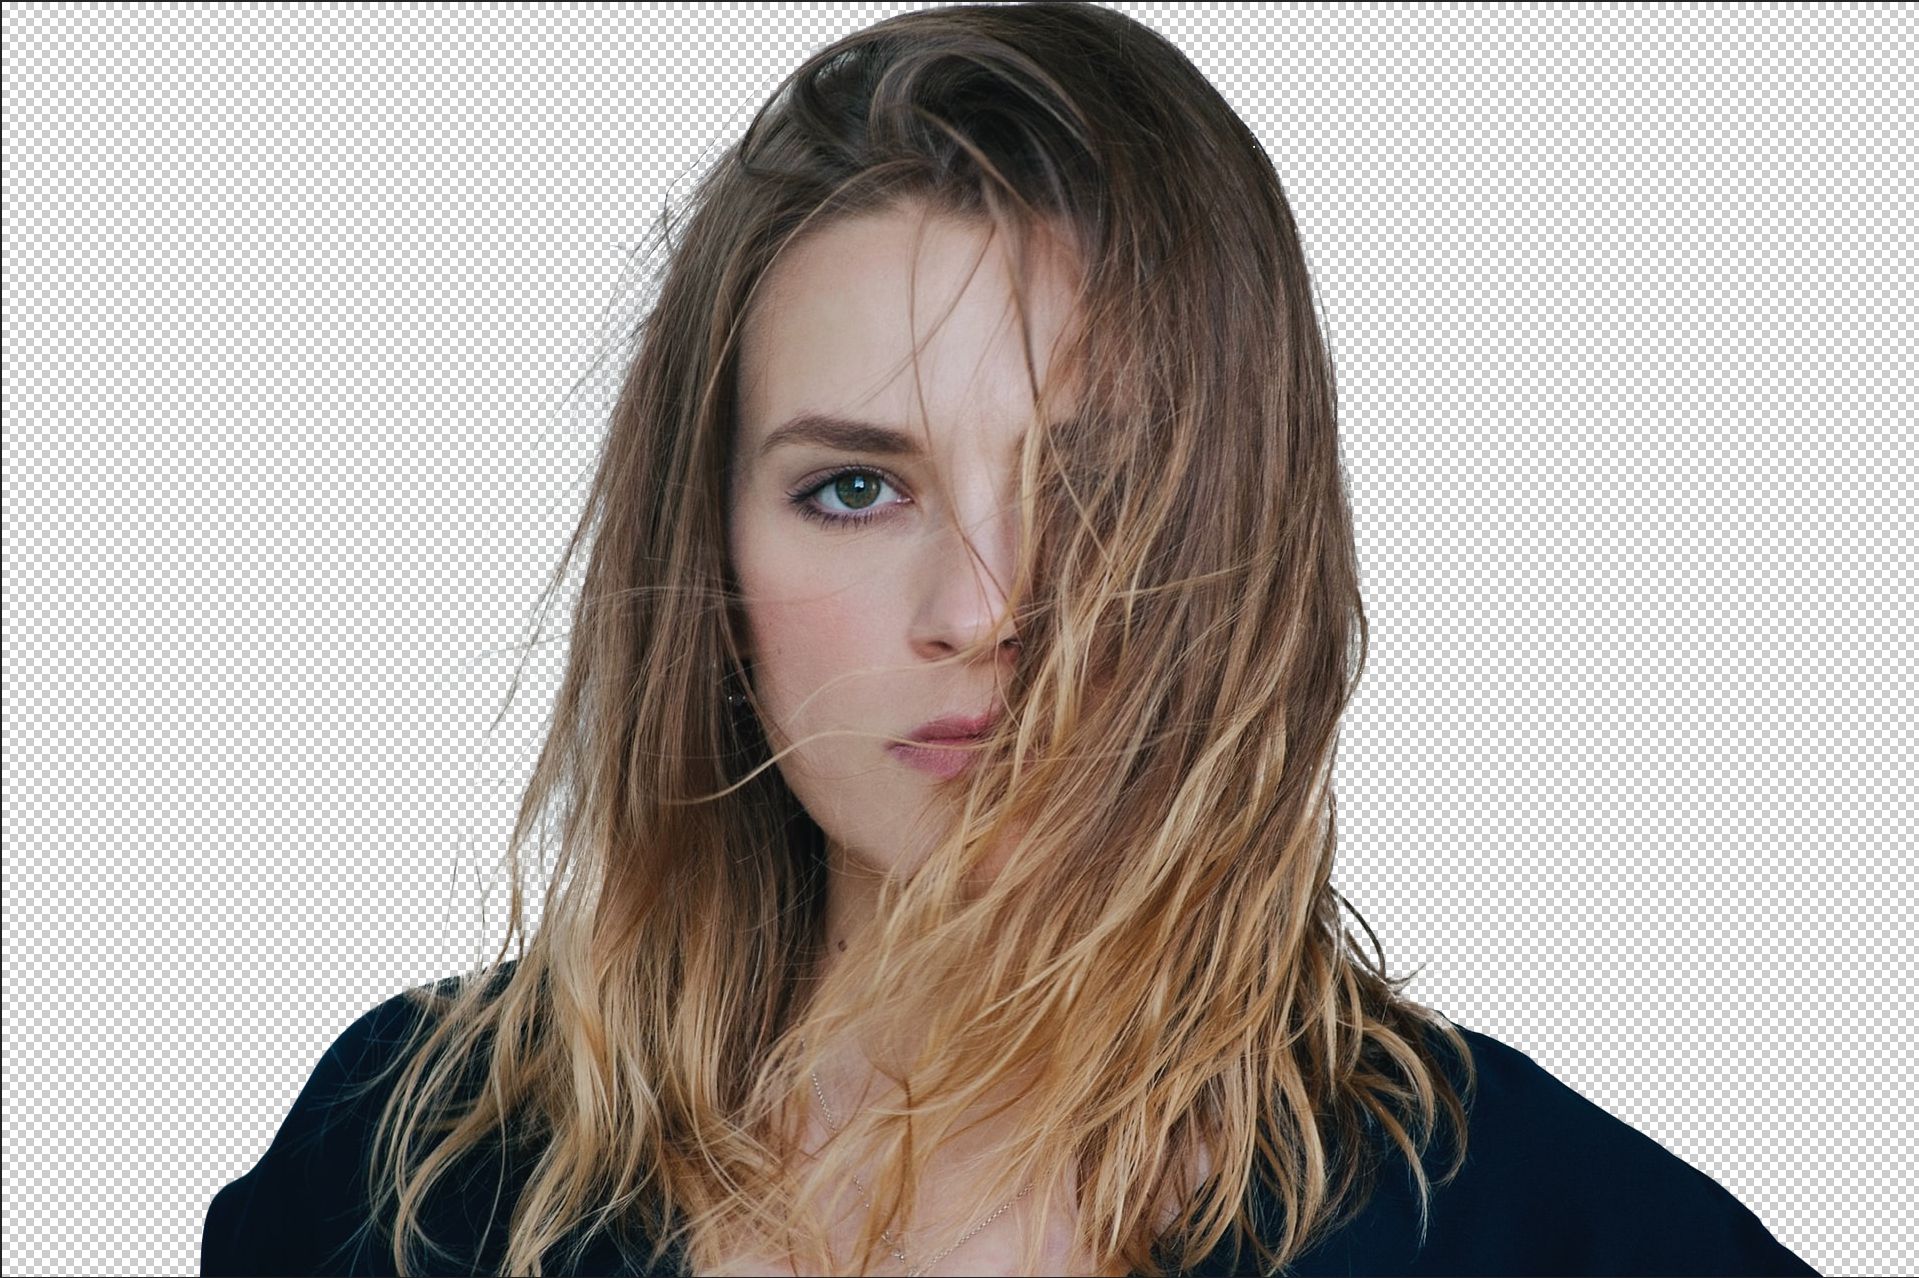
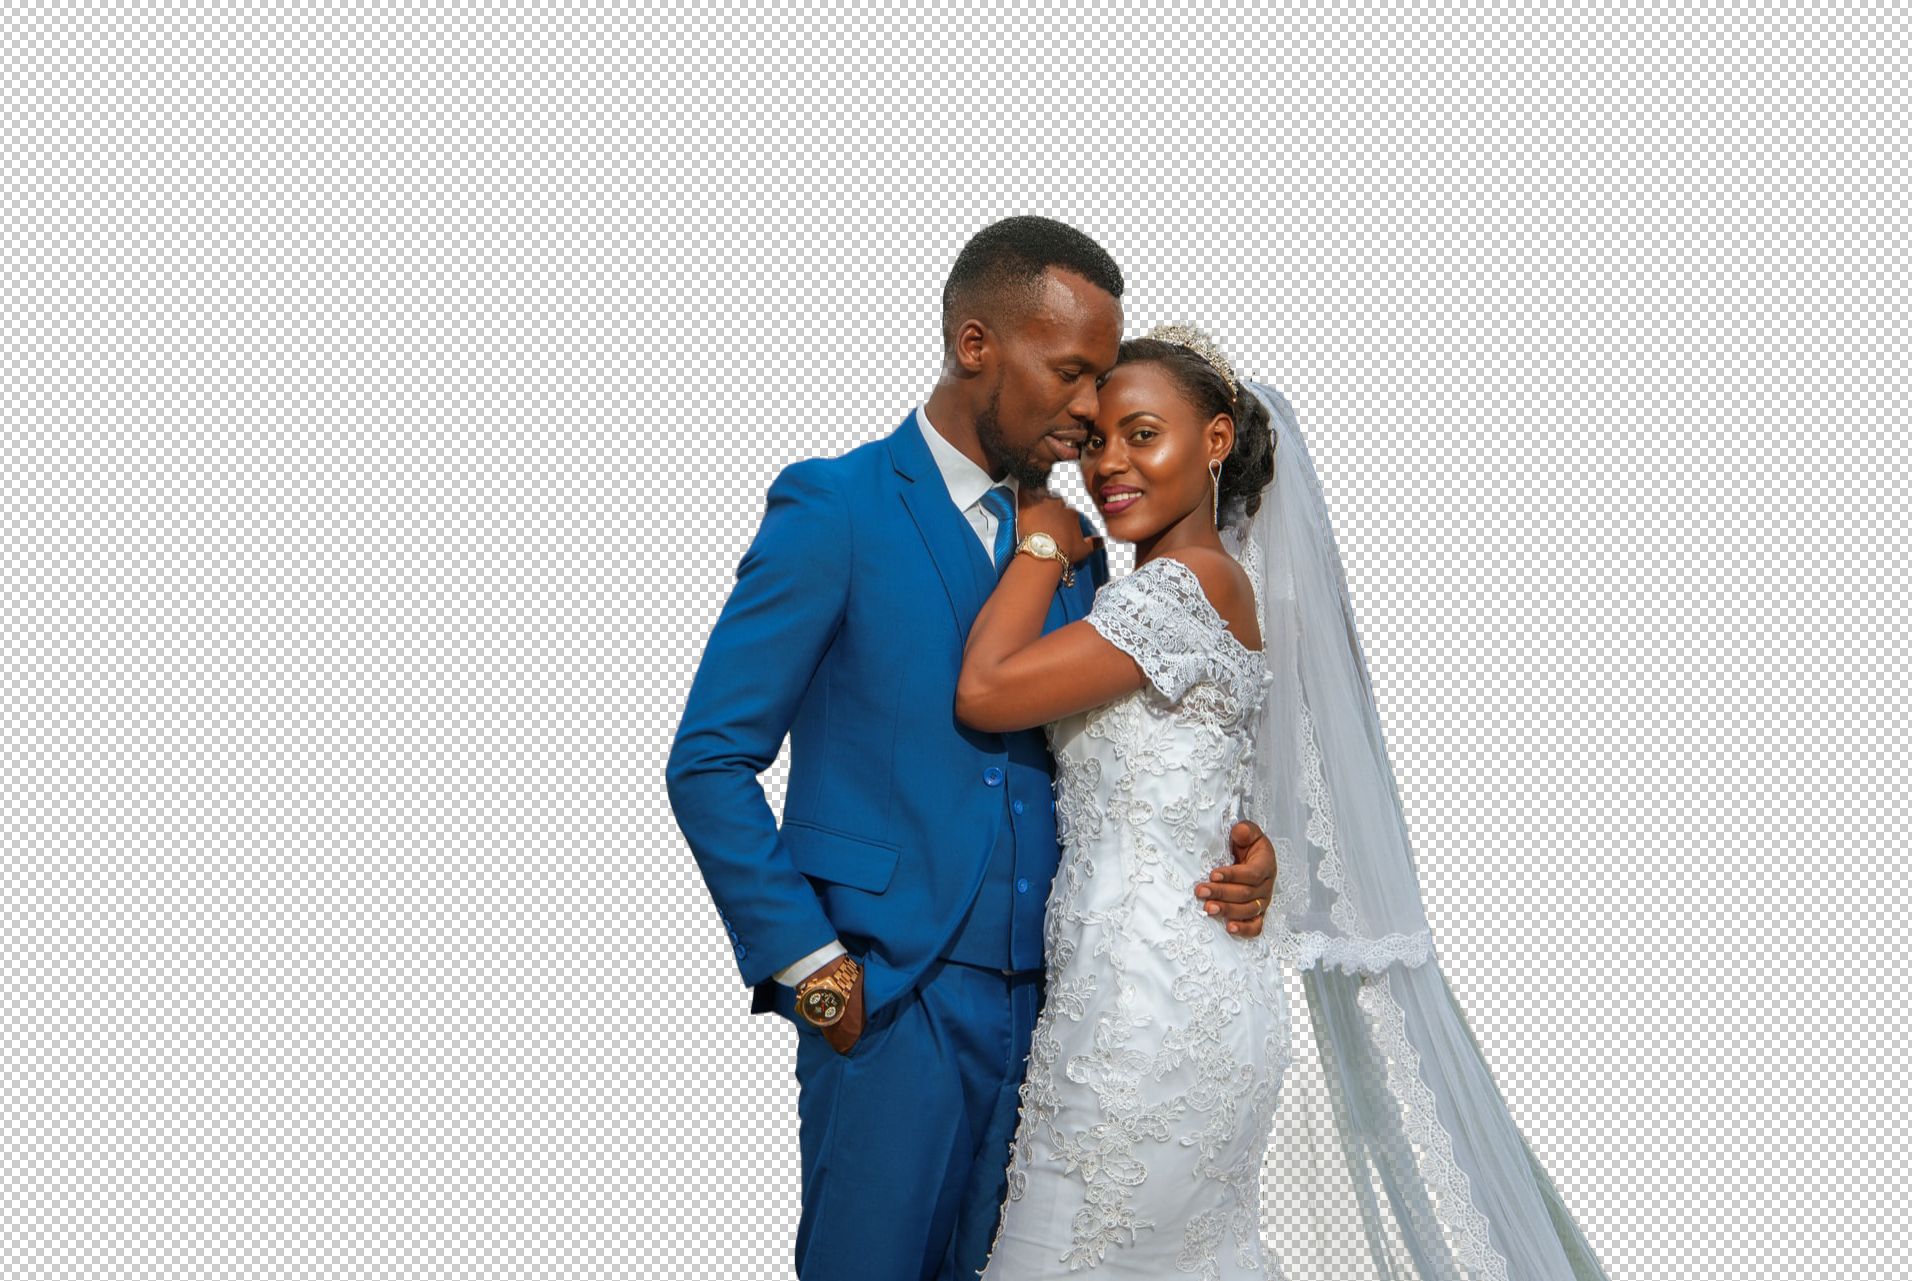
The photo after removing the background is shown below.
Another example with the same method
The original photo

Photo by Cristian Rojas from Pexels
A gif photo shows the original, with transparent background, and with solid color background


Method 4: Select using Color Range
The Color Range command selects a specified color or color range within an existing selection or an entire image. Color Range is a selection tool that allows you to select parts of an image based on its color. This makes it easy to select one specific color and then change its hue, saturation, and/or brightness. You can also remove it!
I will use the following photo as an example to clear the background using the color range command

Color Range is a selection command, and we access it from the same place we access other commands, the Menu Bar along the top of the screen. Select > Color Range
This opens the Color Range dialog box.
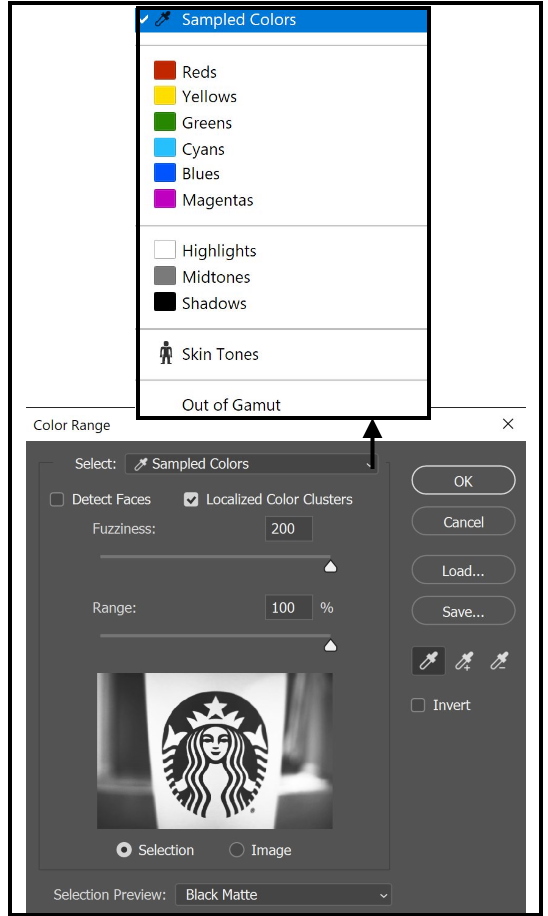
To sample a color, position the Eyedropper pointer over the image or preview area, and click to sample the color you want to be included. To adjust the selection:
- To add colors, select the plus eyedropper, and click in the preview area or image.
- To remove colors, select the minus eyedropper, and click in the preview area or image.
You can adjust the range of colors selected using the Fuzziness slider
The selection for our example is shown below

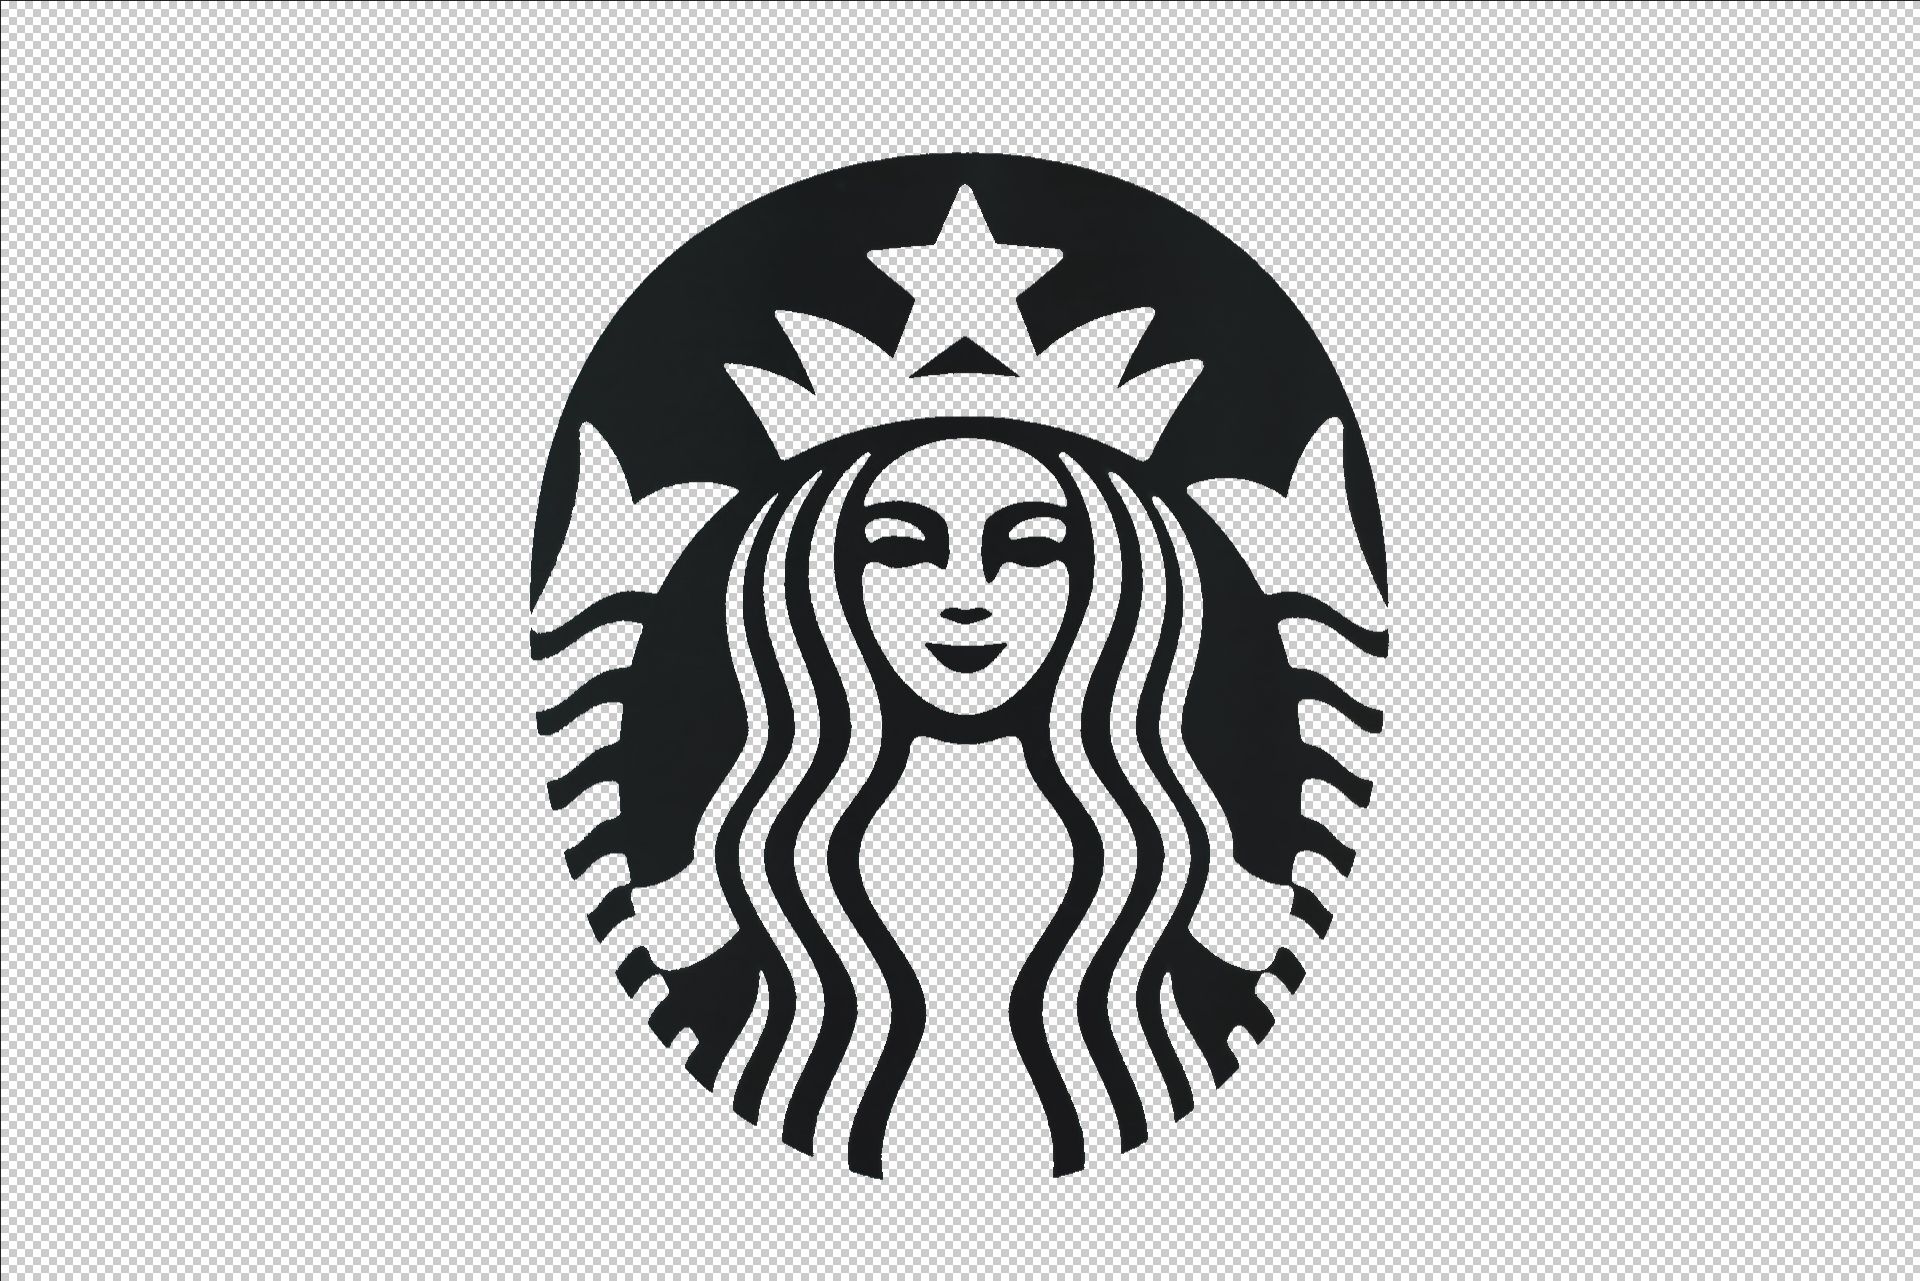
Moreover, the final transparent background of the logo is shown below
Method 5: Magic Wand tool
The Magic Wand was first introduced back in the very first version of Photoshop. It is one of the oldest selection tools in Photoshop. Unlike other selection tools that select pixels in an image based on shapes or by detecting object edges, the Magic Wand selects pixels based on tone and color.
When you click on an area in the image with the tool, Photoshop looks at the tone and color of the area we clicked on and selects pixels that share the same color and brightness values. This makes the Magic Wand exceptional at selecting large areas of solid color.
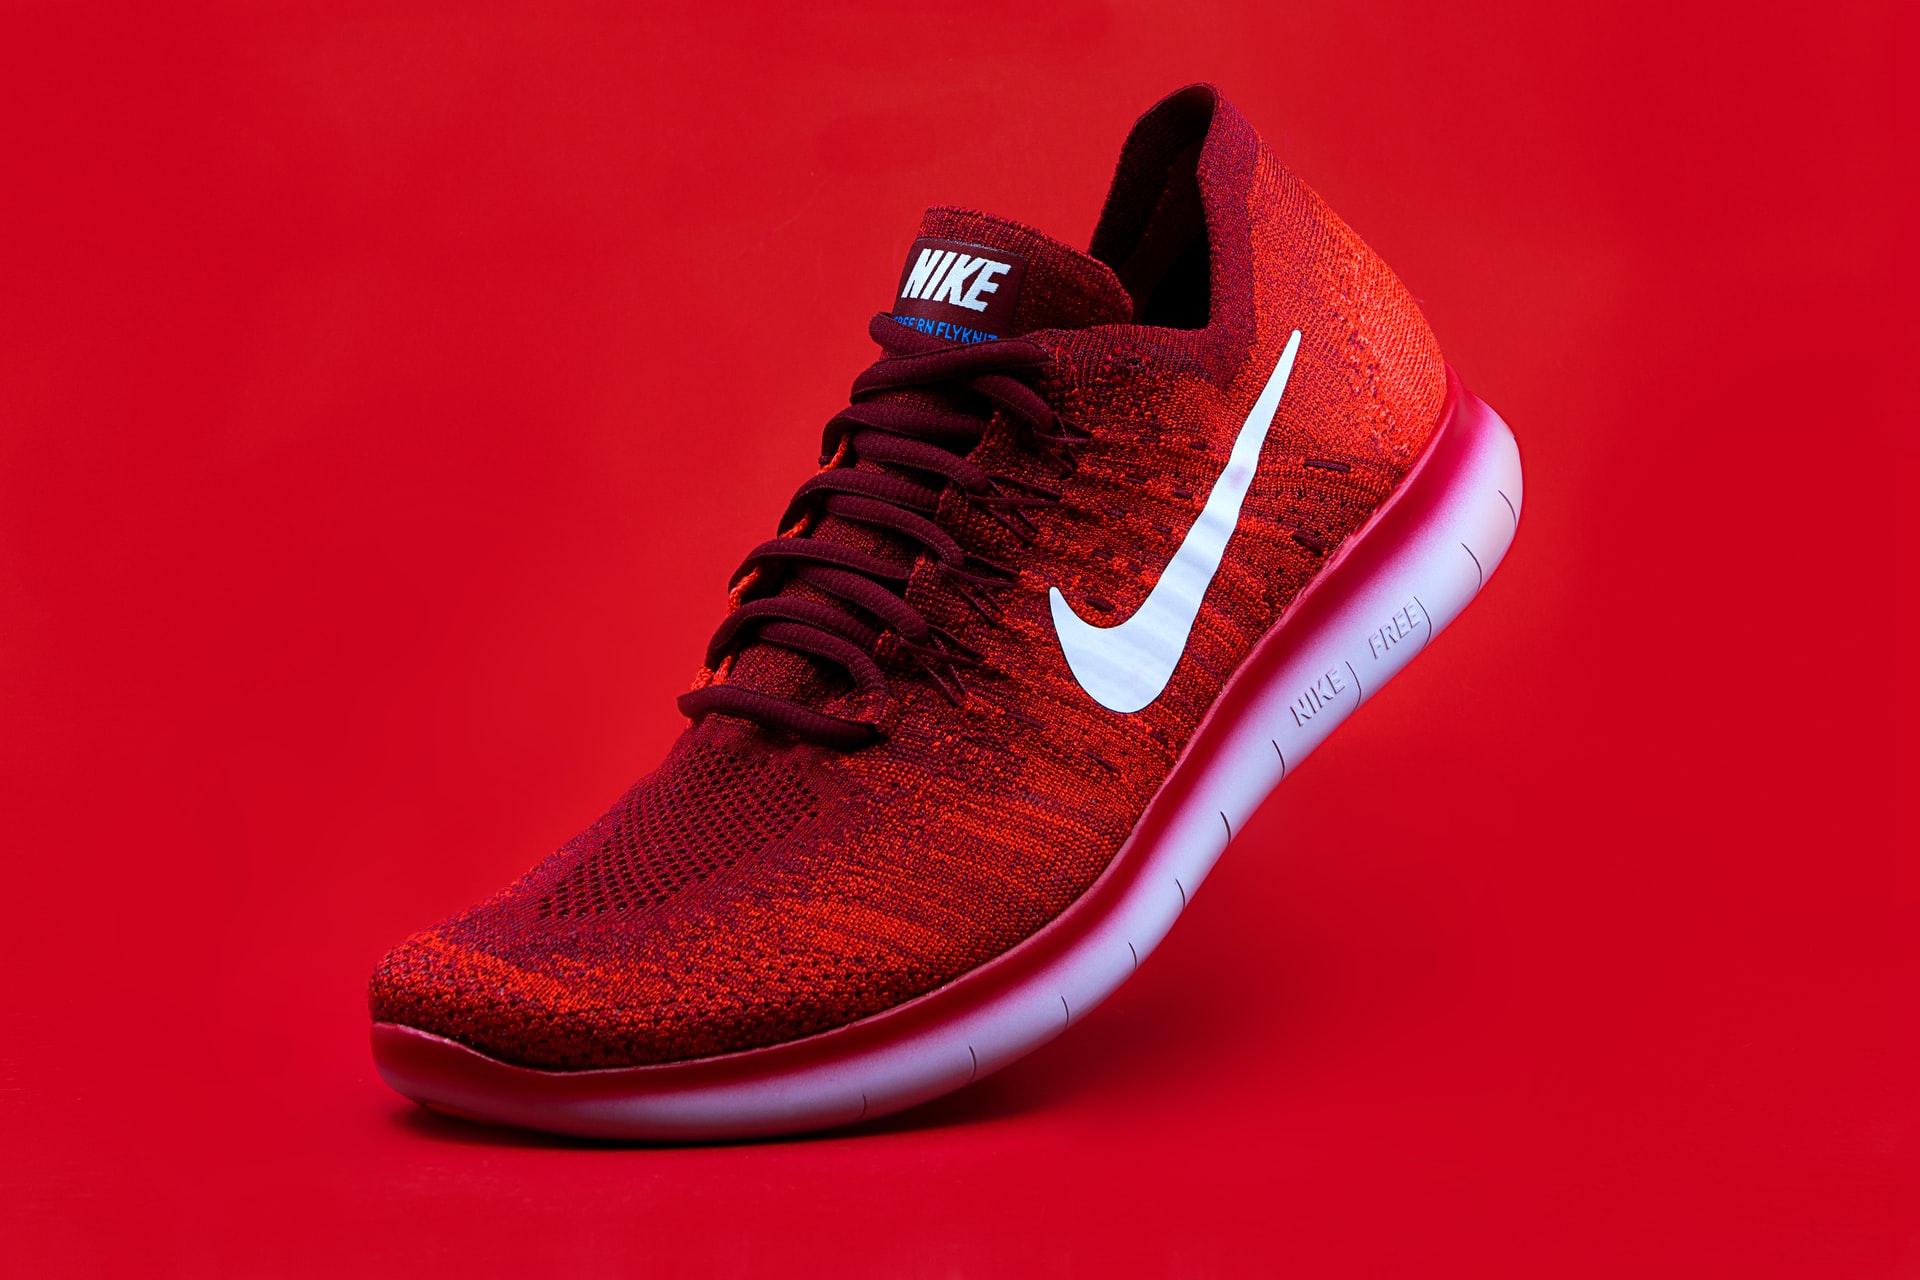
In the following example, I will use the below image
You can find the Magic Wand tool in the toolbar
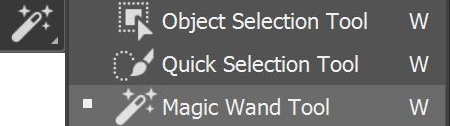
When choosing the Magic Wand tool the options menus appear on the top of the screen.
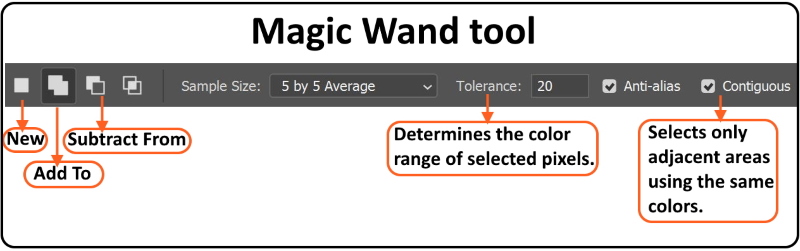
Press on the background to choose its color and tons; you may need to click on different areas of the background to get a better selection. Try different values of the tolerance, and make sure the contiguous box is checked for this example.
When you are satisfied with the selection of the background, press Shift + Ctrl + I to inverse the selection, then press Add a Mask at the bottom of the layer panel, to hide the background nondestructively.

Method 6: Blend If Tool
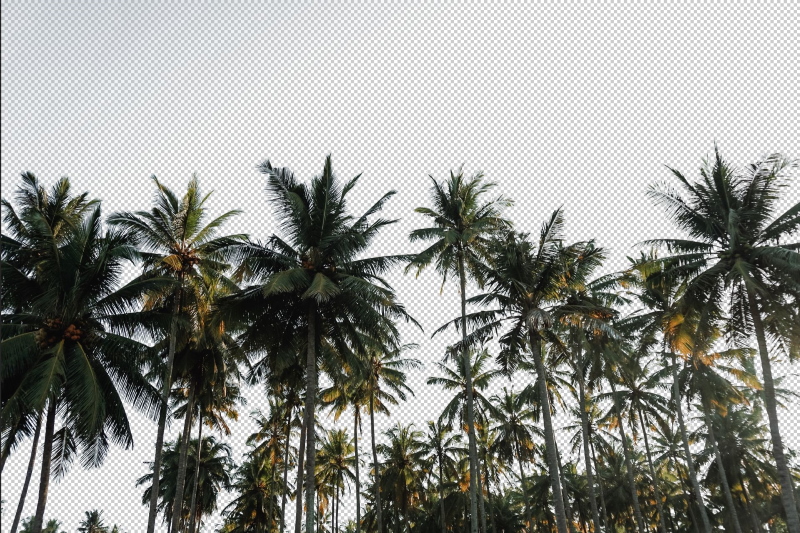
In this method, we will use the blend if to remove the sky from the following photo.
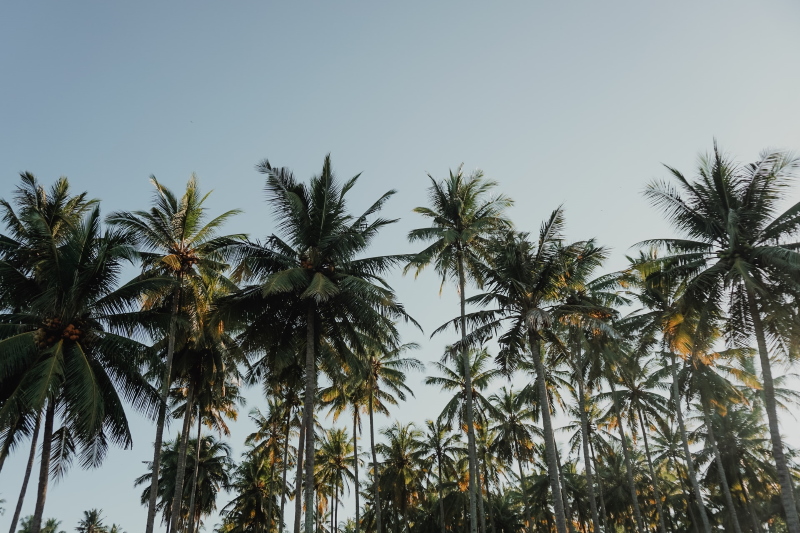
Photo by Tamba Budiarsana from Pexels
Blend If does pretty much what Luminosity masks do: It masks out part of a layer based on the luminosity of pixels. Let us start:
- Take a look at the individual channels in the image, you may find one where there is plenty of contrast between the area you are seeking to hide (the blue sky) and the areas you want to keep (the trees). Choose Window > Channels and click on the Red, Blue, and Green channels, in turn, to view them, and look where is the higher contrast.
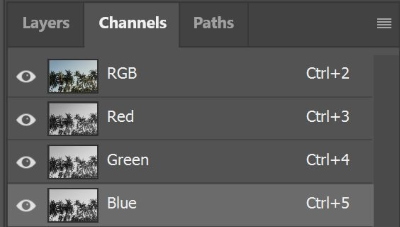
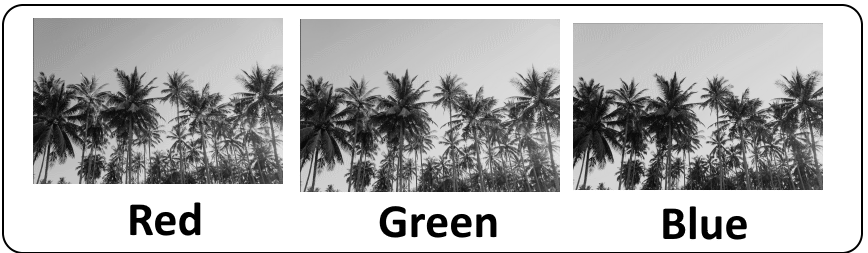
- In this case, the Blue channel displays the sky as a lighter tone than the trees, which are darker. This channel has the most contrast in the area we are interested in so it will be a good one to use. Select the RGB channel again before you leave the Channels palette.
- Blend If can be found under the Blending Options dialog which you can access by simply double-clicking on a Layer to open the layer Style, where you can find the blend if at the bottom.
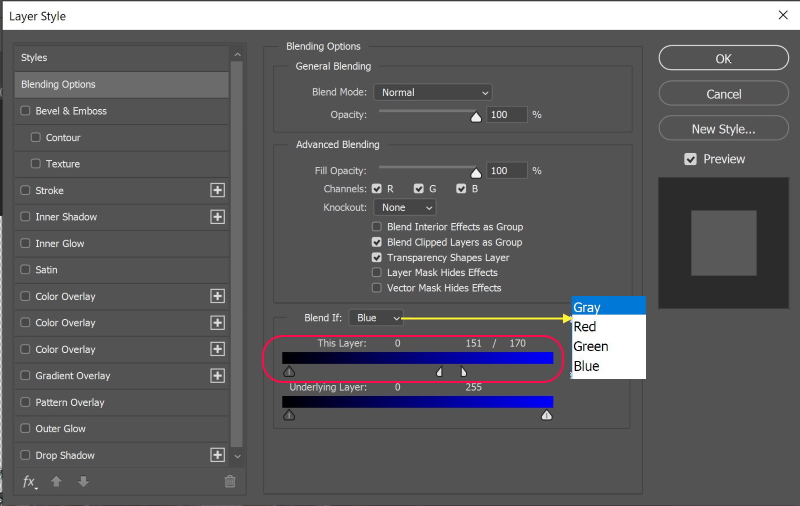
- There are two sliders:
- One that controls blending for the current Layer.
- One that controls how it will blend with the underlying Layer.
- We will use the sliders called This Layer to remove the existing sky
- From the Blend If menu, choose the blue channel( The one with the highest contrast)
- Because the sky is lighter than the trees, we will start by moving the right slider to the left, you will see that parts of the sky is disappearing. To make a smooth transition hold Alt and double click on the right triangle to split it to two triangles. Move the triangles to completely remove the sky.
The result is shown below
Related posts
What Are The Selection Tools In Photoshop?
How To Use Digital Background In Photoshop
Sky Replacement In One Click-Photoshop 2021
How To Change A Sky In Photoshop
Thanks for reading, I hope you enjoyed the article, in case you have any questions just drop them below & I will be happy to answer you.
If you enjoy the site, don’t forget to subscribe, we will only inform you when a new article is posted.


The information you shared helped me better understand background removal. But actually removing background is a difficult skill for me. So I usually use an online tool that can help me do that.
Thanks for your comment
Thank you for the detailed descriptions on how to remove the background from a photograph. It still seems pretty complicated to me, but might be better if I experiment with the different tools. Is there any one tool out of the six that is easier to use for a beginner? Would I also be able to increase the pixels on the photo, or do I need a different process for that?
Thanks for your comment, It is clear that the Quick action: Remove Background (Method 1) is the easiest one, it is fully automatic, with only one click. For adding pixels to your photo, check my post “How To Stretch Image“
Hi Amin. Very interesting article. Im just starting my adventure with photography and posts like this are extremely useful. I tried few different programs to remove background from pictures but to be fair I wasn’t fully satisfied with results. But looking on your post, photoshop is perfect tool for this exercise, and Im looking forward to test your advices in practice.
Thanks for your feedback, good luck with your editing!