

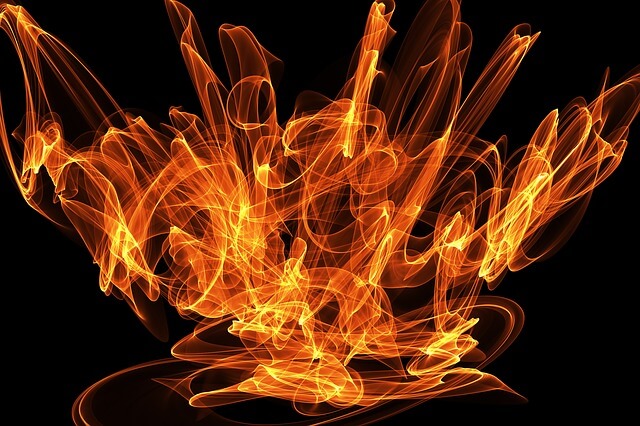
Light painting is a photographic technique used when shooting long exposure photos, and it involves adding a moving light to a subject or space in the frame or to shine that light at the camera to draw or write. This technique is called light painting, painting with light, or light drawing. Since the 1880s the technique is used for both scientific and artistic purposes, as well as in commercial photography.
The light painting techniques involve opening your camera’s shutter. It has to be long enough for you to ‘paint’ in the dark with a light source. The light source can be a torch or lantern, effectively painting with the light inside the photo.
In the following post, I’ll introduce to you the light painting technique and its types, the required equipment, camera settings, and how to do it.


The types of light painting photography
There are three ways and arrangement to do light painting photography:
-
The Light Source is seen and is within the camera frame:
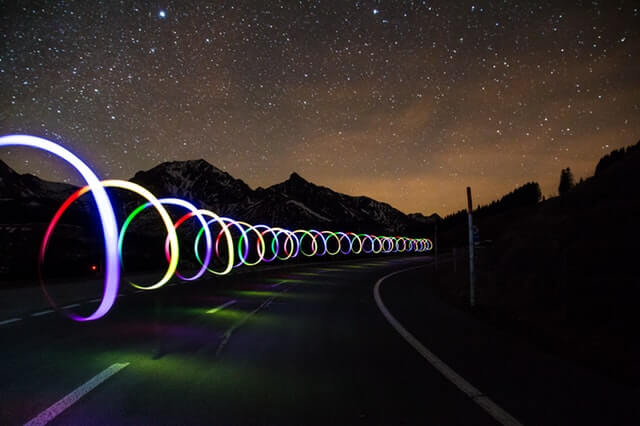
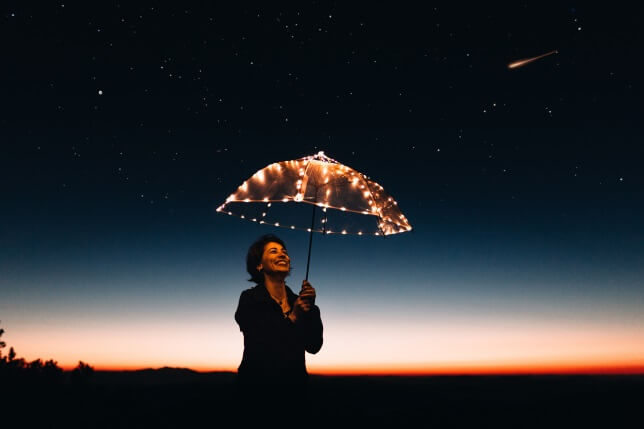
This arrangement is done by illuminating elements of the photo by the light source, and at the same time, the light source is seen by the camera. With this technique, the light painting artist stands in front of the camera during a long exposure photograph and uses an illuminated light source to create color and design within the frame. Examples of using this technique are Light Writing, Light Drawing, and Light Graffiti.
-
The Light Source is not seen by the camera
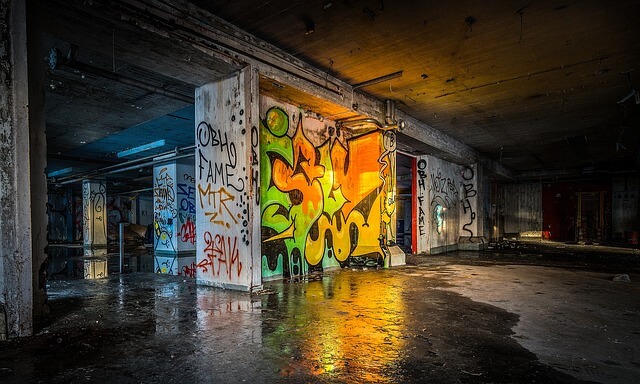
This is creating a light painting where the element illuminated by the light source can NOT be seen by the camera. With this technique, the light painting artist stands behind the camera during a long exposure photograph and projects light into the scene to create color and design within the frame. Sometimes the artist can enter the scene and selectively illuminate parts of the image without the light source being seen by the camera.

-
Moving the camera: Kinetic Light Painting Photography
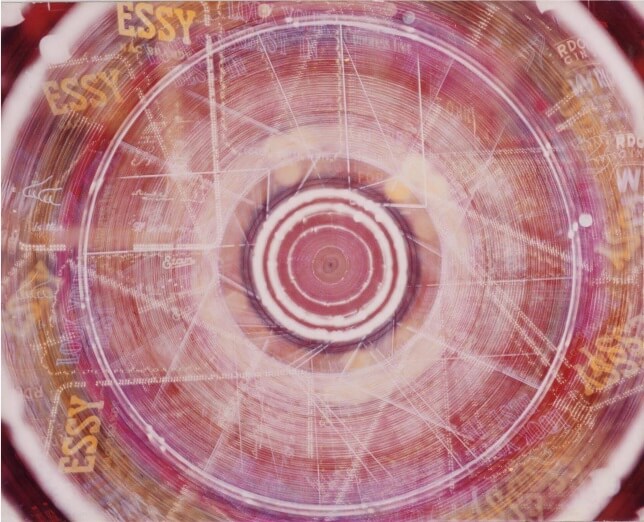
Kinetic Light Painting is where the light source stays stationary and the camera is moved to create color or design within the frame. An example would be using a Camera Rotation Tool to spin the camera in a 360º motion during the exposure using stationary city lights to create the image. The history of this technique can be traced back to 1953 and image below from Photographer David Potts. (Via: lightpaintingphotography.com)
The required equipment
It is very important to have the right equipment in order to achieve amazing light painting photos. Although this technique involves a lot of trial and errors approach, it is good advice to try to have the suitable equipment at least to make your trials less.
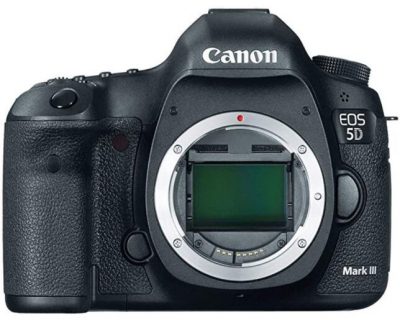
- Camera:
You are going to apply the light painting technique in a low light situation, so it is clear that you should have a camera with a good low light capability. Another important aspect is your camera ability to handle the noise especially when you need to crank the ISO up for low-light situations. The following are my recommendations, I’m a Canon lover!

Also, Nikon D5, Sony a7SII, and Sony Alpha a6300 are great for light painting.
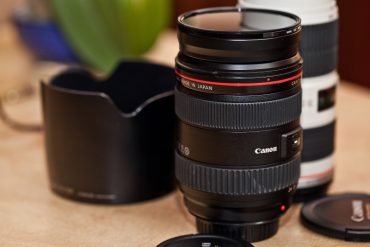
- Lens:
Of course, your choice of lens will be largely dictated by what you intend to shoot and in what kind of environment you plan to visit. But it seems that wide angle lenses are good for interior light painting. If you’re looking to include a little astrophotography in your images as some light painting practitioners tend to do, then Sigma 14mm f/1.4 would be more than appropriate.
- Tripod & wireless shutter remote
As you’ll be out working in the open and working with long exposures you’re likely to be faced with winds, uneven ground, you want to avoid camera shake, and probably you are going to work alone it seems that a sturdy tripod with a remote shutter release is a must.
- Painting tools:
There are plenty of tools out there to help you on your way to creating successful light painting images. Just a quick glance online will reveal several specialized tools, such as:
External Flash (Speedlights)
It is the first source of light that can be utilized for light painting. You can take it off the camera and walk around your subject, such as a car, deliberately popping the flash as you walk around the subject. Also, if you’re able to remotely trigger your flash units, you can place them inside buildings or inside cars, so that they will be triggered when you press the shutter button. This will give your interior nice illumination, and you can also introduce other light sources to illuminate the outside of your subject.
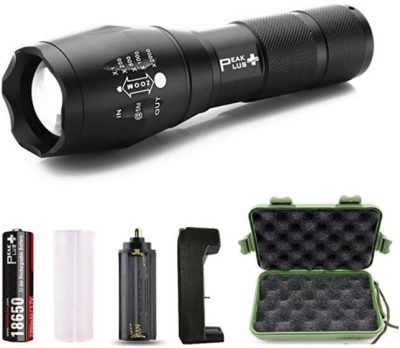
PeakPlus Super Bright LED Flashlight
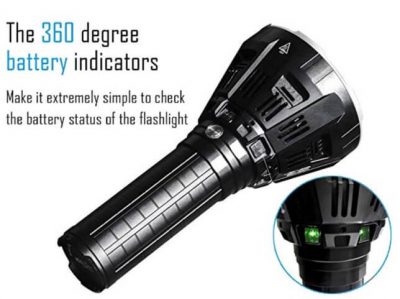
IMALENT MS12 Brightest Flashlight 53000 Lumens
![]()

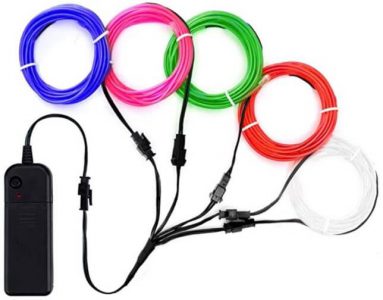
Zitrades EL Wire Neon Lights Kit
There is a wonderful site that specializes in light painting tools and different types of painting brushes “Light Painting Brushes”, contains a lot of tutorials and useful information about light painting and I strongly recommend that you pay it a visit.
- Other items:
It is good advice to have spare parts of your SD cards, and enough amounts of AA batteries, which will get eaten up by your lighting tools.
Camera setting:
You can start with a low ISO of 100, f/5.6 or f/8, 10-20 seconds shutter speed. Remember to adjust your camera with the following points in mind:
- Shoot raw file format whenever possible, you can pull so many more details out of the shadows and highlights in post-processing than you ever could using jpeg file format.
- As you are shooting in the dark or at night, your camera will have a hard time focusing and will “hunt” unless you find focus and lock it for all your exposures. To achieve focus you may use your flashlight. If your camera has back button focus capabilities I’d suggest using that, if not you can focus and then turn it to manual focus so it doesn’t attempt to refocus when you hit the shutter release.
- Use Manual or bulb mode: to control the exposure, in this way, the camera is not trying to guess the correct exposure. For exposures longer than 30 seconds, you’ll need to find and use your BULB setting.
- For the white balance setting, you may choose the “incandescent” or “tungsten” White Balance Preset when doing the light painting because it will balance correctly for the flashlight. Also, you may try the auto white balance because if you’re shooting raw files you can adjust the color temperature any time in Adobe Camera Raw. If you’re shooting in jpeg, then the value is fixed and you can’t alter it afterward.
- Most of the time choose the lowest ISO possible. Noise in your image increases with higher ISO, long exposures, and in blue or dark areas of your scene. We’re already pushing the long exposure boundaries and night is ALL blue – so keeping the ISO low will minimize the noise best we can, if you are forced to increase your ISO setting, you may consider reducing the noise using editing software.
- Turn OFF “long exposure noise reduction” unless you have a lot of patience. What it does is take a second exposure of equal length of just black, then merge it with your shot to get rid of the noise. But if you’re doing a 2-minute exposure, you have to wait another 2 minutes to review your image and be able to shoot again.
- Turn off any image stabilization (IS or VR) on your lens.
How to do light painting?
Light painting is a trial-and-error process. You need to take a test shot without using any painting light to adjust for the exposure, and keep in mind that you will add more light to the painting. Check the test photo for its exposure, it should be a little underexposed and the histogram should be mostly shifted to the left side. One experienced light painting photographer said that you should train yourself to underexpose your exposure by at least one stop when setting your test images.’
Adjust your settings so that you have a long enough shutter speed to easily get into the scene and light the subject with your light source before the shutter closes, start with 20-30 seconds and see if it is enough to move into the scene and do the paint painting.
After setting your camera, you can start painting now. Use your remote shutter to start shooting, and begin adding light to the scene using your light source. You can get in front of the camera if you are continuously moving and never allowing the light to hit you, otherwise, the final photo will contain ghosts. To do some light drawing point your light torch towards your camera lens and start writing or drawing. When finish painting, close the camera shutter using your remote.
Light painting tips
You should be very careful when choosing a light source because its qualities will determine how it can be used. There are three factors you should think about: its intensity, its wildness, and its color temperature. You need to choose dimmable light sources because light painting relies heavily on light intensity. To get the best results, you must be able to alter light intensity in whichever way you like to ensure every part of a photo gets the right amount of light. To avoid odd and flat pictures, you have to consider using different types of light sources.
To avoid creating any harsh lines or bright spots, you have to keep the light moving the whole time. But if you want to highlight the outlines of shape you may slow down your painting speed to allow more light to get into this boundary. Also if you want to have a defined outline of the shape you must come in close to the subject! By that, I mean about 1-2 feet away from the subject. Of Course, you are going to get right into the scene. But if you keep moving, and keep your light moving you will not show up in the photo.
In many cases you will be in front of your camera, so to keep yourself invisible make sure that you are always moving and make sure the flashlight is aimed only at the subject and that you do not light up yourself. Finally wearing dark clothing helps too to avoid showing you up as a ghost.
To get a broader and more even light use a wide flashlight beam stand back from the subject a bit (4-8 feet) and light it from the side to create a nice cross light and texture on the subject.
Related posts
Long Shutter Speed Photography – How To Apply it?
What Is White Balance? – A Beginner Guide
Digital Camera Tripod- How to Choose the Right One
Canon Wireless Remote Shutter Release – Avoid camera shake now!
How to Reduce Photo Noise – Free Noise Reduction Software
Back Button Focus for Canon- What is it and how to use it
Thanks for reading, I hope you enjoyed the article if you have any questions just post them below & I will be happy to answer you.
If you enjoy the site, don’t forget to subscribe, we will only inform you when a new article is posted.


The photographs in this article are so beautiful especially the one with the cat. There is just such a depth that I feel like I can actually reach out and pet him.
It’s amazing that this form of art exists and most of the public knows very little about it. I think most of us just chalked it up to “camera magic” or something, but light photography is really unique in the way it creates depth and feeling to a picture. For example, the picture with the couple holding hands; the warmth between them could be felt. Which (I assume) is what is supposed to happen when that particular effect is put in place.
I have always enjoyed looking at different collections and trying to understand what the photographer saw. Thank you for giving me a better understanding of what else goes into creating those moments in time; both real and imagined.
I totally agree with you, light painting photography techniques provide us with a powerful tool to creates depth and feeling to a picture. Thank you for your nice comment