The building scene attracts photographers for many reasons; one of them is a purely artistic interest, while others are making a career of it by shooting for clients such as architecture firms, advertising firms, and magazines.
Building photography is also referred to as architecture photography or structure photography it generally means photography that focuses on buildings. It includes shooting the exteriors and interiors of buildings, as well as bridges, other structures, and cityscapes.
Building photography is about capturing not only the design and the shape of a building but also capturing the beauty of the building and making the shots pleasing and attractive to the viewer’s eye. A well saying that describes building photography is “An architectural photographer makes pictures, not takes pictures”
This post will give you some building photography tips; I hope it will help you improve your photography skills.
-
Choose the right lens
To photograph the entirety of a building you need a lens with a large angle of view to fit the scene in the frame. In other words, you need a wide-angle lens.
Wide-angle lenses are invaluable to architectural photography. Chances are that you will be shooting in a relatively tight space. This makes backing up to get everything in the frame nearly impossible. By using wide-angle lenses, you will be able to capture the entire building from a close distance and capture the expansive view in a tight room when shooting interior shots.
Lenses having a focal length or focal length range wider than 35mm on a full-frame camera can be considered wide-angle lenses, while lenses featuring focal lengths wider than 24mm can further be categorized into a subset known as “ultra-wide angle” lenses.
You may check my post here to know more about the features of the wide-angle lenses.
To level up your building and Architectural shots, there is the professional way, which is using a tilt-shift lens. It gives you more control of the perspective. The tilt-shift has two main advantages over a normal lens:
- With the tilt movement, the focal plane becomes pliable, it becomes possible to capture an image entirely in focus (background and foreground), as well as narrow the focal plane and make it surrounded by soft blur.
- The Shift movement allows you to adjust a subject’s place in a composition without needing to move the camera itself. It also keeps everything squared, eliminating the convergence of vertical lines, a phenomenon known as “keystoning” that occurs when photographing tall buildings.
However, if you need to capture the details of the building from a distance, you will need a lens with a telephoto focal length range.
I advise you to read my post “Best Lens for Architectural Photography”, it will help you choose the right lens.
-
It is all about composition and perspective
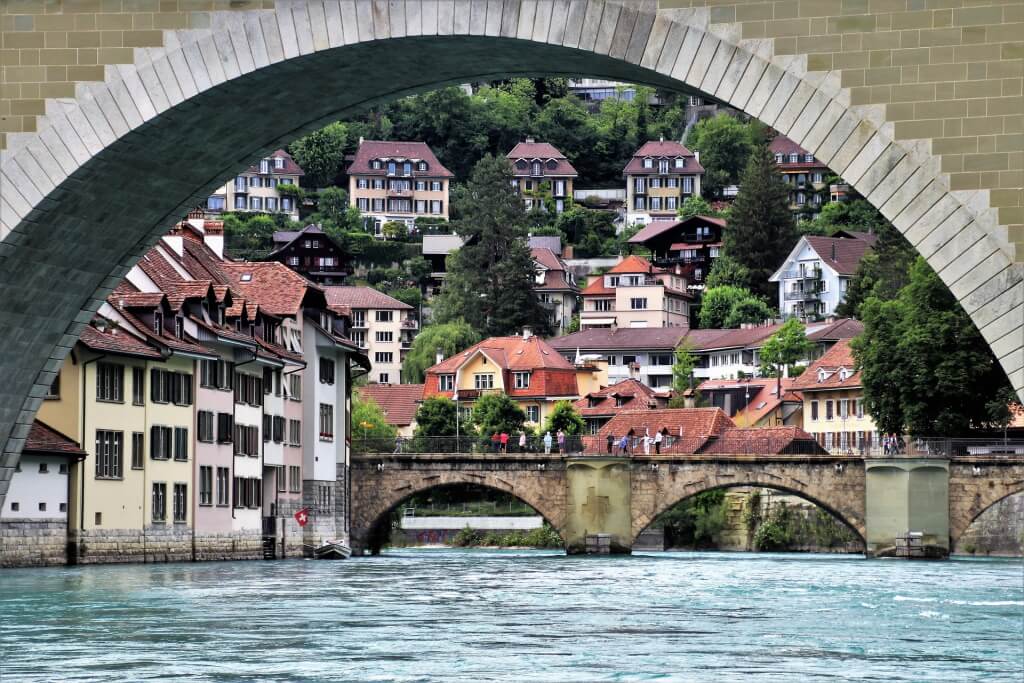
It is common for some photographers to take a photo from eye level. However, when it comes to building and architecture photography, height plays a great role in the composition of an image. It is a good idea to approach your building from all perspectives and use different compositions.
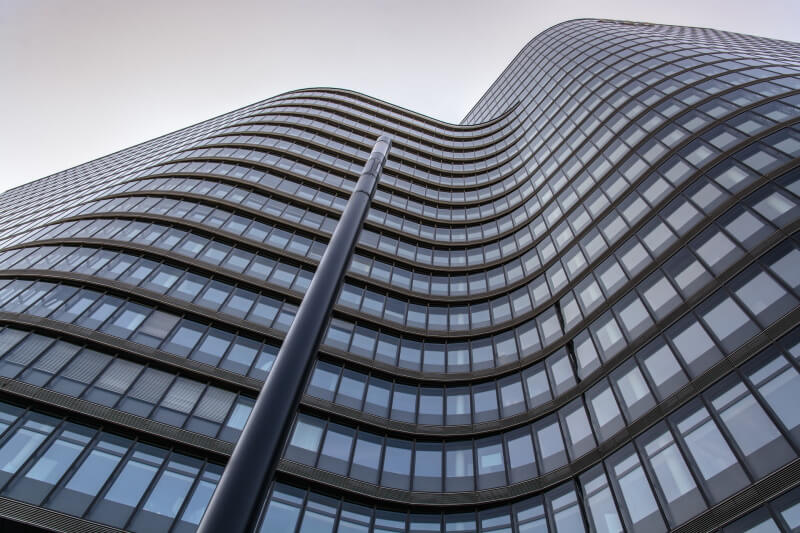
Photo from Pixabay
You can think of finding some ways to get shots with a different perspective and different viewing angles. It could mean shooting at ground level instead of eye level, or standing on higher ground and shooting the subject with a downward angle.
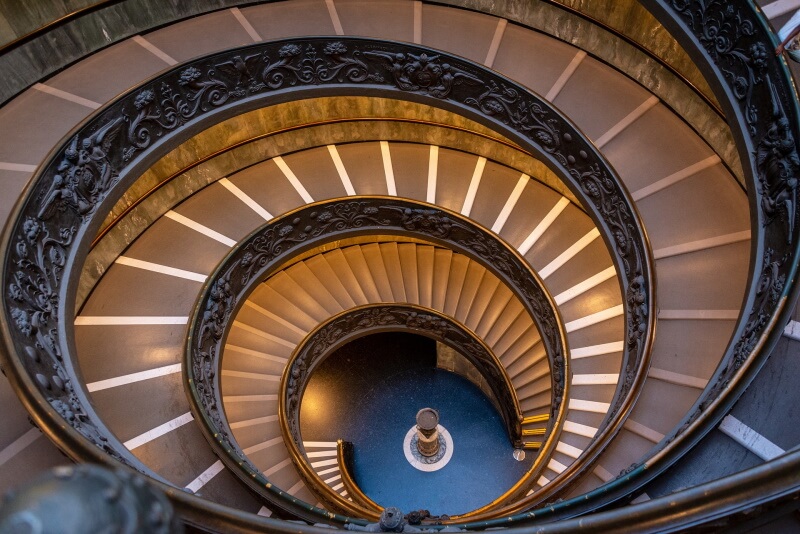
Photo from Pixabay
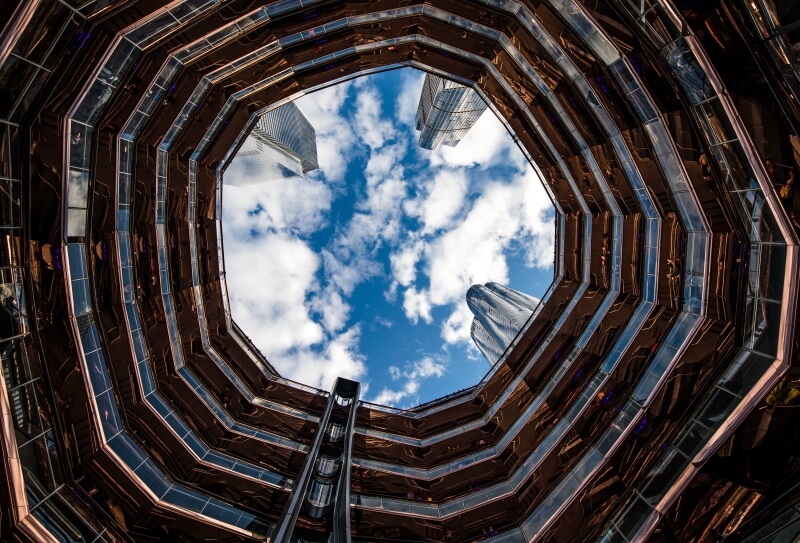
Photo by Ehab Amin
-
Shoot during golden & blue hours
The golden hour is the first hour of light after the sunrises and the last hour of light before the sun sets. The golden hour gets its name from the warm, golden light that you find at this time of day.
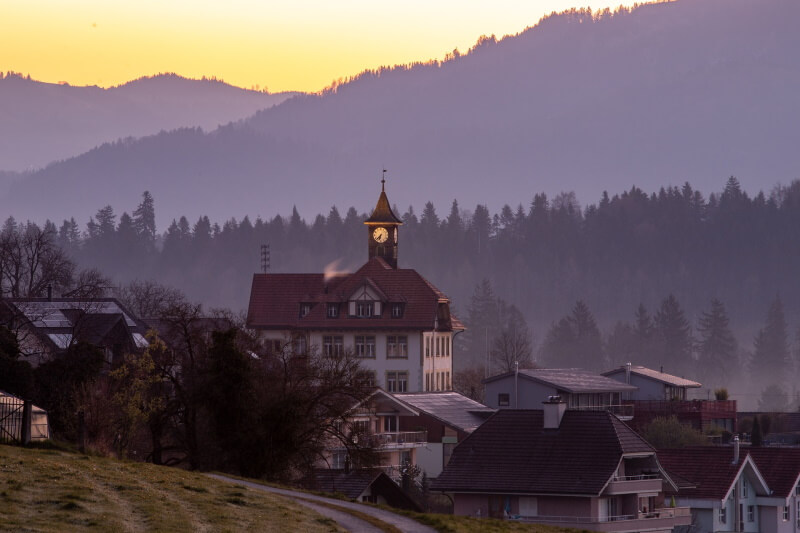
Photo from Pixabay
On the other hand, the blue hour refers to the darker stages of morning and evening twilight, when the Sun is quite far below the horizon, coloring the sky deep blue, those times are the favorite time of the day for photographers.
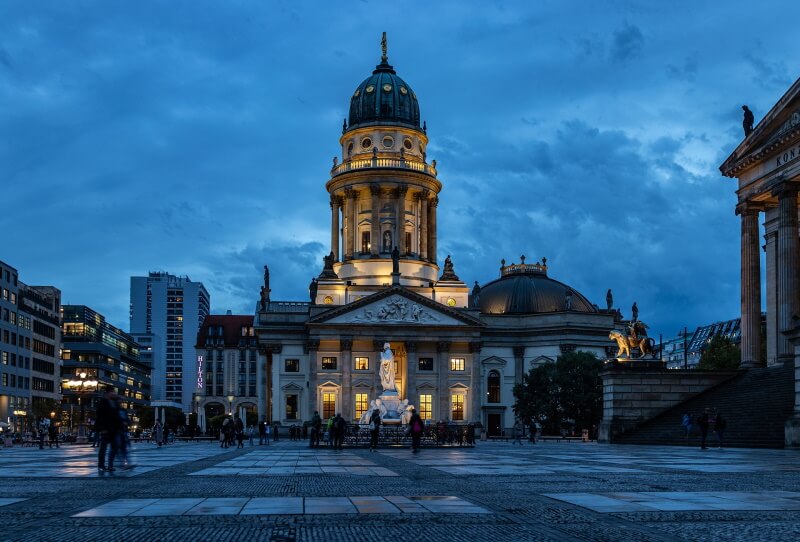
Photo from Pixabay
When the sun is so low in the sky during the morning and evening, the lighting becomes diffused and generally appears softer. Images acquire a golden glow, and you don’t see any harsh shadows in photographs. It is the magic time for taking amazing shots, so, if you have the chance do not miss it!
-
Try some night shots
The scene of a building or architecture at night is an entirely new perspective; it is completely different from that is seen in daylight. The lights coming from inside and around it can create new colors, shadows, and reflections that add a new dimension to your photos.
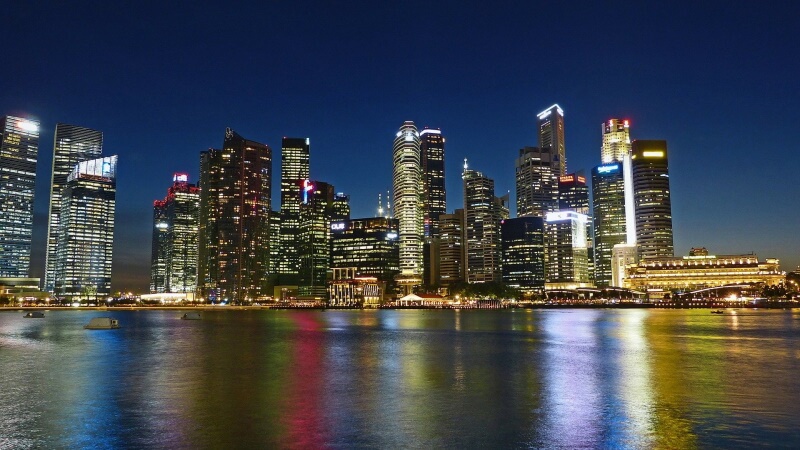
Photo from Pixabay
Shooting at night also allows you to take advantage of some photography techniques:
-
Long shutter speed
Slow shutter speeds give you long exposure times, which allow you to capture light trails left by moving cars. To get the most out of your night shots, you’re going to need to plan ahead and know the settings of your camera inside and out.
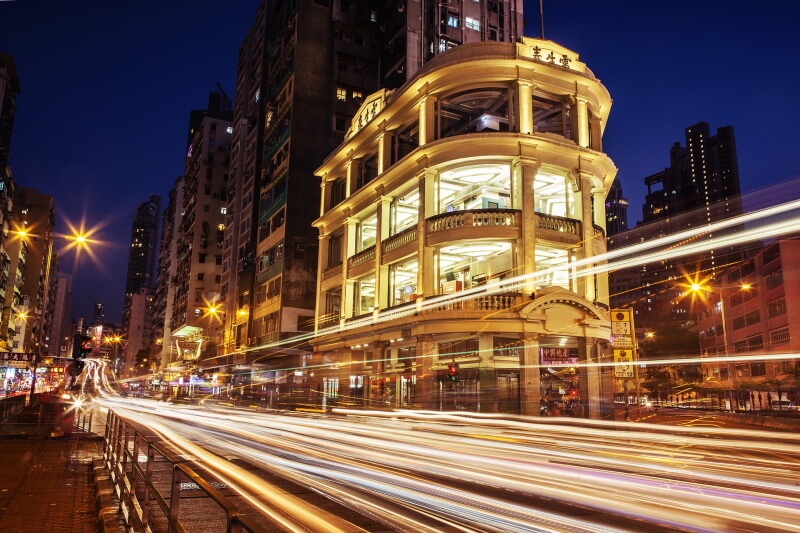
Photo from Pixabay
- bracket exposures
This technique involves taking a series of photographs in different exposure settings. If you took three photos of the same building, one at normal exposure, the second at darker exposure, and the third at a brighter exposure. Ideally, one of those photos will give you the exposure that you want. That is the first obvious option, but the second amazing one is to process the three images in special software to produce an amazing HDR photo.
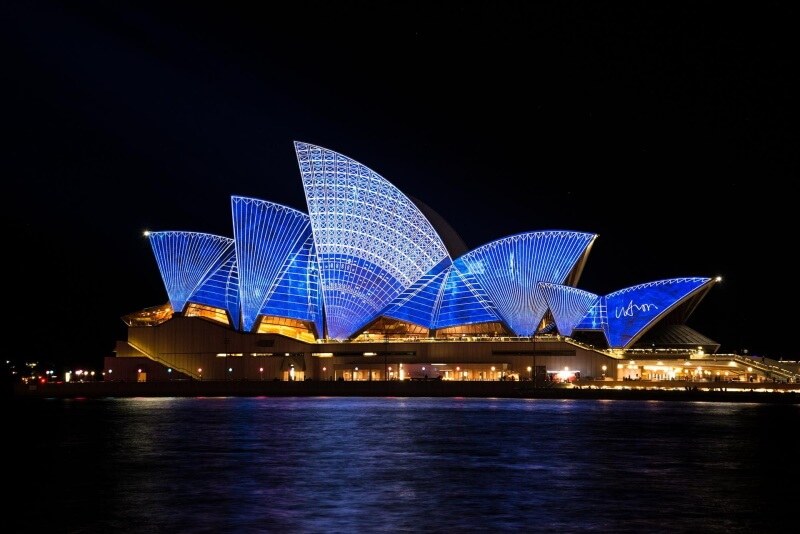
Photo from Pixabay
-
Use Panorama technique
Panoramic photography is a technique of photography to capture images with horizontally elongated fields of view. The term “panorama” literally means “all sight” in Greek, an image showing a field of view greater than that of the human eye (about 160° horizontal by 75°vertical) may be termed panoramic.
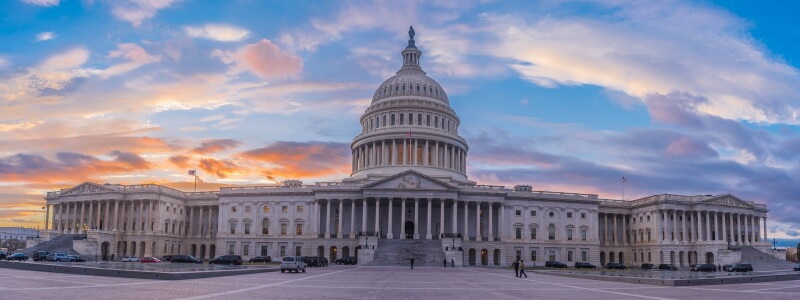
Photo from Pixabay
A function on most modern digital cameras enables you to take multiple photos in sequence as you shoot. These images can later be stitched together to create one larger panoramic image. Some cameras may have the stitch built-in, while others may require you to do the stitching through software editing later.
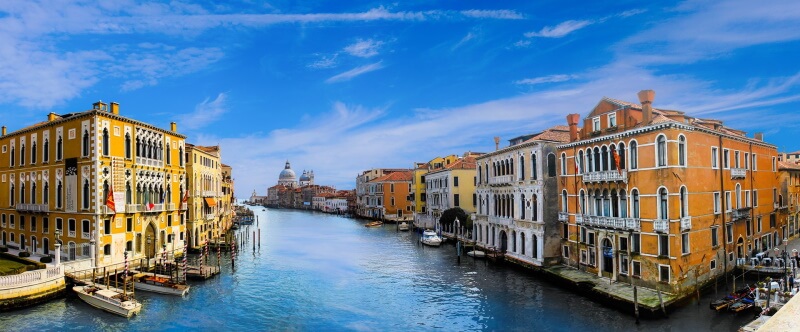
Photo from Pixabay
Panoramic photos don’t always mean horizontal! You can also capture more of the top and bottom of a scene with a vertical pano.
-
Seize the symmetry
The rules of symmetry in photography are tools that can help you achieve balance and better composition of your photos. Symmetry is a powerful element in architecture that can provide jaw-dropping “wow” photos.
The three most common forms of symmetry are vertical, horizontal, and radial symmetry. For more reading about symmetry, I recommend checking my post “Rule of Symmetry in Photography”
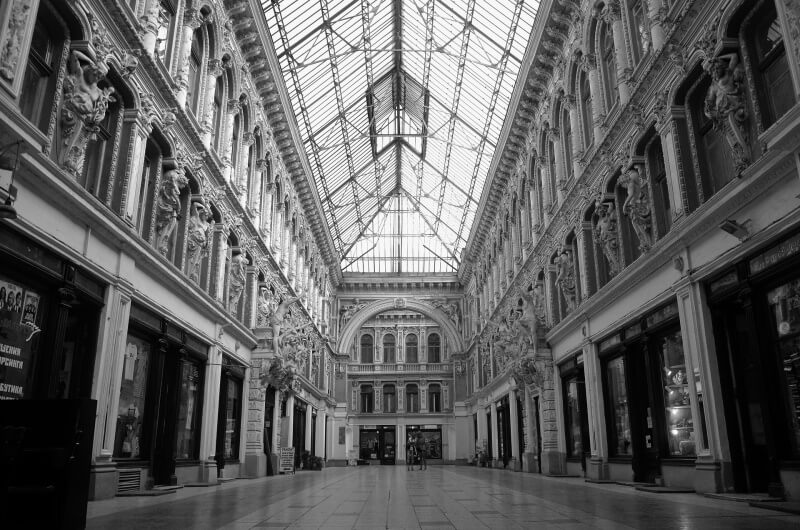
Photo from Pixabay
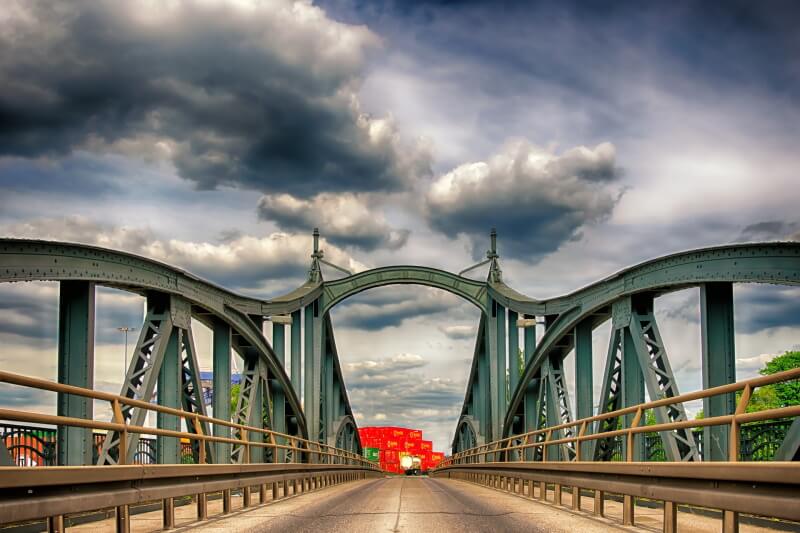
Photo from Pixabay
-
Catch the details & patterns
When it comes to photographing buildings, there is so much more to pick from than just the plain building itself. Considering all the details, they can provide a great option for amazing shots. Monuments, statues, lampposts, even stairs are examples of details that offer chances for some interesting photos.
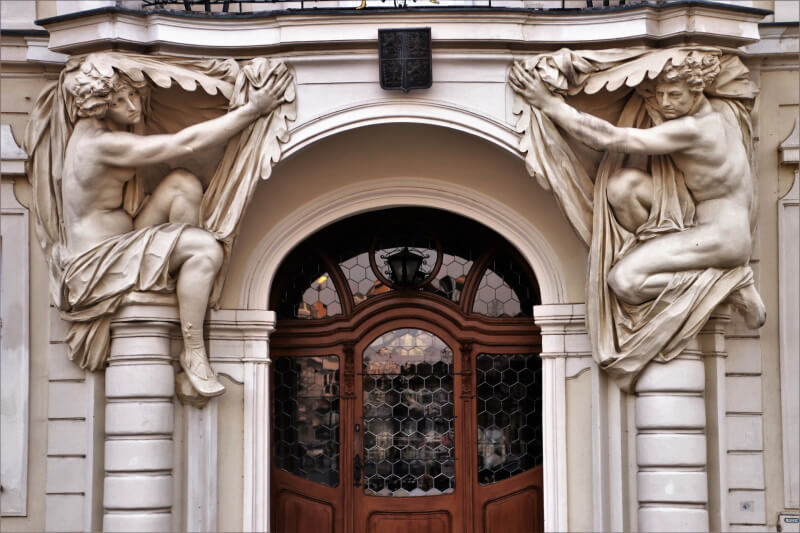
Photo from Pixabay
The pattern is elements of the scene that repeat themselves in a predictable way. The pattern in architecture is the idea of capturing architectural design. This can include exteriors and interiors of buildings and any other physical structures that surround buildings. Please see some examples of patterns in architecture below.
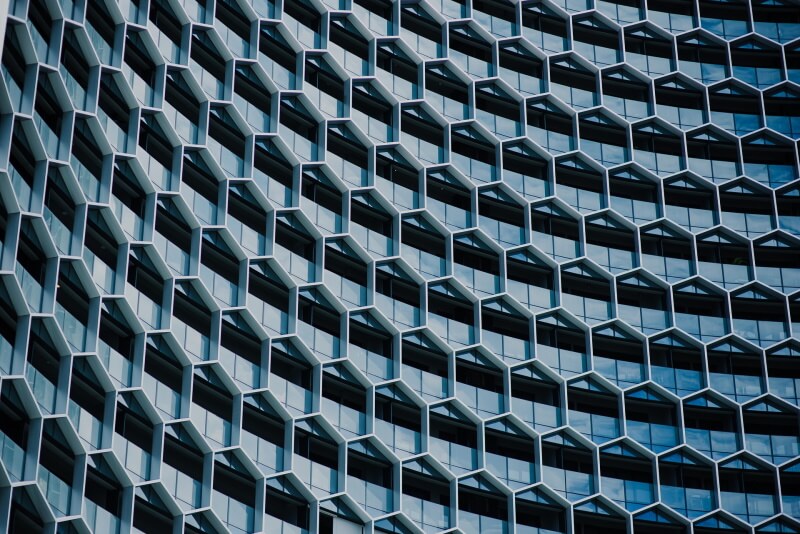
Photo from Pixabay
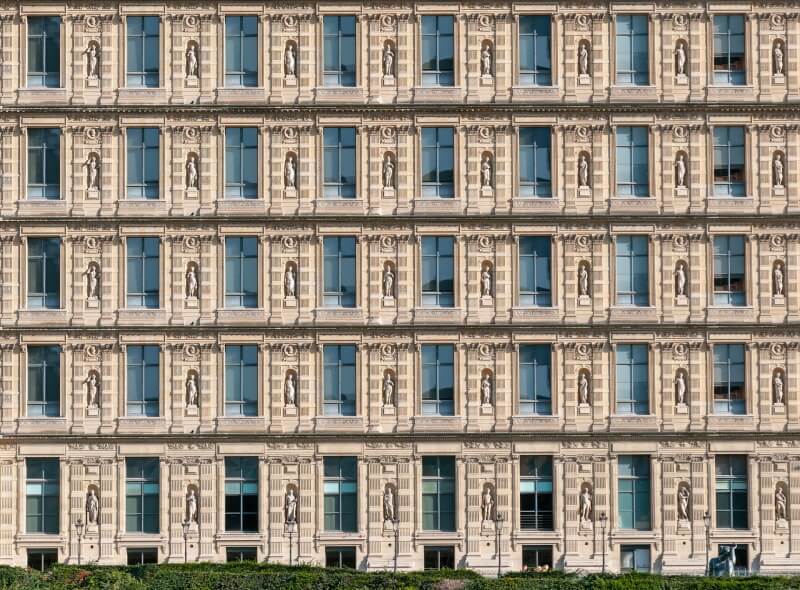
Photo from Pixabay
-
Use Water reflection photography
One common way to improve your image composition is simply to mind what is being reflected in the water. The buildings and lights of the city look great in the water reflections scene.
Calm water is a key parameter when considering the quality of the reflected images in the water. Calm lakes and rivers are good locations to catch amazing water reflection photos.
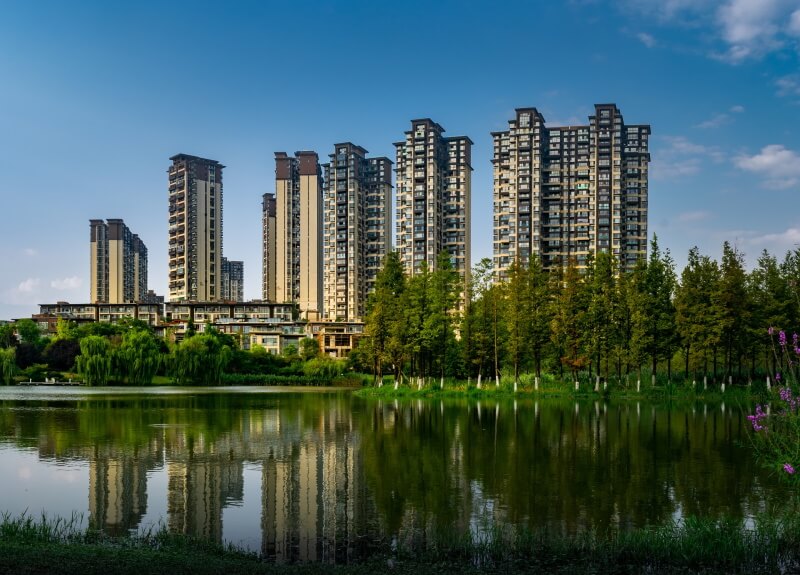
Photo from Pixabay
On the other hand, a windy day can provide a dramatic effect. The waves and swirls caused by wind can make any visible reflection look distorted, maybe even somewhat abstract.
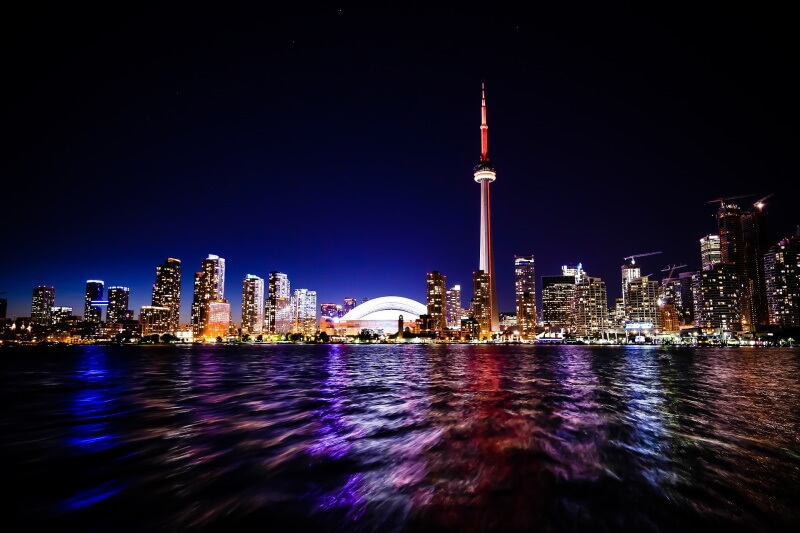
Photo from Pixabay
Tips for how to catch amazing water reflection photos are explained in my post “Water Reflections Photography – A Brief Guide”
-
Invest in some basic photography accessories
The following are some basic accessories:
- Tripod
When trying to focus on the building to get a sharp photo, while using a narrower aperture, there is a possibility to have some blur because of the camera shake. Using a tripod and Off-camera shutter release can solve this problem. In addition, a tripod is a must-have accessory when doing long shutter speed and panorama shooting.
- ND filter
The ND filter prevents a certain amount of incoming light from passing to the optical sensor. When doing that prevention, it doesn’t change the contrast or sharpness of the image.
When using an ND filter, you can use a longer shutter speed than otherwise possible; it also enables using larger apertures, which can produce a shallower depth of field.
-
Learn How to use an editing software
Architecture photographers must learn how to post-process their shots to help bring out details of the subject and make the necessary edits like removing the distortion caused by using wide-angle lenses and adjusting the perspective. The best way to do this is by using software such as Adobe Photoshop.
More reading
The following video explains in detail how to adjust perspective using Photoshop
Related Posts
Architectural Photography- The Full Guide
How To Use Tilt Shift Lens? – Your Ultimate Guide
Thanks for reading, I hope you enjoyed the article, in case you have any questions just drop them below & I will be happy to answer you.
The featured photo from Pixabay
If you enjoy the site, don’t forget to subscribe, we will only inform you when a new article is posted.






Oh my gosh, Amin those photos are beautiful! Thank you for taking the time to write and put all of this together. I never even thought about there being a separate category of photography for images of buildings but can see from you descriptions that there are nuances that would be different from other media. I especially like how you talk about the light coming out of the buildings at night.
Glad you like the post, thanks for your feedback
Beautiful website! The content is educational and very useful, and the pictures you used are definitely relevant to the subject. However, Id love to see some of your own pictures in the article, or a gallery or link to your own photos using some of the perspectives too! It’s just missing your personal touch.
Thank you for your comment, you can see some of my building photos here, thanks again for your valuable remark