There are many kinds of photography techniques, learning and discovering a new one can open up new possibilities, and provide endless potential for inspiration and creativity. One of the great things about mastering different photography techniques is finding new ways to incorporate them into everyday compositions. Using one or more of the techniques that I’ll mention below, can enhance everyday subjects, and turn ordinary scenes into creative and artistic images that really stand out.
I have compiled a list of some amazing photography techniques that you may, or may not, have tried. You may prefer watching the two videos below, they summarize the rest of the post.
If not, and you prefer to continue reading, just skip the two videos.
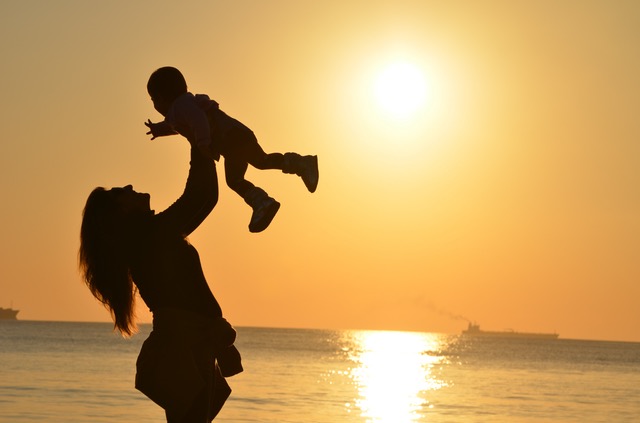
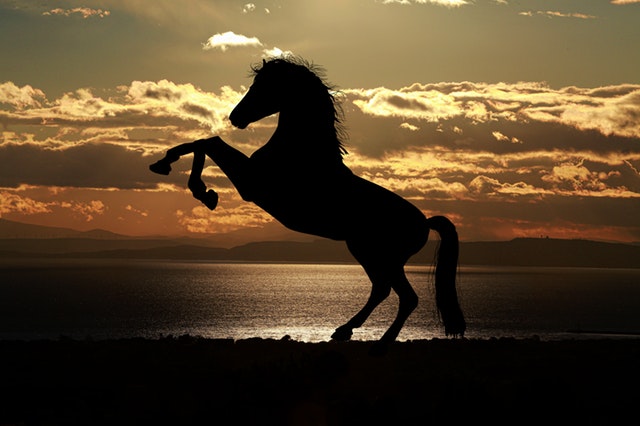
Silhouette photography
Overview
It is defined as an outline that appears dark against a light background. More specifically, it is where your subject is seen as a black shape without detail against a brighter background. This effect can be achieved with any kind of bright light source such as the sun or clear sky.
Related posts
How To Shoot Silhouette Photos – 12 Tips To Get Perfect Results
-
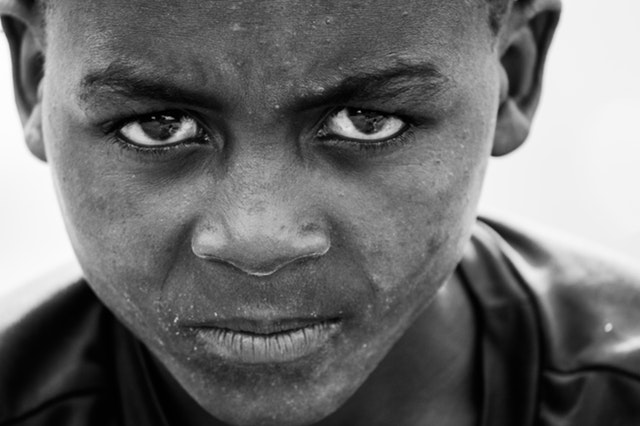
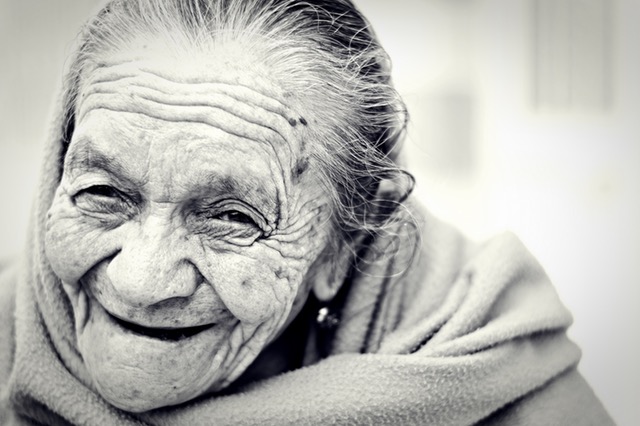
Black And White Photography
Overview
In black-and-white photography you are trying to capture raw emotion in the scene, a gesture, a facial expression, or a feeling that is hard to put into words. They are just different ways we can capture and communicate our feelings about the world.
When shooting in black and white, the colors are turned into shades of gray. Light colors become highlights, and dark colors become dark tones. The differences between these shades are called tonal contrast. Black and white photographers utilize tonal contrast to make good photos.
Related posts
Black And White Photography – Learn And Excel the Magic Art
-
Panorama photography- Photo stitching technique
Overview
Panoramic photography is a technique of photography using specialized equipment and software, to capture images with horizontally elongated fields of view. It is sometimes known as wide format photography.
Most modern digital cameras enable you to take multiple photos in sequence as you shoot and move the camera horizontally. These images can later be stitched together to create one larger panoramic image.


Related posts
The Panorama Photography Tutorials
-
Tilt-Shift Photography
Overview
This technique needs the use of special types of lenses; it is called tilt-shift lenses.
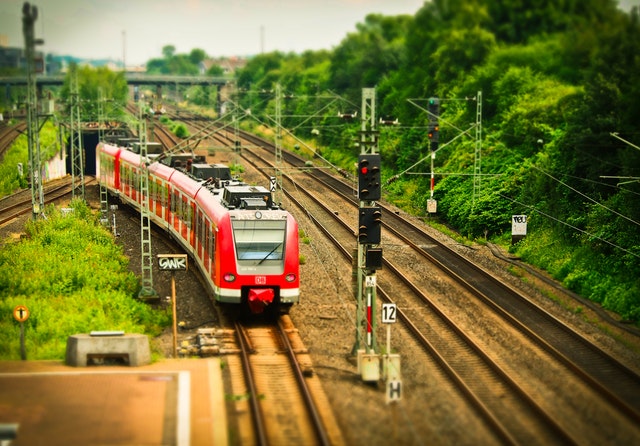
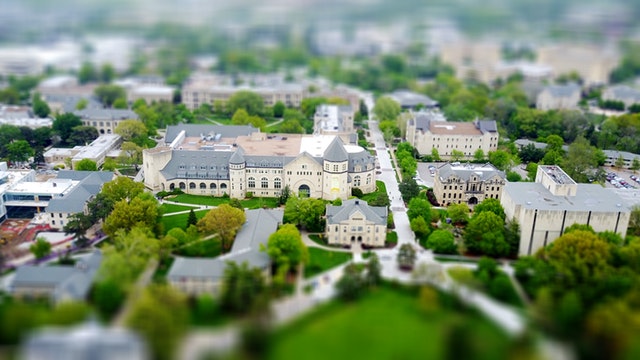
A Tilt-shift lens has two different types of movements: rotation of the lens relative to the image plane, called tilt, and movement of the lens parallel to the image plane, called shift. Tilt is used to control the orientation of the plane of focus. With tilt, the focal plane becomes pliable, and it becomes possible to capture an image entirely in focus (background and foreground), as well as narrow the focal plane and make it surrounded by soft blur. Another thing tilt can do is make miniature-faking possible, creating the illusion of super-shallow depth of field. The shift is used to change the line of sight while avoiding the convergence of parallel lines, as when photographing tall buildings.
Related posts
What is The Tilt Shift Lens – Your Ultimate Guide
The Architectural Photography- The full Guide
-
Motion Blur Photography- slow shutter speed technique
Overview
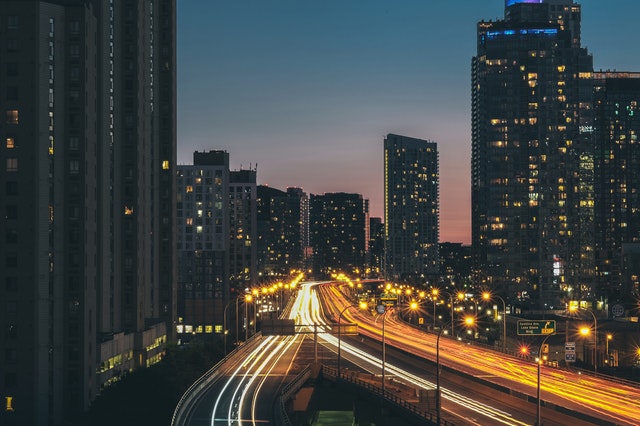
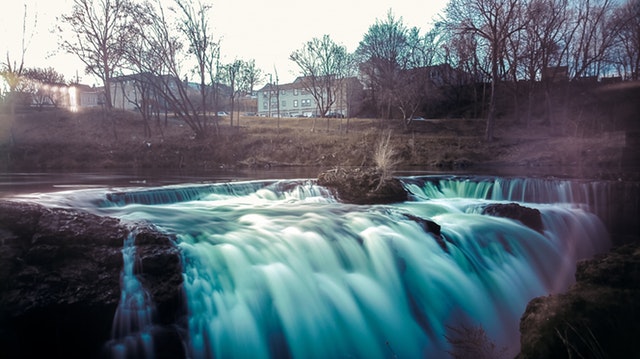
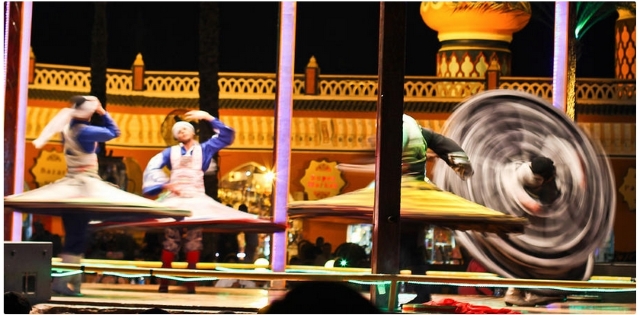
Long exposure photography implies utilizing a long shutter speed, and also a tripod, and regularly a remote shutter release. The subsequent impact is to strongly catch stationary components of a scene while smearing, blurring, or darkening any moving components.
Light trails, Star trails and blurring falling or moving water are examples of this technique.
Related posts
Long Shutter Speed Photography – How To Apply it?
-
Freezing the motion – high shutter speed technique
Overview
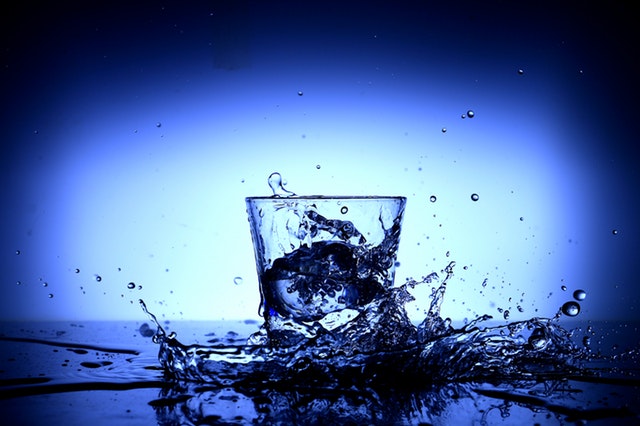
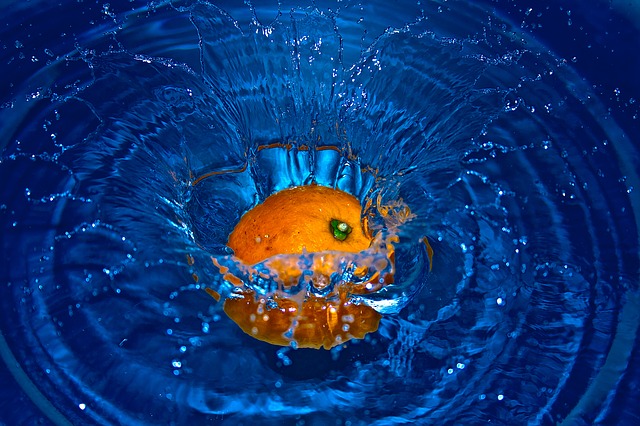
The fast shutter speed photography could be anything more than 1/500th of a second. Yet, advanced digital cameras are speedier than this. On a modern digital camera, you can choose shutter speeds up to 1/8,000th of a second – unbelievably fast! This means the screen opens for only 1/8,000th of a second. In this brief minute, time is truly frozen and you can easily freeze the movement of very fast-moving subjects.
Related post
Fast Shutter Speed Photography – Most Important Things To Consider
-
HDR photography – Bracketing technique
Overview
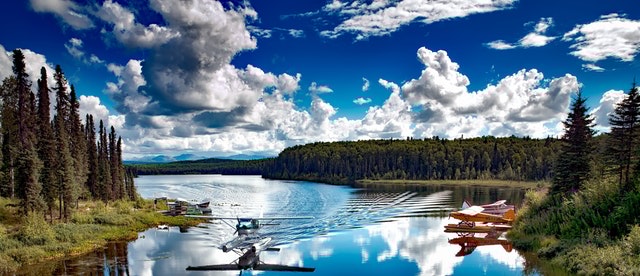
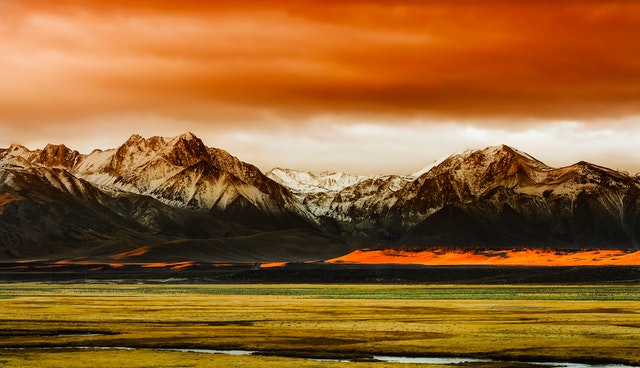
The need to apply bracketing is very logical, if you took three photos of the same subject, one at normal exposure, the second at darker exposure, and the third at a brighter exposure, you would have a better chance of getting a properly exposed shot to choose from. That is the first obvious option, but the second amazing one is to process the three images in special software to produce an amazing HDR photo.
Related post
Bracketing – The Best Way To HDR Photography
The Best HDR Software- Photomatix Pro 5
Aurora HDR 2018 Review – Tools & Performance
Aurora HDR 2018 Review – Features and Technology
-
Focus Stacking technique
Overview
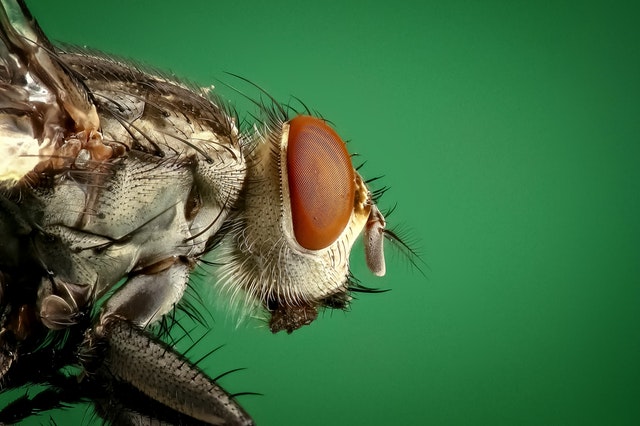
Focus stacking simply means taking multiple photos of the same subject, each with a different focused spot. This is followed by the use of post-processing software like Adobe Photoshop to align the focused portion of each image and blend them into one final and focused image. It is a really simple technique that everyone can use in their photos. The focus stacking technique is usually applied in macro photography, landscape photography, and low light photography.

Related post
Getting The Best Photos Sharpness By Using Photo Stacking
-
Panning technique
Overview
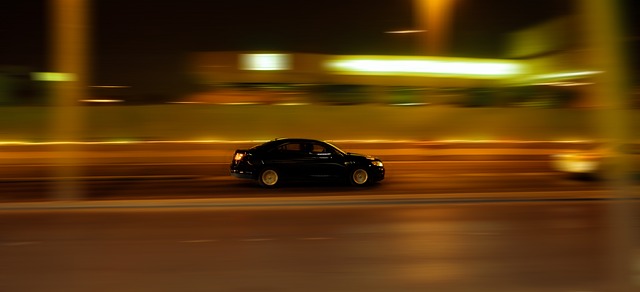
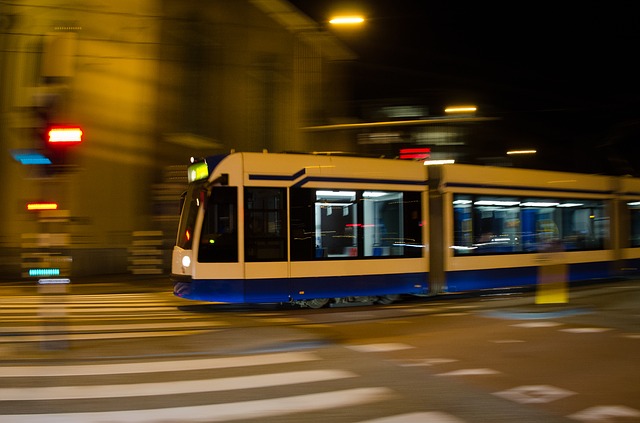
The panning technique is taking a shot while panning your camera horizontally along in time, and tracking a moving subject and ends up getting a relatively sharp subject against a blurred background.
Related post
The Art Of Taking A Panning Shot
-
Bokeh effect technique
Overview
Bokeh is the quality of out-of-focus or “blurry” parts of the image rendered by a camera lens; it is NOT the blur itself or the amount of blur in the foreground or the background of a subject. It is simply the quality and feel of the background/foreground blur and reflected points of light.
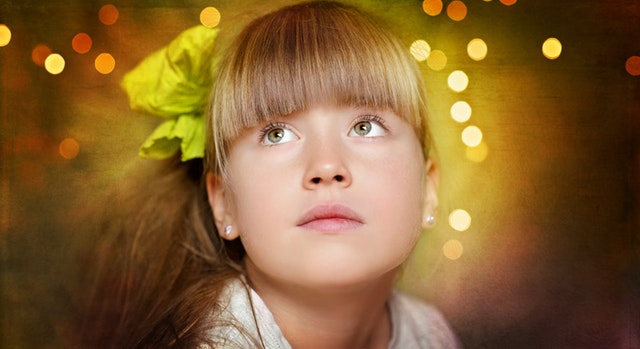

Related post
Bokeh Photography – What Is Bokeh Effect
- Low & high key photography
Overview
-
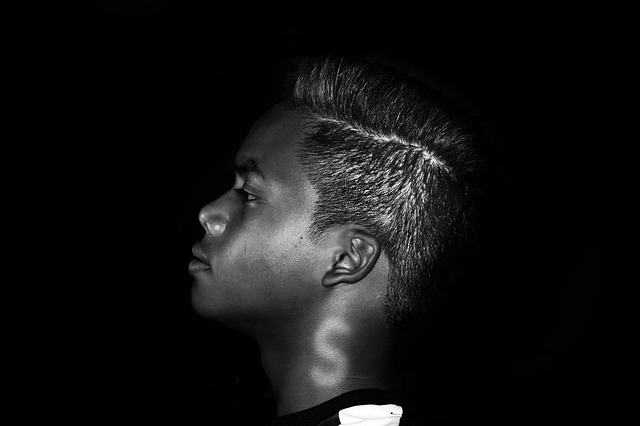
Low key
Low-key photography refers to a style of photography that utilizes predominantly dark tones to create a dramatic-looking image. The key here is not to produce dark images but to use lighting very selectively so that only specific portions of the image are illuminated
-
High key
It is a style of lighting that aims to reduce the lighting ratio present in the scene. It is used to get the best photos that suggest an upbeat, low-contrast, and happy-looking mood. The terminology comes from the higher balance in the ratio between the key light and the fill light in a traditional three-point lighting setup.
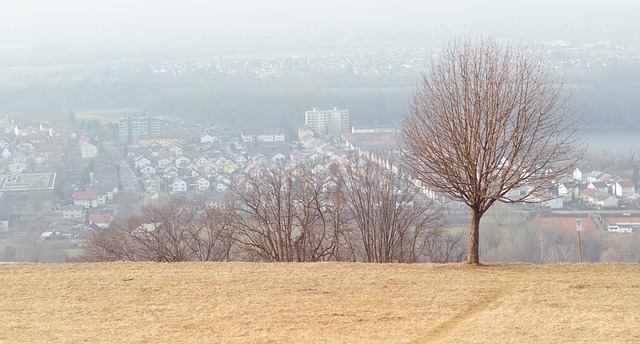
Related post
What is The Low Key Photography – A Beginner Guide
What is The High Key Photography – How to Get The Best Photos
-
Night Photography
Overview
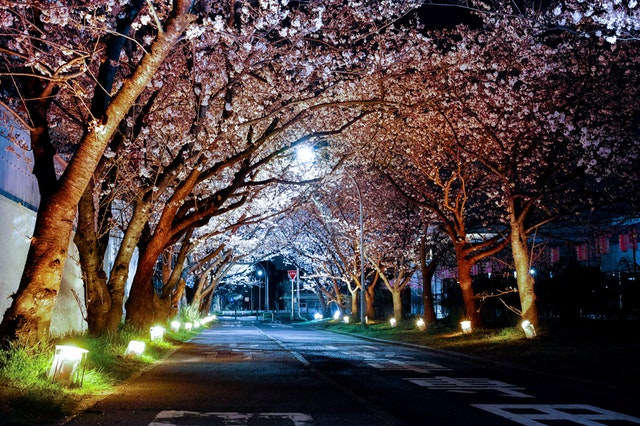
The fun starts when the sun goes down! There is plenty of life to capture after dark. For high-quality night photography, you will need a super-slow shutter speed, and a tripod or solid surface to steady your camera for long exposures. You don’t need to travel a lot to search for exotic places to take photos, you can still get stunning photographs of some subjects, places, buildings, city streets, etc., they look ordinary and may be boring in daylight, but they turn into fantastic scenes at night.
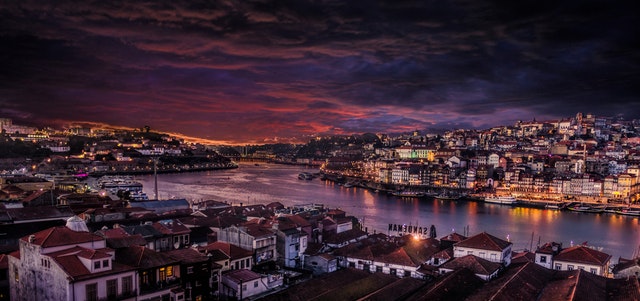
Related post
-
Vintage Photography
Overview
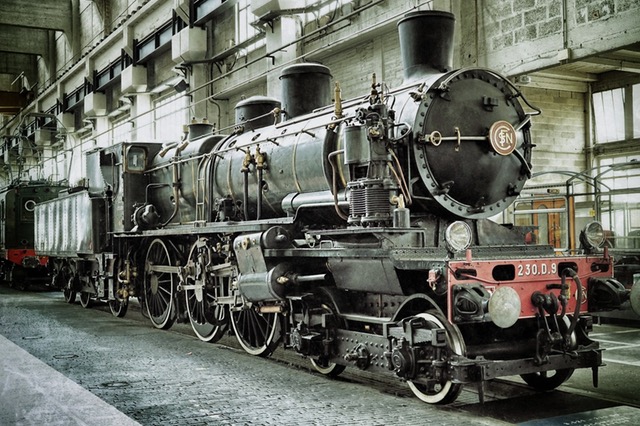
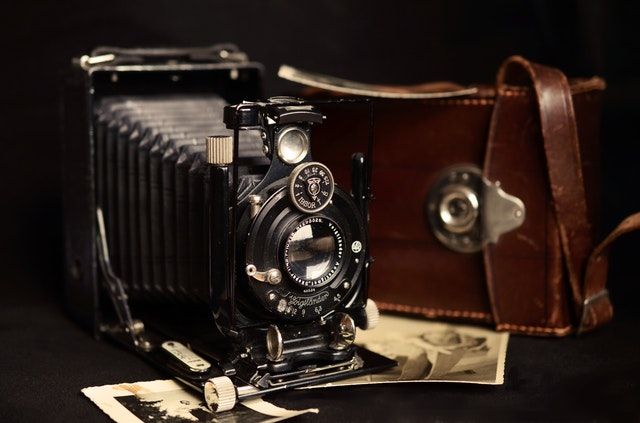
In photography, a vintage print is the first print that the photographer makes immediately after developing a negative. Vintage prints are considered the original piece of art, as it is possible to arbitrarily obtain many copies from the same negative. This means that vintage prints are often signed by the photographer.
However, in the art market now the term is used of old prints – especially from earlier 20th century and 19th centuries.
A cheap UV filter and a dab of Vaseline are all you need to create slightly distorted, vintage-style photographs. Also, it is possible to change a recent photo to look like a vintage-style photo by post-processing software.
-
Zoom Blur Effect
Overview
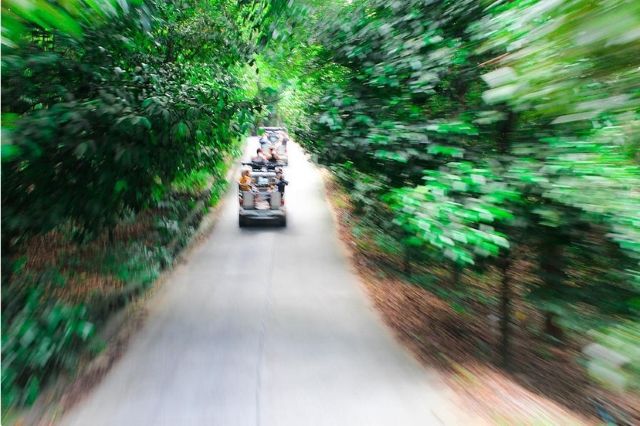
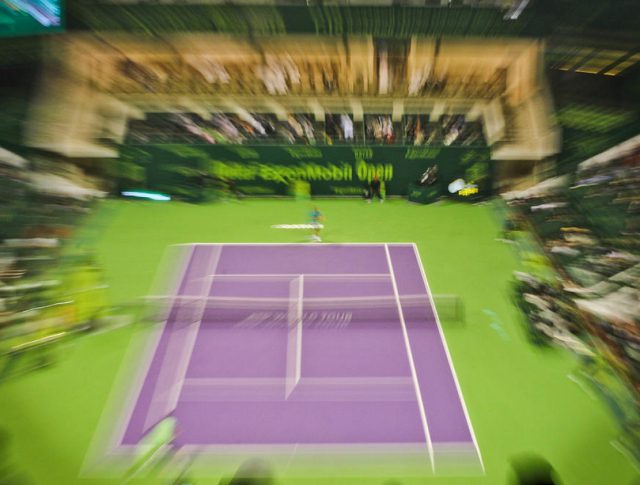
The zoom blur effect is a simple way to add some creative-looking fractured-blur effects to your photographs. To achieve the zoom blur effect, set a slow shutter speed and zoom in or out while releasing the shutter.
The Time-Lapse Photography
Time-lapse photography is a photography technique that compresses time. A natural event may take minutes, hours, or even days to actually happen, by the time-lapse technique you will compress the time of this event and show it in a short video or footage that takes only seconds. A plant growing process or the opening of a flower, for example, can take hours or days to complete, by using a time-lapse technique you can really summarize these events visually in a video that only takes a few seconds to watch.
Related post
Time Lapse Photography Tips-Full Tutorial & Post processing with Lightroom CC
Thank you very much for reading this article. I hope you found what you are looking for; if you need any information related to photography, please don’t hesitate to leave a comment in the box below. If you like the site remember to subscribe, we will inform you when there is a new post.




You have some great photographs and information for how to implement the different techniques and styles of photography. I didn’t realize there were so many! I have struggled for years to take good pictures. I am also an Etsy seller and I get feedback all the time about how I need to improve my photos in order to boost sales. Trouble is, I mostly sell beads and jewelry, which can be very hard to photograph. Any tips on jewelry photography?
hey carol, i took some photos of my wifes jewerly awhile back & the exif data is.. f/9, 3s, 55mm, ISO100. at 3 seconds, u need a tripod, but u can buy a table tripod for around $20. i also recommend a remote trigger but it isnt necessary. we have a nikon d7100 & if its 55mm, it was the stock lens. for lighting, i waived around a led flashlight at various angles. hope this helps!
You have some great photographs and information for how to implement the different techniques and styles of photography. I didn’t realize there were so many! I have struggled for years to take good pictures. I am also an Etsy seller and I get feedback all the time about how I need to improve my photos in order to boost sales. Trouble is, I mostly sell beads and jewelry, which can be very hard to photograph. Any tips on jewelry photography?
Hi, Carol
Thank you for your comment, regarding your question about jewelry photography, I think you can check my post about macro photography , also check my recommended Canon lens which is suitable for shooting macro photos like Jewelry. If you need any help don’t hesitate to contact me. Hope you all the success.