

Interior architectural photography is the captivating art of capturing the beauty and design of the human-built environment, focusing on the interior spaces of various structures. From cozy homes to grand commercial buildings, this photography style brings out the essence of each space, highlighting its unique features and aesthetics.
In this captivating form of photography, skilled photographers use their lenses as a medium to tell the story of architectural marvels. They skillfully compose shots, taking into account lighting, angles, and details to showcase the character and ambiance of the spaces they capture.

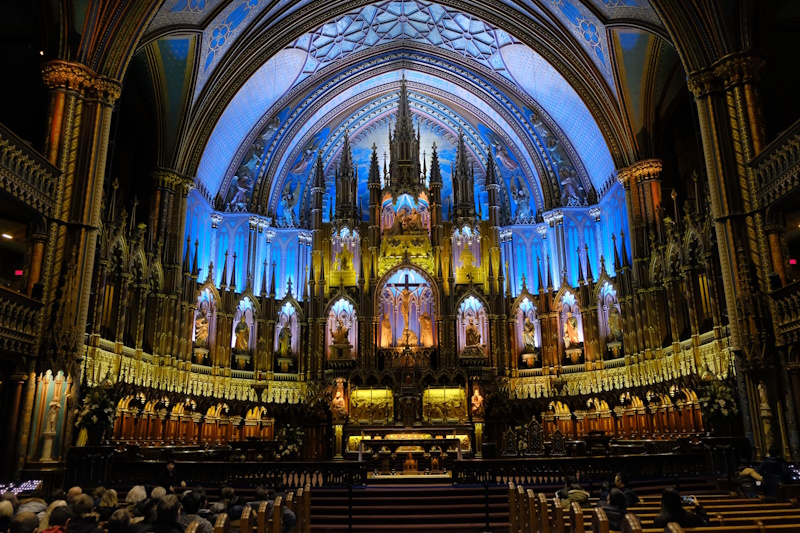
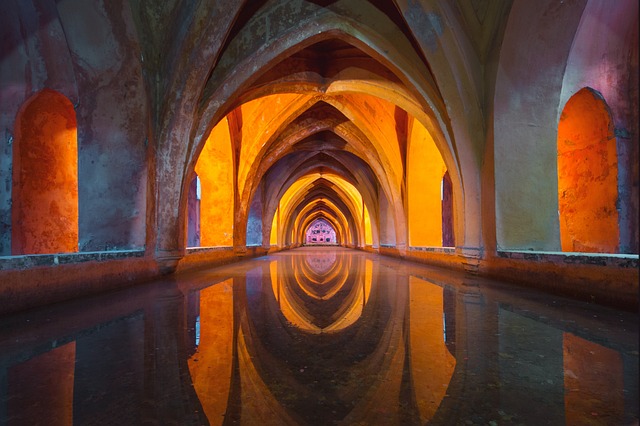
Photo by Pixabay
The Importance of Interior Architectural Photography
Interior architectural photography plays a crucial role in various industries, from real estate and interior design to hospitality and advertising. Capturing stunning interior spaces is vital for showcasing properties, attracting potential buyers, and leaving a lasting impression on clients and customers.
In the real estate market, visually appealing photographs of interiors can significantly impact the selling potential of a property. Homebuyers are more likely to engage with listings that feature high-quality interior photographs, as they provide a realistic sense of the space and help buyers visualize themselves living in it.
For interior designers and architects, showcasing their portfolio through professional photography is a powerful way to exhibit their expertise and design capabilities. High-quality interior photographs not only document their work but also serve as a visual testament to their creativity and attention to detail.
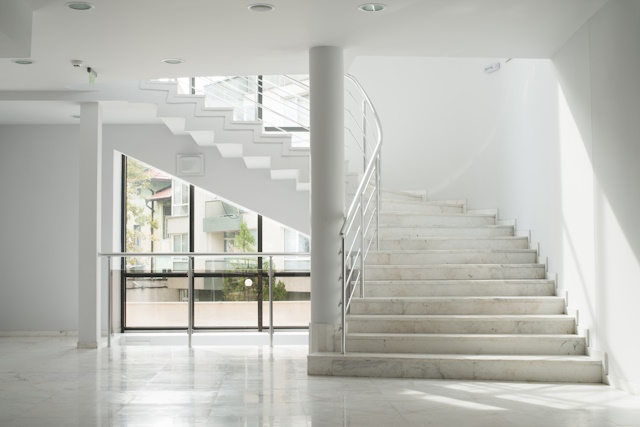
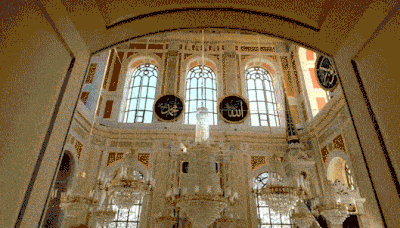
Photo by Depositphotos
How Professional Photography Enhances Visual Storytelling
Interior architectural photography goes beyond merely capturing images; it weaves visual stories that resonate with viewers. Each photograph holds the power to evoke emotions, inspire, and communicate the essence of a space.
Professional photographers have a keen eye for detail and composition, allowing them to bring out the best in every frame. By expertly manipulating lighting, they create an ambiance that enhances the mood and character of the interiors.
Visual storytelling through interior architectural photography extends beyond showcasing the space itself. It encompasses the human element, illustrating how people interact with and inhabit the space. Whether it’s a cozy living room, a bustling restaurant, or a serene spa, the inclusion of people in the shots adds depth and relatability to the visual narrative.
In marketing and advertising, interior architectural photography plays a significant role in brand storytelling. Businesses can convey their brand identity and values through carefully crafted photographs that reflect their unique style and atmosphere.
Moreover, this form of photography allows businesses to highlight their attention to detail, quality craftsmanship, and commitment to creating spaces that cater to their customers’ needs and desires.
In conclusion, interior architectural photography is a dynamic and essential aspect of visual communication. From enhancing the marketability of properties to providing a captivating showcase of design prowess, it holds the power to influence perceptions and evoke emotions.
Professional photographers, with their creative vision and technical expertise, bring spaces to life through their lenses, engaging viewers in the artistry of architecture and design. Whether you’re in the real estate business, an interior designer, or an architect, investing in high-quality interior architectural photography can be a game-changer, elevating your brand and leaving a lasting impression on your audience.
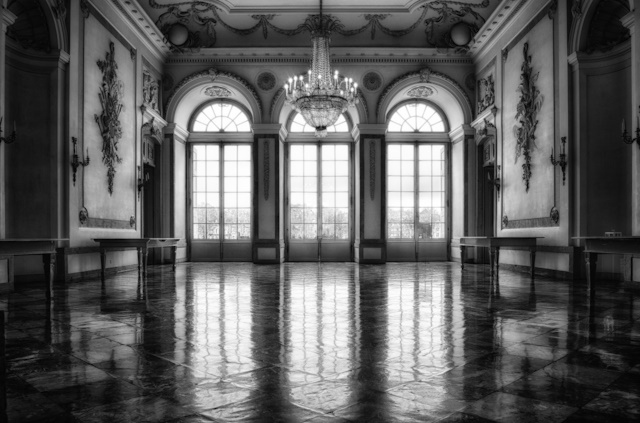
Photo by Depositphotos
Essential Equipment for Interior Architectural Photography
1- High-Quality Camera
When it comes to interior architectural photography, having the right equipment is crucial to capturing stunning images that showcase the beauty and details of the spaces. The first and most important piece of equipment you’ll need is a high-quality camera. Investing in a camera with a large sensor and high resolution will ensure that your images are sharp, clear, and full of detail. Let’s explore the key features you should look for in a high-quality camera:
- High Resolution: Opt for a camera with a high megapixel count to ensure sharp and detailed images. This is especially crucial for capturing intricate architectural details.
- Full-Frame Sensor: A full-frame sensor offers better low-light performance and wider dynamic range, resulting in clear, noise-free images even in challenging lighting conditions.
- Tilt Screen or Articulating LCD: A tilt screen or articulating LCD allows you to compose shots from various angles, including low and high perspectives, without straining yourself.
- Wireless Connectivity: Built-in Wi-Fi or Bluetooth connectivity enables easy transfer of images to your devices for quick sharing and editing.
- RAW Image Format: Shooting in RAW format provides more flexibility during post-processing, allowing you to make adjustments without sacrificing image quality.
The following are examples of recommended cameras for Interior Architectural Photography:
For additional information about the best cameras for internal architectural photography click here.
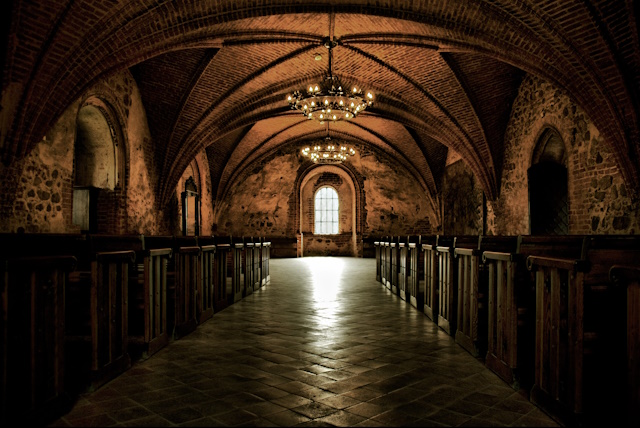
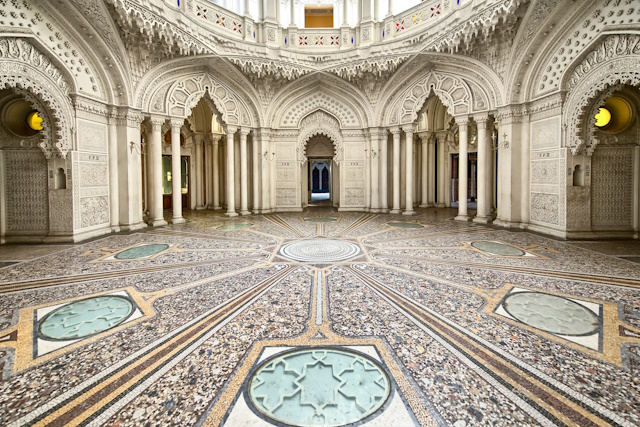
Photo by Depositphotos
2- Lenses for Interior Architectural Photography
Selecting the right lenses can make all the difference in capturing the beauty and essence of the spaces. Let’s explore the essential features to look for in lenses and the types of lenses that work best for this captivating art form.
Lens Types
Wide-angle lenses are the go-to choice for interior architectural photography due to their ability to capture expansive views and showcase the grandeur of rooms. These lenses have focal lengths typically ranging from 14mm to 24mm for full-frame cameras, and even wider for crop-sensor cameras.
A focal length of around 14mm to 16mm is excellent for tight spaces, such as narrow hallways or small rooms, as it helps capture a broader view without distorting the composition. On the other hand, focal lengths of 20mm to 24mm are more versatile for larger rooms, providing a balance between space and perspective.
Tilt-shift lenses are powerful tools for correcting perspective distortion, especially when photographing tight interiors. It helps maintain parallel lines and avoids converging parallels.
Prime lenses offer superior image quality and sharpness compared to zoom lenses. A 35mm or 50mm prime lens is ideal for capturing detail-rich shots and versatile enough for different interior spaces.
The following are examples of recommended lenses for Interior Architectural Photography:
- Canon EF 16-35mm f/4L IS USM Lens
- Nikon AF-S FX NIKKOR 16-35mm f/4G ED VR
- Nikon AF-S NIKKOR 14-24mm f/2.8G ED
- Canon EF 11-24mm f/4L USM
- Sigma 12-24mm f/4 DG HSM Art
For additional information about the best camera lenses for internal architectural photography click here.
The essential lens features
- Wide Aperture: Lenses with wide apertures (lower f-stop numbers) allow for better light intake, making them ideal for low-light situations often encountered in interiors.
- Image Stabilization: Look for lenses with built-in image stabilization to counteract camera shake and capture sharp images, especially when shooting handheld in challenging lighting conditions.
- High-Quality Optics: Invest in lenses with high-quality optics to ensure sharpness, minimal distortion, and reduced chromatic aberration.
- Manual Focus Override: Lenses with manual focus override offer better control when fine-tuning focus for precise shots.
- Lightweight and Compact: Opt for lightweight and compact lenses, as they are more comfortable to handle and carry during extended photography sessions.
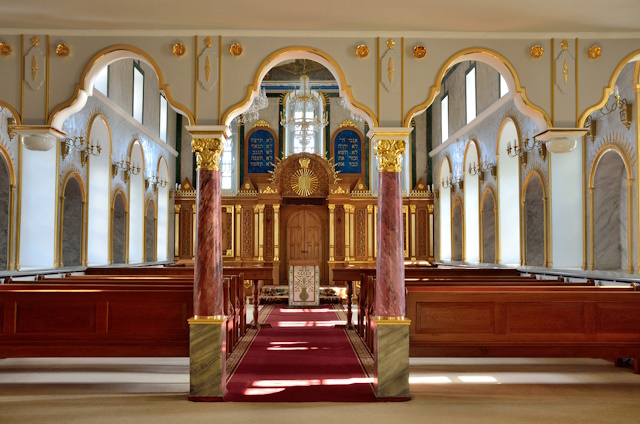
Photo by Depositphotos
3- Tripods
To achieve tack-sharp images and maintain precise composition, a sturdy tripod is a must-have accessory for interior architectural photography. Even with excellent camera stabilization technology, using a tripod ensures minimal camera movement and reduces the risk of blurry photos, especially in low-light conditions.
When selecting a tripod, consider its weight and portability. Look for models that are lightweight and easy to carry around, as you may need to move from one room to another during your photo shoot.
4- Remote Shutter Release
In interior architectural photography, capturing long exposures is common, especially when dealing with low-light situations. Even the slightest camera shake during these extended exposures can result in blurred images. To combat this, a remote shutter release comes in handy.
A remote shutter release allows you to trigger the camera’s shutter without physically touching the camera. This minimizes the risk of unintentional movement, ensuring that your images remain sharp and free from camera shake.
5- Additional equipents
In addition to high-quality cameras and lenses, there are several other essential tools and accessories that can elevate your interior architectural photography game. Let’s explore some additional equipment that will help you capture stunning images and enhance your creative process.
-
Flash and Lighting Equipment:
While natural light is often ideal for interior photography, there may be situations where additional lighting is required. Investing in external flashes or continuous lighting equipment allows you to control and balance the light in your shots, ensuring well-lit and visually appealing images.
-
Reflectors and Diffusers:
Reflectors and diffusers are handy tools for managing natural light. Reflectors bounce light into shadow areas, reducing contrast and creating a more even illumination. Diffusers soften harsh light and help eliminate unwanted shadows, creating a pleasing and balanced look.
-
Light Meter:
Capturing the perfect exposure is essential to create compelling and visually striking images. A light meter is a tool that plays a crucial role in achieving precise exposure, especially in interior architectural photography.
-
Circular Polarizer Filter:
A circular polarizer filter is useful for minimizing reflections and glare from shiny surfaces like glass or water. It allows you to enhance colors and contrast while maintaining clear views through windows and other reflective surfaces.
-
White Balance Card:
A white balance card or gray card assists in achieving accurate color reproduction in your images. By using the card to set a custom white balance, you ensure that colors are true to life and consistent across your shots.
-
Lens Cleaning Kit:
Keep your lenses pristine with a lens cleaning kit, consisting of a soft brush, microfiber cloths, and cleaning solution. Regularly cleaning your lenses ensures optimal image quality and prevents dust or smudges from affecting your shots.
For additional information about additional equipment needed for internal architectural photography click here.
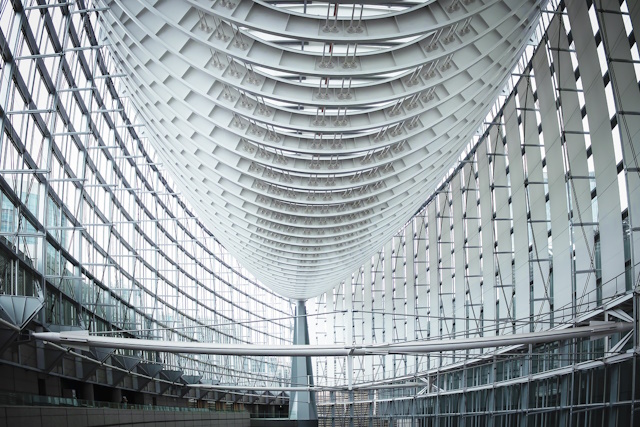
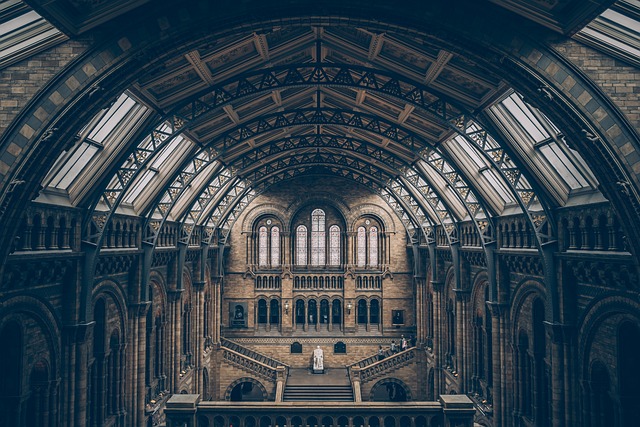
Image by Yoichi Aihara from Pixabay
Mastering Lighting Techniques
-
Natural Light Utilization
Natural light is a treasure trove for interior architectural photography, offering a palette of illuminating possibilities. In this section, we’ll explore how to make the most of natural light to create stunning and captivating interior shots.
When photographing interiors, identifying the best sources of natural light is crucial. Start by observing the space and locating windows or openings that allow sunlight to filter in. Large windows, glass doors, and skylights are excellent light sources that infuse interiors with a soft and flattering glow.
As you explore the area, take note of how the light falls on different surfaces and elements. Pay attention to how shadows form and the play of light and dark. Understanding the direction and intensity of natural light helps you plan your shots and accentuate architectural details effectively.
-
Artificial Lighting Tips
While natural light can work wonders in interior architectural photography, there are situations where artificial lighting becomes essential to achieve the desired look and ambiance. In this section, we’ll explore two valuable artificial lighting techniques that can elevate your interior shots to a whole new level.
-
Using Off-Camera Flash
Off-camera flash is a versatile tool that allows you to control and direct light precisely. When using a flash mounted on your camera, the light can appear harsh and flat, resulting in unflattering shadows and washed-out details. However, by taking the flash off-camera and using it remotely, you gain the ability to shape and mold the light to your advantage.
Placing the flash strategically in different positions allows you to create dimension and depth in your interior shots. For example, bouncing the flash off walls or ceilings can produce softer, diffused light that flatters the space and minimizes harsh shadows.
Experiment with the flash’s power settings and angles to achieve the desired effect. By adjusting the flash’s intensity, you can add subtle fill light or create dramatic contrasts, depending on the mood you want to convey.
-
Diffusing and Bouncing Light for Softening Shadows
In interior architectural photography, harsh shadows can distract from the beauty of the space. To soften shadows and create a more pleasing and even illumination, diffusing and bouncing light is key.
- Diffusing Light: Softboxes, umbrellas, and diffusers are popular tools for spreading and diffusing light. Placing a softbox or umbrella in front of a light source softens the light and reduces its intensity, resulting in a gentle, flattering glow. This technique is ideal for illuminating large areas or creating a pleasing portrait-like ambiance.
- Bouncing Light: Bouncing light off surfaces such as walls or ceilings can create beautiful, indirect lighting. The bounced light then disperses evenly, minimizing harsh shadows and creating a natural and inviting atmosphere. This method is especially useful when using a flash or artificial lighting in confined spaces.
- Mixing Natural and Artificial Light
A crucial aspect of using artificial lighting in interior architectural photography is maintaining a harmonious balance with natural light sources. Combining both types of light can lead to stunning results, provided you pay attention to color temperature and intensity.
Consider the color temperature of the artificial lighting and ensure it complements the natural light in the room. Avoid mixing lights with vastly different color temperatures, as this can result in unwanted color casts in your images. When shooting in mixed lighting conditions, using custom white balance settings or gels can help achieve color harmony.
Composition and Framing
Composition and framing play a pivotal role in interior architectural photography, allowing you to transform ordinary spaces into visually captivating masterpieces. In this section, we’ll explore essential compositional techniques to take your interior shots to new heights.
-
Rule of Thirds and Leading Lines
The Rule of Thirds is a classic composition guideline that applies to various forms of photography, including interior architectural shots. Imagine breaking your frame into a grid of nine equal parts, with two horizontal and two vertical lines. Positioning key elements along these lines or at their intersections creates a visually balanced and engaging composition.
Leading lines are another powerful tool for drawing the viewer’s eye into the photograph. In interior architectural photography, elements such as hallways, staircases, or converging lines of furniture can act as leading lines, guiding the viewer’s gaze deeper into the image.
You may check additional composition rules here
-
Creating Depth with Foreground Elements
Adding foreground elements to your interior shots can infuse them with a sense of depth and intrigue. When composing your photograph, consider including objects in the foreground that complement the overall scene and provide context to the space.
Foreground elements can be anything from decorative objects on a table to plants or furniture strategically placed in the frame. These elements not only create a visually appealing composition but also enhance the viewer’s sense of immersion in the environment.
-
Balancing Symmetry and Asymmetry
Balancing symmetry and asymmetry is an essential aspect of interior architectural photography composition. Symmetry, with its mirror-like balance, can be incredibly pleasing to the eye. Interior spaces with symmetrical elements, such as grand staircases or perfectly aligned windows, are ideal candidates for showcasing this compositional style.
On the other hand, asymmetry can add a dynamic and visually interesting element to your shots. Not all interior spaces are perfectly symmetrical, and embracing their natural asymmetry can create a unique and authentic portrayal of the architecture.
-
Experimentation and Creativity
Composition and framing are artistic choices that allow you to express your unique vision as a photographer. Don’t be afraid to experiment with different angles, perspectives, and compositional techniques. Take the time to explore the space from various viewpoints and consider how each composition affects the mood and storytelling of the image.
Keep in mind that each interior space has its own character and story to tell. Tailor your composition to highlight the architectural details, lighting, and ambiance that make the space exceptional and captivating.
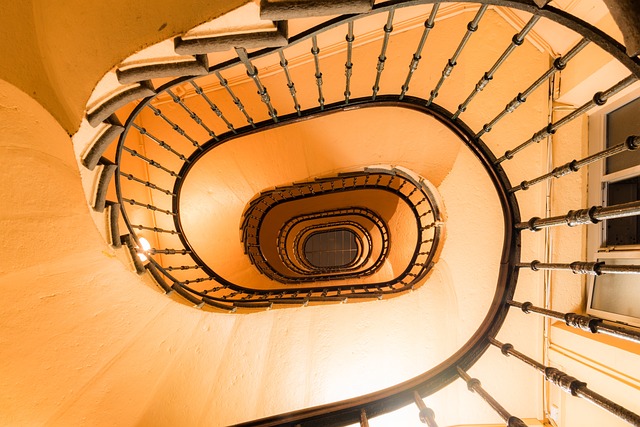
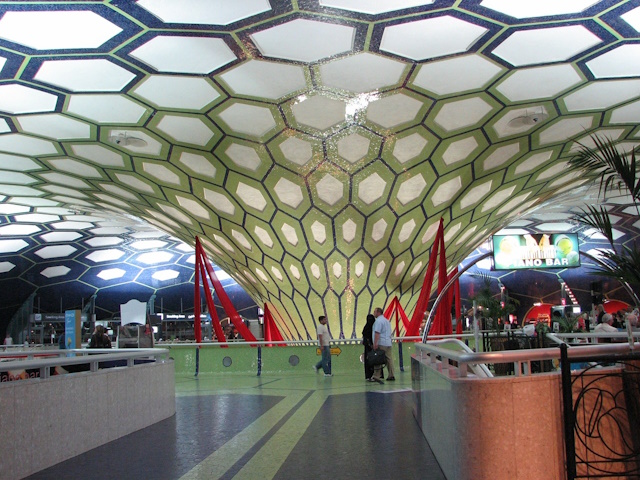
Image by Ludovic Charlet from Pixabay
Utilizing Perspective and Angles
Perspective and angles are the building blocks of captivating interior architectural photography. They allow you to transform ordinary spaces into extraordinary works of art. In this section, we’ll explore essential techniques to leverage perspective and angles, adding depth and drama to your shots.
-
Choosing the Right Shooting Angle
The shooting angle is a fundamental decision that shapes the viewer’s perception of interior space. Experiment with shooting from different heights and positions to find the angle that best showcases the architectural elements.
For grand and spacious interiors, a higher shooting angle can emphasize the scale and volume of the space. Conversely, shooting from a lower angle can add a sense of drama and grandeur to smaller rooms.
As you explore various shooting angles, keep the focal point of the image in mind. The angle you choose should enhance the main subject, whether it’s an ornate chandelier, a decorative fireplace, or an impressive staircase.
-
Highlighting Vertical Lines to Avoid Converging Verticals
Converging vertical lines are a common challenge in interior architectural photography, especially when shooting tall structures. These lines occur when the camera is tilted upwards, causing vertical elements like walls or pillars to appear to converge towards the top.
To overcome this distortion, it’s essential to keep your camera level and perpendicular to the ground. This can be achieved using a tripod and leveling tools.
Alternatively, post-processing software can correct converging verticals. You can check my post “Adjust Perspective In Photoshop”
-
Incorporating Low and High Angles for Dramatic Effects
Low and high angles can add drama and uniqueness to your interior shots. A low angle, where the camera is close to the ground, creates a dynamic and immersive perspective, perfect for showcasing intricate floor patterns or emphasizing interesting ceiling designs.
On the other hand, a high angle, achieved by shooting from an elevated position, offers a bird’s-eye view of the space. This angle is ideal for capturing expansive interiors and providing context to the layout and arrangement of furniture and architectural features.
Both low and high angles can be powerful storytelling tools, evoking different emotions and perspectives. Experiment with both to determine which angle best suits the narrative you want to convey.
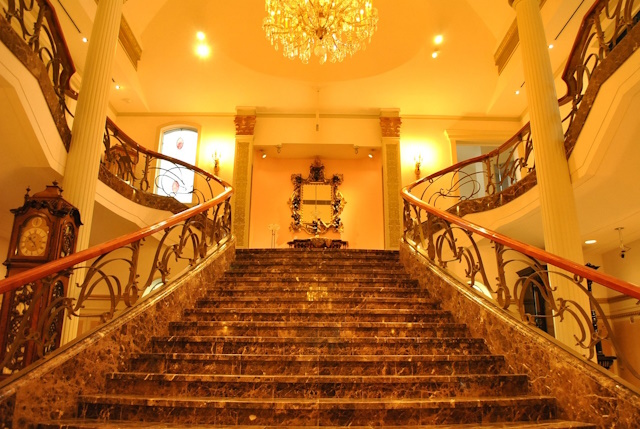
Image by satoruisatorui from Pixabay
Editing and Post-Processing Tips
Editing and post-processing are the final steps in bringing out the full potential of your interior architectural photography. With the right techniques, you can enhance the visual impact and create images that leave a lasting impression. Let’s delve into essential editing tips that will elevate your interior shots to new heights.
-
Color Correction and White Balance
Color correction is a crucial step in post-processing that ensures the colors in your images appear accurate and true to life. Interior spaces often have varying light sources, which can cast different color tints on your photographs. Adjusting the color balance eliminates unwanted color casts and ensures a natural and harmonious look.
White balance plays a significant role in color correction. It allows you to set the proper color temperature in your images, whether you’re dealing with warm, golden hues from incandescent lighting or cooler tones from fluorescent lights. Paying attention to white balance helps maintain the authenticity of the space’s ambiance.
-
Enhancing Contrast and Sharpness
Contrast and sharpness are key factors in creating visually impactful interior photographs. Adjusting contrast can bring out the details and textures in your images, making architectural elements stand out. However, be cautious not to overdo it, as excessive contrast can result in unnatural and harsh-looking photographs.
Sharpness is essential for conveying the crispness and clarity of architectural details. Carefully sharpening your images in post-processing enhances the overall quality and ensures that your photographs appear sharp and well-defined.
-
Removing Distortions and Perspective Correction
In interior architectural photography, it’s common to encounter distortions and perspective issues, especially when shooting with wide-angle lenses. These can result in bent lines or a fisheye effect that distorts the proportions of the space.
Use lens correction tools to remove distortions and correct perspective issues. This will result in a cleaner and more natural representation of the interior space. Be mindful of keeping the corrections subtle to avoid making the image look unrealistic.
-
Balancing Natural Enhancements
While editing can significantly enhance your interior photographs, it’s essential to strike a balance between enhancements and preserving the authenticity of the space. Avoid excessive editing that alters the character of the interior or misrepresents the architecture.
-
The Importance of Consistency
Consistency is key in interior architectural photography. If you’re shooting a series or a project that showcases different interior spaces, aim for a cohesive editing style across all images. This consistency helps tie the images together and creates a visually appealing collection.
By maintaining a consistent approach to color correction, contrast, sharpness, and perspective correction, you ensure that your portfolio exudes professionalism and a polished aesthetic.
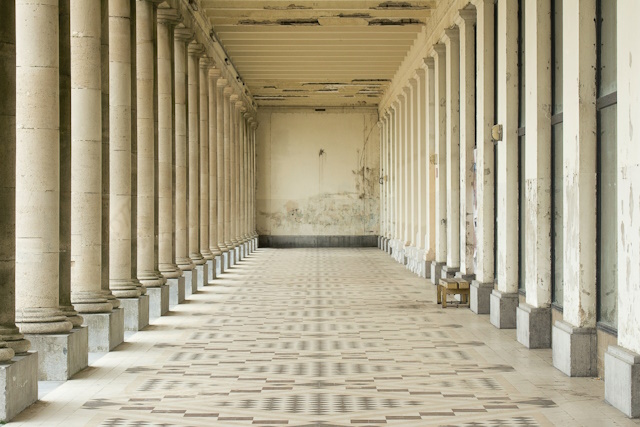
Photo by Jan van der Wolf
Going Beyond Still Photography
While still photography captures the beauty of interior spaces, there are dynamic techniques that can elevate your interior architectural photography to new dimensions. Let’s delve into the exciting world of panoramic shots, time-lapse photography, and virtual tours.
-
Creating Stunning Panoramas
Panoramic photography offers a wide and immersive view of interior spaces, allowing viewers to experience the grandeur of the architecture. Start by shooting a series of images as you pan the camera horizontally. Overlapping each shot by about 30% helps stitching software blend the images smoothly. In post-processing, use panorama stitching software to merge the images into a single, breathtaking panorama.
-
Creating 360-Degree Photos
Step into the realm of immersive experiences with 360-degree photos in your interior architectural photography. To create a 360-degree photo, you’ll need specialized equipment like a 360-degree camera. Set up the camera on a tripod and choose a strategic vantage point that showcases the essence of the interior space.
Activate the camera’s 360-degree mode, and it will capture a seamless panoramic view as you rotate it. The camera stitches together the images, resulting in a complete spherical visual representation of the space.
-
Creating Short Videos
Take your interior architectural photography to the next level by venturing into the world of short videos. To create short videos, you’ll need a camera capable of recording high-quality video. Record brief clips that highlight the key features and design elements of the interior. Showcase the play of light and shadows, the movement of people, or the dynamic elements that make the space come alive.
Video by criss1234 from Pixabay
-
Experimenting with Time-lapse Photography
Time-lapse photography is a mesmerizing technique that captures the passage of time within a compressed sequence of images. It allows viewers to witness changes in lighting, shadows, and movements within an interior space over a set period.
To create a time-lapse, use manual settings to maintain consistent exposure throughout the sequence. Intervalometers or remote timers can automate the capture process, capturing images at predefined intervals.
-
Virtual Tour
A virtual tour immerses viewers in a 360-degree visual experience, allowing them to explore interior spaces as if they were physically present. To create a virtual tour, use specialized 360-degree cameras or shoot a series of images from multiple viewpoints.
In post-processing, use virtual tour software to stitch the images together, creating an interactive and immersive experience. Virtual tours are ideal for showcasing entire properties, hotels, or commercial spaces, offering potential clients a comprehensive and engaging view.
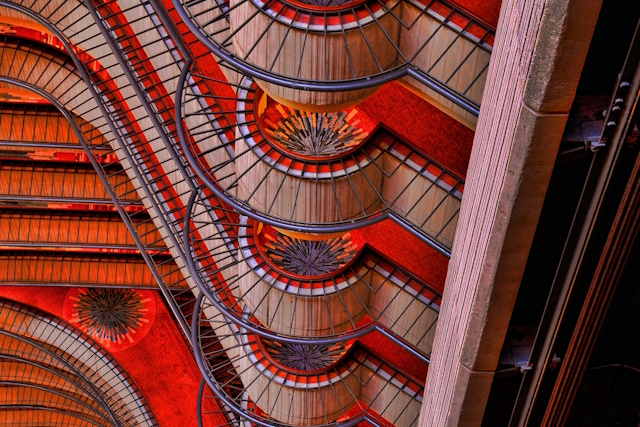
Photo by Matt Richardson on Unsplash
Related posts
Architectural Photography- The Full Guide
Real Estate Photography Tips and Tricks
Best Lenses For Real Estate Photography – Choose The Right One!
Be Prepared To Take Great Real Estate Photos – Essential Equipment
Best Camera For Real Estate Photography
Best Lens For Architectural Photography
7 Ways To Better Real Estate Drone Photography
How To Make Virtual Tour Of Real Estate
Thanks for reading, I hope you enjoyed the article, in case you have any questions just drop them below & I will be happy to answer you.
The featured photo by Johnny Ho on Unsplash
If you enjoy the site, don’t forget to subscribe, we will only inform you when a new article is posted.


This blog post on interior architectural photography is incredibly informative and inspiring. It highlights the importance of capturing the beauty and design of interior spaces, showcasing their unique features and aesthetics. The tips provided, from the essential equipment needed to the recommended camera lenses, are incredibly helpful for anyone interested in this captivating art form. I particularly appreciate the emphasis on visual storytelling and how professional photography can enhance brand storytelling and leave a lasting impression on viewers. The inclusion of examples and additional equipment recommendations further adds value to the post. Overall, this blog post has sparked my interest in interior architectural photography and has left me wanting to learn more. Do you have any personal experience with interior architectural photography?
Thank you for your positive feedback on the interior architectural photography blog post! I’m glad you found the information informative and inspiring, and I appreciate your recognition of the emphasis on visual storytelling and its impact on brand perception.
Regarding your question about personal experience with interior architectural photography, I am afraid, I did not work professionally in this genre of photography. However, I’m here to assist and provide information on the topic. If you’re looking for insights, tips, or advice on interior architectural photography, feel free to ask, and I’ll be more than happy to help!
Your article proves that if one wants to be a true professional and distinguish from a myriad of amateur photographers out there you have to pay attention to even the tinniest of details. There are so many things you need to be aware of that is really amazing. But I guess this is what distinguishes a simply good photo from a professional one.
You’re absolutely right – attention to detail is a hallmark of true professionalism in photography. It’s the little things that often make the biggest difference. The journey from being a good photographer to becoming an exceptional one is paved with careful consideration of these nuances. Keep refining your craft, and your dedication to mastering the details will set you apart. Thank you for your comment